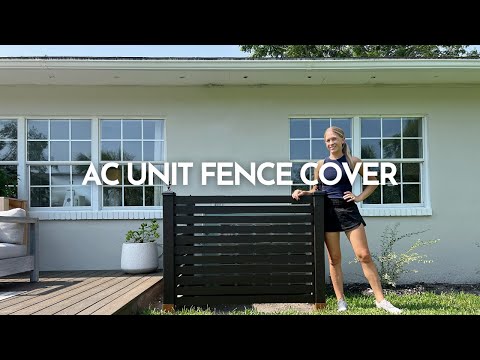
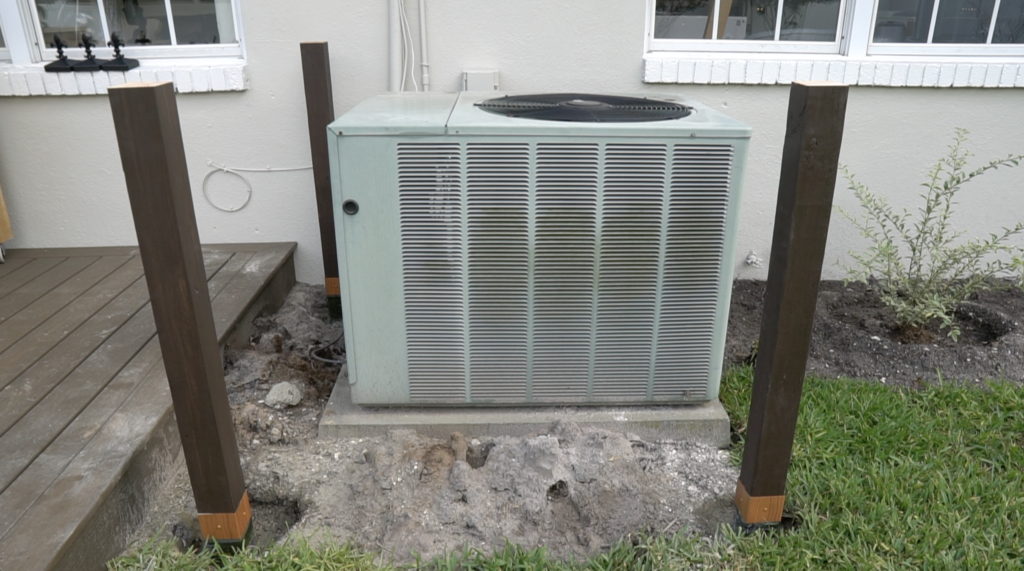
Earlier this year we built a beautiful floating deck in our backyard. Unfortunately the AC unit is right next to the deck and it’s a pretty big eye sore. So I built a slat fence around the AC unit to hide it and to complement the new deck! Check out the tools and material linked below as well as the full YouTube video tutorial.


Tools & Materials
| 4″ x 4″ x 8′ Post | https://bit.ly/3XkOUrD |
| 1″ x 3″ x 8′ Pine Boards | https://bit.ly/46iSOpg |
| Miter saw or circle saw | https://bit.ly/3QQ1hZJ |
| Semi transparent stain & sealer | |
| Orbital hand sander with sand paper | https://bit.ly/3ljgcuS |
| Post hole digger | https://bit.ly/3pfn9UU |
| Fast setting concrete mix | https://bit.ly/46iJl0U |
| 4′ Level | https://bit.ly/3wkzaqv |
| Fence Armor Cap™ CAP CLAW™ Post Caps | https://fencearmor.com/products/post-caps-4×4-6×6-universal-post-caps |
| Post Caps Accent Finials – Fleur de Lis | https://fencearmor.com/collections/decorative-fence-finials/products/post-caps-accent-finials-fleurs-de-lis |
| Full Protection Post Protectors & Mailbox Post Protectors – 3” Tall | https://fencearmor.com/products/post-guards-full-protection?variant=33354956963893 |
| Postsaver® Pro-Wrap & Pro-Sleeve | https://fencearmor.com/products/postsaver-sleeves-singles?variant=33341132210229 |
| Torch (to shrink Pro Sleves) | |
| Brad nailer with 1 1/2″ brad nails | https://bit.ly/3mkyC44 |
| Impact driver with 1 1/4″ exterior deck screws | https://bit.ly/2XBgyCB |
Step 1: Cut 4×4 posts
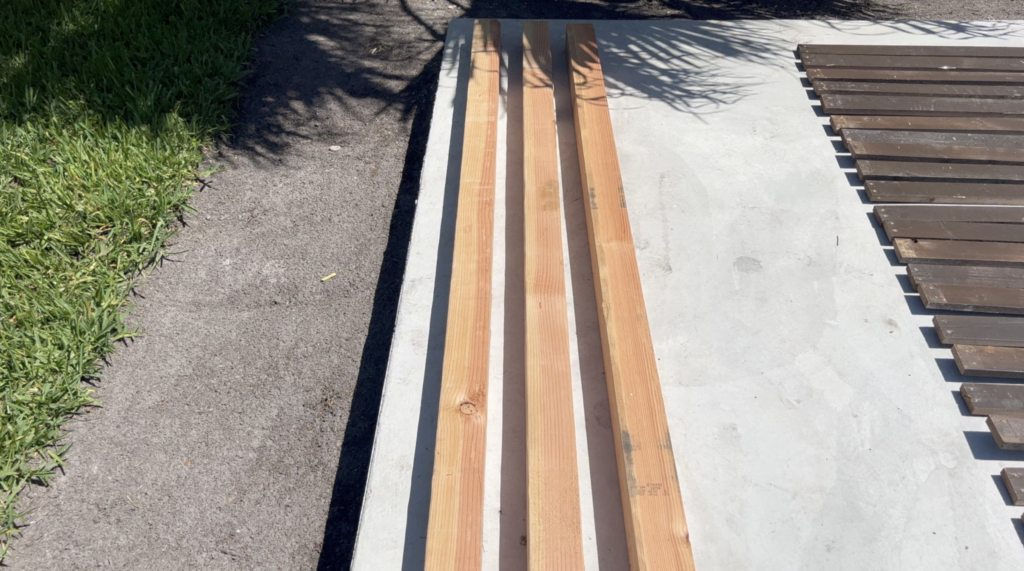
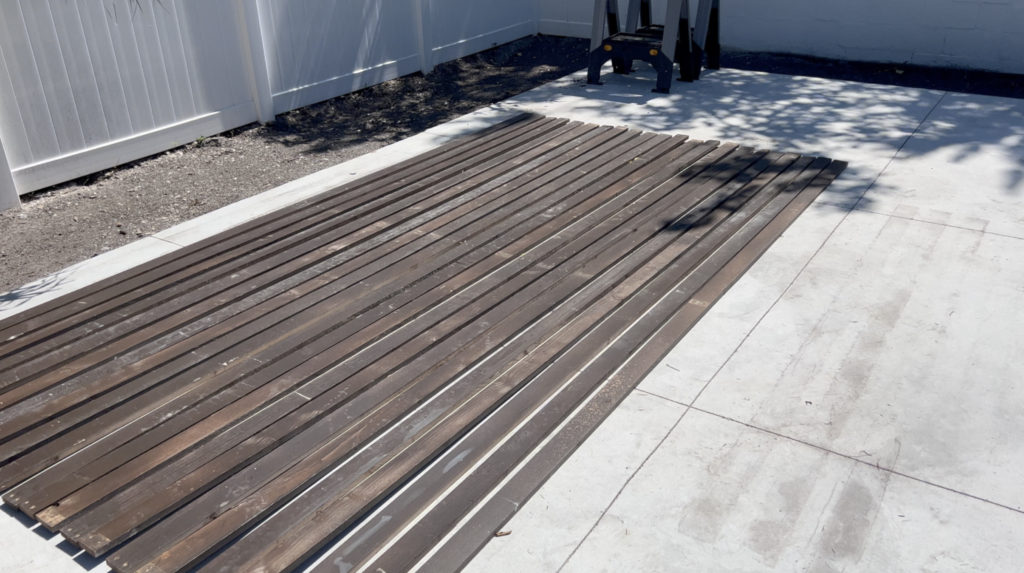
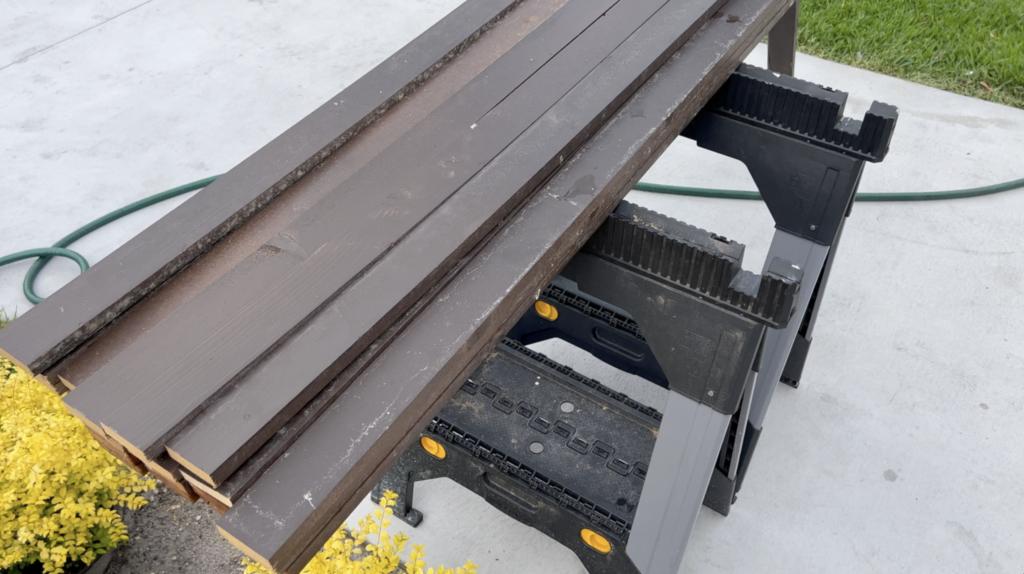
For this project I’m reusing lumber from a previous privacy fence project. We’re updating our backyard and had to take the fence down so I’m glad I could re use the lumber. For the fence slats I’m using 1×3 pine boards and for the fence posts I’m using 4x4x8’ pine posts. I will be using a stain and sealer on the lumber so that’s why I opted for untreated. You can also use treated lumber or cedar which is great for outdoor projects like this.


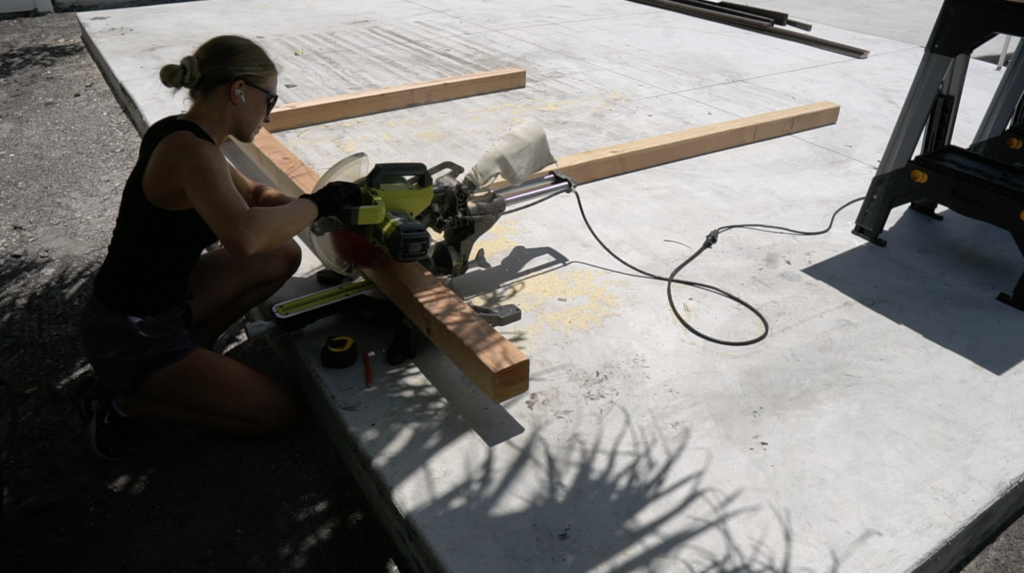
I started by cutting the 4×4 posts down to 6’. The posts will be about 2′ feet’ down in the ground and about 4’ above.
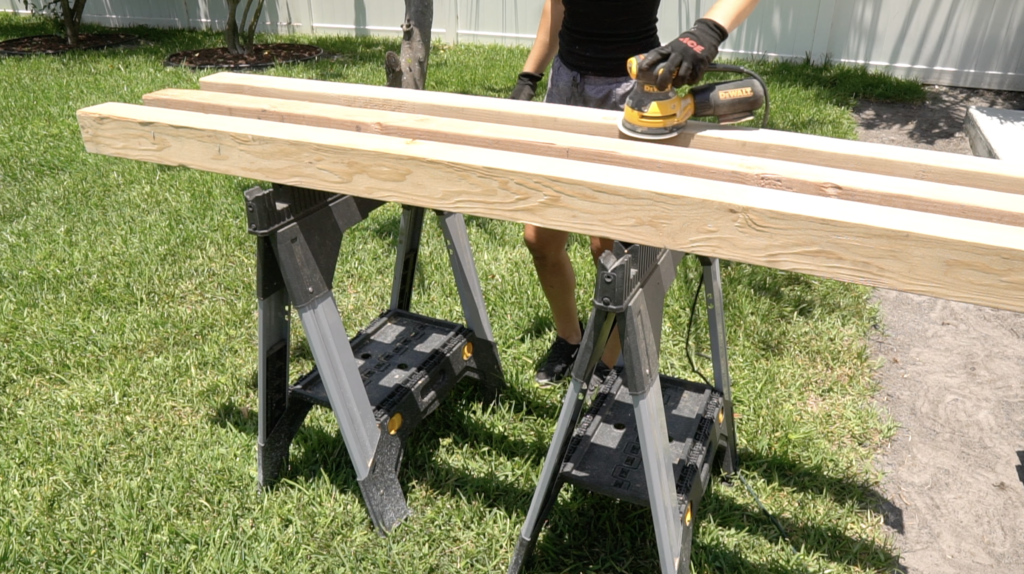
Step 2: Prep 4×4 posts for the ground
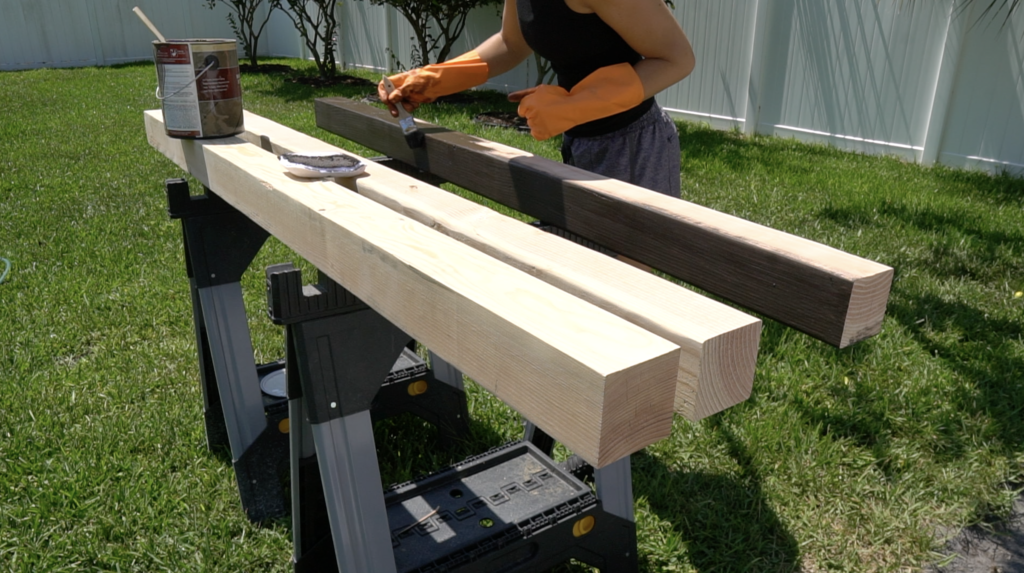
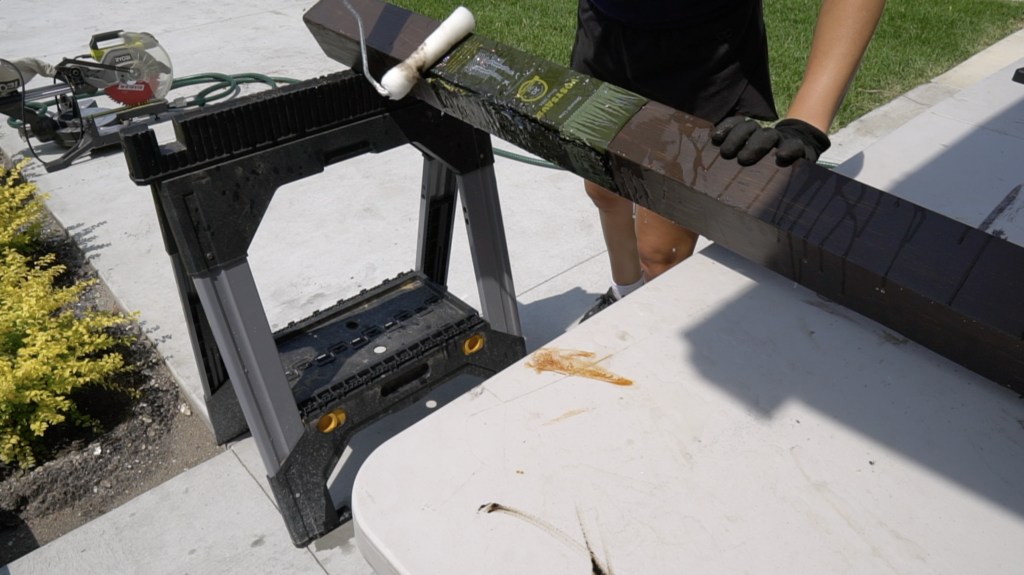
I quickly sanded the 4×4’s with 120 grit sandpaper and then stained the posts with the same semi transparent stain and sealer that I used for the slats.
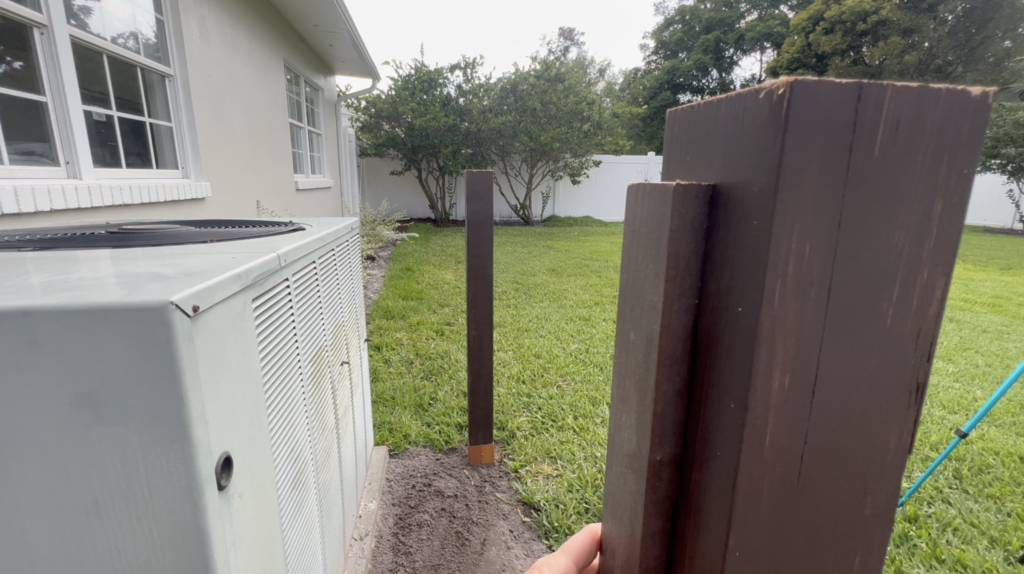
The posts are sanded and stained now let’s prepare them for the ground!


Fence Armor sent over some great products to protect our posts from the bottom up. Here’s a quick example of what our posts will look like.

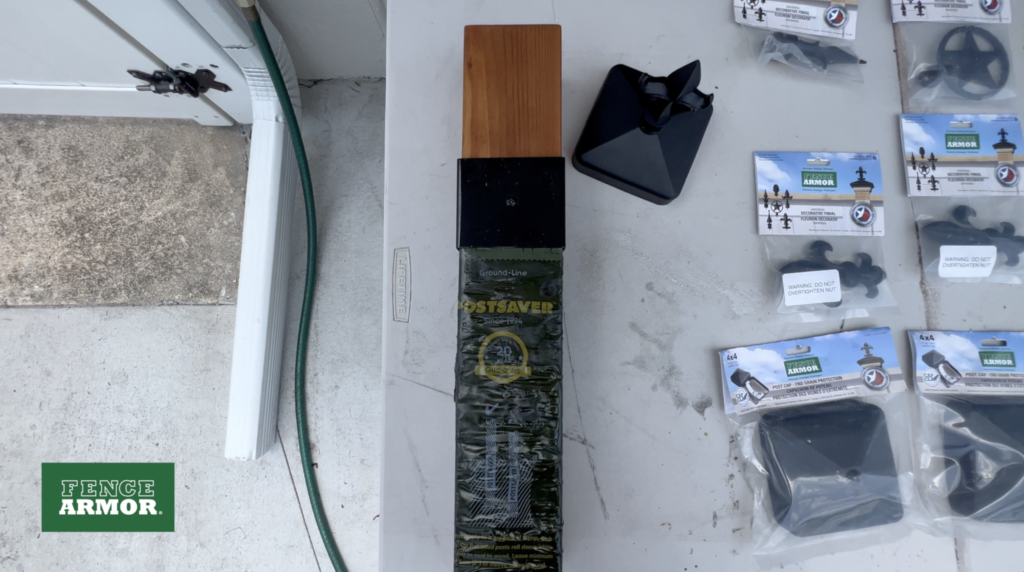
First, we have these Fence Armor Caps to protect the top of our posts – the interior cap claw allows a tight grip on the top of your posts. In addition to the caps we have some decorative finials. They have a variety of options but I’m going with the Fleur De Lis design.


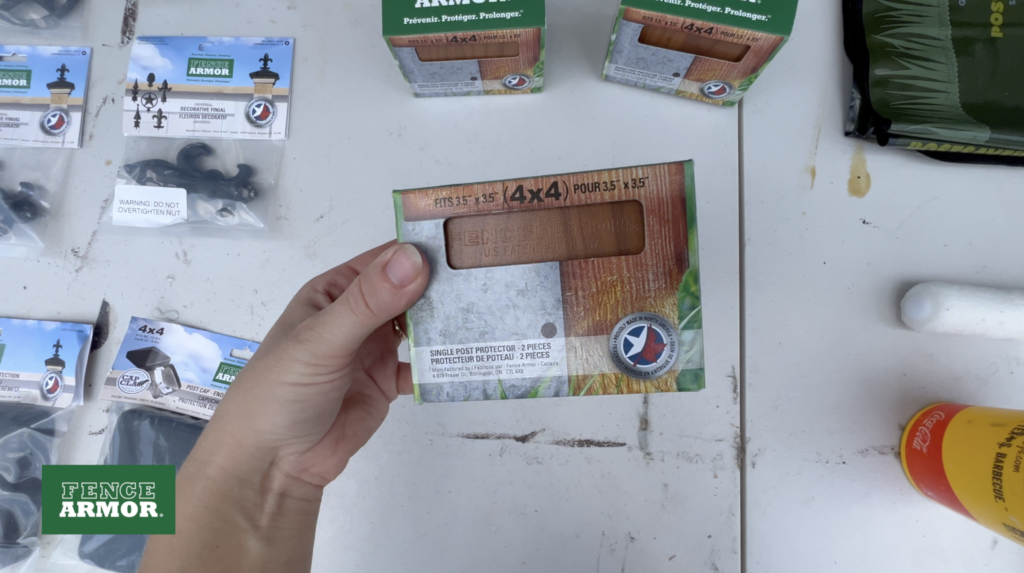
Next we have the post protectors: these protect your posts against damage from lawn maintenance tools, such as weed whackers. You can use these Full Protection Post Guards to safeguard mailboxes, vinyl fences, wood fences, decks, or pergolas.

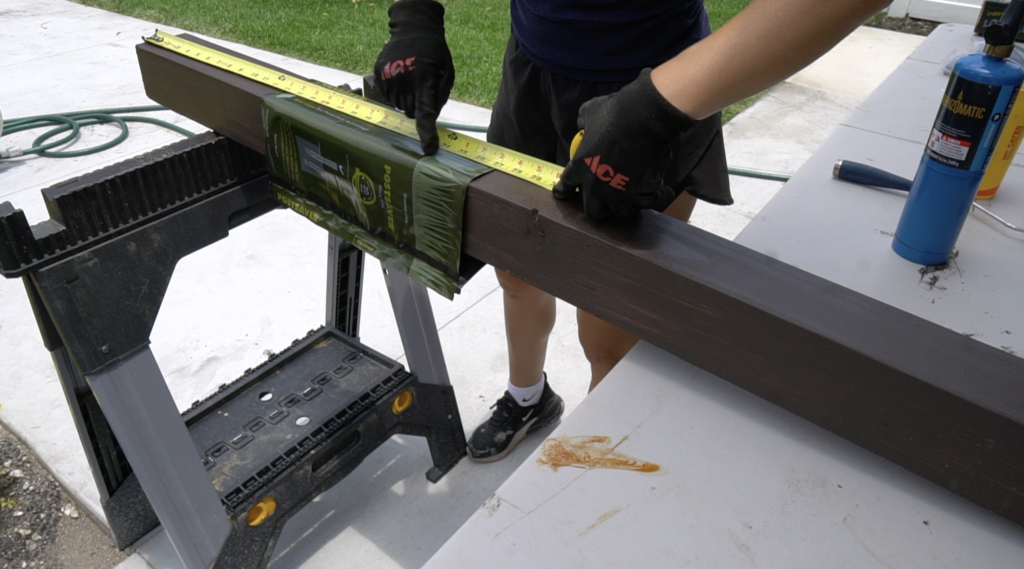
Next are the post saver Pro-sleeves. These are designed to deliver a 20-year protection against ground-line decay. They’re heat shrinkable so I will use a torch to shrink them to the posts and push out any air bubbles with a wet roller. If you’re installing post protectors on multiple posts a Roofers Torch may be more suitable due to its softer flame.


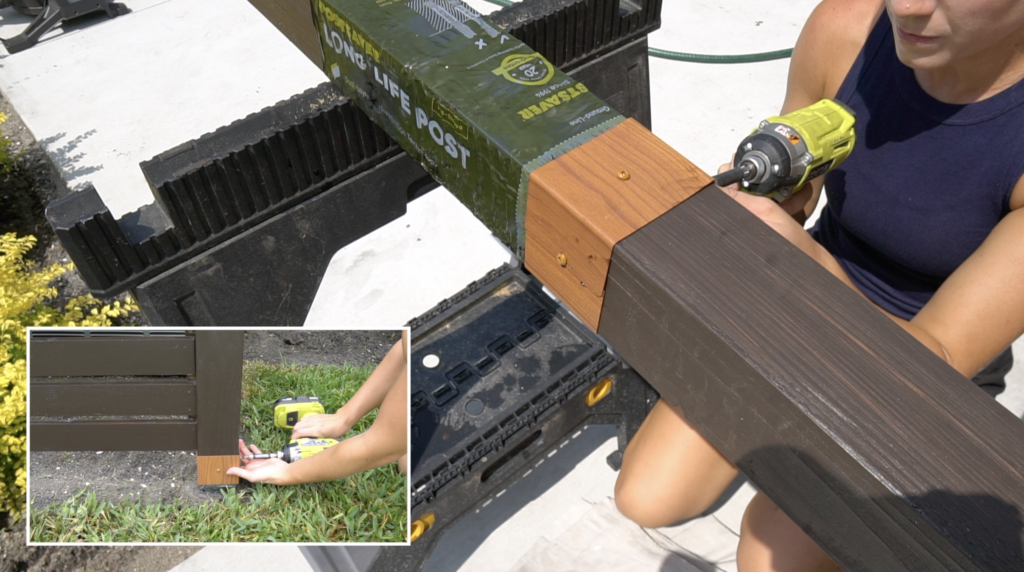
Here, I am sliding the post saver sleeve over the 4×4 post. Like I mentioned these sleeves prevent ground-line decay so since my ground line is at 24” I am positioning the sleeve where their ground line indicator is right at 24”. I used a torch to carefully shrink the sleeve onto the post. Then used a wet roller to push out any weak spots such as wrinkles or air bubbles. When using a Plumber’s Torch like you see here make sure to use quick strokes so that you don’t burn through the membrane. Like I mentioned before, if you’re installing post protectors on multiple posts a Roofers Torch may be more suitable due to its softer flame.


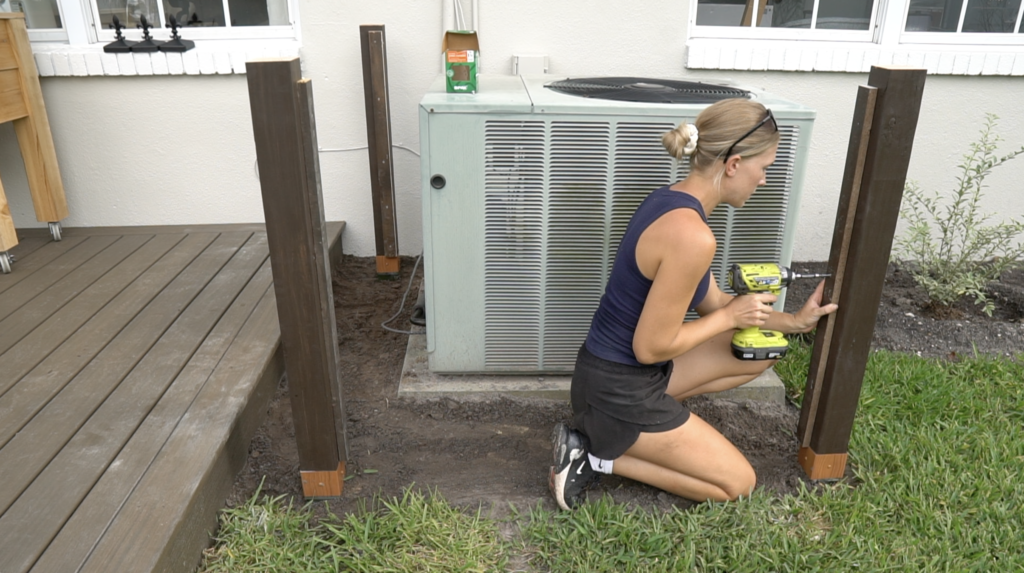
Next, I took the steel post protectors and secured it to the post, just above that 24” ground line where the weed whacker would do the most damage. I installed the post protectors beforehand because I knew the exact measurement of the post depth but you can also install the Fence Armor after post installation like you see below. It’s easier to determine placement this way since you can compare it to the height of your grass or landscaping.

Fence Armor has extend a special discount code to my followers, you can use code Stefani12 for a 12% discount on your fence Armor purchases. Check out the access link here: https://fencearmor.com/discount/Stefani12
Now that our posts are protected we can place them in the ground.
Step 3: Dig holes for posts
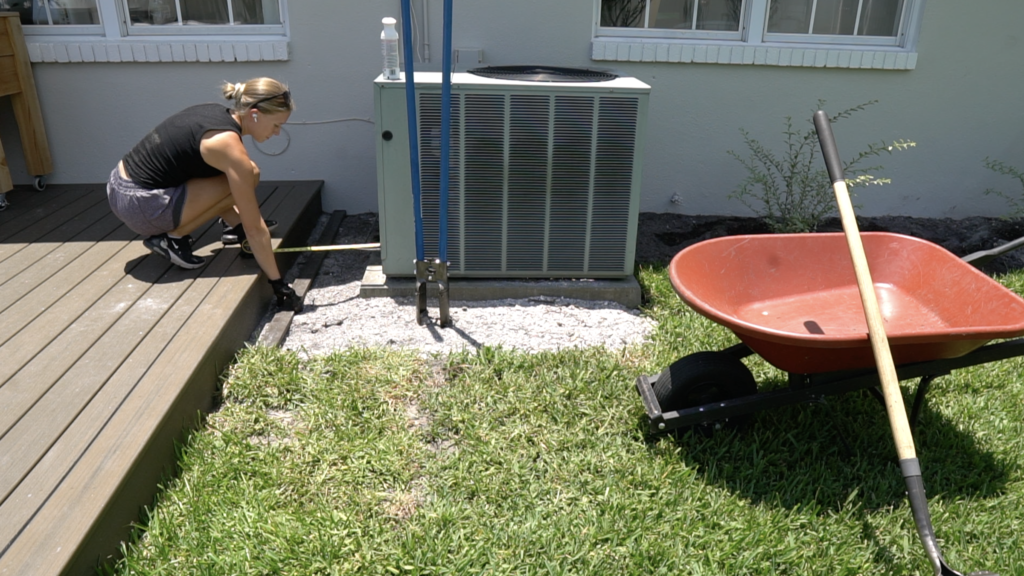
I measured and marked out where we need to dig the holes. We’re staying at least 1 foot away from the AC unit on all sides but make sure to look up proper clearance for your specific AC unit. We rented a post digger from our local home improvement store for the day for $10 and Devin helped to dig the holes.


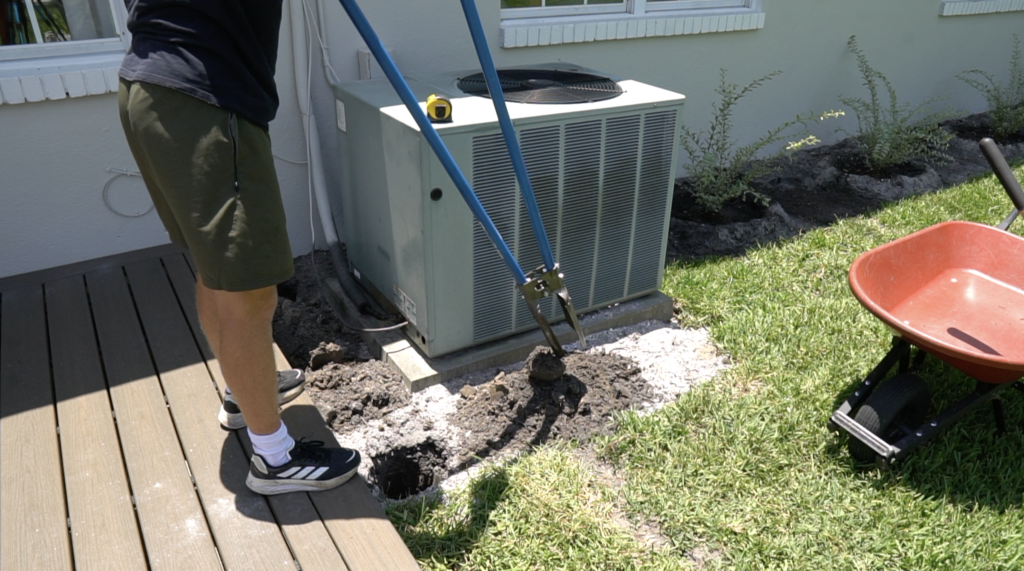
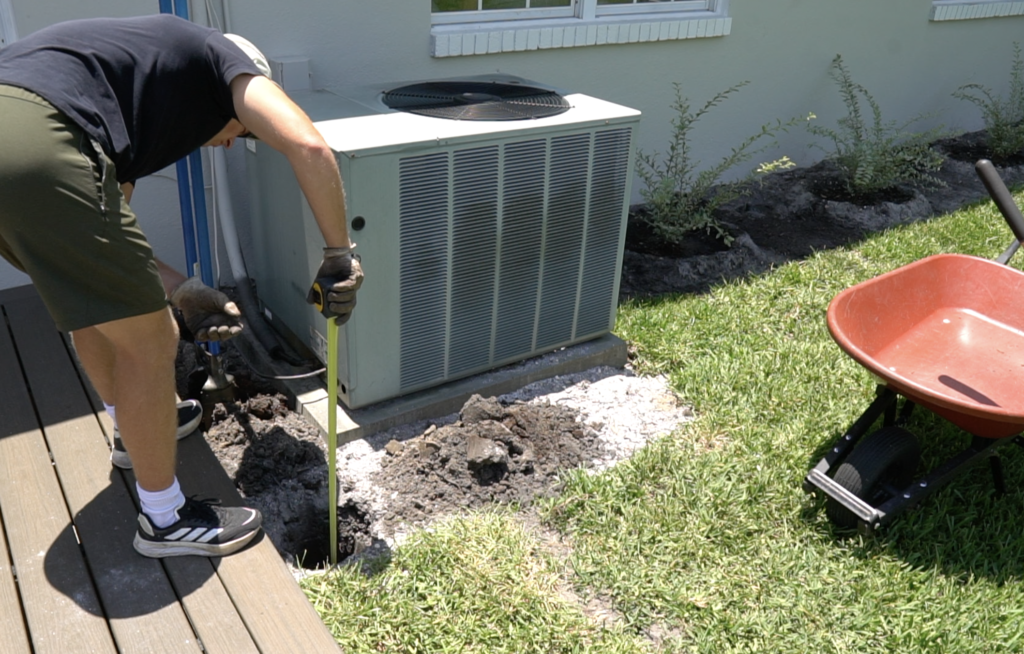
Generally, the depth of the hole should be 1/3-1/2 the post height above ground so we’re digging the 6’ posts 2′ into the ground. For diameter, generally you want to dig the hole about 3 times the width of the post.


Step 4: Set Posts
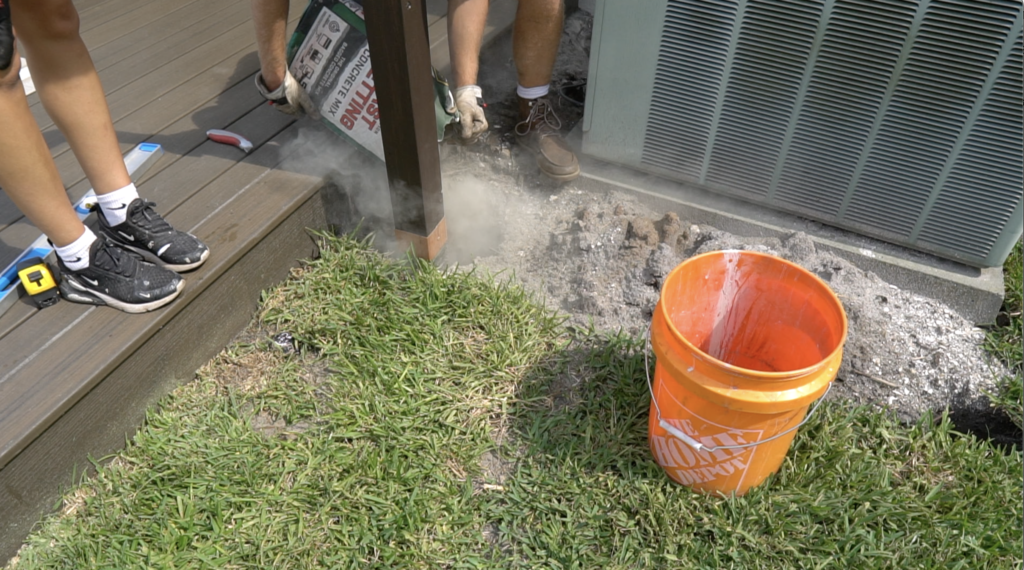
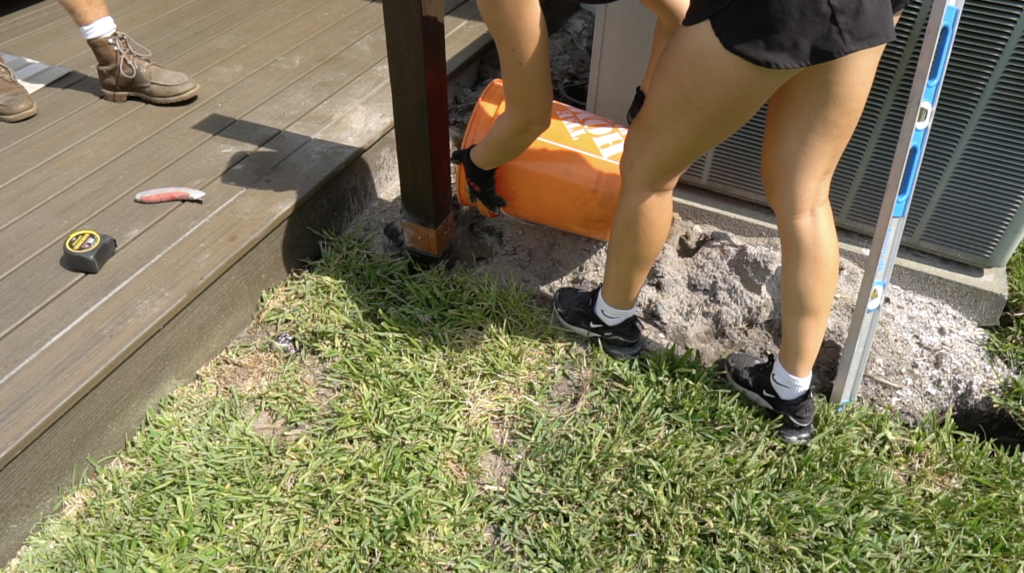
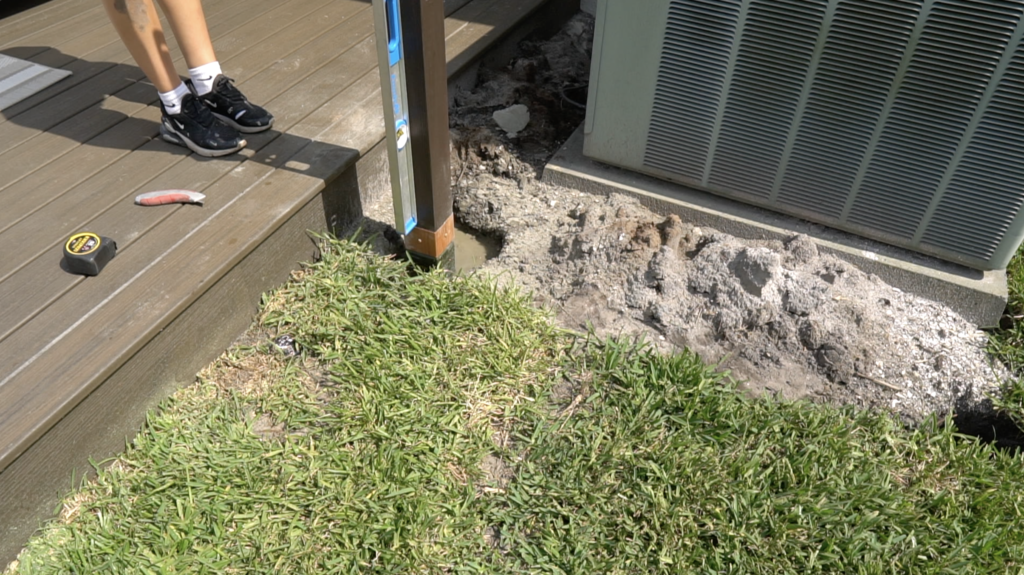
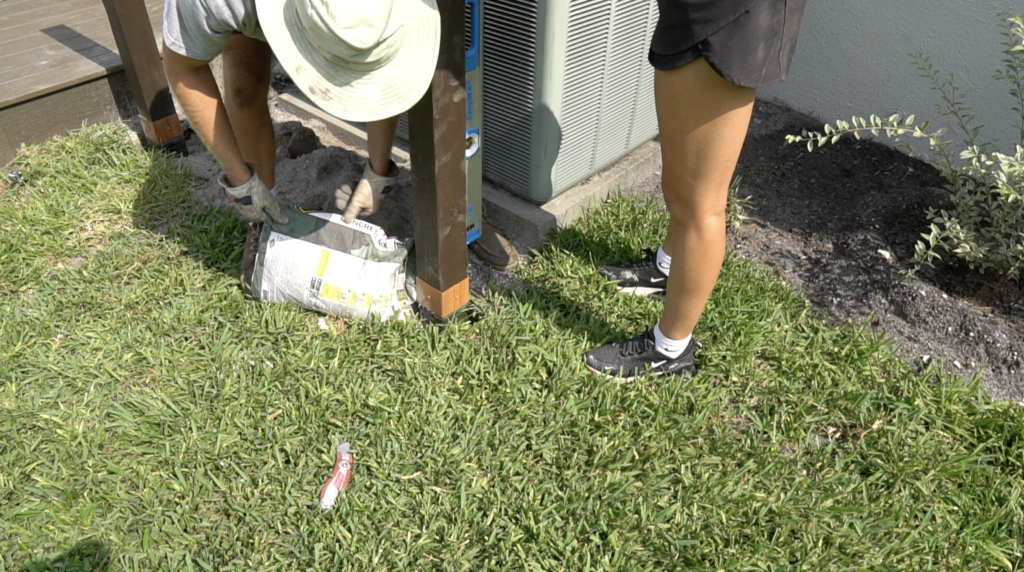
We’re using fast setting concrete mix – you just pour it in the hole and add water according to the instructions. While Devin poured the mix into the hole I made sure that the post was level and plumb on all sides.


With one side secured we double checked our measurement for the next post, making sure it was in line and level with the other post and followed the same steps.


Now that the posts are set we took a measurement between each of the posts for the slats. Devin worked on cutting down the slats while I secured some cleats to attach the slats too.
Step 5: Cut Cleat and Slats down to size
My slats are already stained from a previous project. But if you’re using untreated lumber, now is a good time to stain and seal your lumber after it’s all cut down to size. I made a few cleats out of some left over 1x lumber. I ripped the cleat down to 2”.


Step 6: Secure Cleats
I secured the cleat flush with the back side of the post with some 1 1/4” exterior deck screws. Now I can attach the wood slats right to this cleat and they will be inset from the posts. You could attach the slats right to the 4×4 posts but I think this gives it a more professional look.


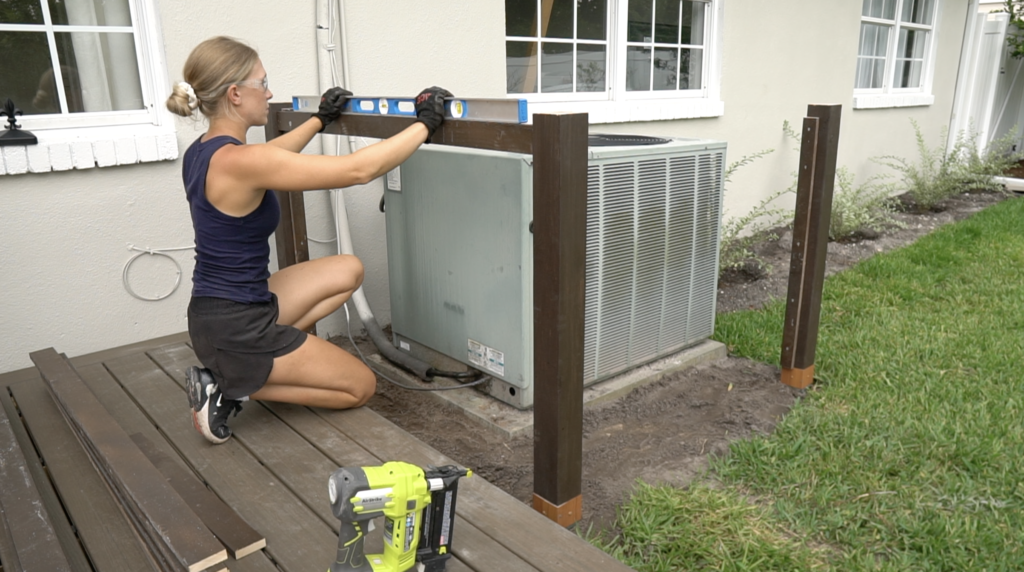
Step 7: Secure Slats
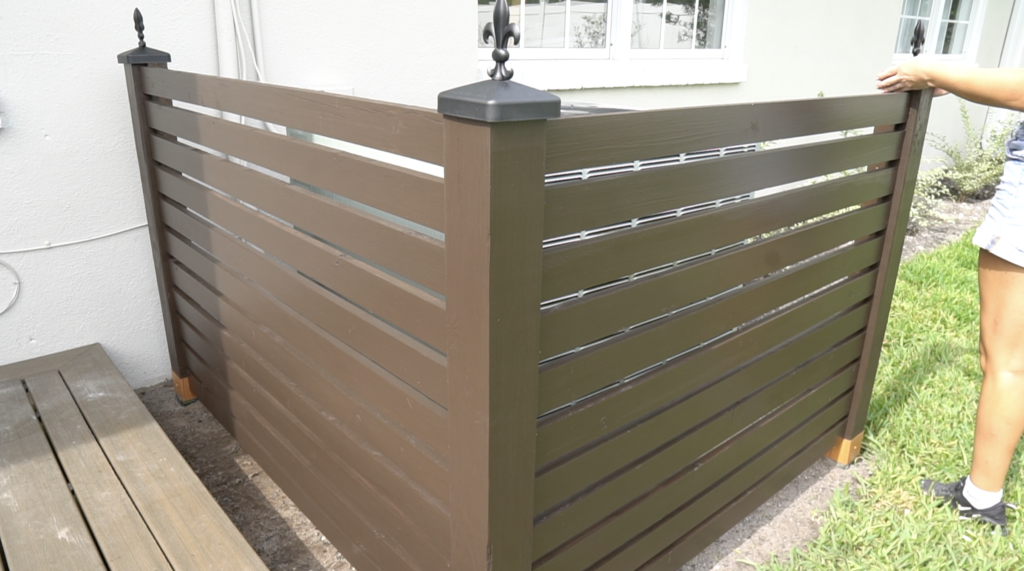
I started at the top, making sure to leave enough room for my post caps. I made sure the first board was perfectly level, then secured a few 1 1/2” brad nails to each end of the board into that 3/4” cleat.
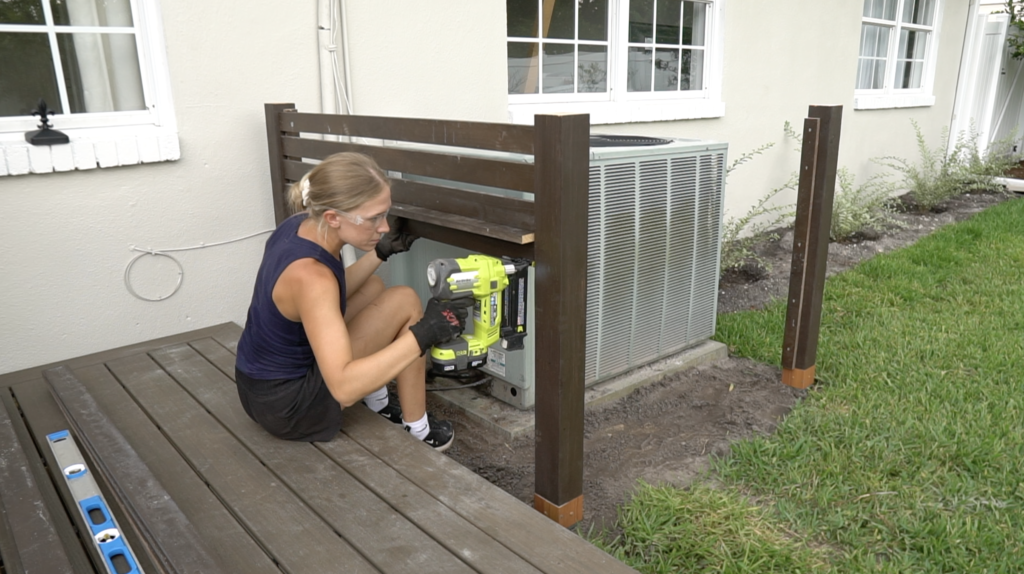
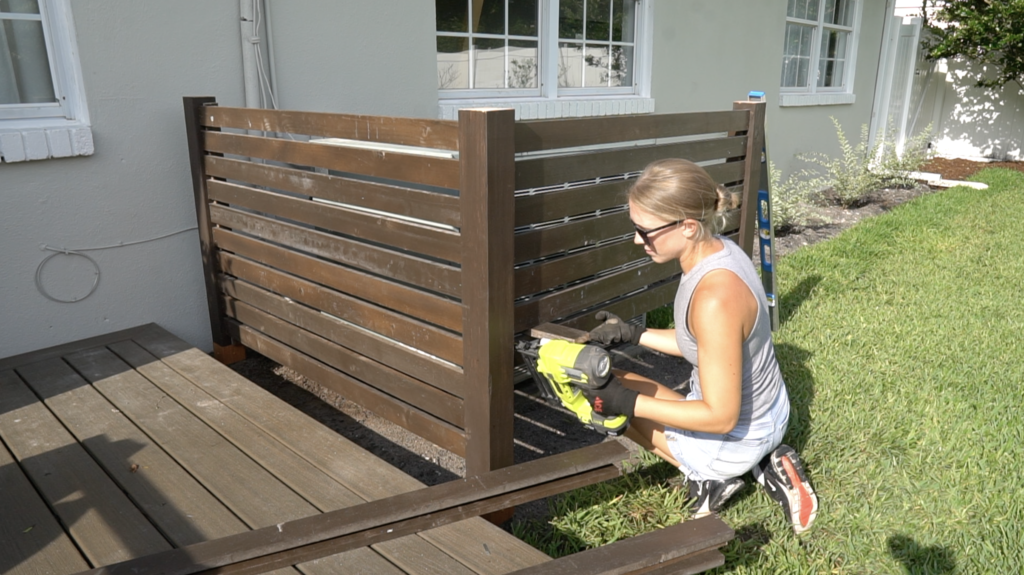
I used a 3/4” scrap piece as a spacer and continued to make my way down the posts. You don’t want to space your slats too close together to allow for proper ventilation for your AC unit.


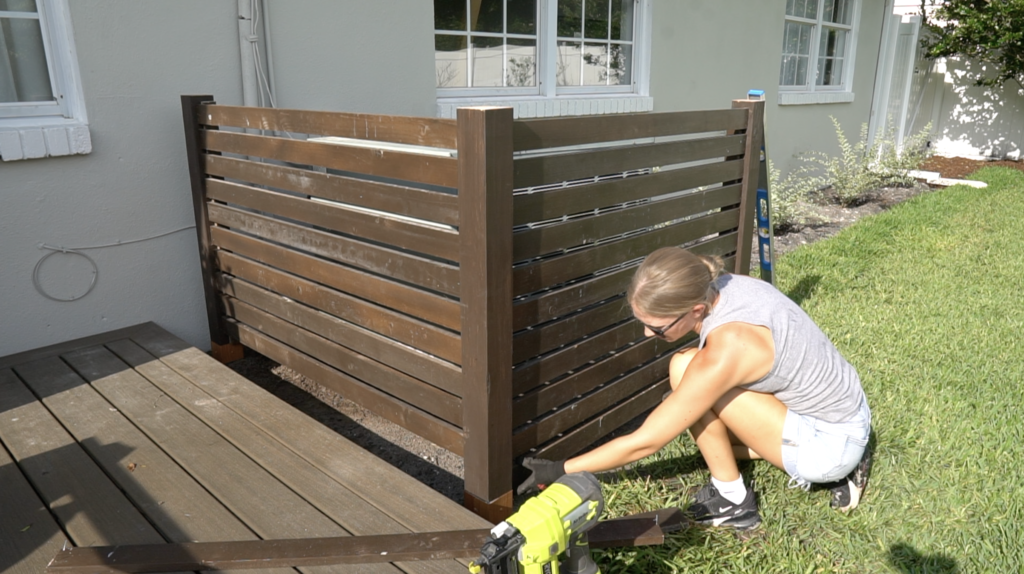
Step 8: Final touches
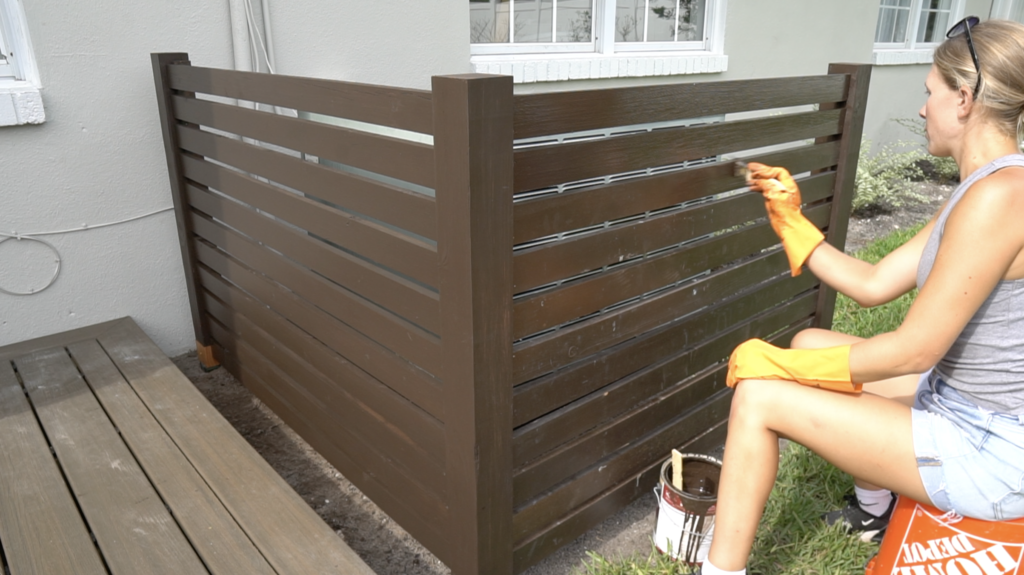
After all my slats were attached I touched up all the slats with the same stain and sealer. I made sure to get in all the nail holes to seal them up and prevent water damage.

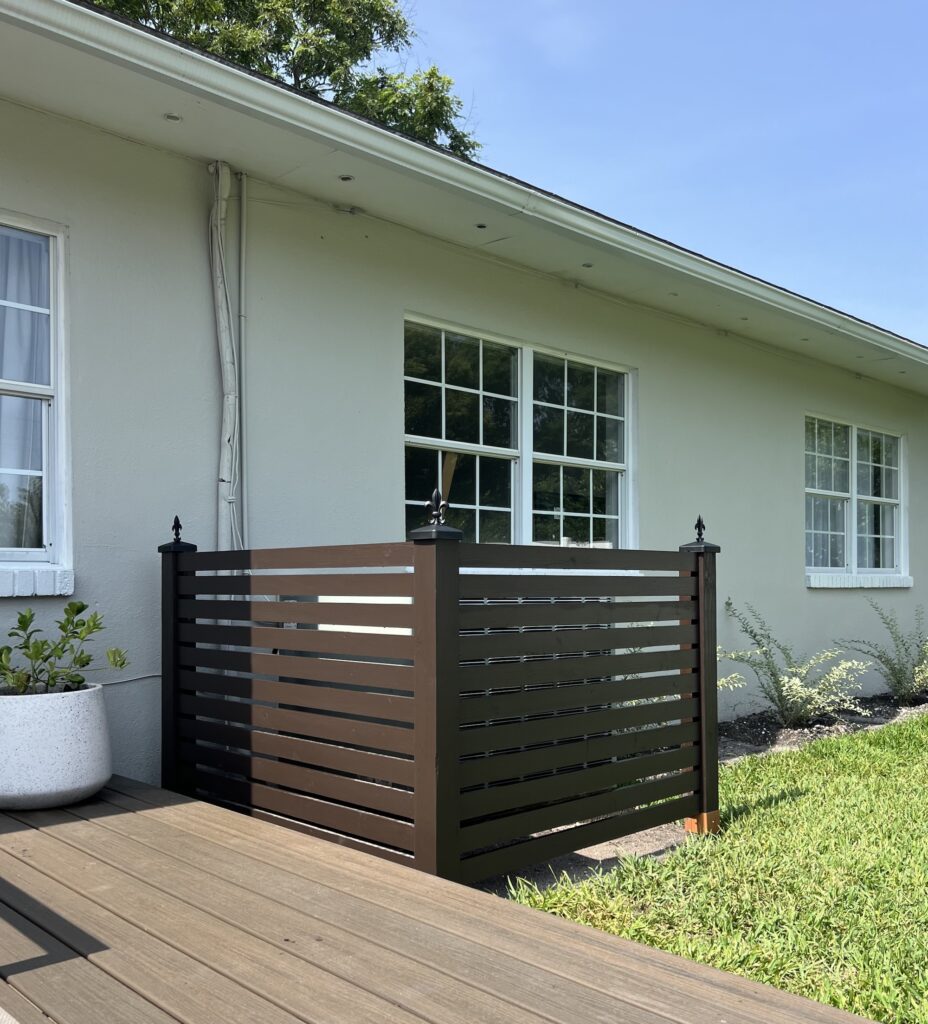
Last but not least I attached the post caps with decorative finials and there you have a beautiful fence to cover your AC unit!