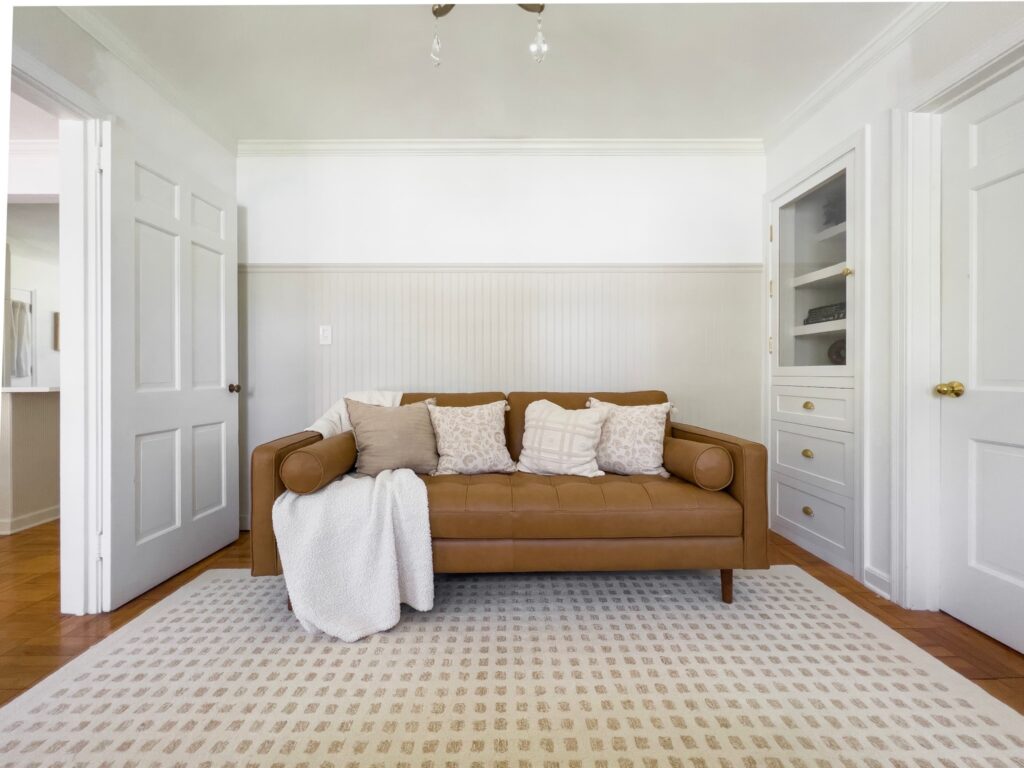
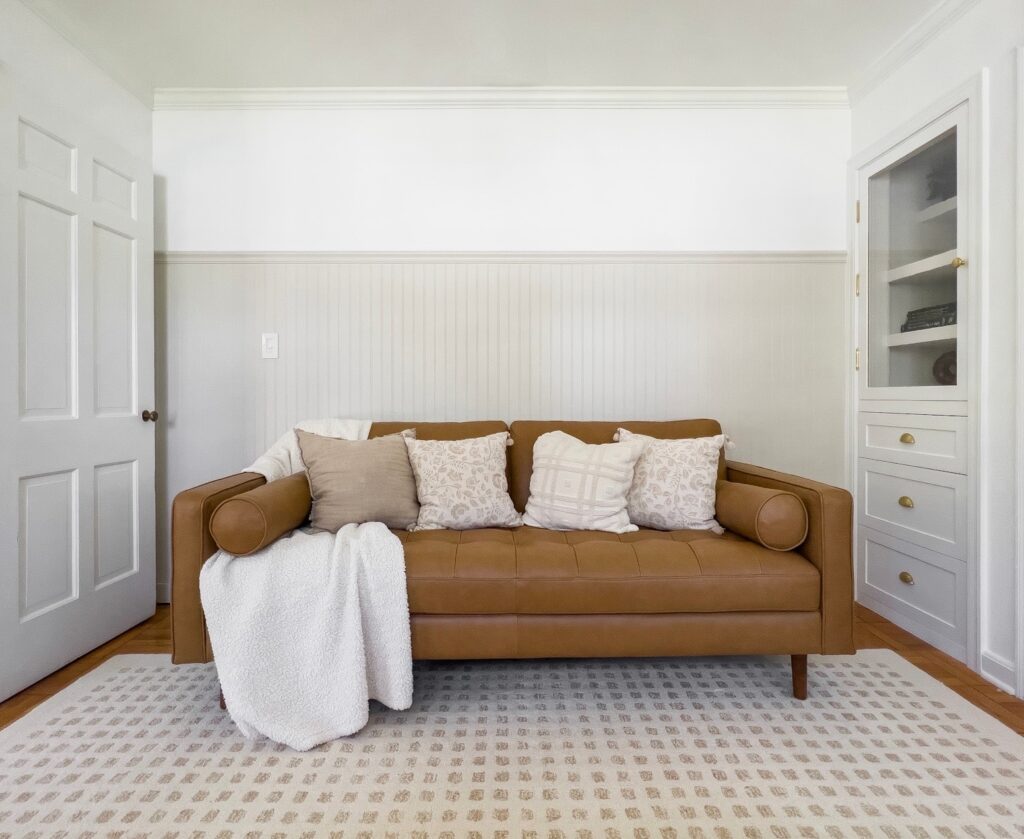
I was feeling a bit uninspired in my home office so I thought I would refresh the space a little bit! With a little re arranging, fresh paint and a beadbard wall treatment, this room got a major facelift and it sparked all sorts of inspiration. Below you’ll find the video and written tutorial on how to DIY your own beadboard wall treatment! Whether you’re planning this for a hallway, bedroom or accent wall – the same concept applies. Check out the steps below and good luck creating!

Tools & Materials
| (3) 4′ x 8′ beadboard panel | https://bit.ly/3UF1MqI |
| (2) 8′ chair rail trim | https://bit.ly/3xQJUj2 |
| (2) 1″ x 4″ x 8′ primed board | https://bit.ly/3xQmMRz |
| liquid nails | https://bit.ly/3C42MNX |
| wood filler | https://bit.ly/3AqGGkW |
| Paintable Caulk | https://bit.ly/3SxqIP4 |
| Painting supplies | https://bit.ly/3UzS2yb |
| Circular saw | https://bit.ly/2Y7zPzf |
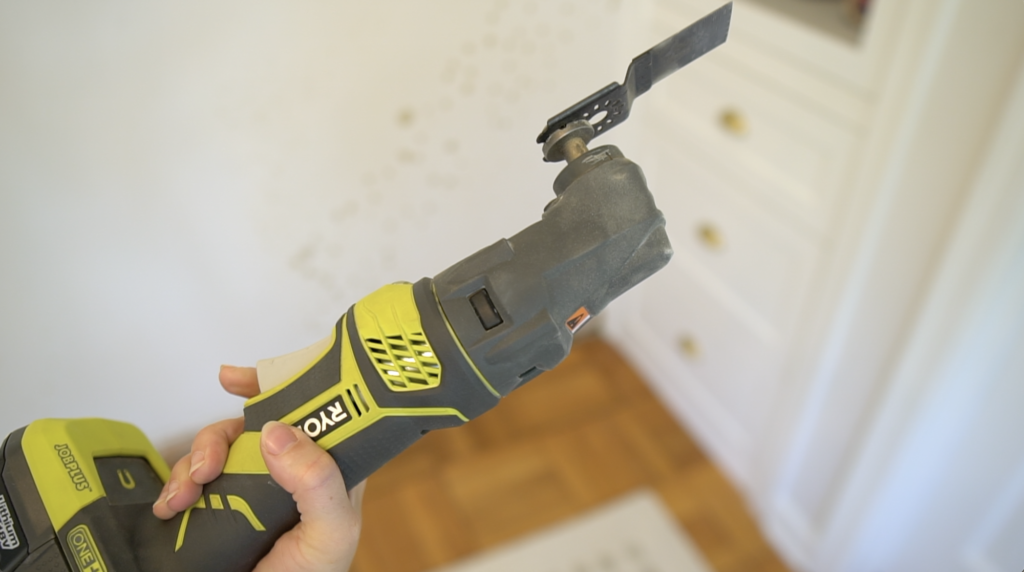
| Multi-tool | https://bit.ly/3SyMh1Z |
| Brad nailer | https://bit.ly/37pP1ZS |
| Level | https://bit.ly/3wkzaqv |
*Material based off a 12′ long wall*
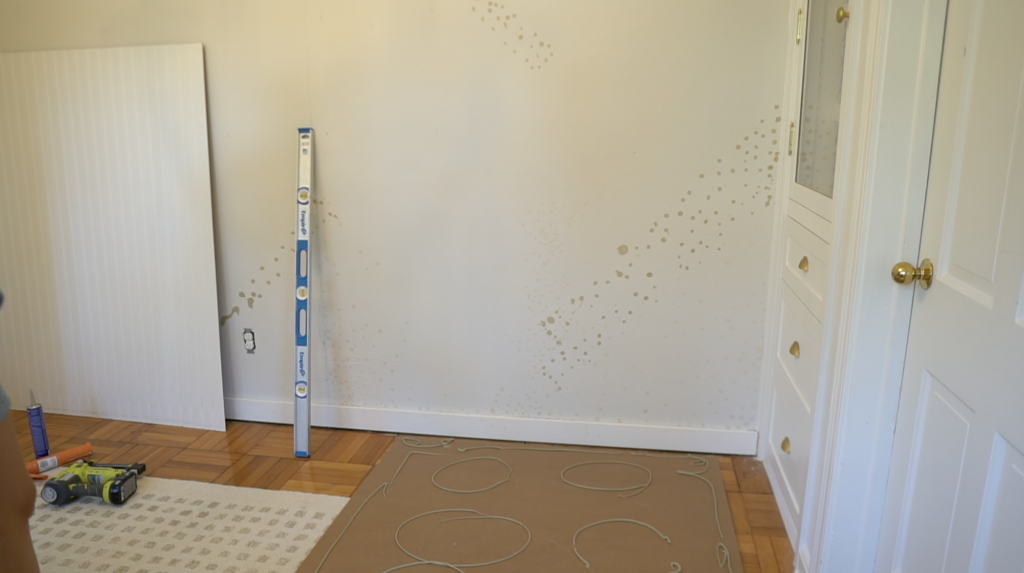
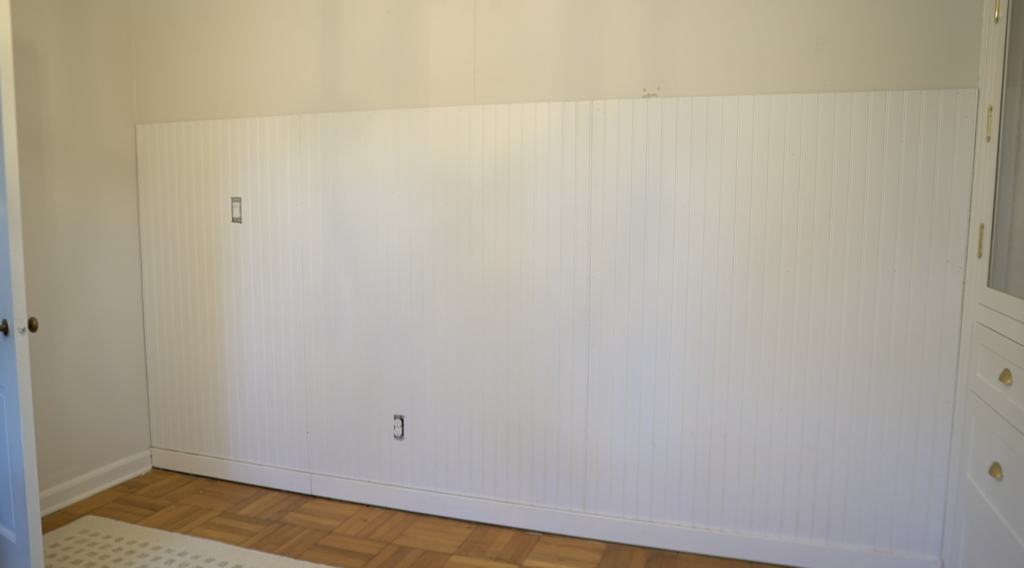
Step 1: Prep wall
Before jumping in, remove anything from your walls, and take off any outlet or switch covers.


Step 2: Replace trim
Depending on the type of base trim that you have, you may want to remove it. If your existing trim has a thicker profile you can leave it and set the 1/4″ beadboard on top. My trim has a thinner profile so I decided to swap it out for 3/4” thick 1″ x 4″ primed boards. Use a utility knife to score a line in the caulk and then use a hammer and small pry bar or trim puller to remove the base trim.


Use a multi tool to notch out a gap to make room for the new trim if necessary. Make sure to remove any left over nails sticking out.


Take a full 8’ piece of trim and cut a bit off each end to make sure it’s square. Install one full length piece first, making sure it’s level.


I had to raise the trim off the ground a bit to cover the marks from the existing trim (the gap can be covered with shoe trim). Use a brad nailer and 1 1/2” brad nails to secure the base trim to the wall making sure the trim is nice and level. If you’re setting the beadboard on top of the trim it’s important the trim is level so the beadboard will be straight.


Step 3: Install beadboard
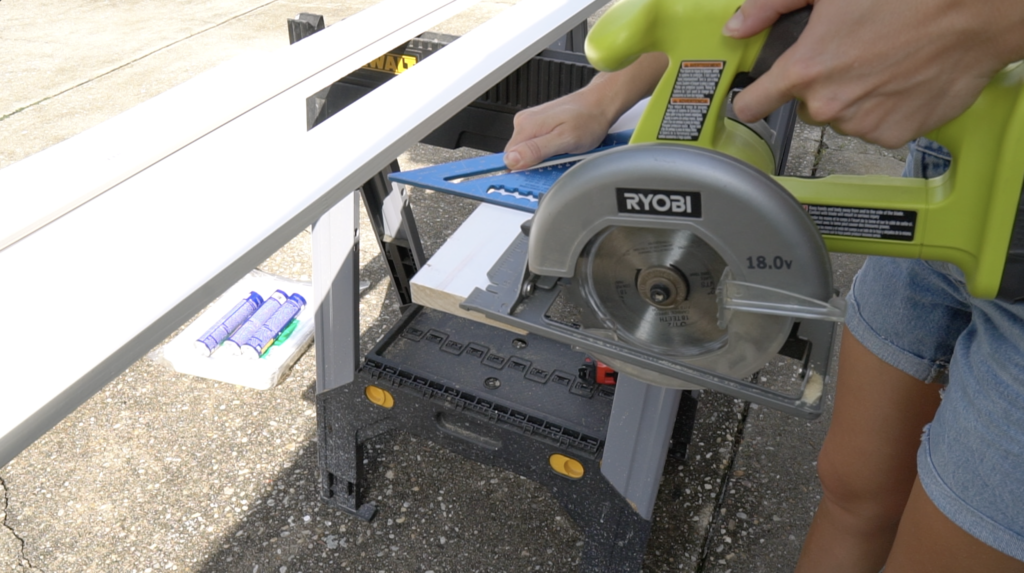
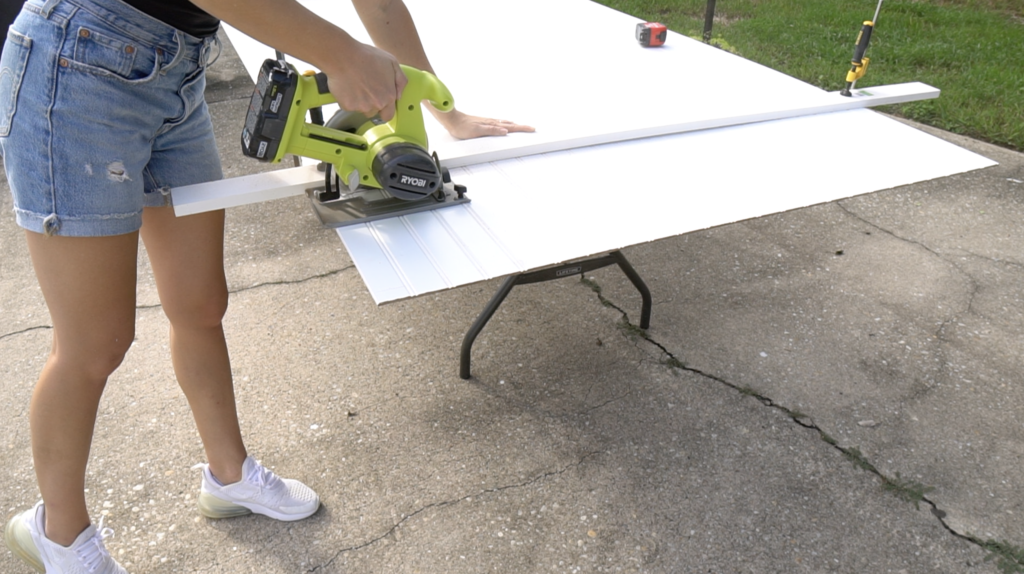
Now that your trim is installed you can work on installing the beadboard. Cut your beadboard to size with a table saw or circle saw. I used a scrap piece of wood as my straight edge and clamped it down to my beadboard then cut made a guided cut with my circular saw. These are 8’ long sheets but I cut them down to 5’.


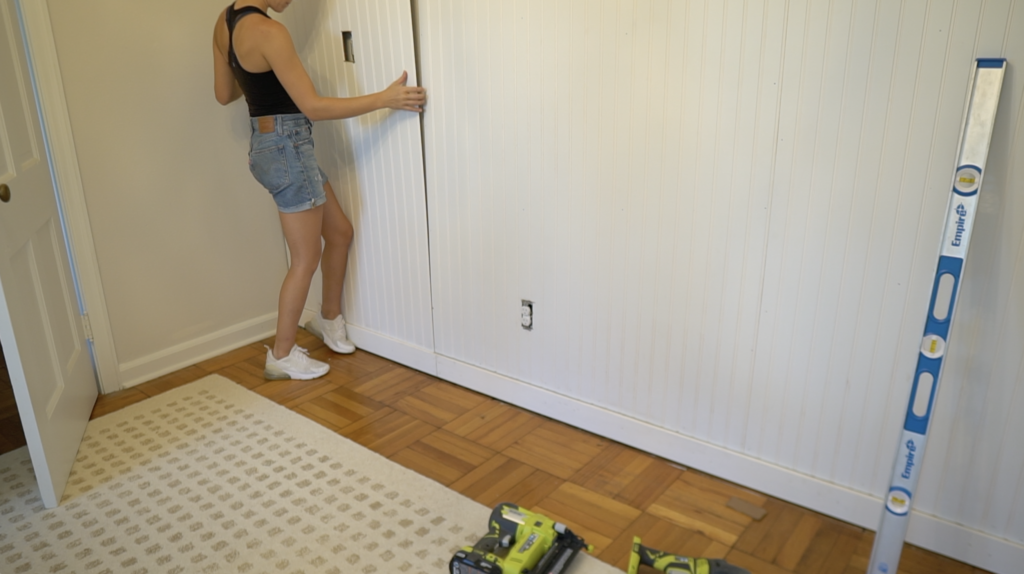
Dry-fit the beadboard first to make sure you like the height and to make sure the panel fits tight to your side wall. Apply liquid nails to the back of your panel and press it to the wall.

Use a level on the side of the panel to ensure it’s straight then secure the panel in place with some 1″ brad nails. Press out any air gaps behind the panel.


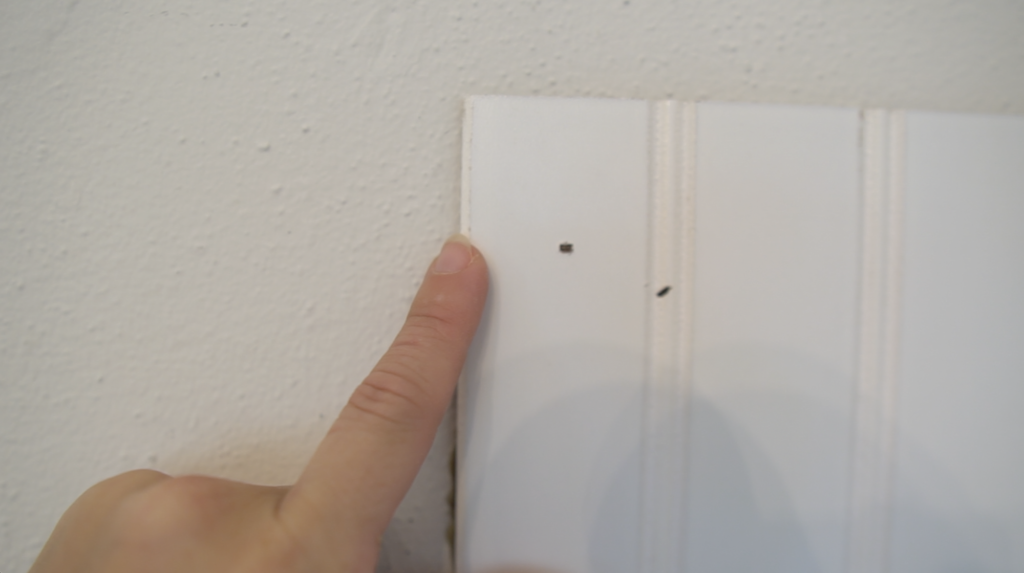
Make sure to match up the ends of the beadboard to continue with the pattern and to create a seamless look.


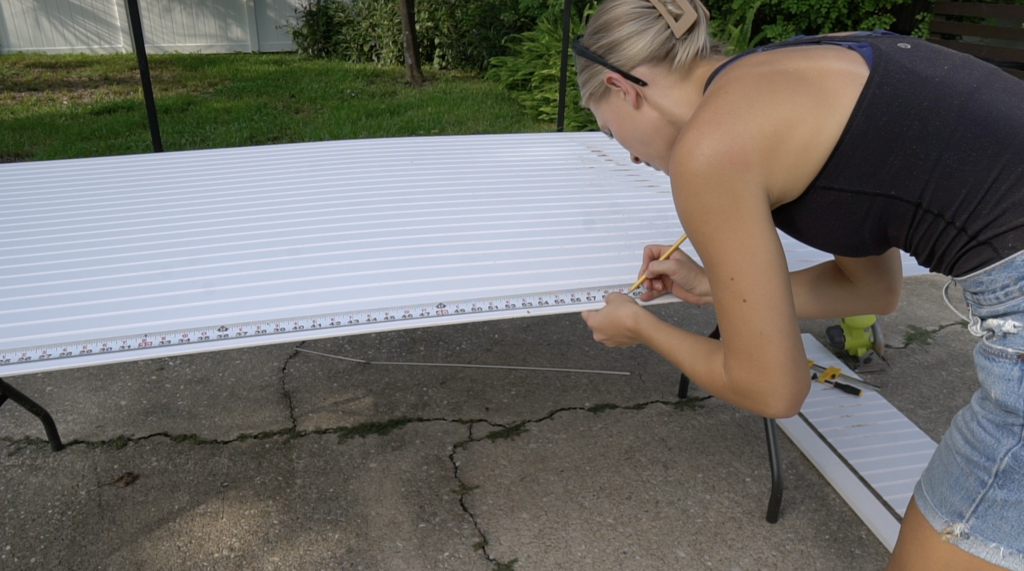
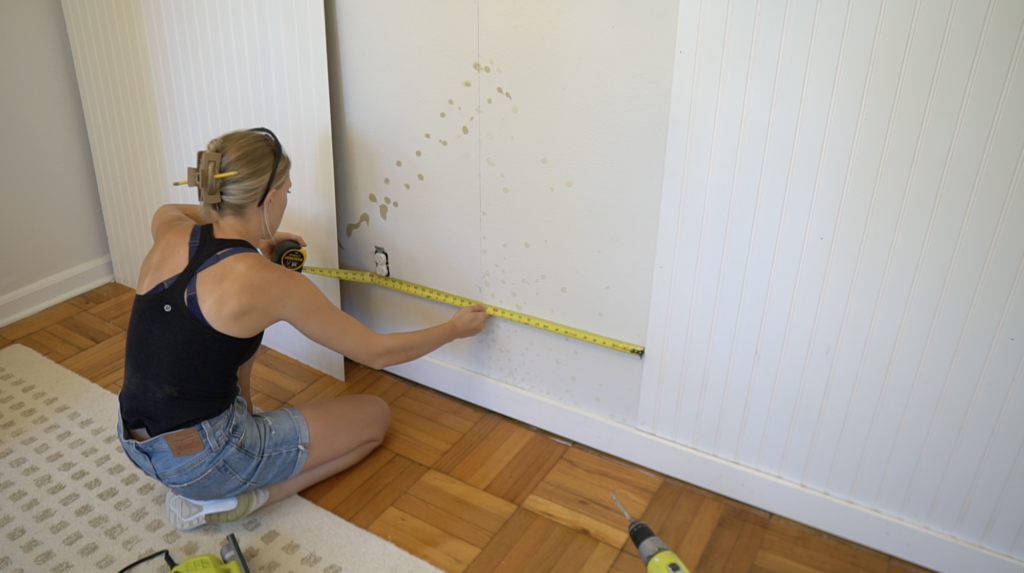
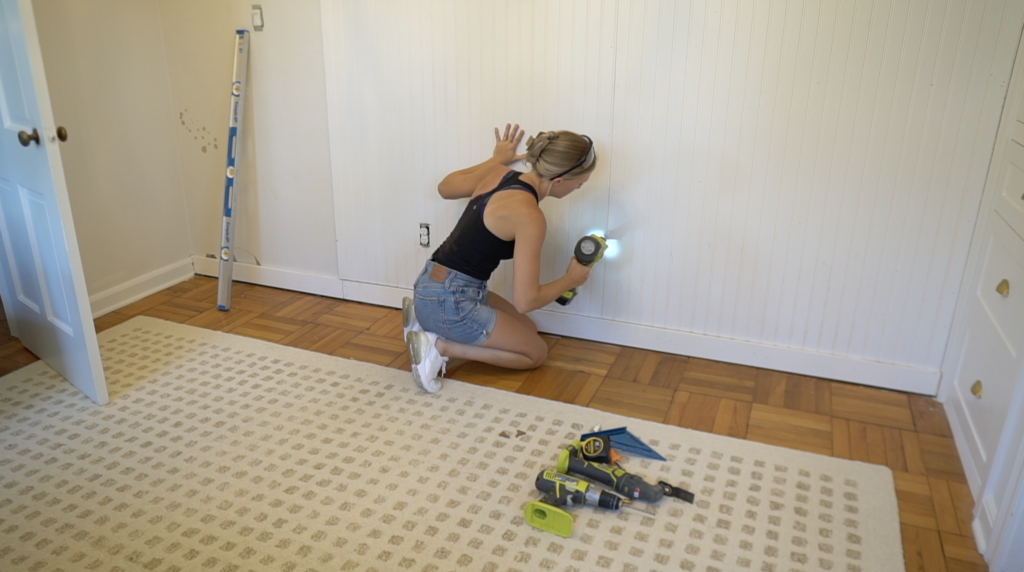
If you run into any outlets, take a measurement of the outlet from the installed panel – over, and from the floor – up. Transfer that measurement to your beadboard and then cut it out with a jigsaw or multi tool (I recommend doing this on a work bench).


Install each sheet of beadboard in the same direction to follow the pattern of the beadboard. Push the paneling tight to each other to create a tight seam.


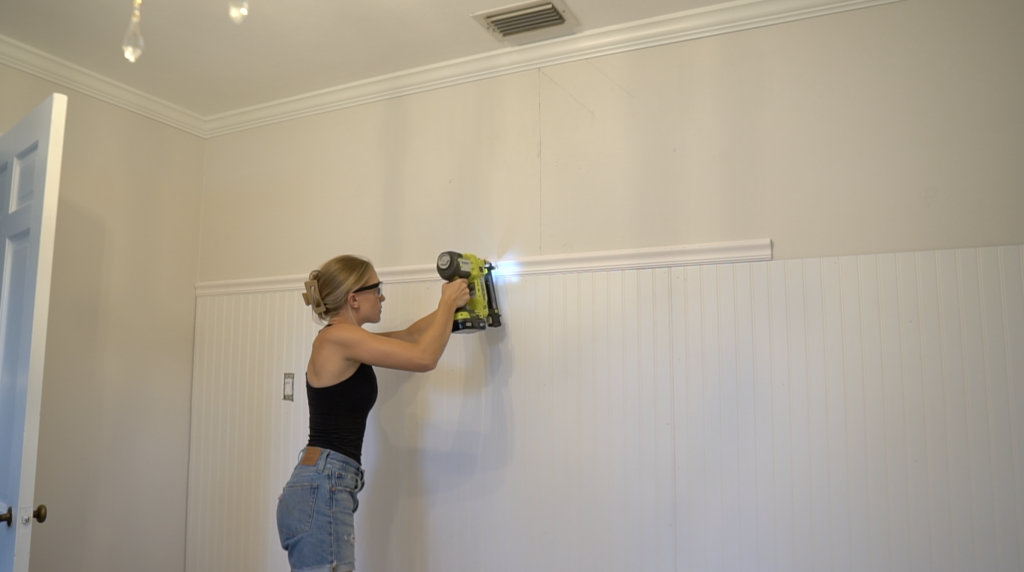
Step 4: Install top trim
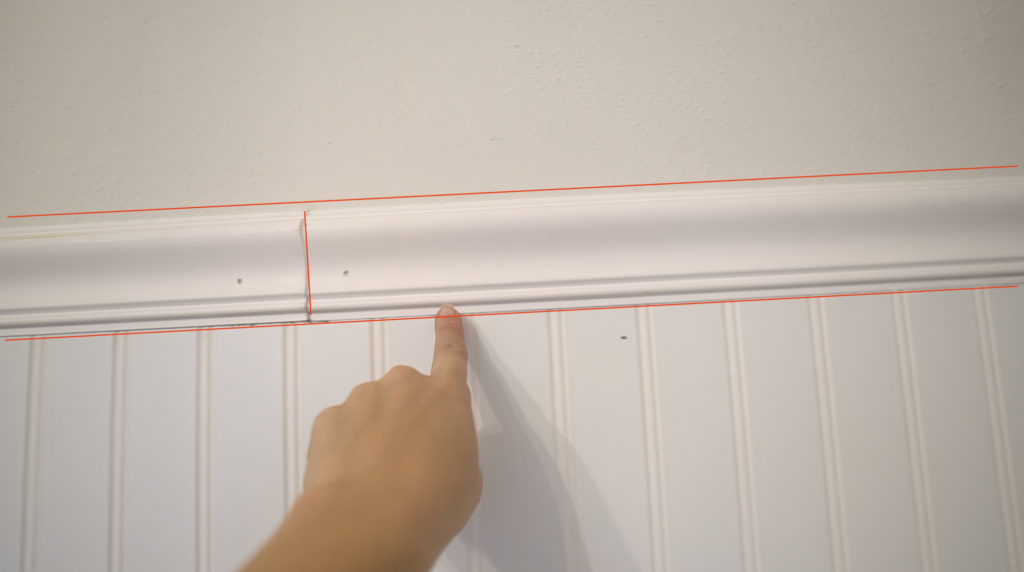
For the top trim – there’s all sorts of styles that you could go with. I wanted a simple classy trim so I used this curved chair rail (linked in the table above). I squared off each end of the first 8’ trim piece, then secured it with 1 1/2″ brad nails. Measure and cut the remaining trim piece and secure in place.


Step 5: Finish Beadboard (caulk, fill nail holes, paint)
To finish this project off, fill all the small nail holes with wood filler.


Use paintable caulk to caulk all the seams. This will help to create a seamless look. Don’t forget to caulk the top, bottom and sides of your baseboard trim.


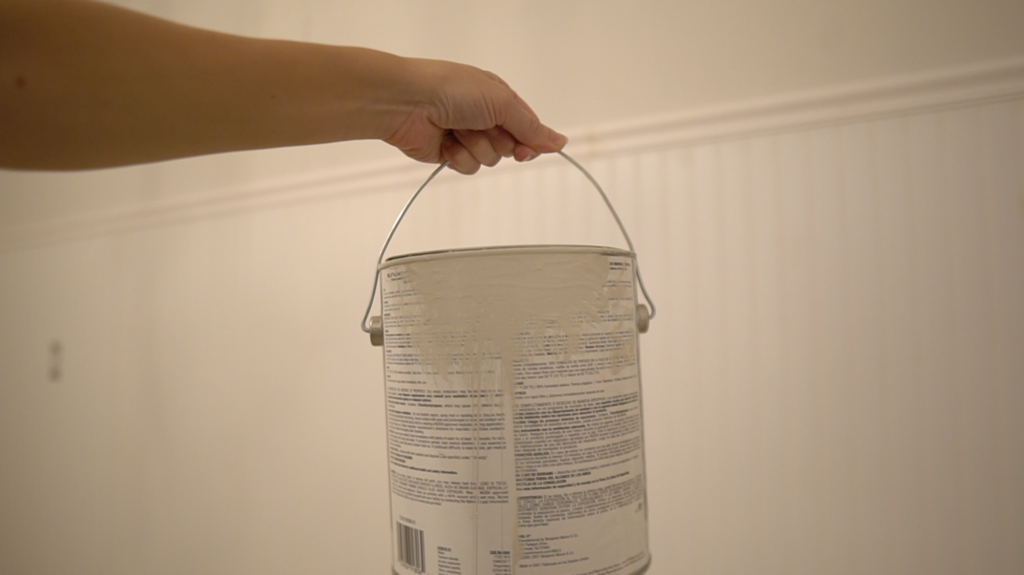
Last but not least, add a few coats of paint!

… and there you have a quick and easy beadboard wall!