

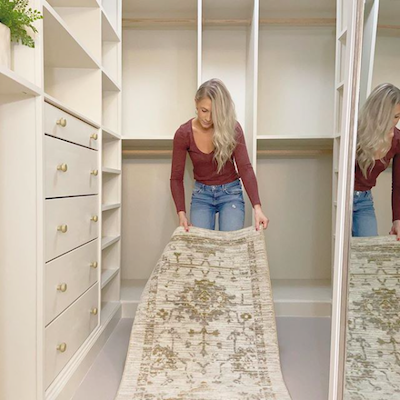
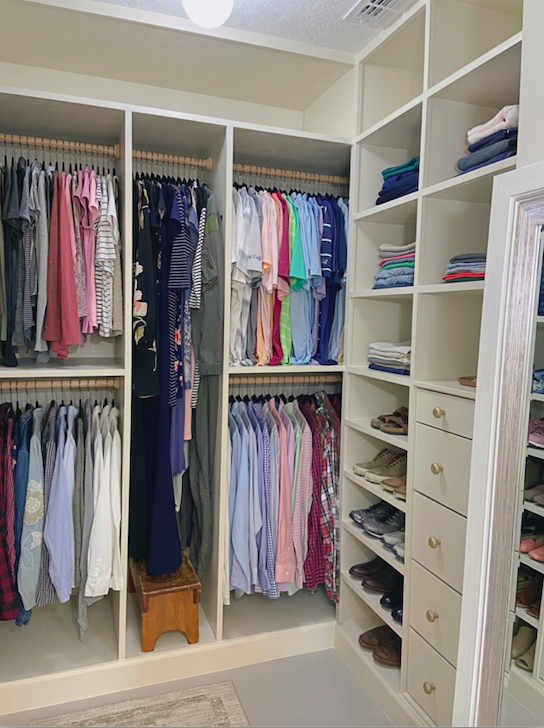
Well that is it for the closet makeover project!! I’ve had so much fun building this entire closet, purging my clothes, putting together the final touches and then getting to document and share the whole project with you guys. If you missed [Part 1] and [Part 2], I walked you through the whole process of how I built this entire closet (with the help of an Ikea hack) so go check those out! You can also find this project on my Youtube channel.
Keep scrolling for the video tour and for a breakdown of what this closet cost. Thanks so much for following along! I’m so excited to finally have our closet back!


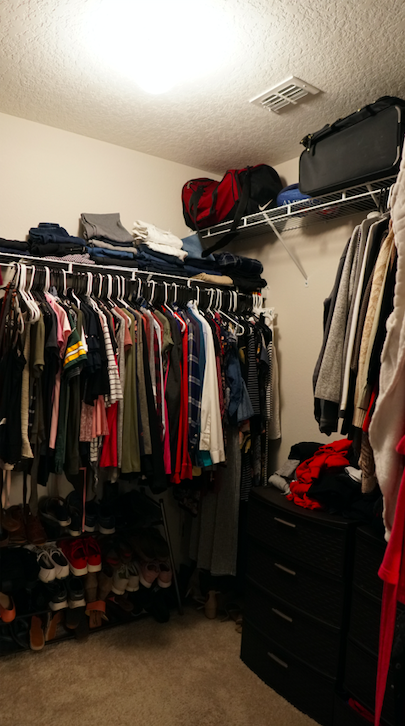
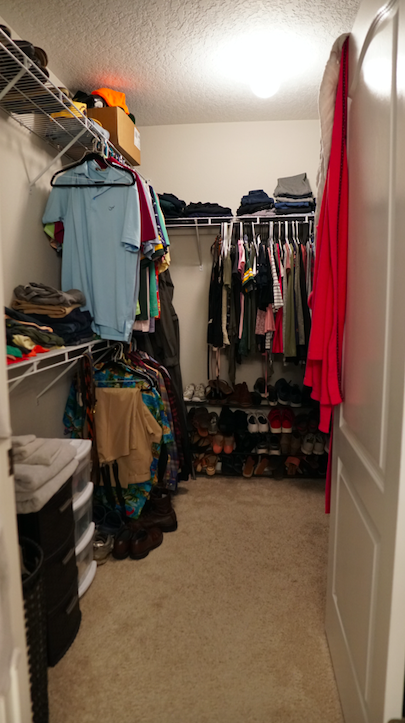
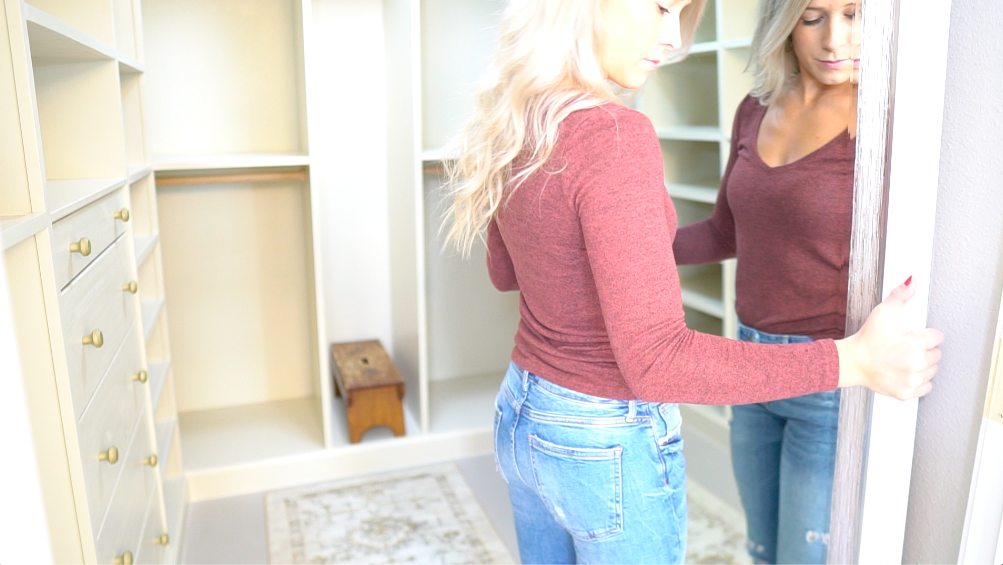
Just a quick reminder of what it looked like before…


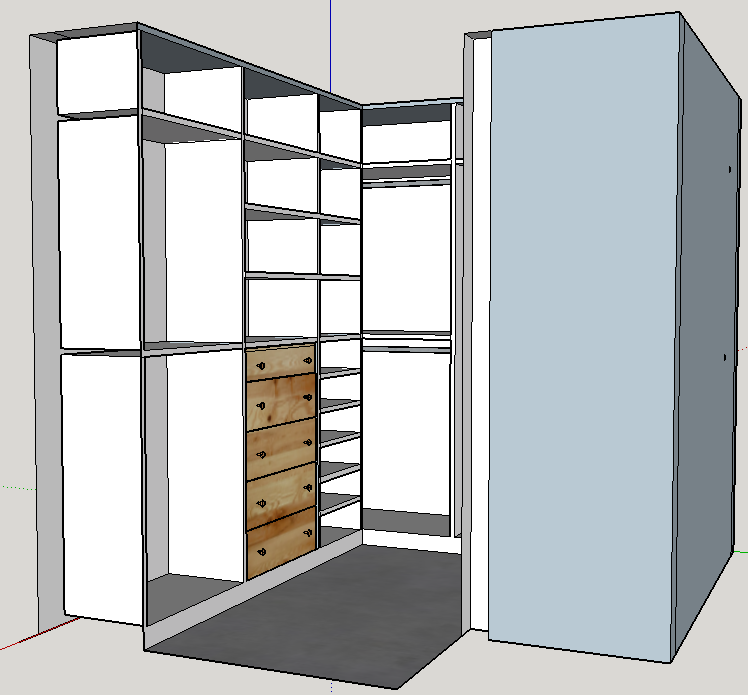
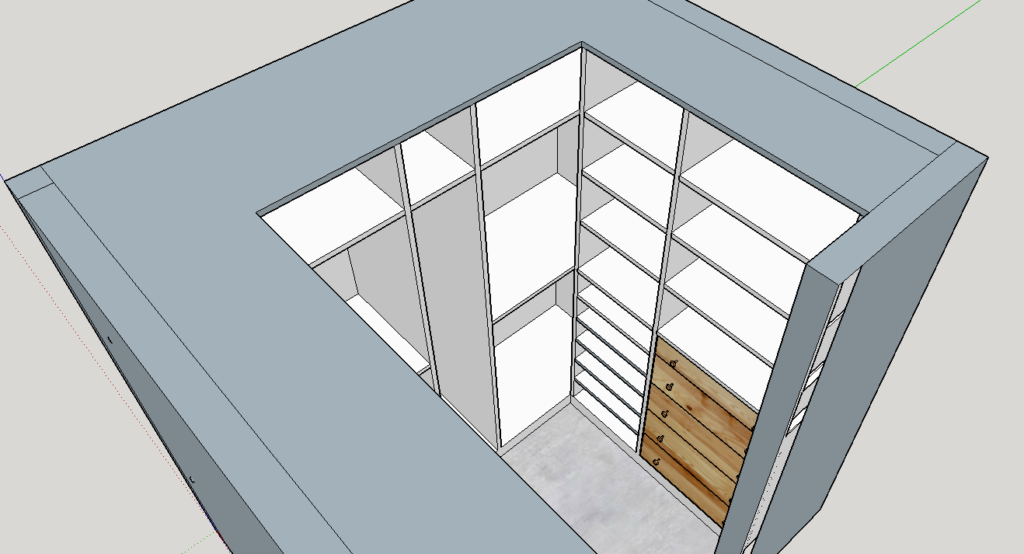
Here’s the initial closet design that I created in SketchUp.


This post contains affiliate links. If you decide to purchase from one of the links, I will receive a small commission at no additional cost to you. Thank you for your support!
![DIY Dream Closet Makeover!!! [Final Reveal] | HomeWithStefani](https://i.ytimg.com/vi/WGnFxZFXL_M/hqdefault.jpg)
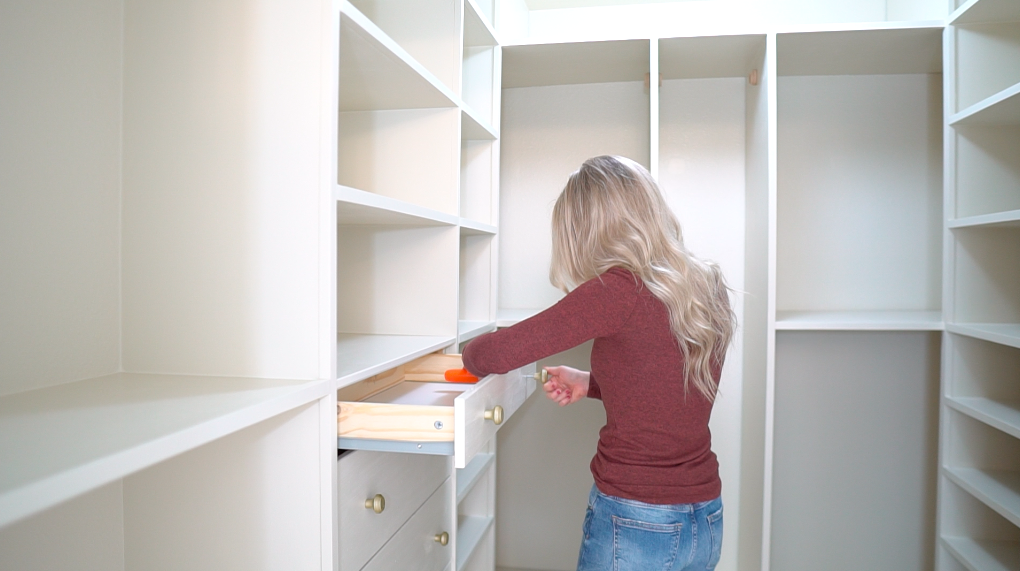
Install drawer hardware
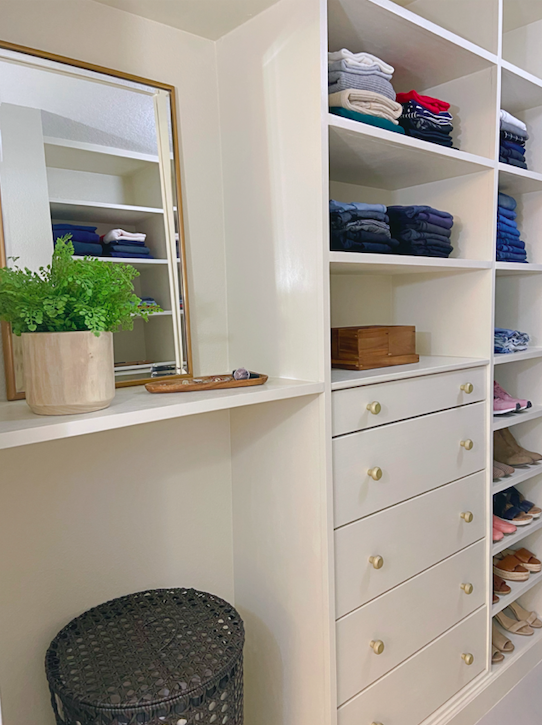
My Ikea (TARVA) dressers came with wooden knobs. I bought some gold spray paint and painted the knobs to give them a higher end look!

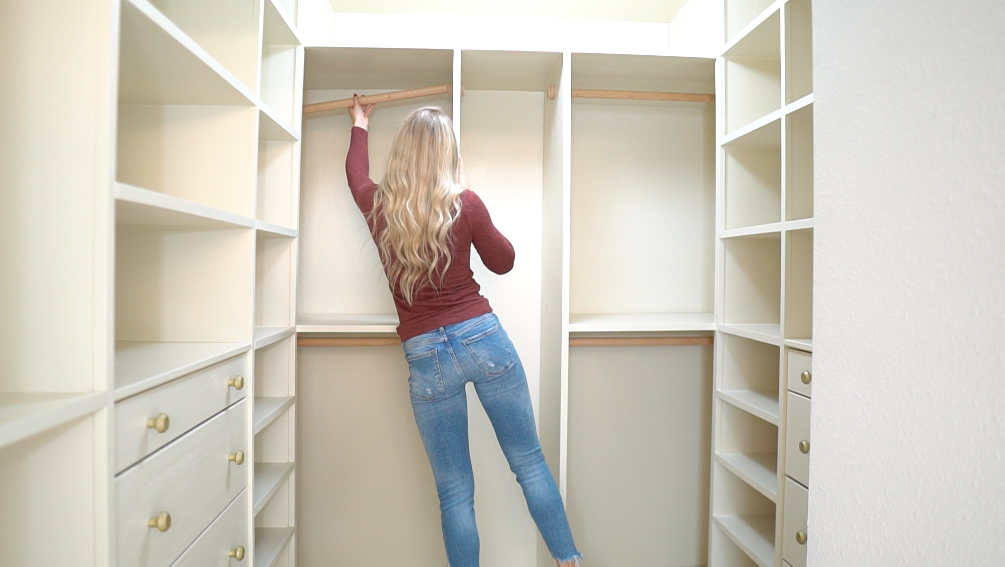
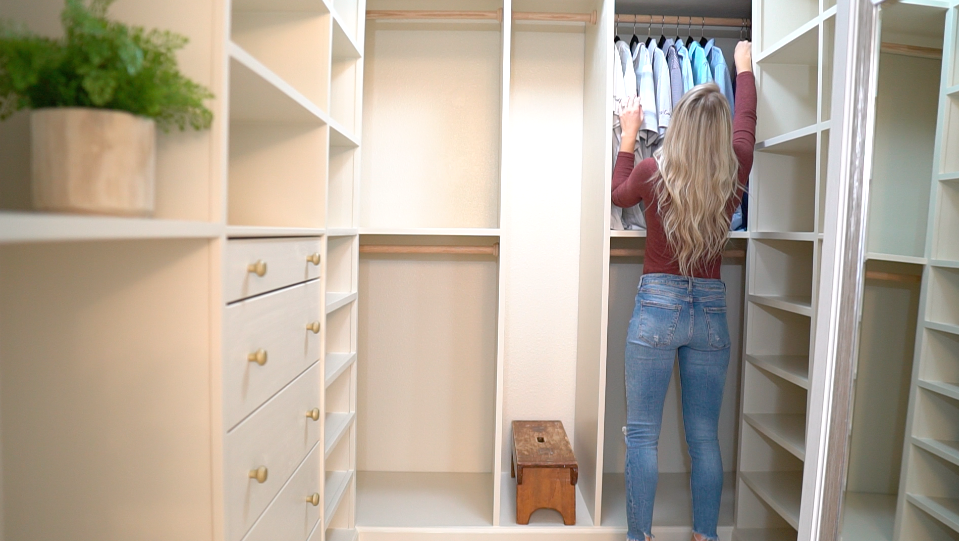
Install closet rods
I bought the closet rods / mounts from Home Depot. These wooden rods were cheaper and I love that it adds a nice warm/natural element to the closet! I found wooden rods in the closet organizer section, but then found the same size wooden dowels in the lumber section for cheaper (they couldn’t fool me).

Replace light bulb & clean fixture
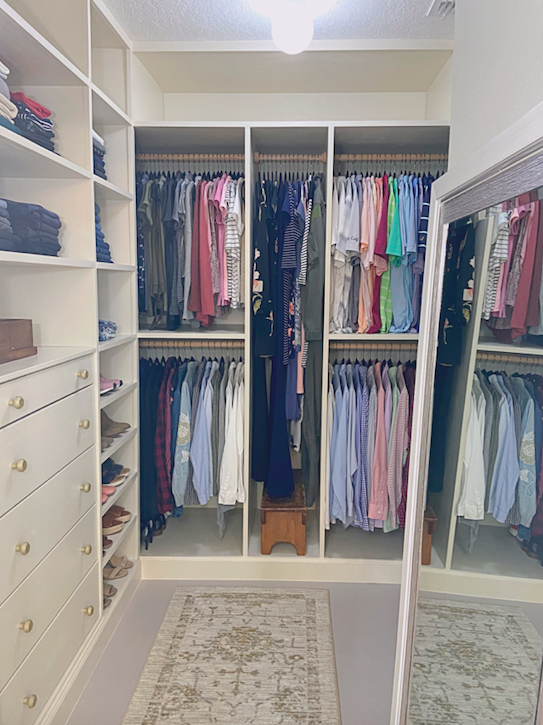
Our light fixture was full of dust from all of the sanding, so I took it down and cleaned it with some windex. Then I replaced the soft white light bulb (because it gives off too much of a yellow light) and replaced it with a daylight bulb. The daylight bulb better resembles the suns natural light and really makes a difference to brighten up this small closet!
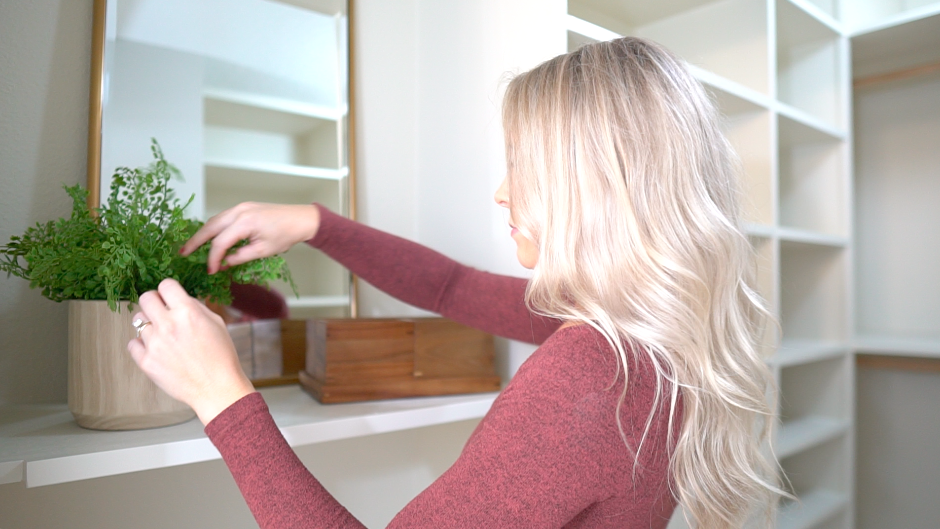
Add fun decor elements
I picked up some fun decor elements from Target, Home Goods, and Ikea. I love adding final touches and watching the entire closet come together.


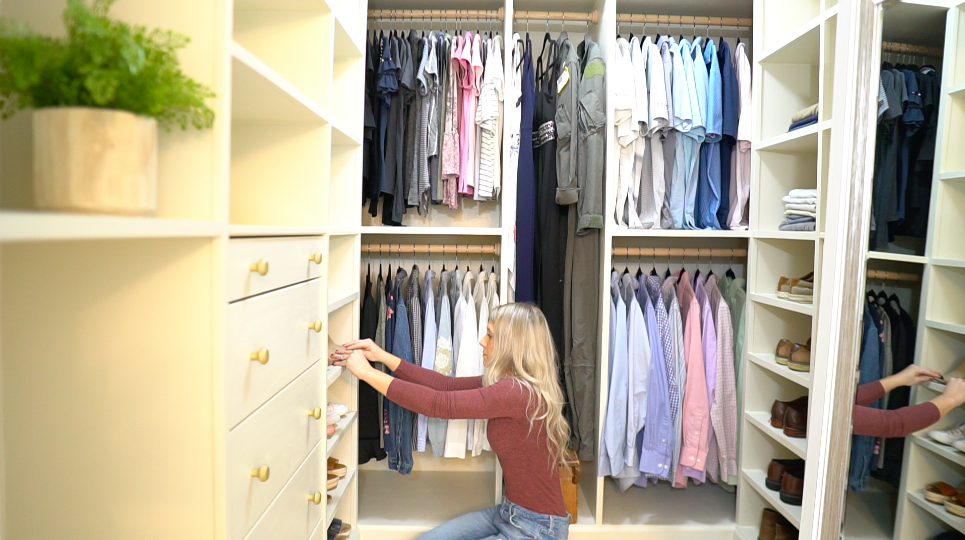
Go through clothes and return them nice and organized!
Devin and I both went through every piece of our clothing. We came up with a huge pile of clothes to donate, throw out and sell. If your closet is overflowing and feels disorganized I 100% recommend purging your entire closet. It’s such a great feeling to get rid of old clothes, reduce clutter and get everything nice and organized!


Cost breakdown
For this closet makeover, I wanted to maximize our storage and use every inch of usable space. I designed our closet organizers in Sketchup and I switched up the layout at least 10 times until I came up with the perfect plan!
After the project was over, we went through and did a complete cost breakdown:
| Ikea Tarva dressers (2) | $300 |
| Lumber | $512 |
| Caulk & drywall patch | $13 |
| Clothes rods & holders | $58 |
| Paint, primer, spray paint | $87 |
| TOTAL | $970 |
I also tried to replicate the closet design with Ikea’s PAX Planner Tool. I was able to get the closet close, but I wasn’t able to get the PAX frames to fit tight in my closet. There would be a lot of large gaps in between each of the PAX frames and our walls and that’s not the look I was going for. I was a bit surprised with how affordable their PAX products were though. It would have cost $1,410 if we were to do something close to our design with Ikea PAX.
If we were to go with a custom closet company like California Closets the cost of our closet would be $2,000+.
There are pros and cons to each of these options. Doing the closet myself was the most cost effective and we were able to make the closet exactly how we wanted to but it was A LOT of work and I spent A LOT of time on it.
The IKEA PAX system saves a lot of money and it doesn’t take as much time to put together. On the other hand, you aren’t getting the most high quality product, you won’t be able to get an exact fit and will likely have wasted space.
Doing your closet with a custom closet company saves A LOT of time but you will be paying a lot more for their design service and for everything to custom fit snug in your closet. I hope this helps you to determine how you want to tackle your own closet makeover!