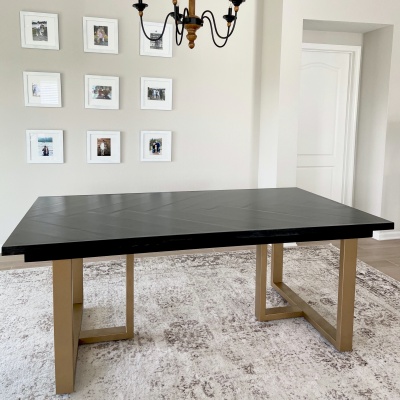
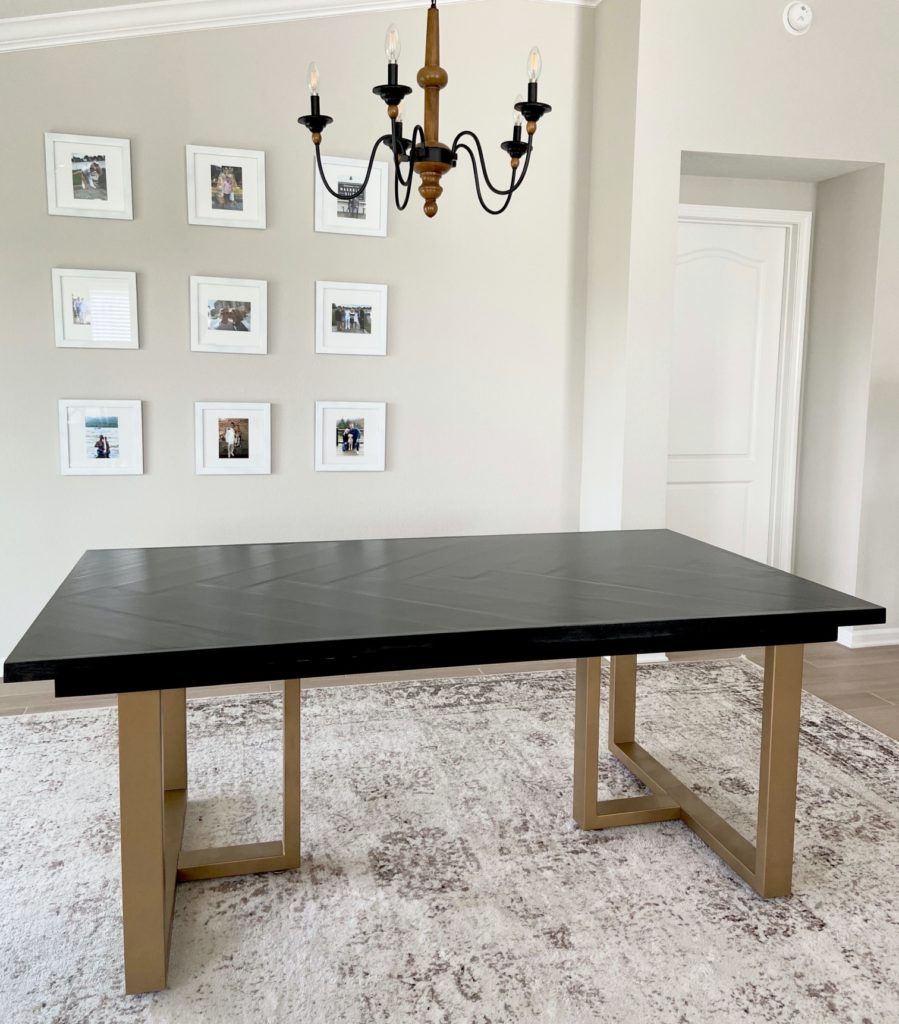
My friend came to me with a unique table request that involved my favorite herringbone pattern. I’m not one to take big risks with my projects but my girl went out on a limb and I’m so glad that she did! This dark herringbone table has been so much fun to design/ build and we are both so incredibly happy with how it turned out! Check out the steps below on how to build her dark herringbone dining room table. I will link our dining room table tutorial HERE in case you want to try out that design!
Below, you will also find the YouTube video tutorial on how to make this table!!


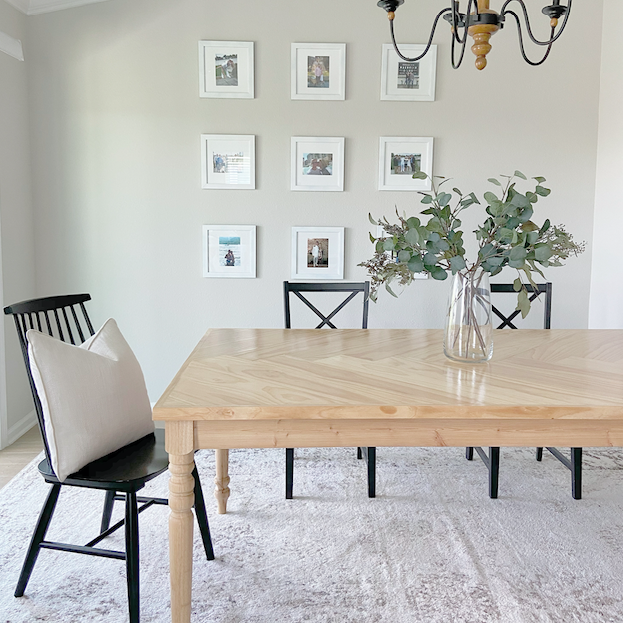
Here’s a picture of our dining room table with the lighter/natural stain.


TOOLS
| Miter Saw |
| Circle Saw |
| Tape Measure |
| Speed Square |
| Kreg Jig w/ drill bit |
| 1 1/4″ Pocket screws |
| Cordless Drill |
| Nailer with 1″ Brad Nails |
| Clamps |
| Wood Glue |
| Wood Filler |
| Putty Knife |
| Hand Sander |
| Sanding Paper |
| Water Based Pre Stain Wood Conditioner |
| Stain (Varathane Ebony) |
| Water Based Polyurethane (Satin) |
| Poly Brush |
| Rags (for wood conditioner & staining) |
| 2 Table legs (Amazon) |
This post contains affiliate links. If you decide to purchase from one of the links, I will receive a small commission at no additional cost to you. Thank you for your support!
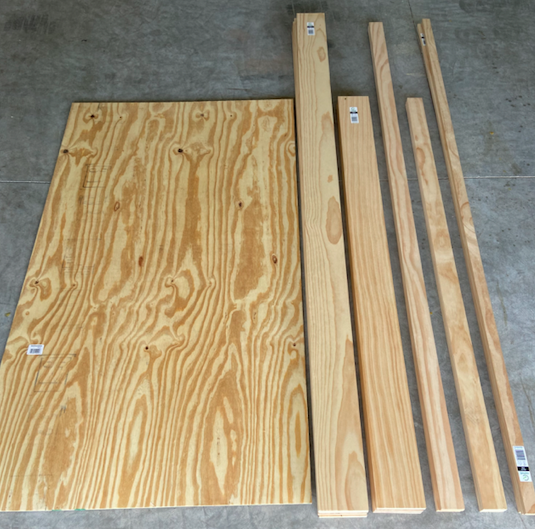
LUMBER LIST
| (#) | DIMENSION |
| (1) | 11/32″ 4′ x 8′ BCX Plywood (Table top) |
| (4) | 1″ x 6″ x 8′ Select Pine (Herringbone Top) |
| (3) | 1″ x 6″ x 6′ Select Pine (Herringbone Top) |
| (2) | 1″ x 3″ x 6′ Select Pine (Base trim / long ends) |
| (1) | 1″ x 3″ x 8′ Select Pine (Base trim / short ends) |
| (3) | 1″ x 2″ x 8′ Select Pine (Table top trim) |
CUT LIST
| (#) | WOOD | LENGTH |
| (1) | 11/32″ Plywood | @ 40 1/2″ x 72 1/2″ (Table top) |
| (TBD) | 1″ x 6″ | Dimensions TBD (Herringbone Top) |
| (2) | 1″ x 2″ | @ 74″ (Long Table Trim 45 degree long end to long end) |
| (2) | 1″ x 2″ | @ 42″ (Short Table Trim 45 degree long end to long end) |
| (2) | 1″ x 3″ | @ 68 1/2″ (Long base 45 degree long end to long end) |
| (2) | 1″ x 3″ | @ 36 1/2″ (Short base 45 degree long end to long end) |
| (1) | 1″ x 3″ | @ 35″ (Middle base table support) |
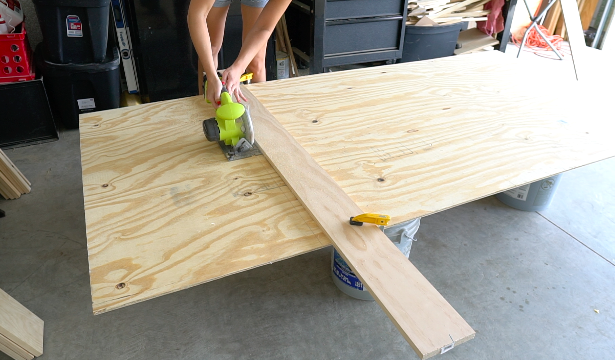
STEP 1: CUT MATERIALS
The cut list above is based off a table size 74″(L) X 42″(W) X 29 1/2″(H). Just for reference: this size table easily fits one chair on each short end and 2 chairs on each long side. You could squeeze in a third chair on each side but it would be cozy. I didn’t provide dimensions for each of the 1″ x 6″ pieces for the herringbone top. Once you get the plywood top cut to size, you can start adding the 1″ x 6″ pieces and cut as you go.

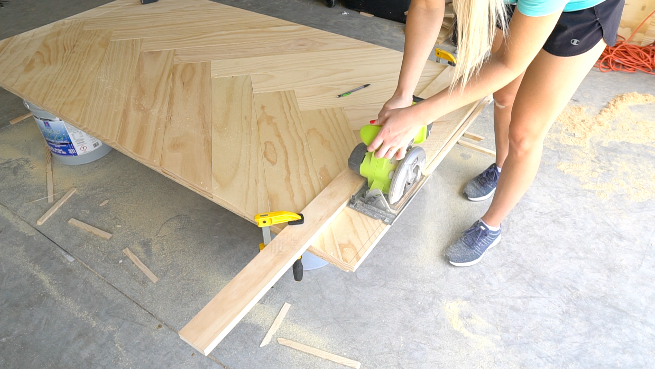
When cutting large 4′ x 8′ panels I like to use clamps and a long board or straight edge so that I have a guide for my circle saw and can cut a perfectly straight line!

STEP 2: ASSEMBLE TABLE TOP
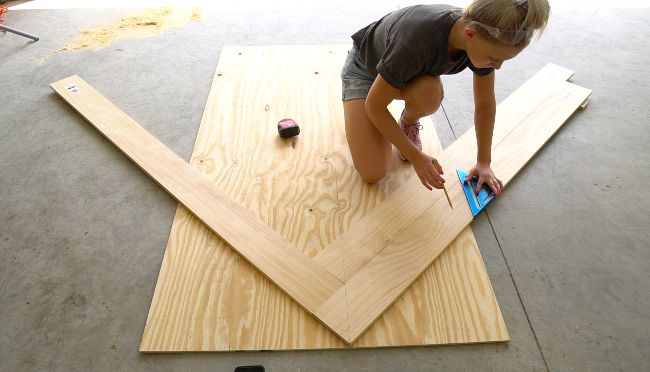
Measure the center of your plywood panel then move the measurement to the left 2 1/2″. Draw a line down the length of the plywood. I moved the line to the left 2 1/2″ so that the herringbone “zig zag” would be centered down the table. This line will a guide for placing all of the 1″ x 6″ boards.

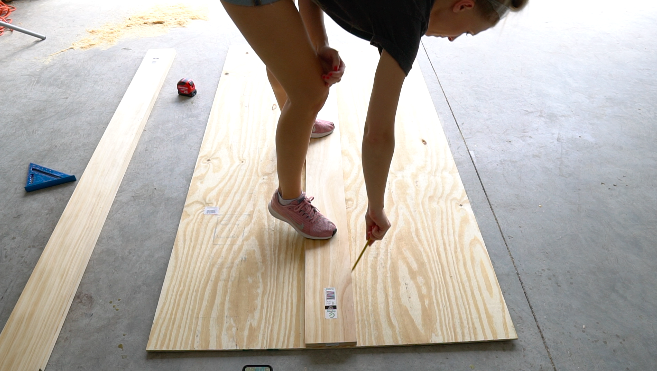
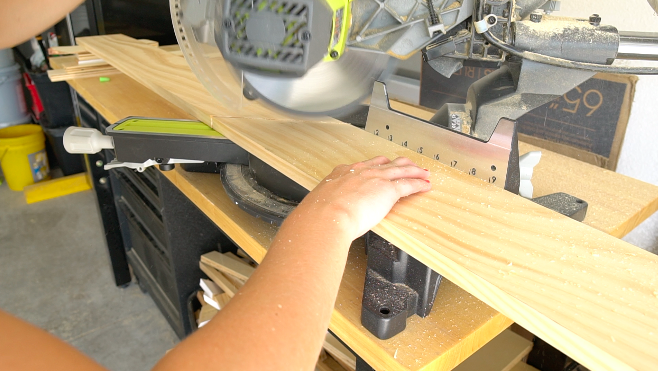
***For each of your 1″ x 6″ boards, make sure that you start by making a square cut on one end with your miter saw so that all of your boards in the herringbone pattern meet up evenly.
For the first 1″ x 6″ board: Use your speed square to draw a 45 degree line down the corner of the board. Place the corner of the board at the top of your plywood so that your line on the 1″ x 6″ board matches up with the line you drew down the plywood. Use your speed square to verify your board is at a 45 degree angle.

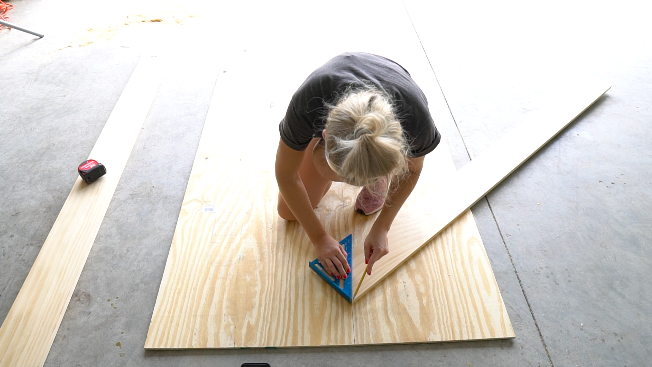

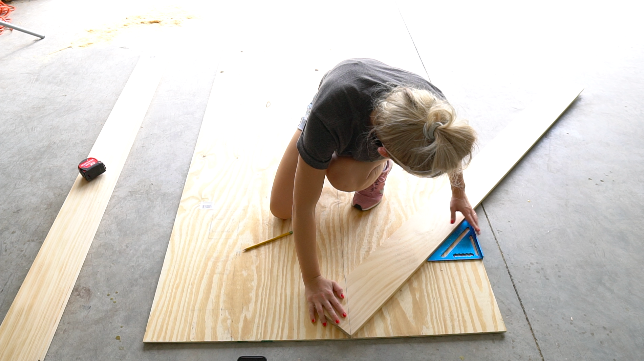
For the second 1″ x 6″ board: Place your second board so that it buts up to your first board. Use your speed square to verify its at a 45 degree angle.

Draw a 45 degree line on the bottom of your 1″ x 6″ board. This line should be about 1-2″ off the end of your plywood. You still want to leave a 1-2″ overhang, but you can cut off the rest of the board. We will cut off all the 1-2″ overhang in a later step.


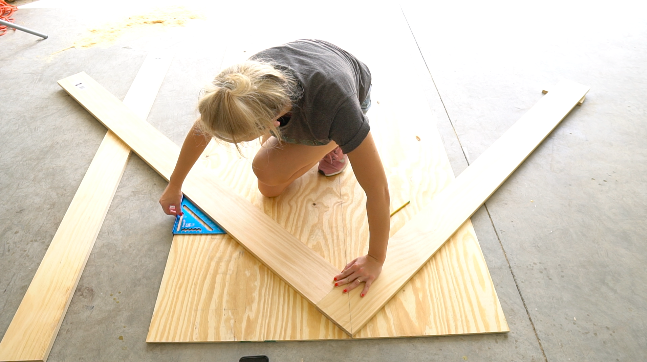
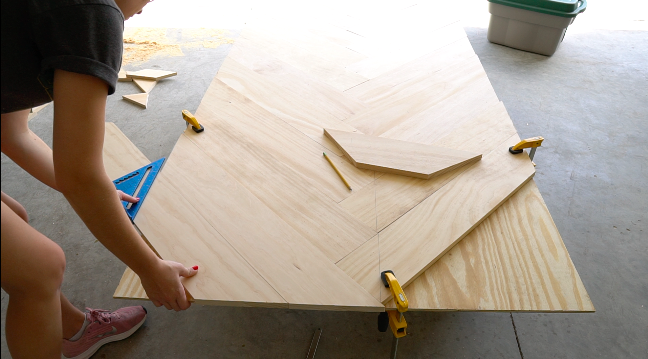
Clamp down your first and second 1″ x 6″ board. These will be a guide for the rest of your 1″ x 6″ boards. Try and use up as much of your scrap board as possible. I was able to make the entire table top with (4) 1x6x8′ and (3) 1x6x6′ with very little wood left over!

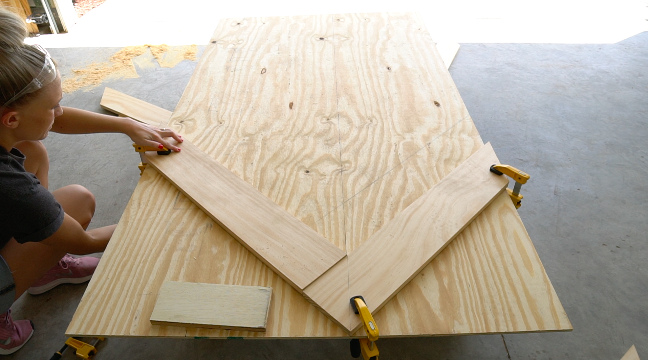
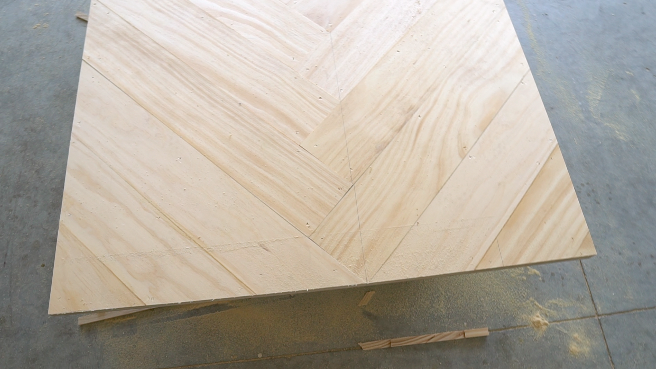
Continue to stagger the 1″ x 6″ boards and cut off the excess. You want to dry fit all of the boards 1st before you secure them down to the plywood.
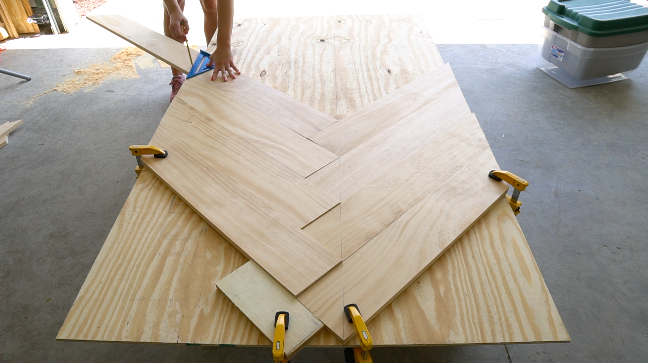

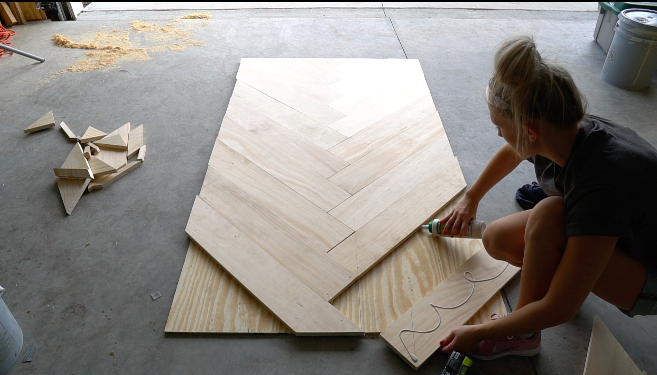
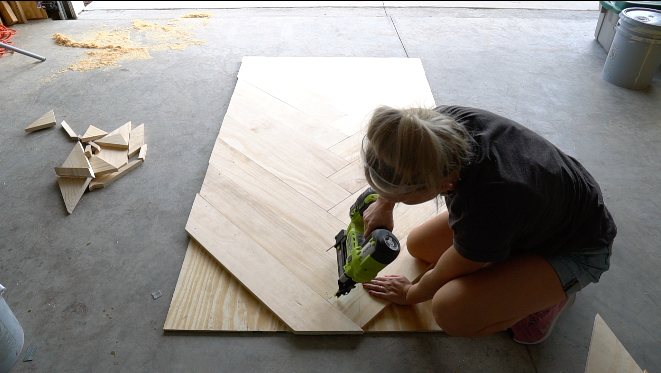
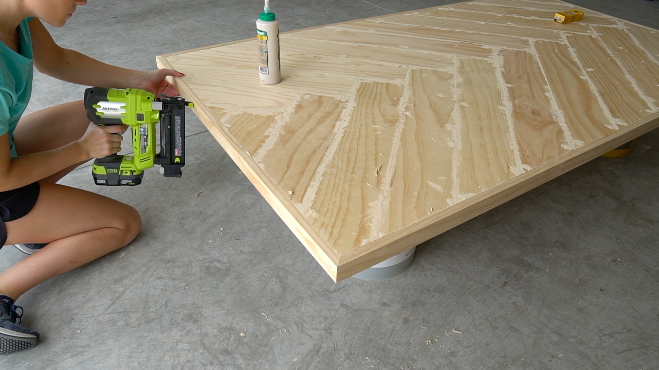
Once you dry fit all of the 1″ x 6″ herringbone pieces. Use wood glue and 1″ nails to secure them in place (4-6 nails in each board). Make sure to use a lot of wood glue and glue the sides of your boards where they each meet. After everything is secure, place a bunch of weight on the table top for a few hours to let the wood glue set.


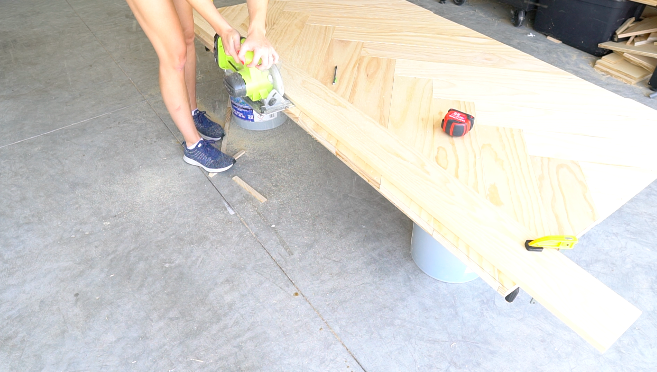
STEP 3: CUT OFF EXCESS
Use a scrap piece of wood or a straight edge as a guide and clamp it down so that you can make a straight cut down the edge of your herringbone table. Cut off all the excess 1″ x 6″ pieces.


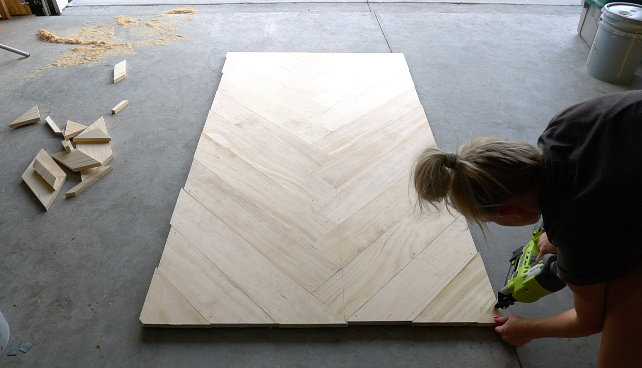
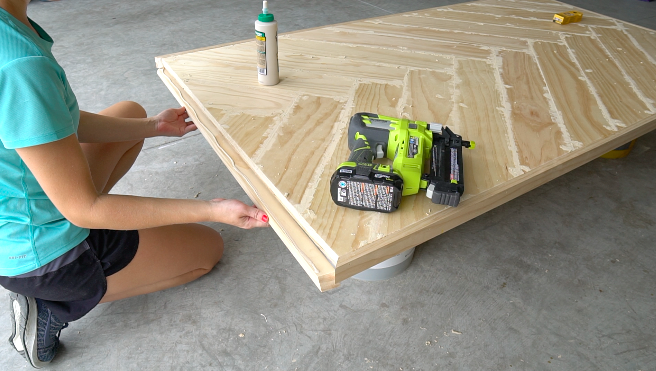
STEP 4: NAIL ON TRIM
Cut the 1″ x 2″ trim to size using a 45 degree angle on your miter saw. Use wood glue and a nailer to nail the trim into your table top. Don’t worry if there are gaps in your trim and the table top, or in the corners. You can fill in these gaps with wood filler.


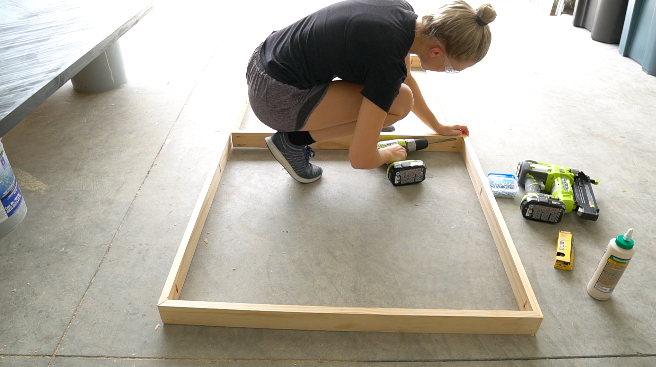
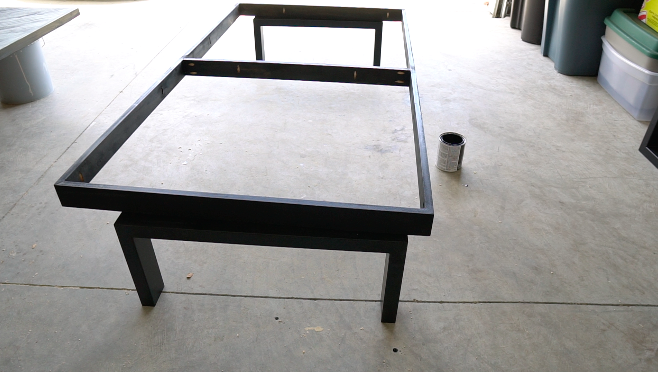
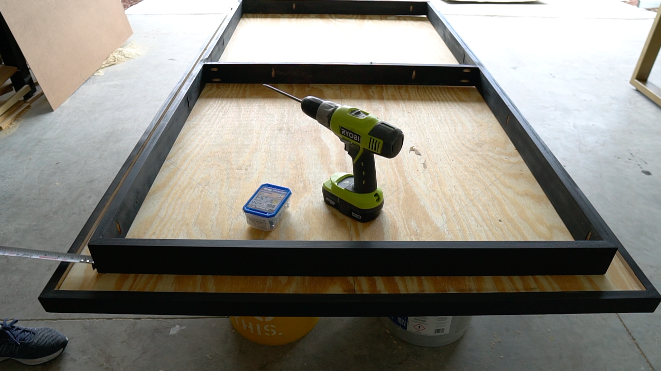
STEP 5: ASSEMBLE TABLE BASE
Cut your table base 1″ x 3″ pieces to size. I mitered the corners of my base at 45 degrees. Set your kreg jig and drill bit to 3/4″. For each of the 4 supports, you should have 2-4 holes along the top. For the middle support you should drill two pocket holes in each end and 2 holes along the top.

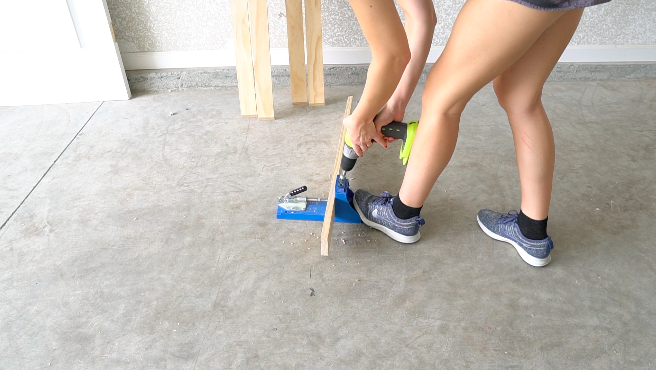
For a video on kreg jig instructions click HERE.
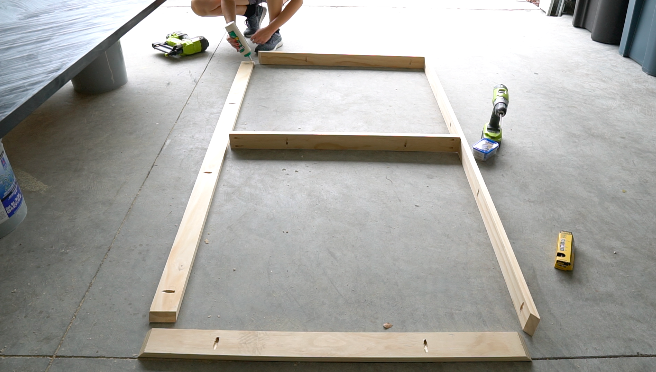
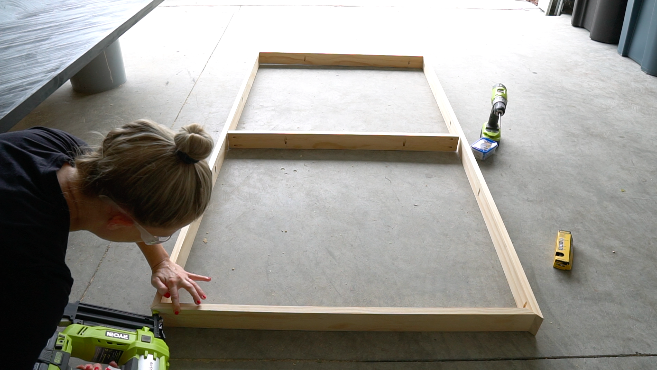
Use wood glue and your 1 1/2″ brad nails to secure the 4 supports together. Use 1 1/4″ pocket screws to screw your middle support into your side supports.


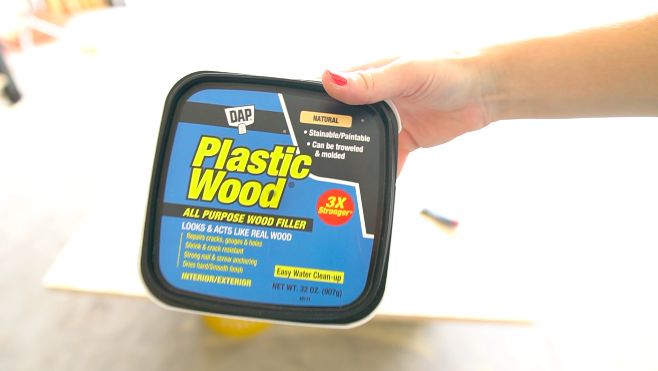
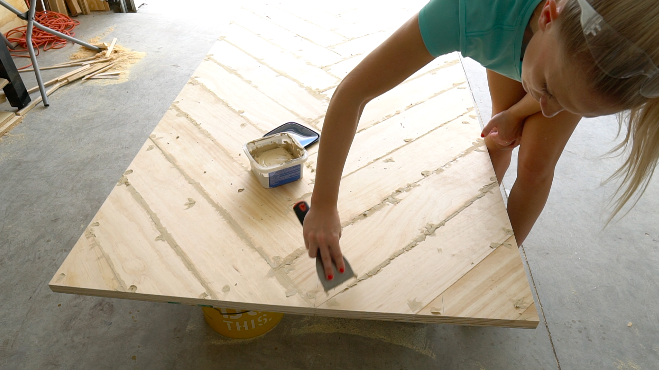
STEP 6: FILL HOLES / CRACKS
Use wood filler and a putty knife to fill in all the cracks, and gaps in your table top, trim and base. Also fill in any little nail holes that are visible.


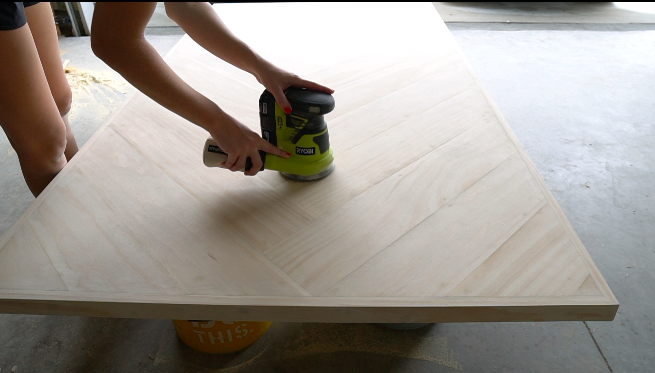
STEP 7: SAND
Sand the entire surface of the table and base using an electric sander. Start with a rough grit and work your way up to fine grit. Last, use a piece of sand paper to get all of the sharp corners.

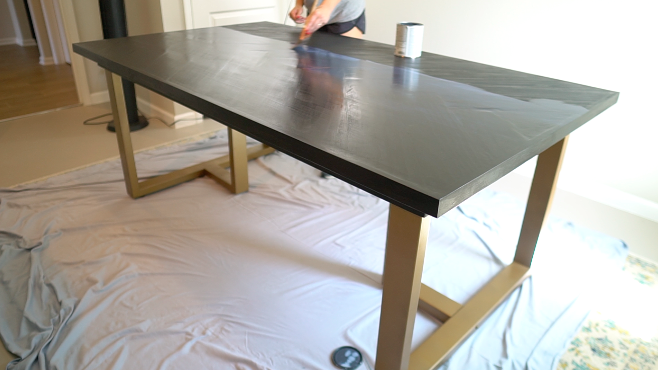
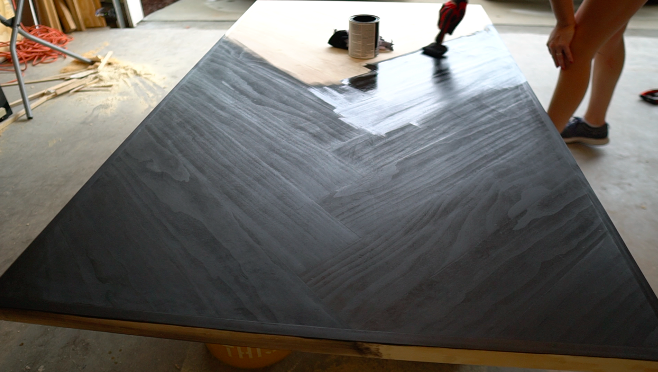
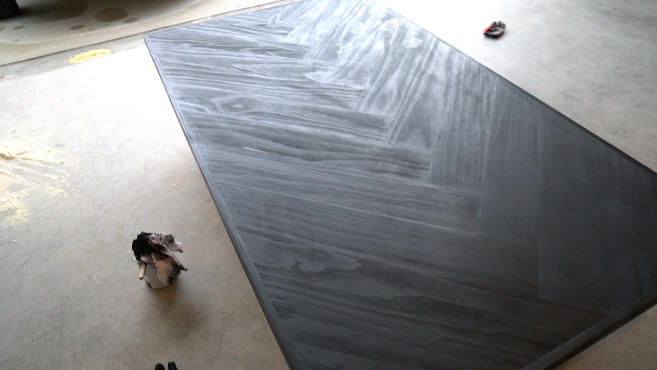
STEP 8: WOOD CONDITIONER & STAIN!
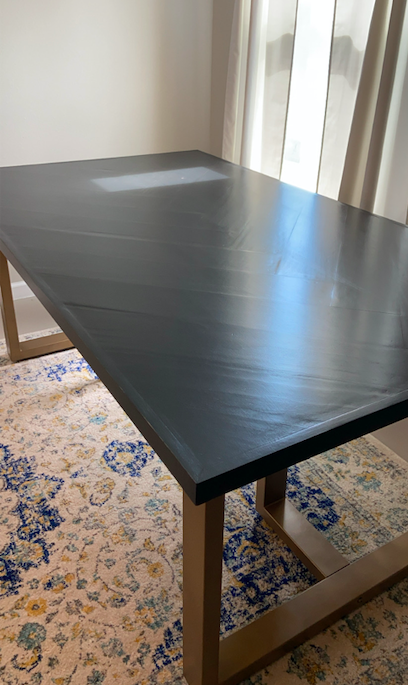
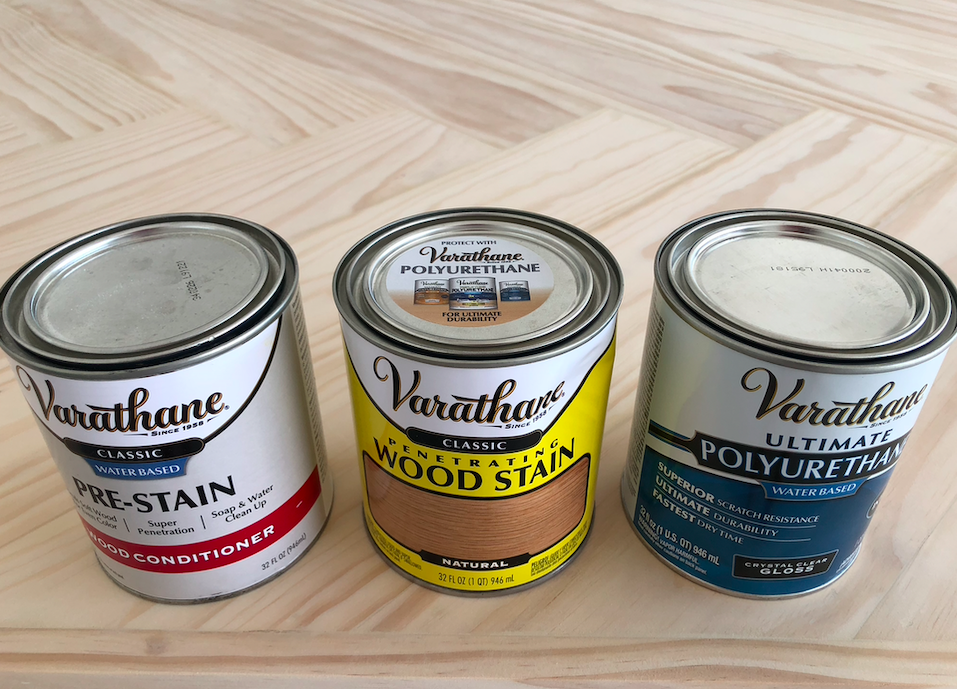
First, I used a water based pre stain wood conditioner, then the premium Varathane stain, and finished with water based polyurethane in satin. Follow the directions on each can. I used Ebony stain for this table and in the natural light you can still see the wood grain, it’s gorgeous!
Here’s the Varathane combo that I used for my friends dark herringbone table.

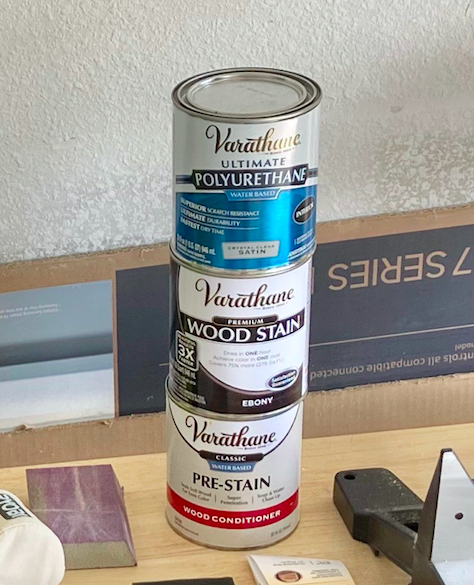
I applied my wood conditioner with a rag. Then, I applied the stain with a sponge brush and wiped the excess with a rag.


Here’s the Varathane combo that I used for my dining room table.

STEP 9: ATTACH BASE
Make sure that your pocket holes along the base are facing down so that you can drill screws down into the bottom of your table top. Position the base directly in the center of your table, using a tape measure to verify. Use 1 1/4″ screws to screw the base to your table top.


STEP 10: ATTACH TABLE TOP TO LEGS
These Amazon table legs came with long screws that you just screw up into the table top. Secure the legs to your table and you’re ready for the last step!
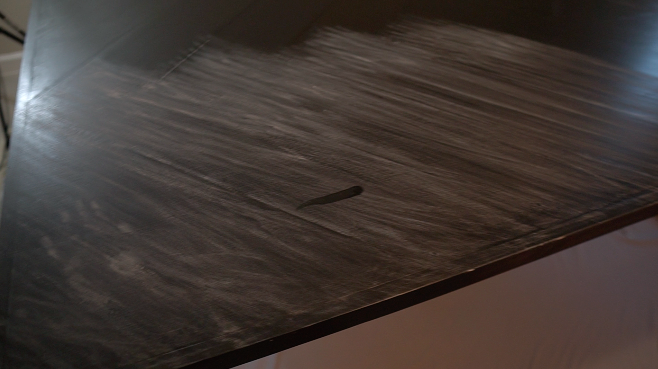
STEP 11: POLYURETHANE
For the polyurethane I applied 3 coats and lightly sanded the table with 320 grit sandpaper after the 1st and 2nd coats. Lightly sanding in between coats really makes the table nice and smooth! You’ll notice that when you sand in between coats it’s leave this white dust, that’s okay!! Wipe off all the dust and when you apply the poly, the sanding marks will disappear.