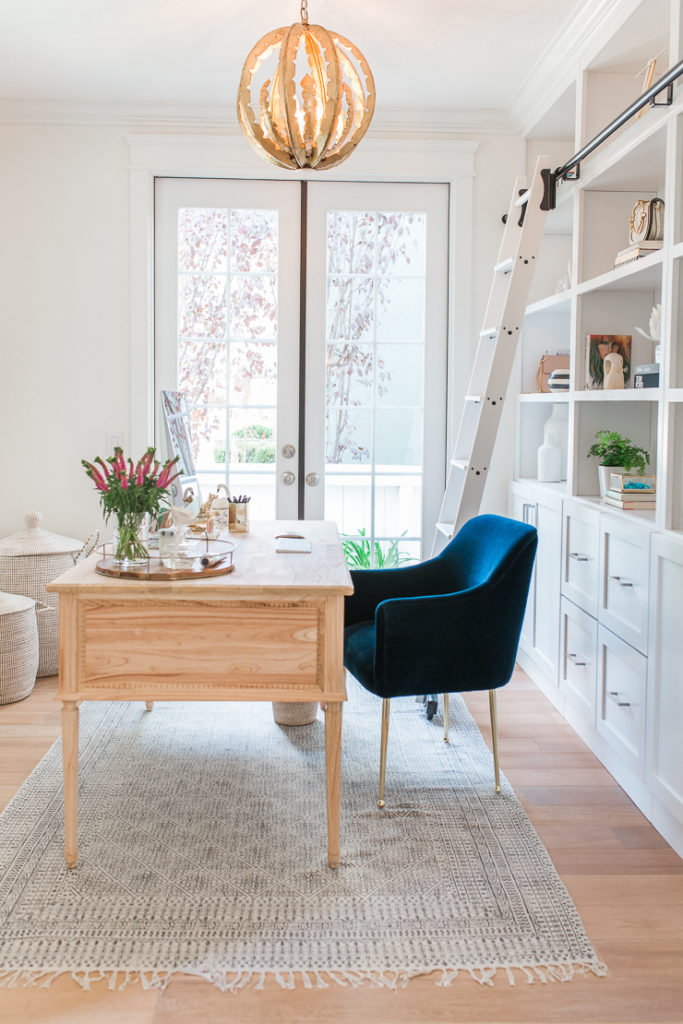
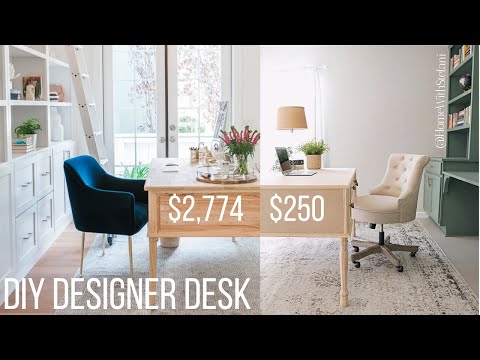
I’m so excited to share this DIY desk tutorial with you!! I came across this BEAUTIFUL designer desk on Pinterest and I’ve saved it to my home office board multiple times (see picture below). I kept going back to the desk because it was so pretty and I thought it would work perfectly in our home office. BUT it cost $2,774… So, I drafted up a plan and decided to DIY a similar desk for under $250!!
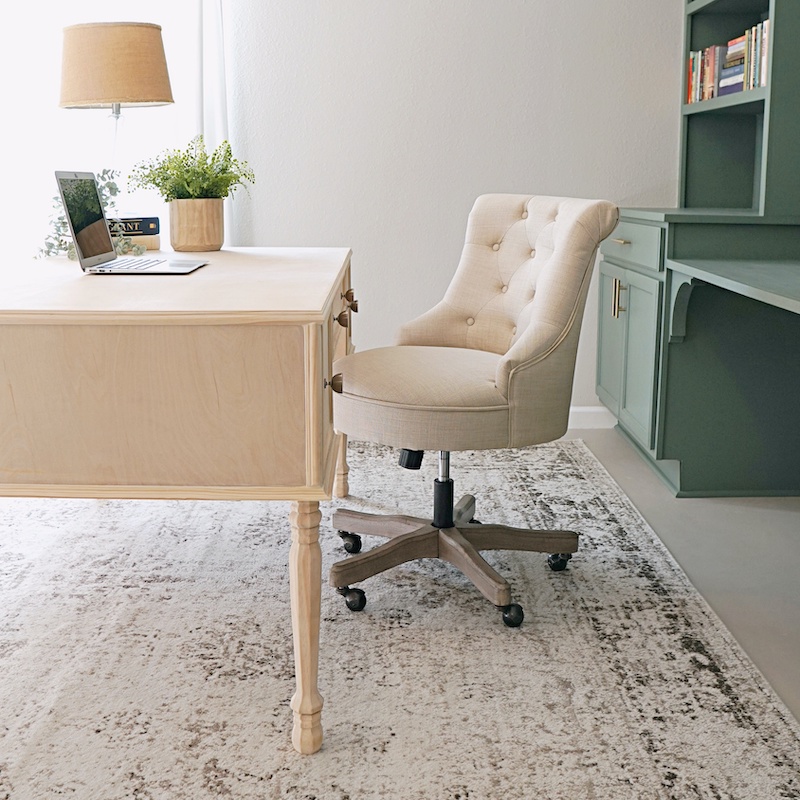
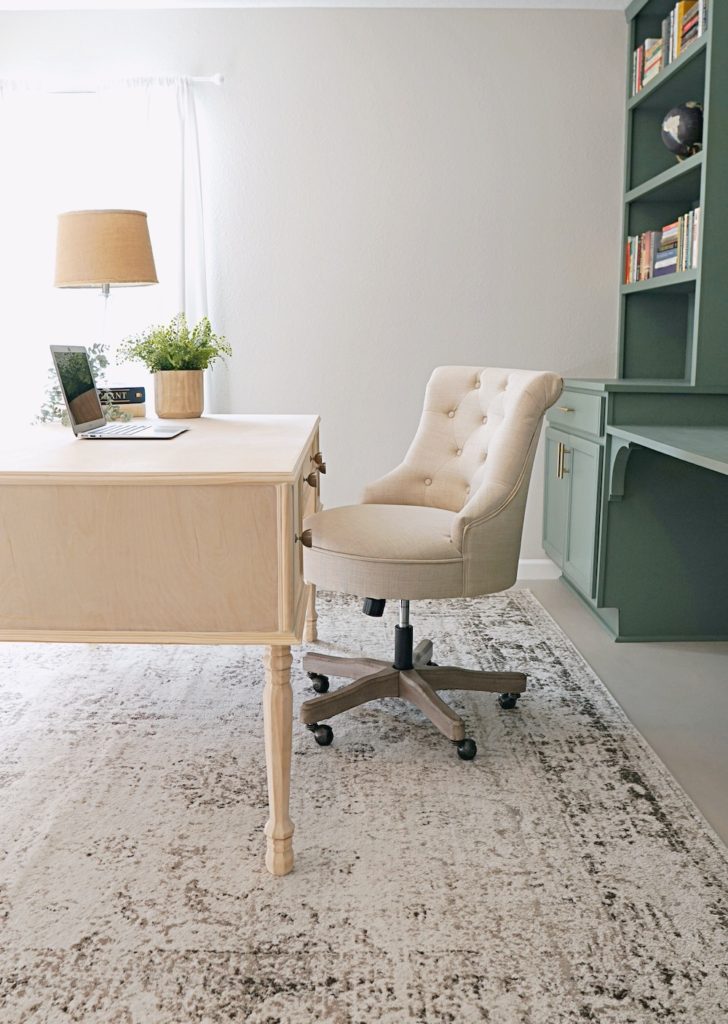
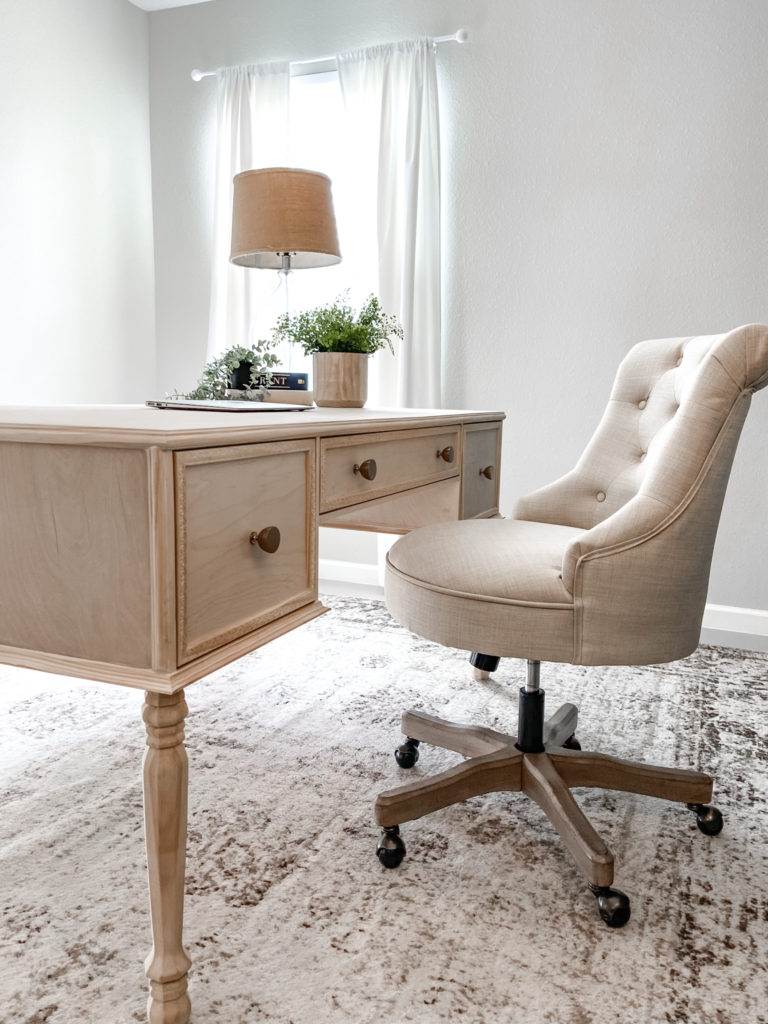
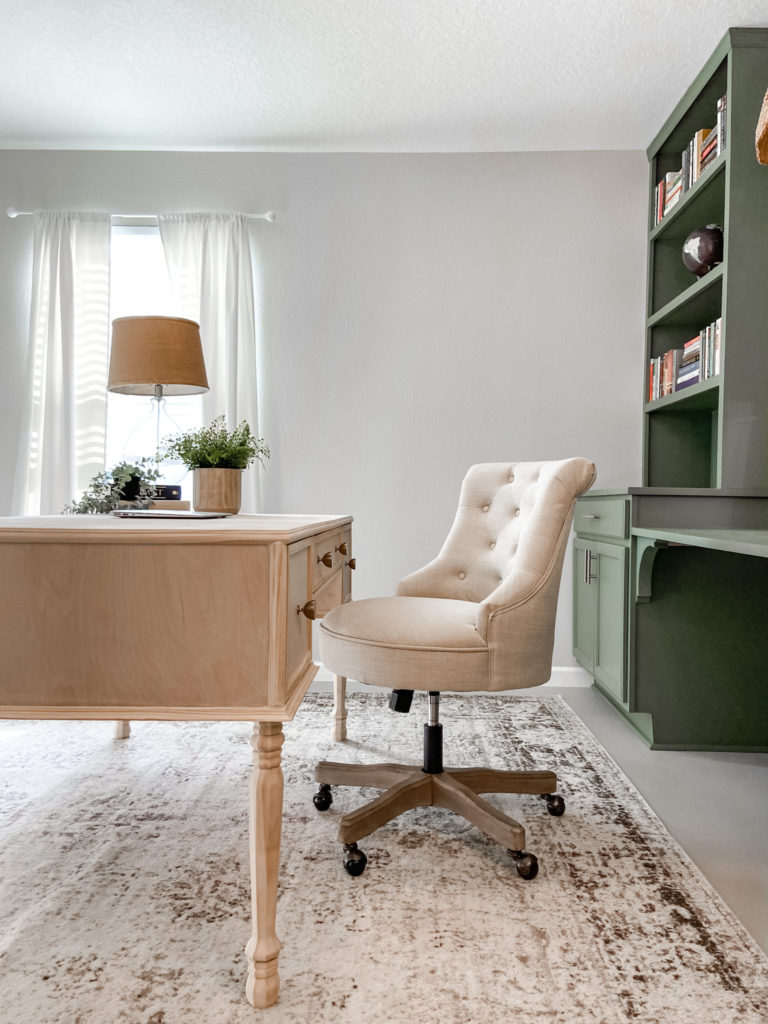
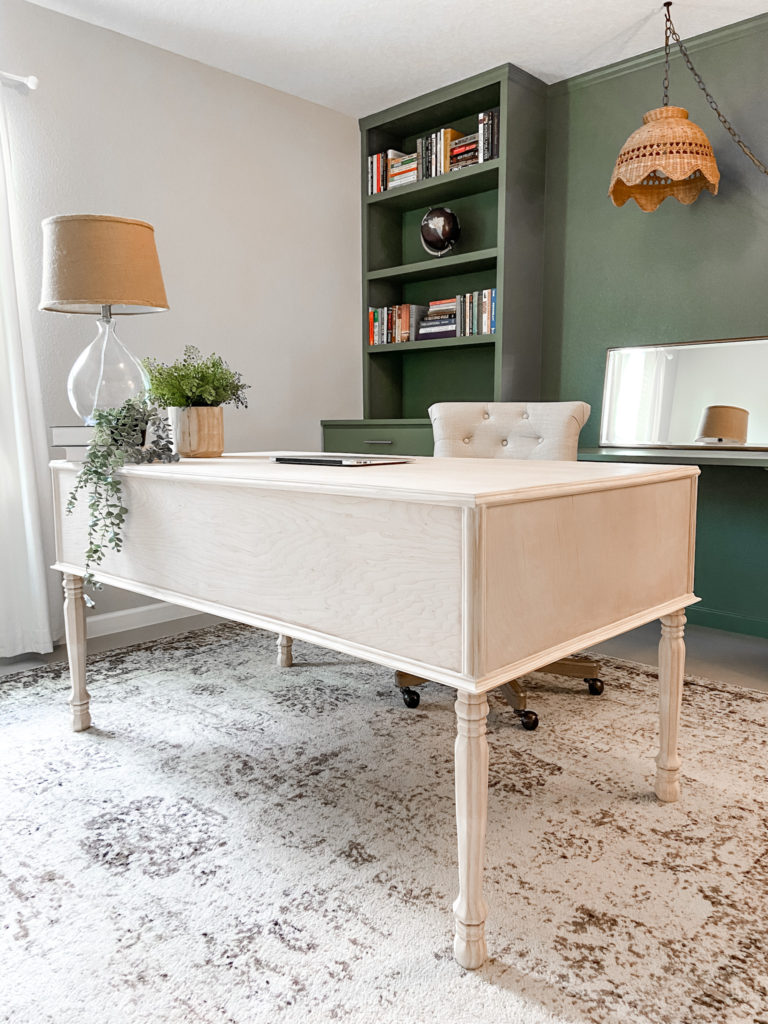
The desk has 3 huge functioning drawers which will be great for storage. There’s a lot that goes into making these drawers so I have another tutorial on how to make drawers HERE! It is unfinished right now because I’m still trying to decide if I want to stain it or paint it or just leave it the way it is and seal it. Either way, I’m so happy with how it turned out! It works perfectly for our home office and I’m going to walk you guys through how you can make it to!
Below, you will also find the YouTube video tutorial on how to make this desk!!


TOOLS
| Miter Saw |
| Circle Saw |
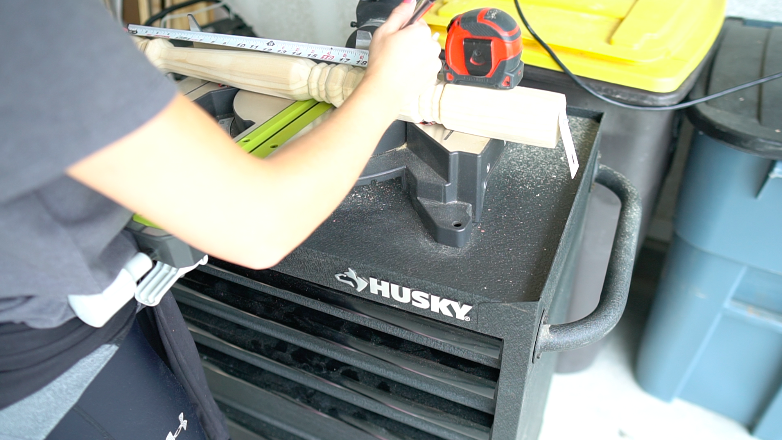
| Tape Measure |
| Speed Square |
| Kreg Jig w/ drill bit |
| 1″ Pocket screws |
| 1 1/2″ Wood screws |
| Cordless Drill w/ drill bit |
| Nailer w/ 1″ Brad Nails |
| Clamps |
| Wood Glue |
| Wood Filler |
| Putty Knife |
| Hand Sander |
| Sanding Paper |
| Iron |
| Edge banding |
| Utility knife / scissors |
| Staining / Painting supplies |
| 4 Table legs (home depot) |
This post contains affiliate links. If you decide to purchase from one of the links, I will receive a small commission at no additional cost to you. Thank you for your support!
LUMBER LIST
| (#) | DIMENSION |
| (2) | 1/2″ x 4′ x 8′ Birch Plywood |
| (4) | 8′ x 11/16 Pine WM100 Cove Trim (Bottom trim) |
| (4) | 8′ x 5/16 Pine DM7 Detail Trim (Top & corner trim) |
| (2) | Legs |
CUT LIST
| (#) | WOOD | LENGTH |
| (1) | 1/2″ Plywood | 32″ x 59″ (Table top) |
| (1) | 1/2″ Plywood | 32″ x 15 (Left side bottom) |
| (1) | 1/2″ Plywood | 32″ x 15 (Right side bottom) |
| (1) | 1/2″ Plywood | 31 1/2″ x 11″ (Left outside) |
| (1) | 1/2″ Plywood | 31 1/2″ x 11″ (Right outside) |
| (1) | 1/2″ Plywood | 31 1/2″ x 11″ (Left inside) |
| (1) | 1/2″ Plywood | 31 1/2″ x 11″ (Right inside) |
| (1) | 1/2″ Plywood | 31 1/2″ x 29″ (Middle bottom) |
| (1) | 1/2″ Plywood | 11″ x 59″ (Back) |
| (4) | Table legs | 19″ |
Cost breakdown: Plywood ($90), legs ($48), trim ($50), edge banding ($7), knobs ($10), 3 drawer slides ($45)= $250!!
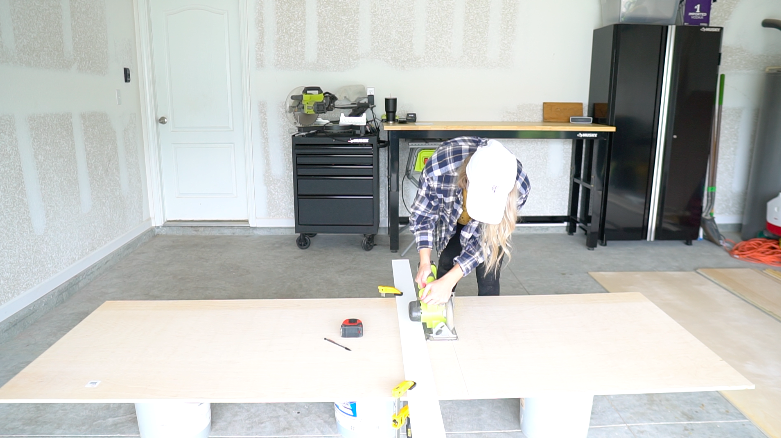
STEP 1: Cut materials
The cut list above is based off a desk size 59″(L) X 32″(W) X 31″(H). I needed two 4′ x 8′ sheets of plywood for this project. I had Home Depot cut the plywood at 32″ so that I could fit the pieces in my SUV. Once I got the lumber home I used my circle saw to cut all the pieces down to size.


STEP 2: Dry fit materials together
Dry fit all of your pieces together to make sure they fit. Take this time to mark out where you will need your pocket holes to go.

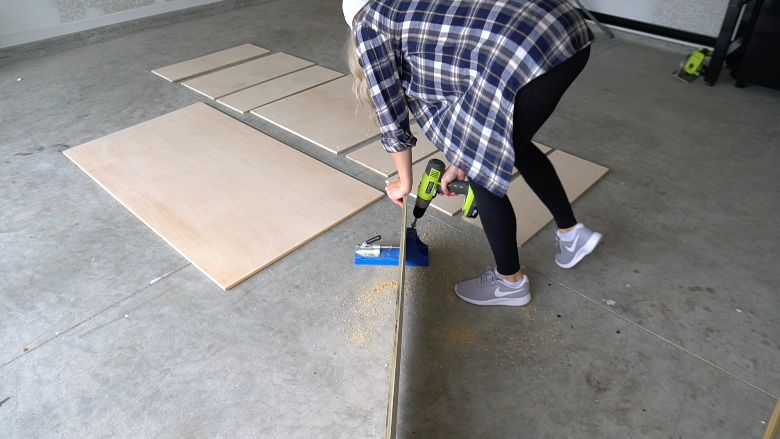
STEP 3: Drill pocket holes
If you’re using 1/2″ plywood like me, set your Kreg Jig to the 1/2″ material thickness setting. Drill pocket holes according to the pictures below. If you’re not sure how to use a Kreg Jig, check out this tutorial HERE.

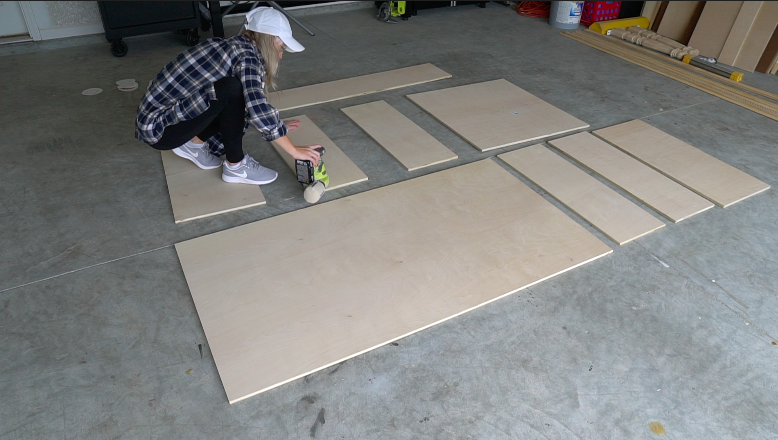
STEP 4: Sand
Lay out all of your boards and sand them down until they’re nice and smooth. I started with 120 grit sandpaper then 180 and finished with 220.


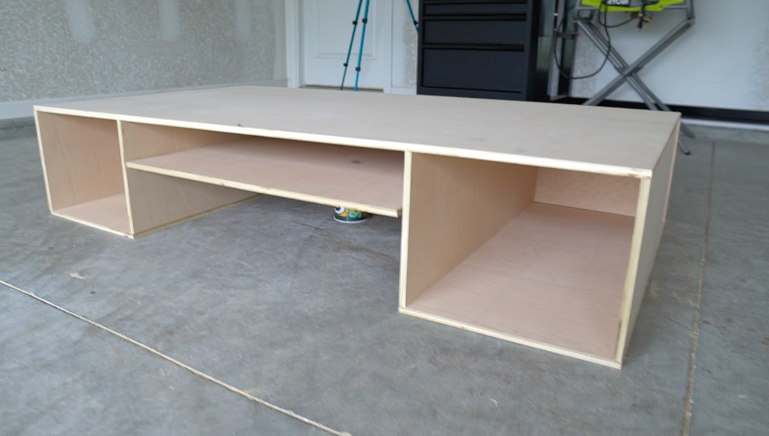
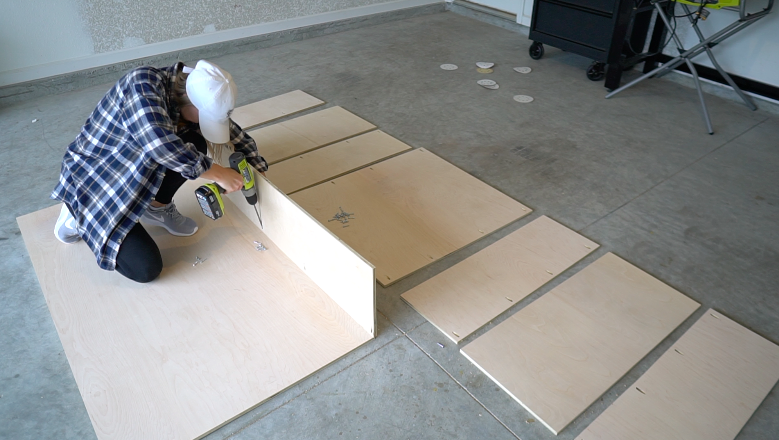
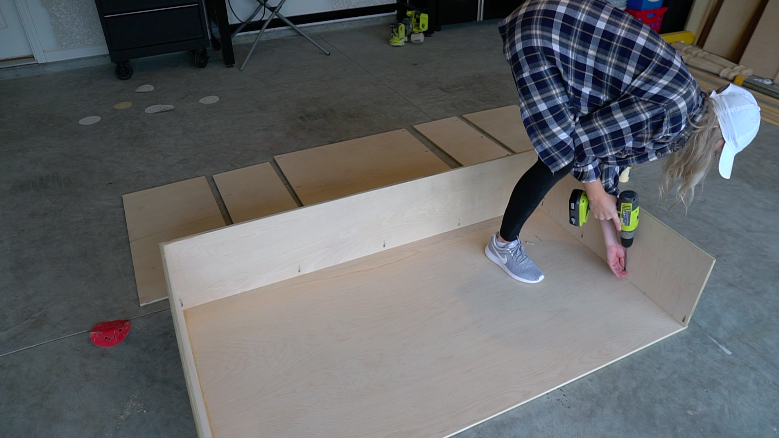
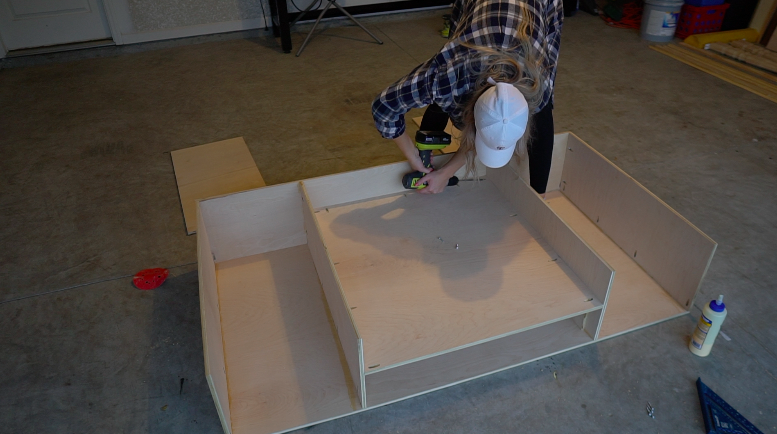
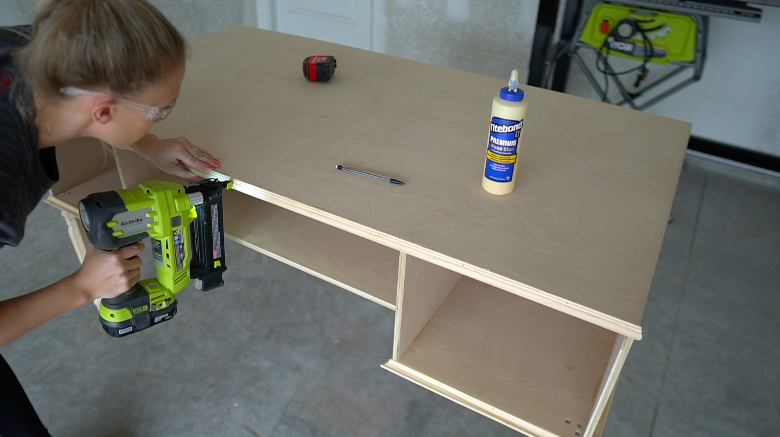
STEP 5: Secure plywood pieces together with pocket screws
Secure all of your plywood pieces together except for the bottom plywood pieces. If you’re using 1/2″ plywood, you’ll want to use 1″ pocket screws.


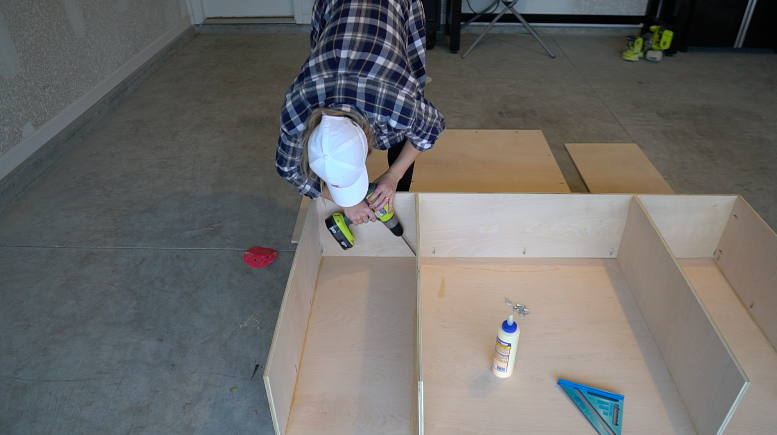
I cut 4 spacer blocks at 4 3/4″ for my middle drawer space/ The blocks held the plywood in place while I secured it with pocket screws.


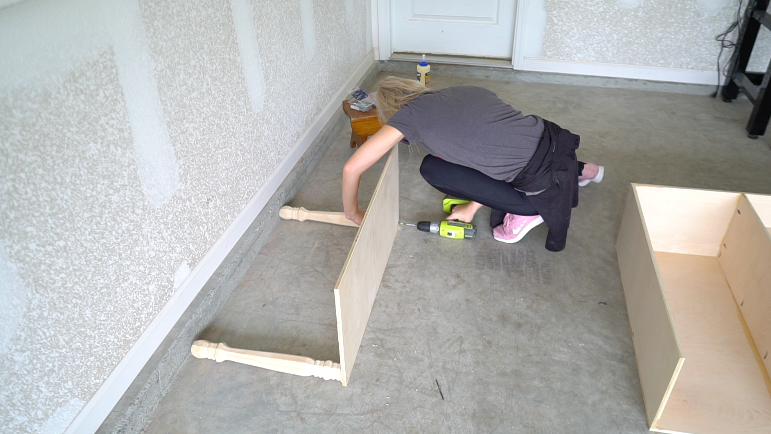
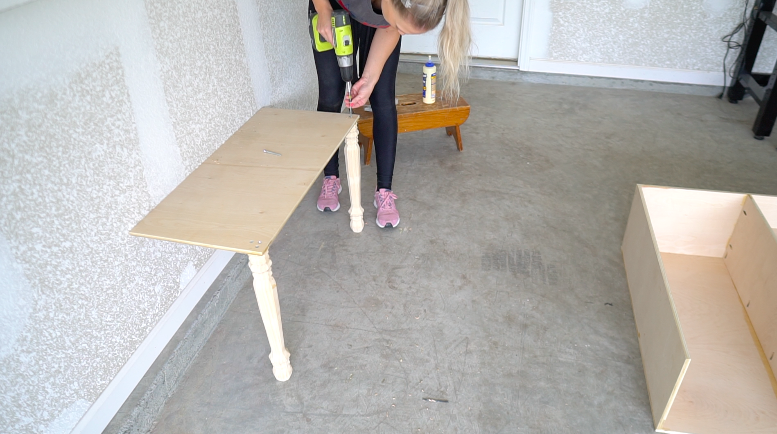
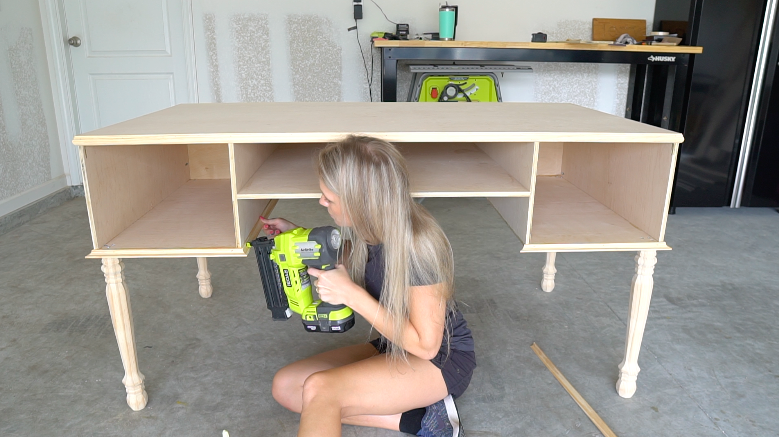
STEP 6: Attach legs to bottom plywood piece
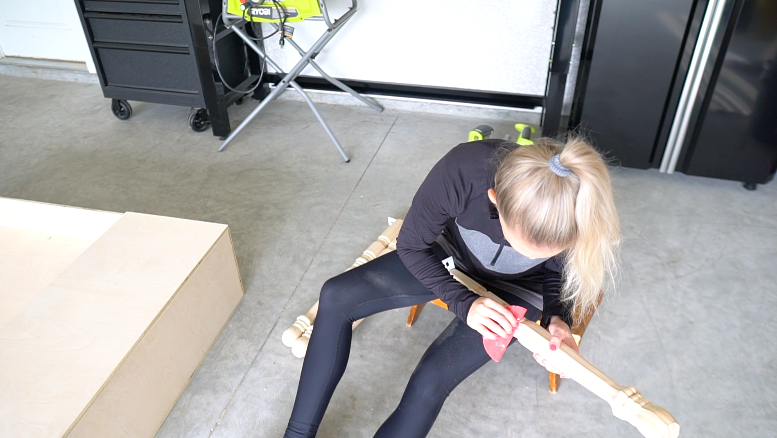
Attach your legs to the 2 outside corners of your plywood piece. I used wood glue and wood screws to attach my plywood to the legs. To prevent the wood from splitting, I drilled a small hole where I wanted each of the screws to go. For each leg I used 3 wood screws. I found it easiest to set the materials on the ground and work up next to a wall.


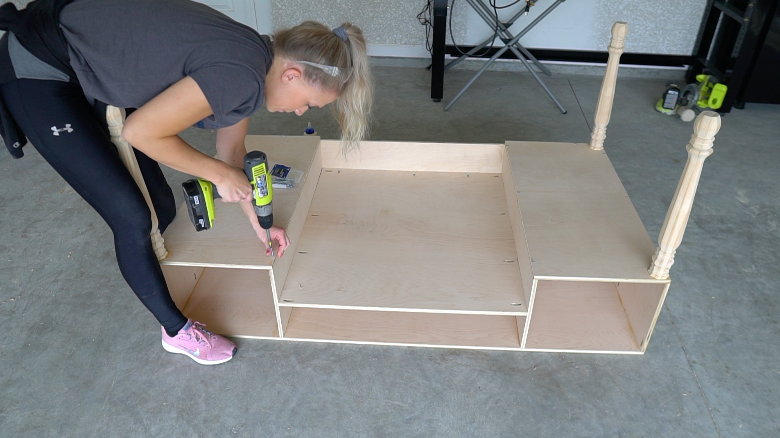
STEP 7: Secure bottom pieces with legs
Flip the bottom plywood piece with your legs over. Secure this piece to the rest of your desk using wood glue and wood screws. Once again I pre drilled holes first before drilling my screws in to prevent the plywood from splitting. Make sure to drill your screws straight in to prevent your screws from popping out either side of the plywood. For each bottom plywood piece I used about 7 screws.

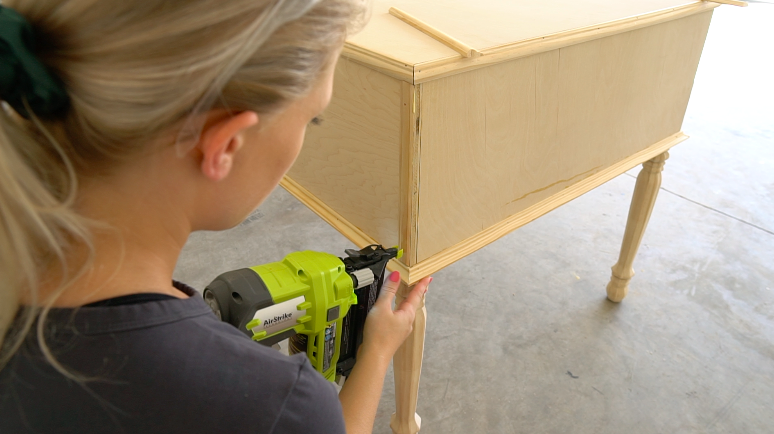
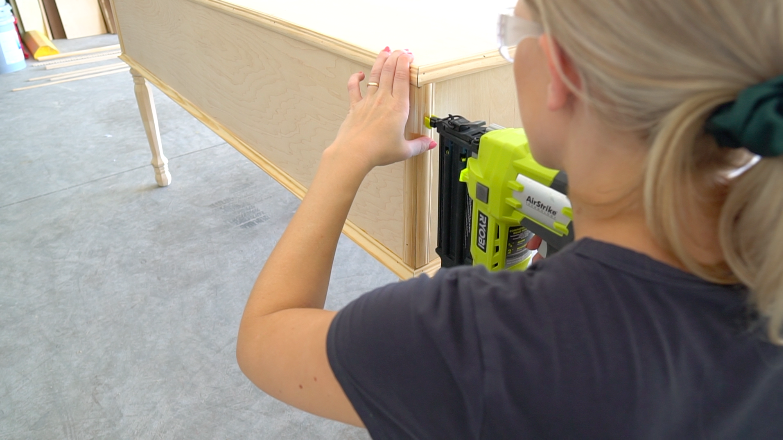
STEP 8: Add trim detail
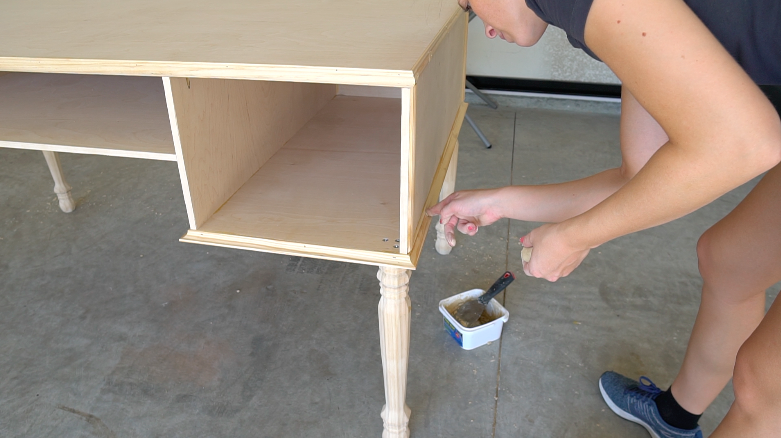
Add your trim detail of choice. For the bottom of the desk I applied this flare trim along the entire edge. For the top of my desk I used a flatter trim piece with some round detailing. For the corners of my desk I used the same trim as the top of the desk. I applied this trim using wood glue and 1″ brad nails.


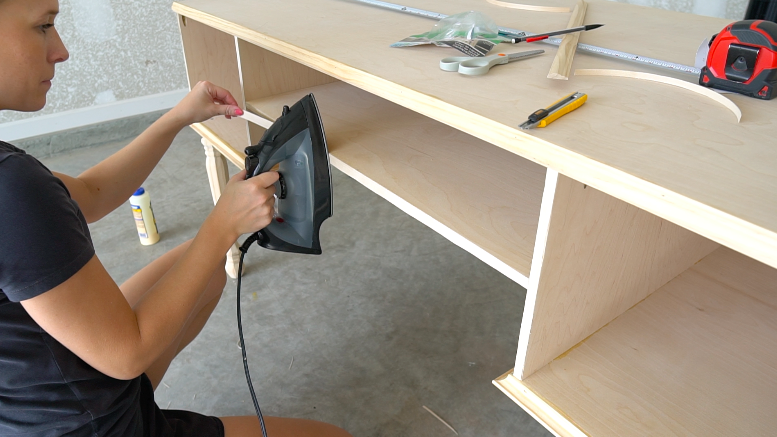
To the face of my desk where my drawers will be I used some birch edge banding to hide the raw plywood edge. For the edge banding you can cut it down to length. Apply the trim using an iron set to the cotton setting, rub the trim to make sure it adheres and then cut off any excess using a utility knife or sharp blade.

STEP 9: Fill nail holes
Use wood filler to fill in all of the nail holes and any other large seems in your desk and the trim.

STEP 10: Sand
Sand off the excess wood filler using a hand sander for the larger flat surfaces and a piece of folded sand paper for the finer detailed parts.

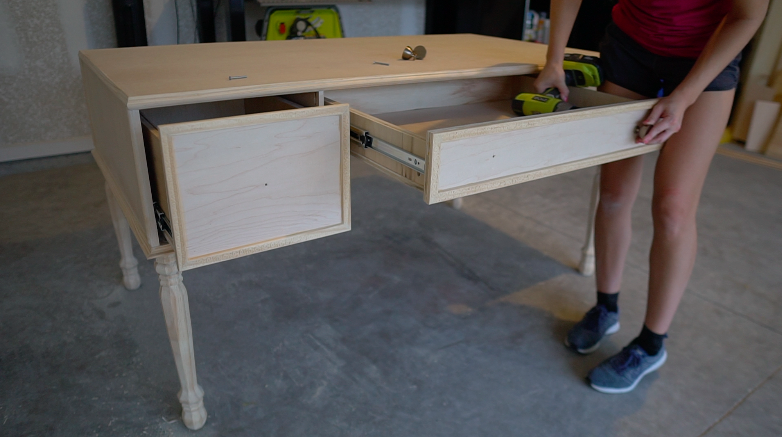
STEP 11: Make drawers / install drawers
There’s a lot that went into making these drawers so I have a whole blog post and video HERE on how to make these inset drawers!!

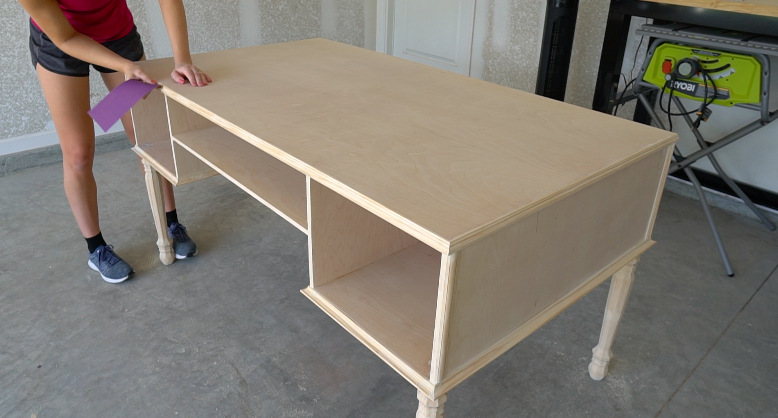
STEP 12: Stain / Paint / Poly
Use your stain / paint of choice to finish off the desk. Top with polyurethane to protect your beautiful desk! The picture below is of the desk unfinished. I haven’t been able to decide what I want to do with the desk yet. I’m kind of digging the lighter unfinished wood look!