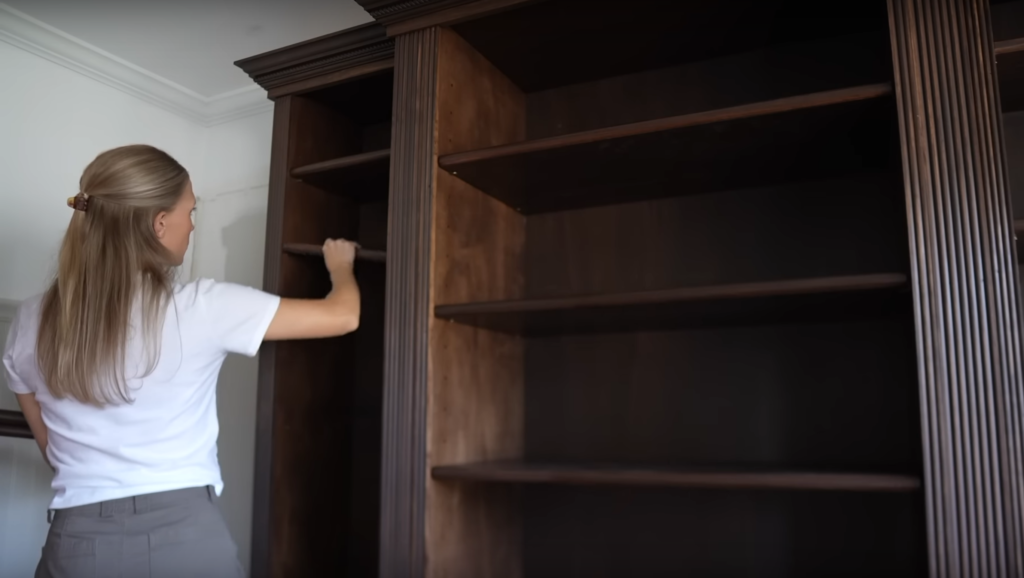
I turned our old home office into a moody, sophisticated space for my husband. The first project I tackled was refurbishing our old French doors, and the next project was a low-profile coffered ceiling. We needed a place to store books and memorabilia, so I built this big bookcase to go along the back wall! Check out the free tutorial download below or head over to Youtube to watch the full video tutorial.


TOOLS/MATERIALS
| MATERIALS/TOOLS | LINK |
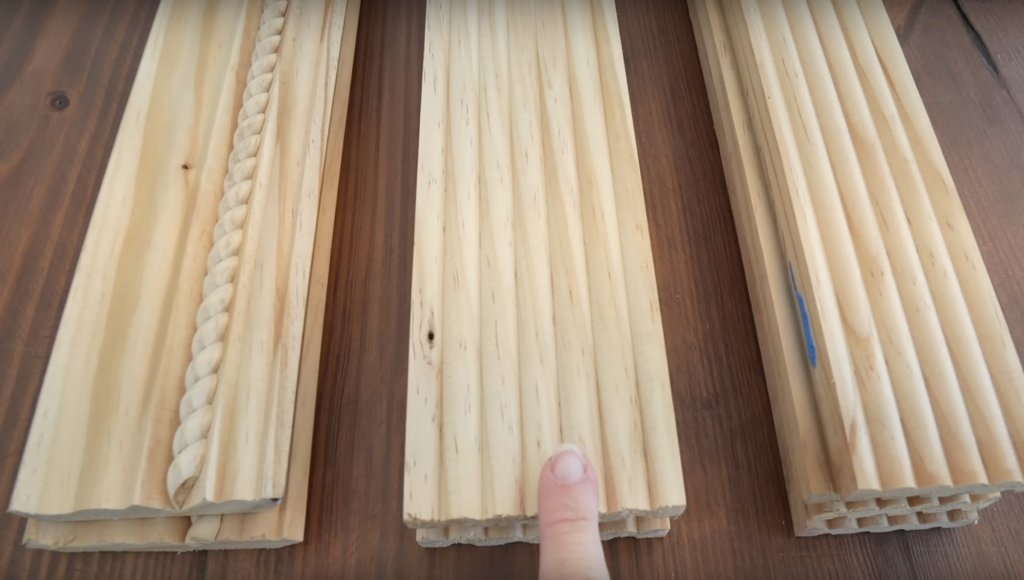
| Rope Crown Moulding | https://bit.ly/4cCnyEy |
| Fluted Detail Trim | https://bit.ly/49cDomF |
| Pine Stair Tread | https://bit.ly/3TV81bM |
| Shelf Drilling Guide | https://bit.ly/4afbMOT |
| Shelf Drilling Bit | https://bit.ly/3xi0Cuc |
| Kreg Jig | https://bit.ly/3DNfJLM |
| Orbital Hand Sander | https://bit.ly/3ljgcuS |
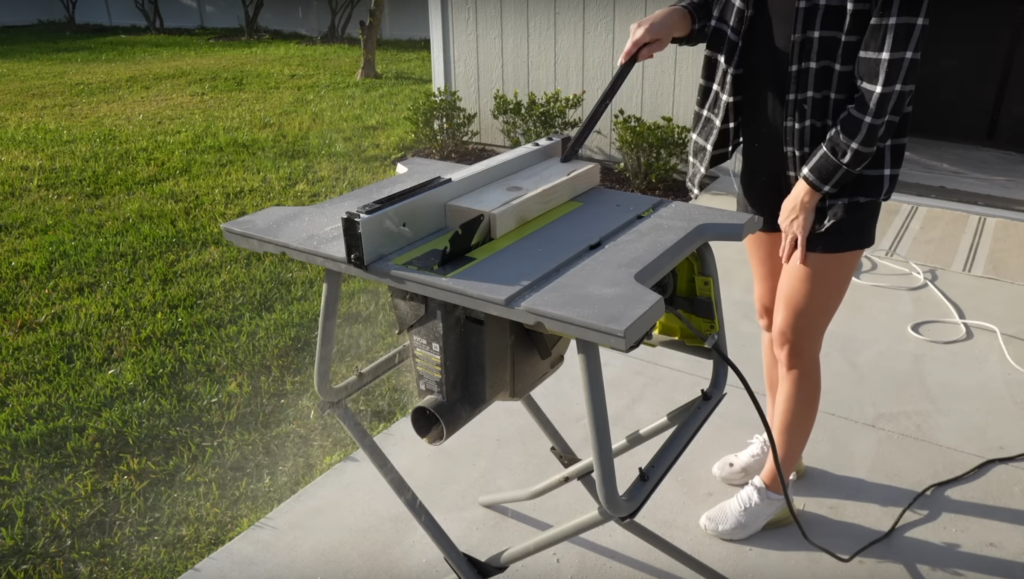
| Ryobi Table Saw | https://bit.ly/3qucE0t |
| Circular Saw | https://bit.ly/46lgYPo |
| Miter Saw | https://bit.ly/3QQ1hZJ |
| Brad Nailer | https://bit.ly/3mkyC44 |
| Gel Stain (Dark Walnut) Varathane | https://bit.ly/49WJ0lz |

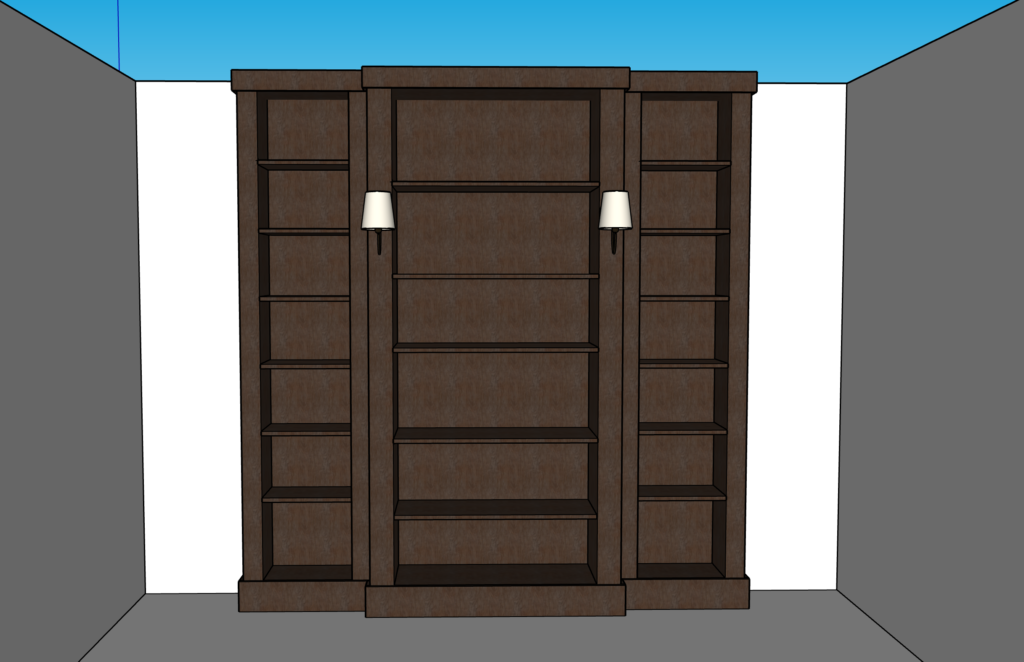
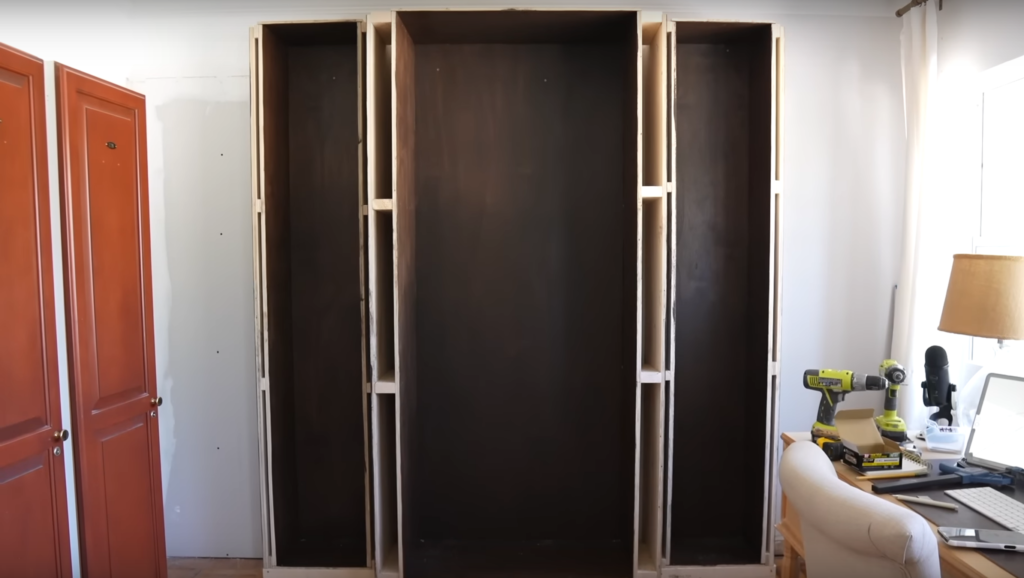
DESIGN
I wanted the center unit to be deeper to fit our printer and some more practical office items so the center unit is about 17” deep and 36” long. And then the two outside bookshelves are meant for books so they’re only 12” deep and 16” long.

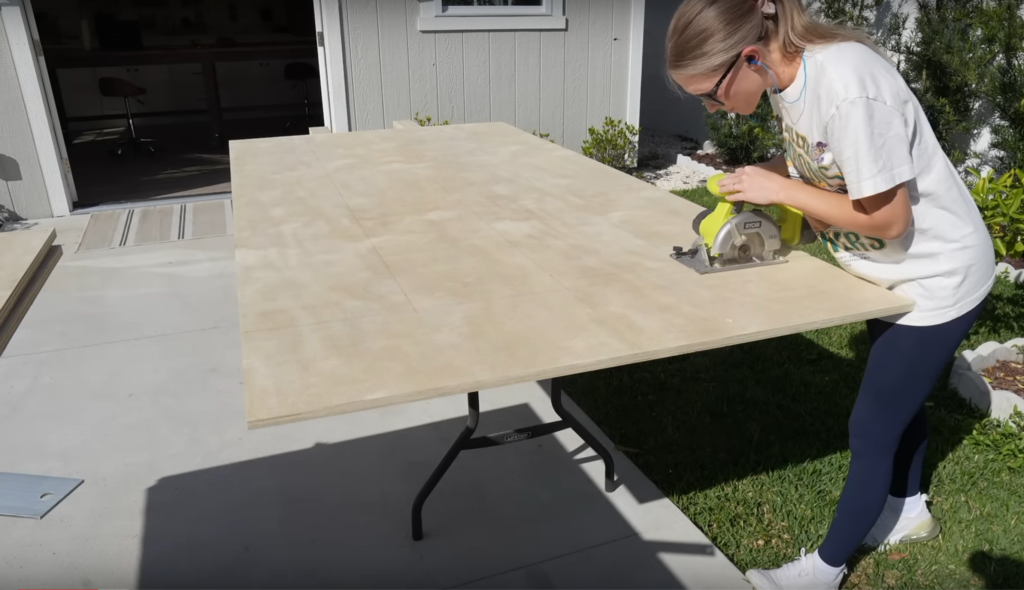
CUT PLYWOOD FOR BOXES
The first thing that I did was cut all the plywood for the 3 bookshelf boxes. I am using 4×8 sheets of Sande plywood from Home Depot in 3/4” and 1/2” depth. For all the side vertical panels I’m using 3/4” plywood and then for the bottom, top and back of the boxes I’m using 1/2” lumber. Using 3/4” for everything would be ideal but this is one way to cut costs a bit.
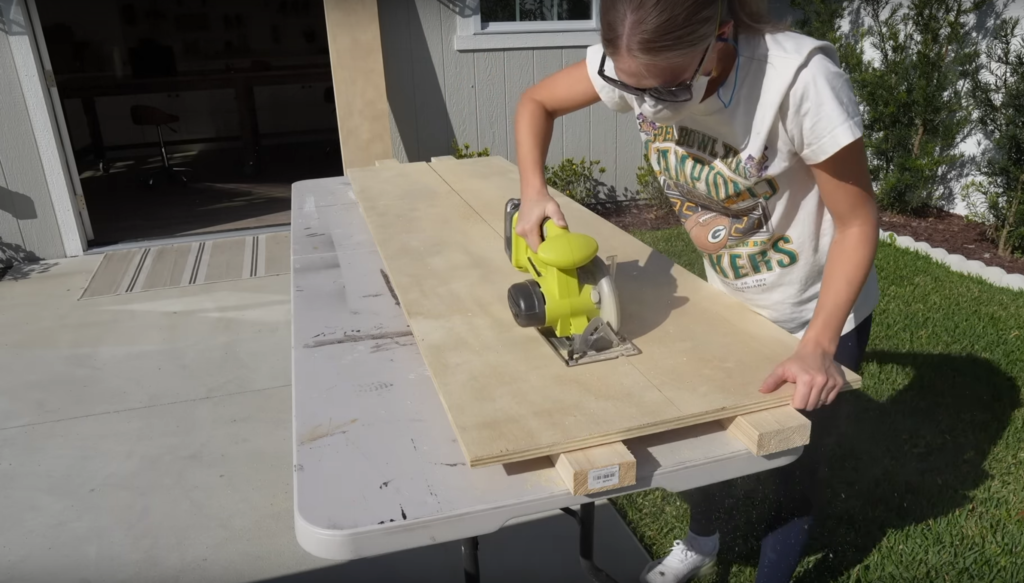
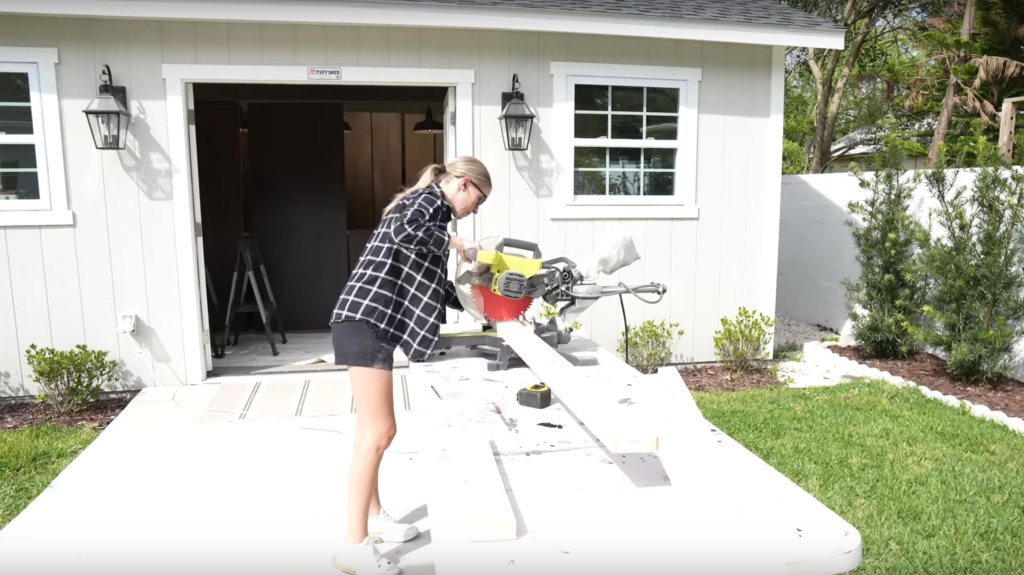
I used my circular saw to cut all the panels down to size.
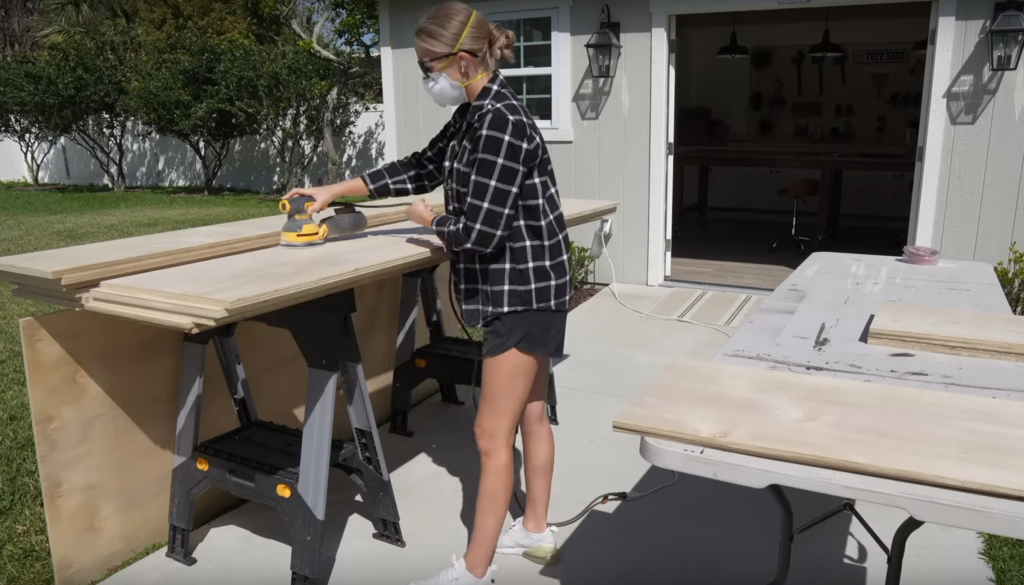
SAND, STAIN & POLY BOXES
After the panels were cut down I sanded all the panels up to 220 grit.

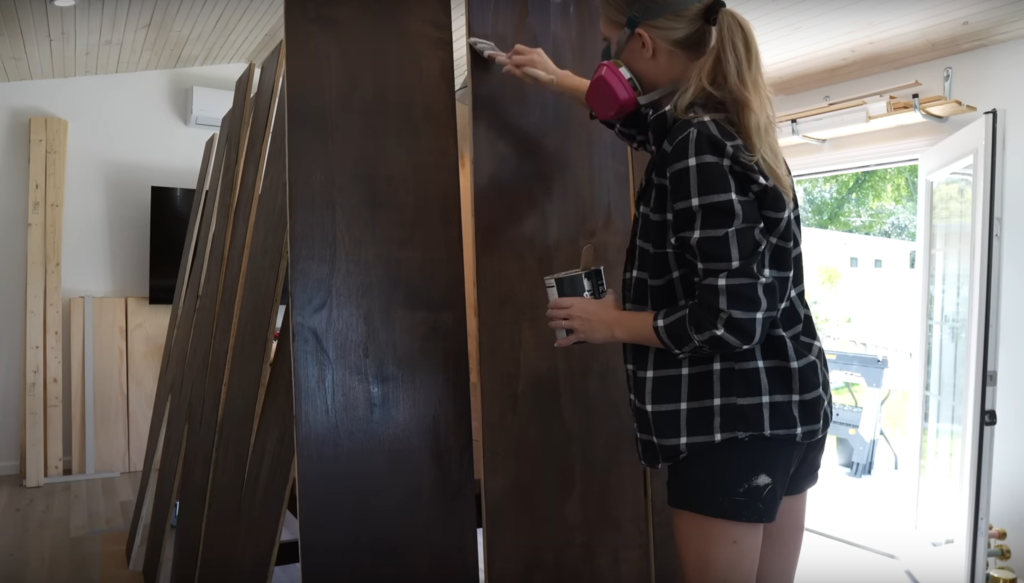
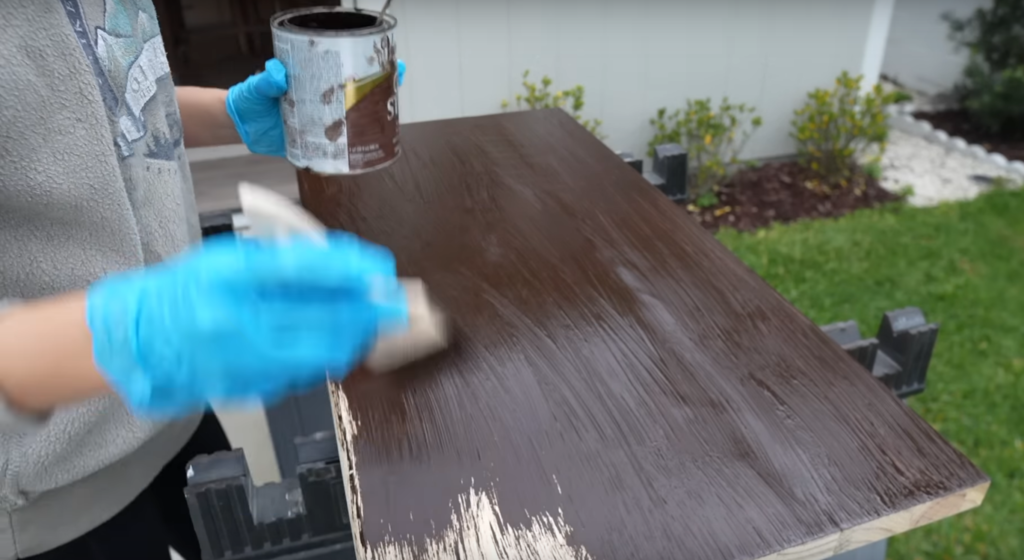
Next, I stained all the front side of the panels with this dark walnut gel stain by Varathane.

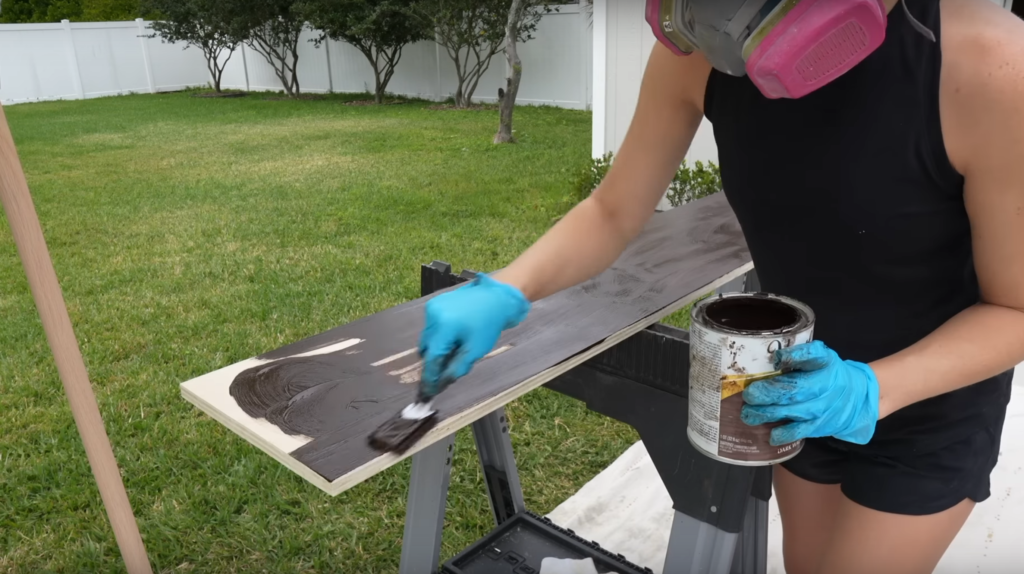
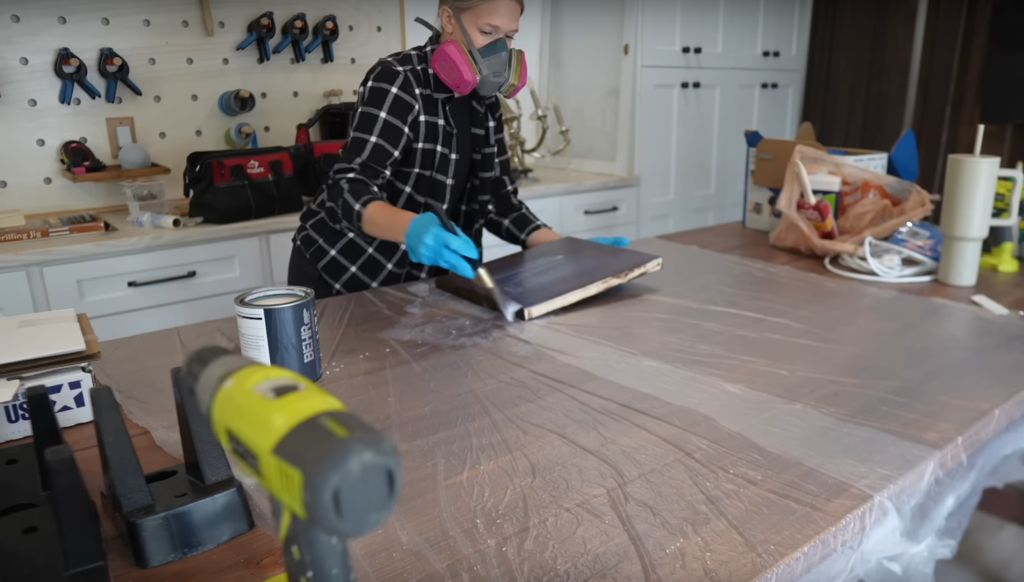
After the panels were stained, I let it set overnight and then I applied two coats of polyurethane, sanding lightly in between coats.

DRILL POCKET HOLES AND ASSEMBLE BOXES
To assemble the boxes and secure the panels together I’m using pocket screws.

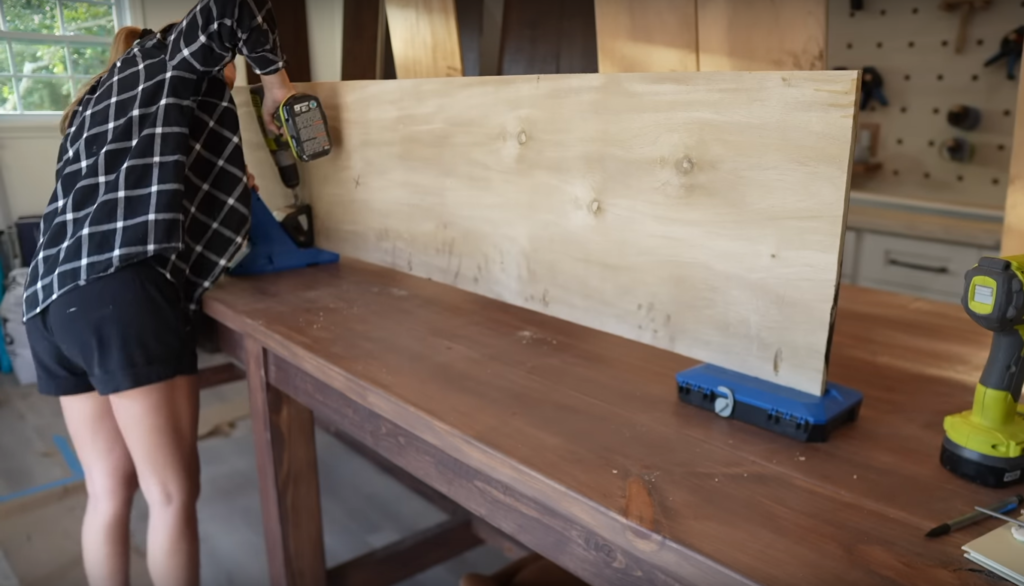
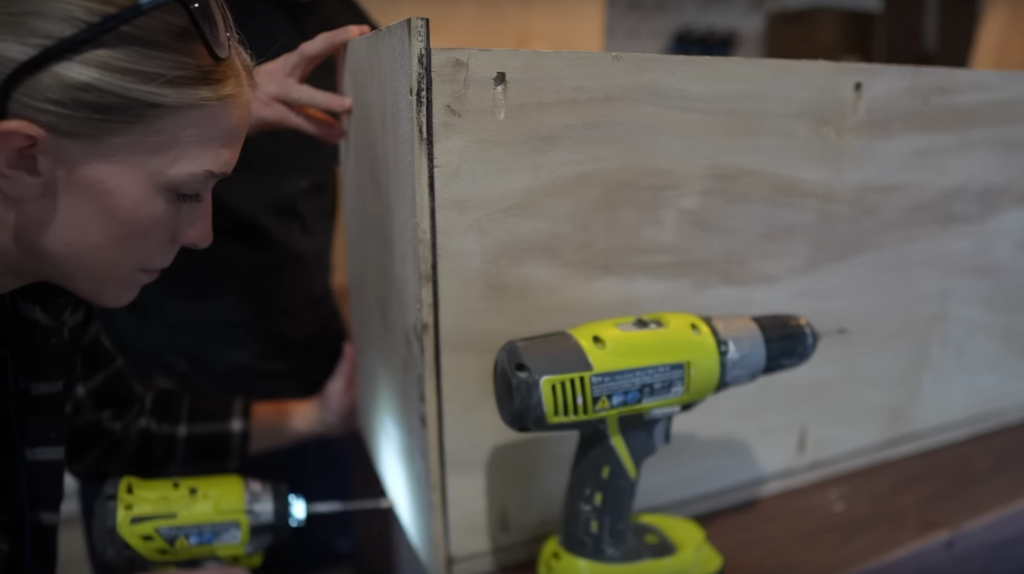
I drilled pocket holes in all of the back panels so that the screws will be hidden.
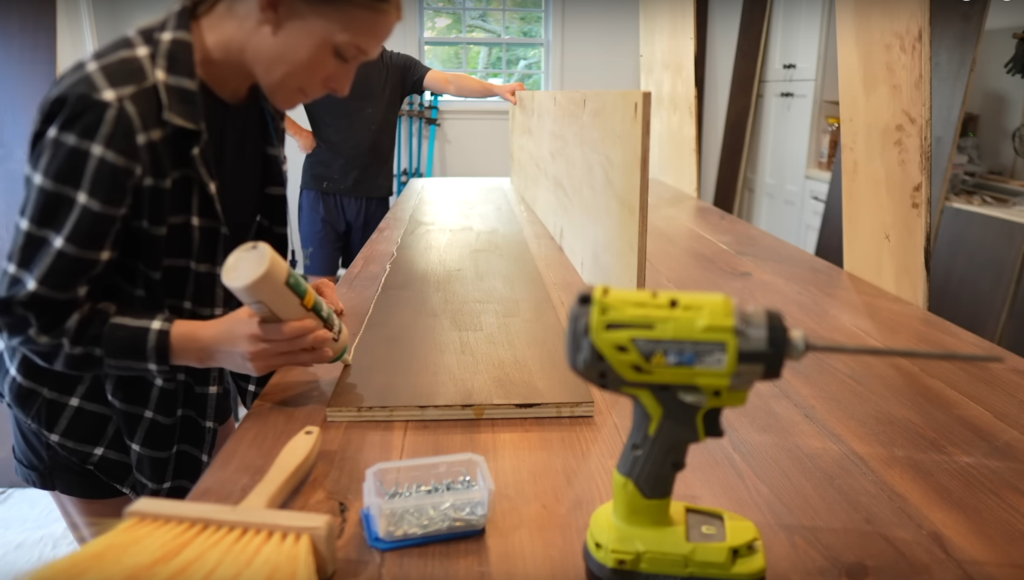
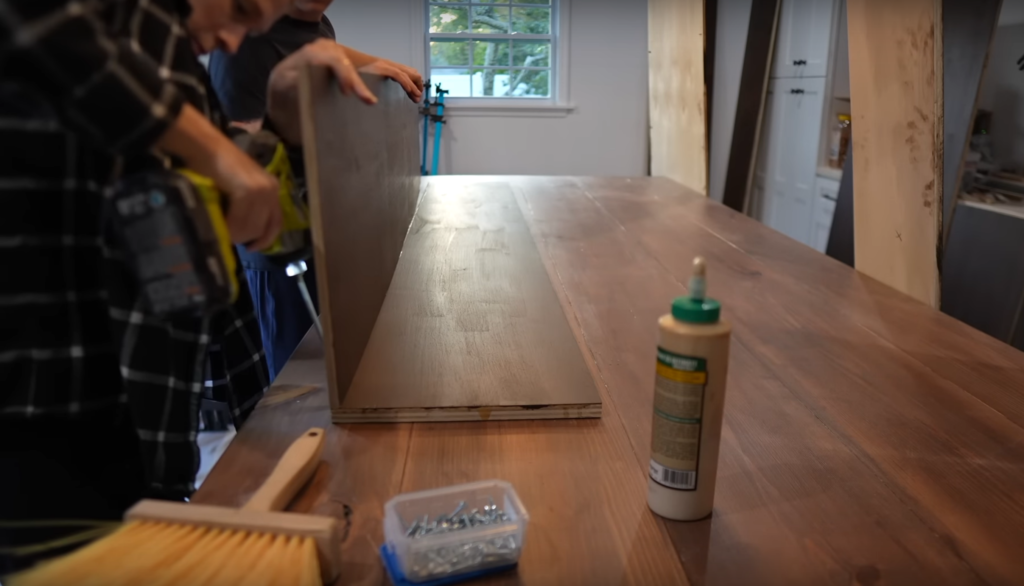
I glued the edge of the panel and then Devin helped me steady each of the panels while I secured the pocket screws.
For the top and bottom panel, I pre-drilled holes and then secured some small trim head screws.
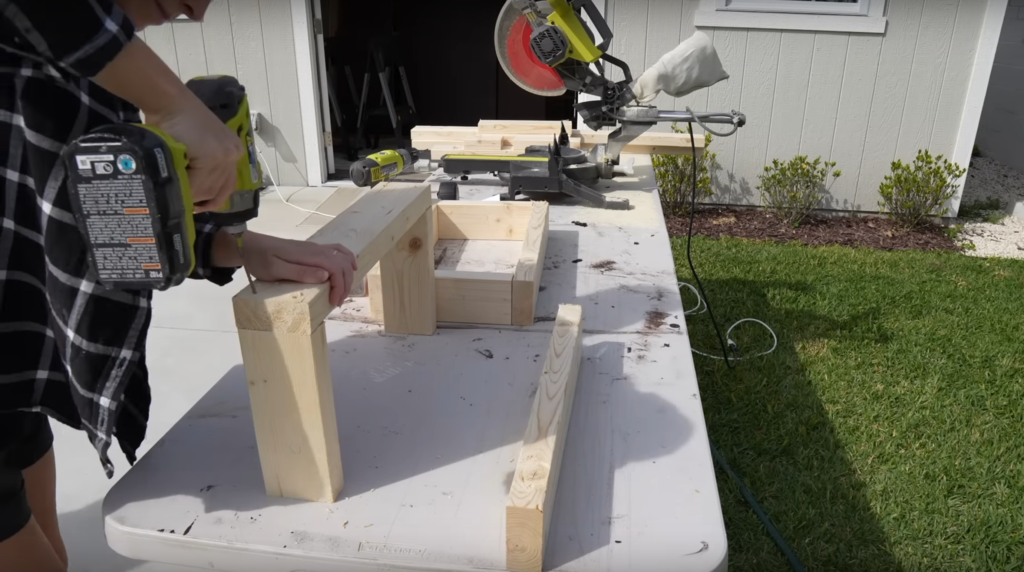
CUT 2×4’s FOR BASE & ASSEMBLE BASE FRAMES
The bookshelf boxes are assembled and now I can work on the base that the boxes are going to be set on.
I’m using 2×4’s for the base. I cut them down to size and then secured them together with wood screws.
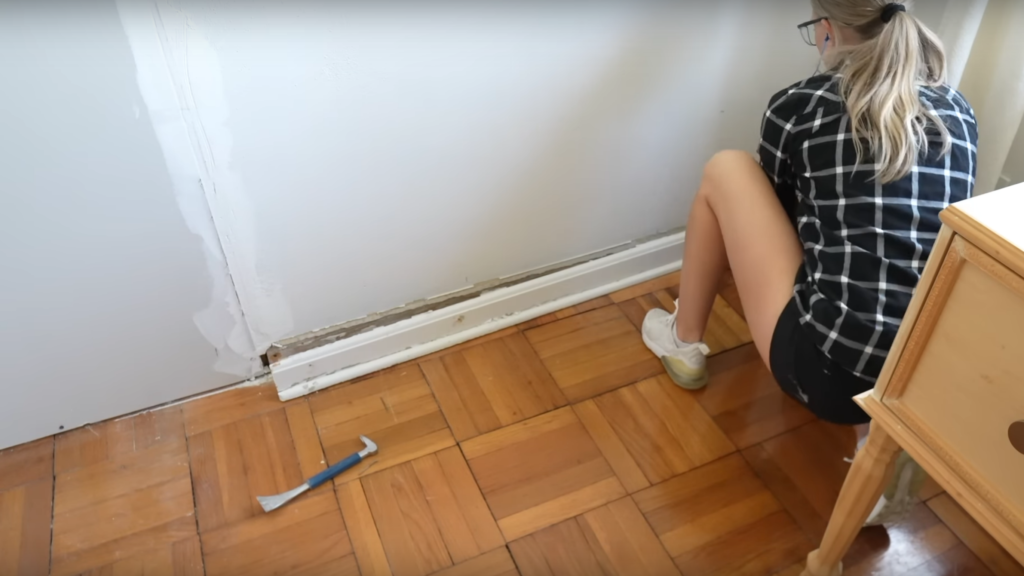
REMOVE TRIM & INSTALL BASE
To install the base I had to remove some of the existing base trim first.

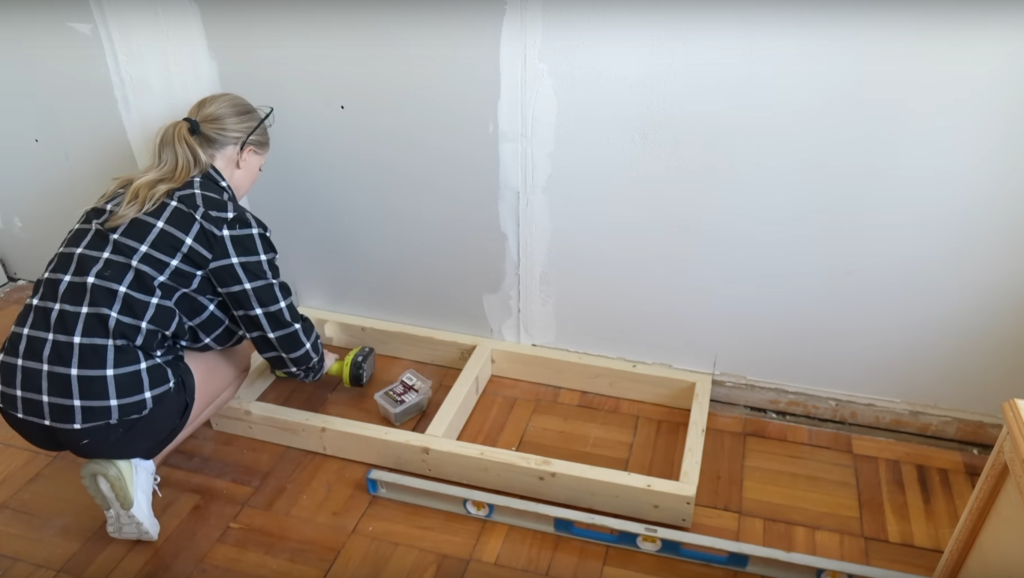
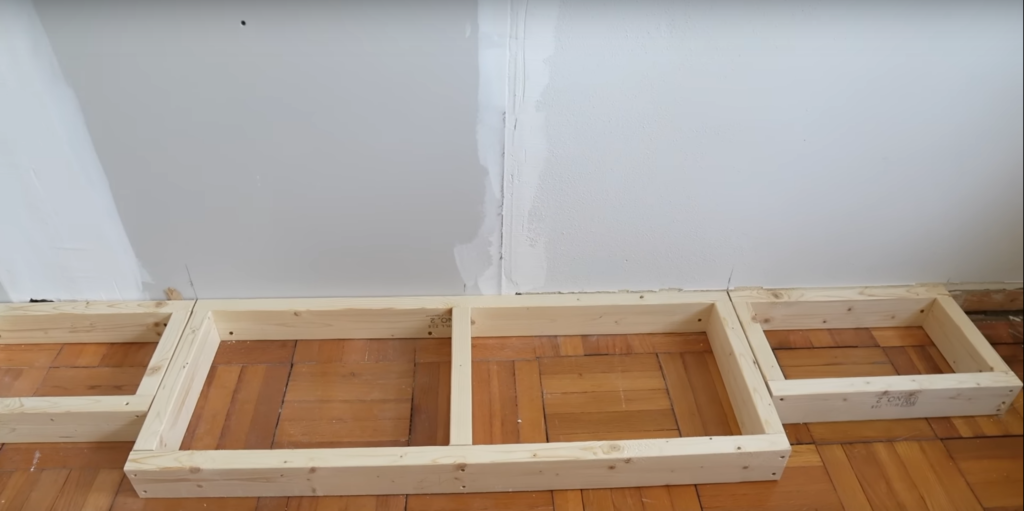
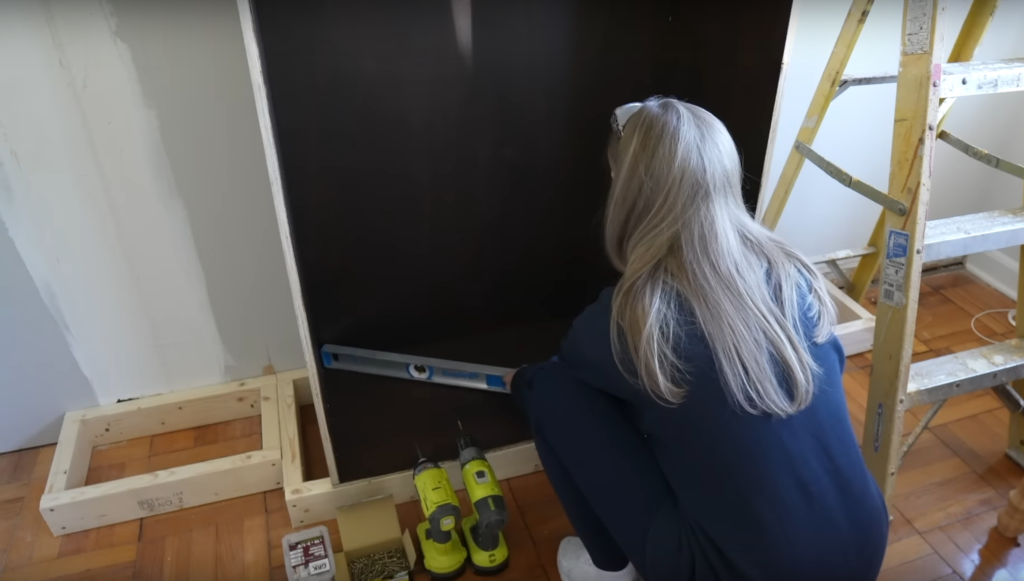
I secured the base frame into the studs in the back wall so it’s nice and secure. I made sure to level each of the frames first – using shims where needed.
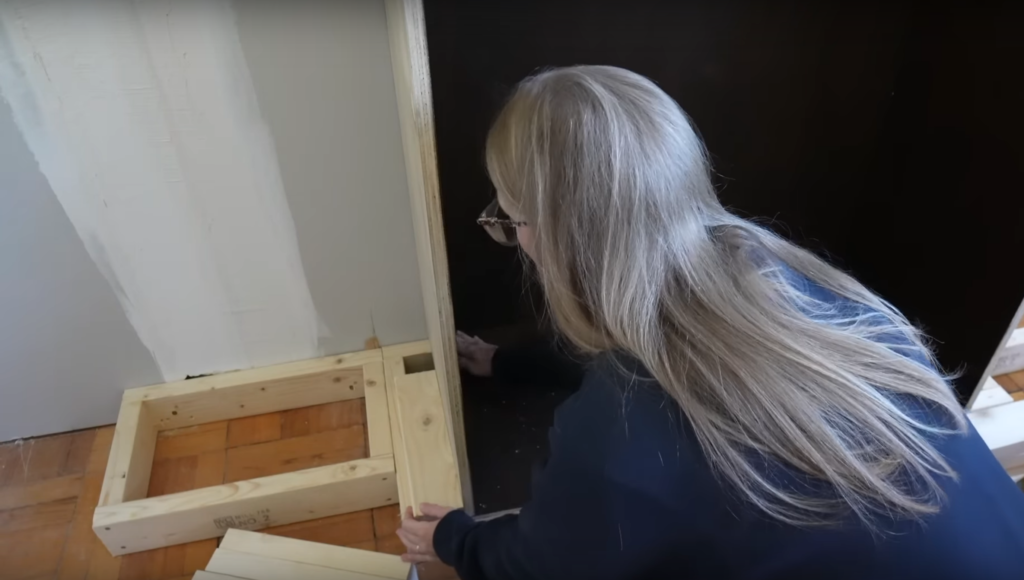
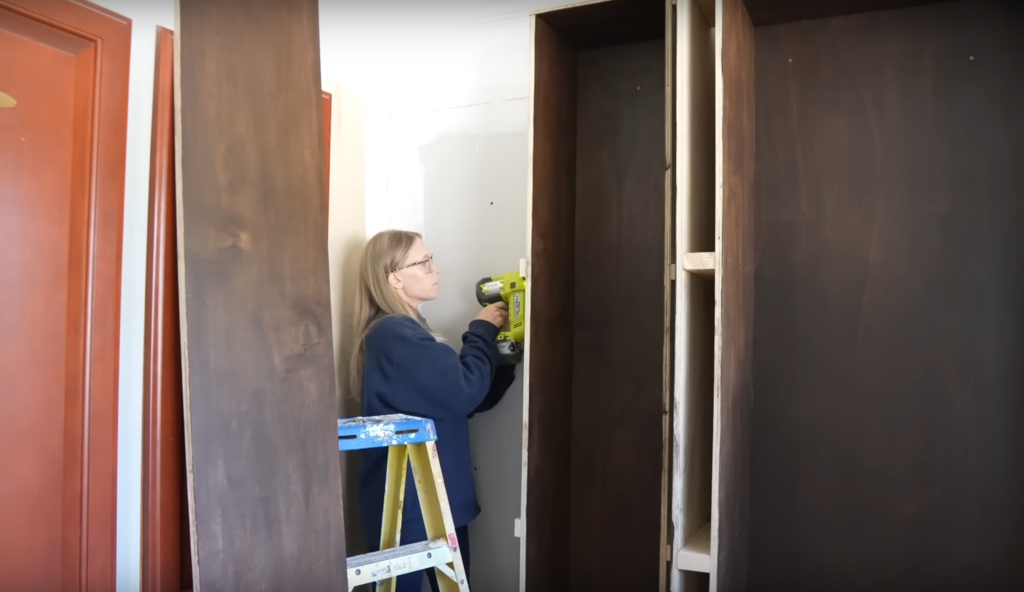
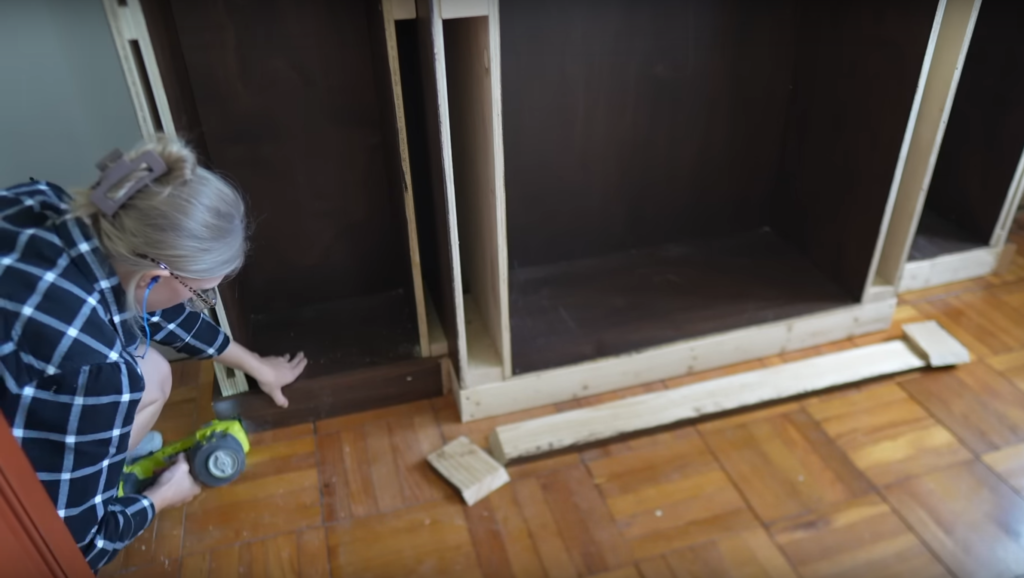
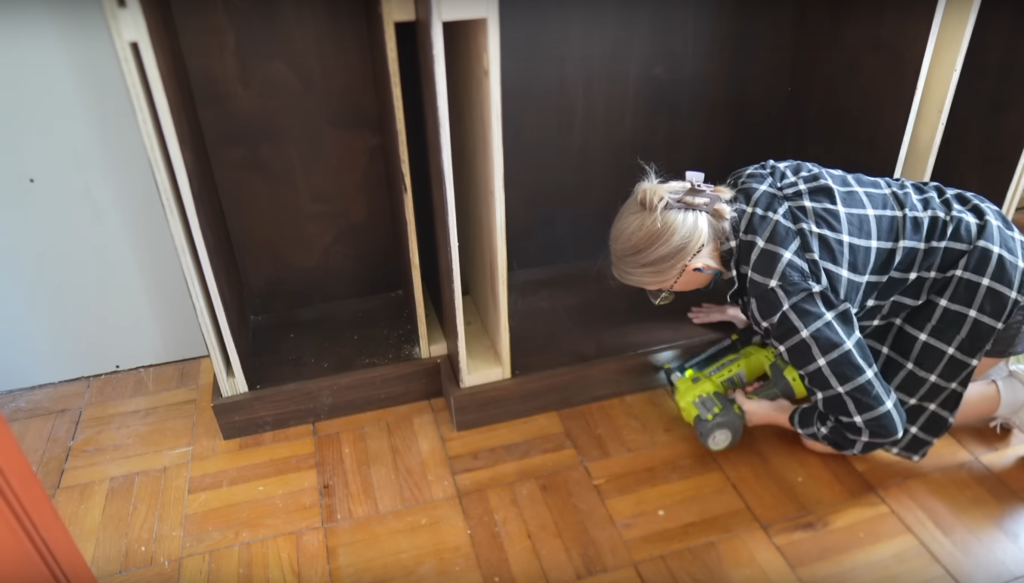
INSTALL BOXES
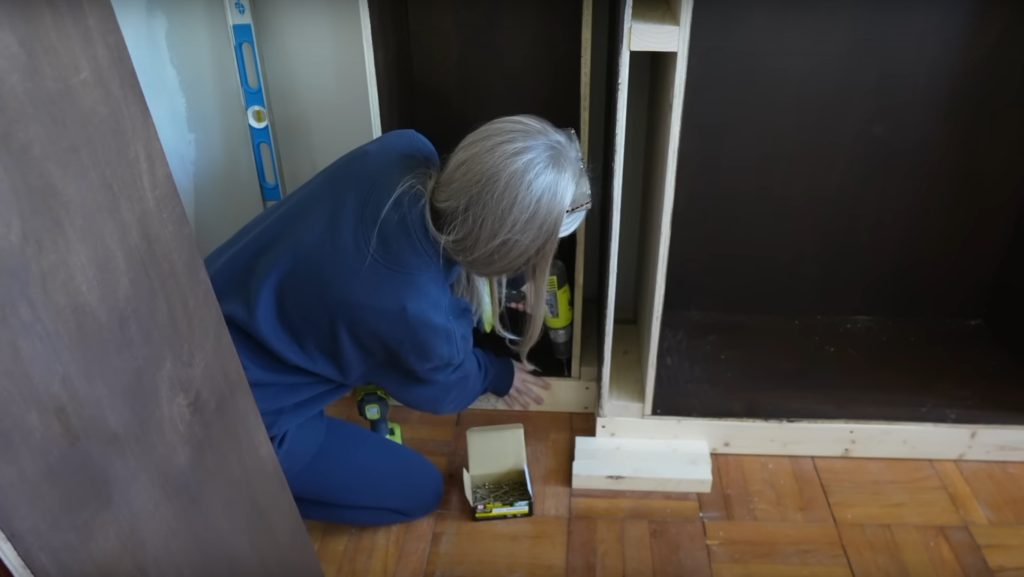
The bases are secure and now I can install the bookshelf boxes. Before setting the boxes in place I made sure to mark out the studs on the back wall so that I knew where to secure the boxes into. I started with the middle box, I set the box in place and made sure it was level and plumb and then secured the box down into the 2×4 framing, and I also secured it into the back wall so that there’s no possibility of it tipping over.
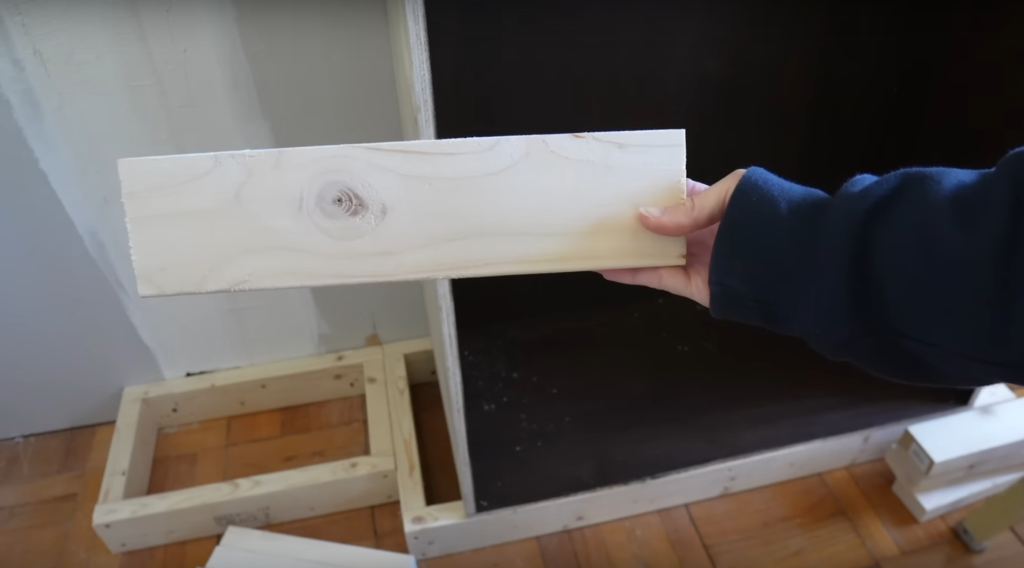
CUT SPACERS
To beef up the vertical supports of the bookshelves I cut some spacers out of scrap 2×4’s. The vertical supports for the middle box are about 4 1/2” wide total and about 2 1/4” wide total for the smaller outside boxes. I ripped all the 2×4 spacers down to size accordingly.

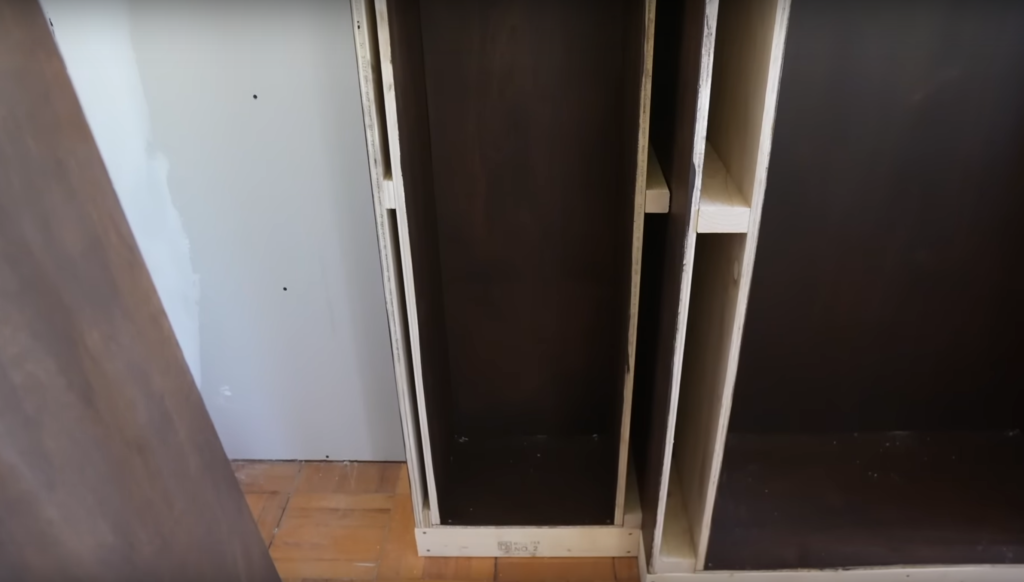
INSTALL SPACERS & OUTSIDE PANELS
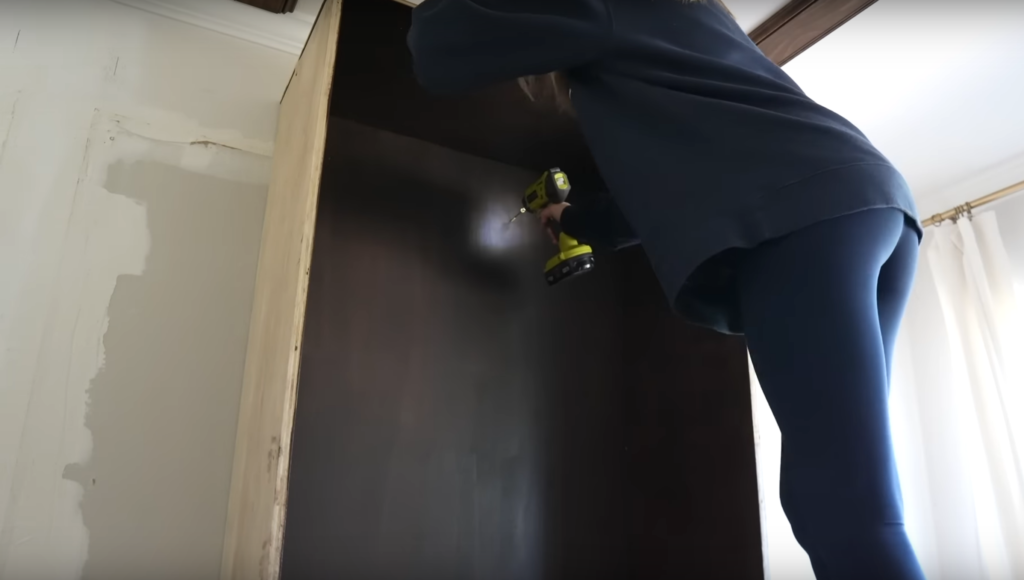
I secured the spacers to the outside of the vertical panels with brad nails. This is also what I will nail my vertical trim to.

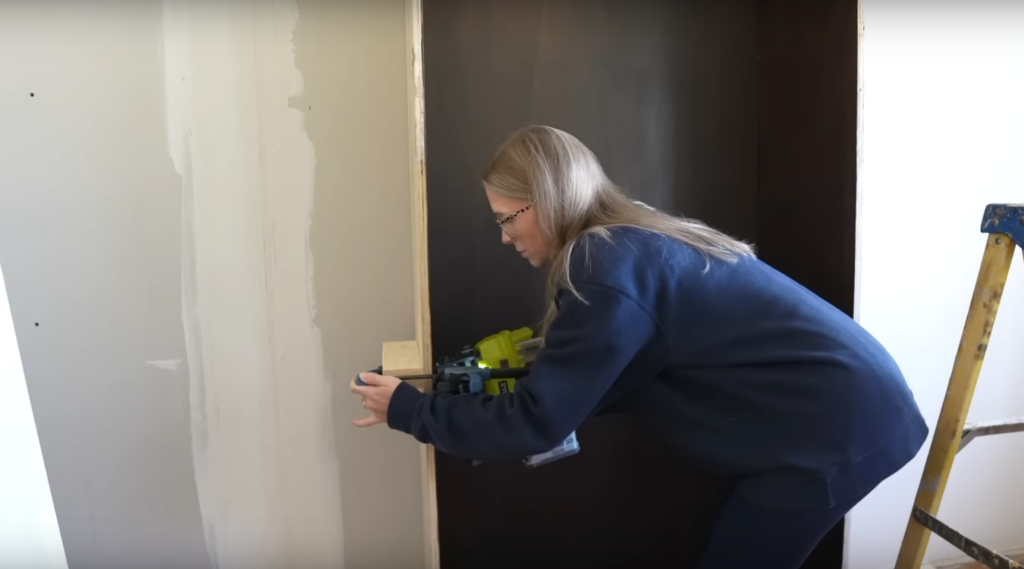
After the spacers were secured I installed the outside panel, nailing this to the spacers with brad nails as well.

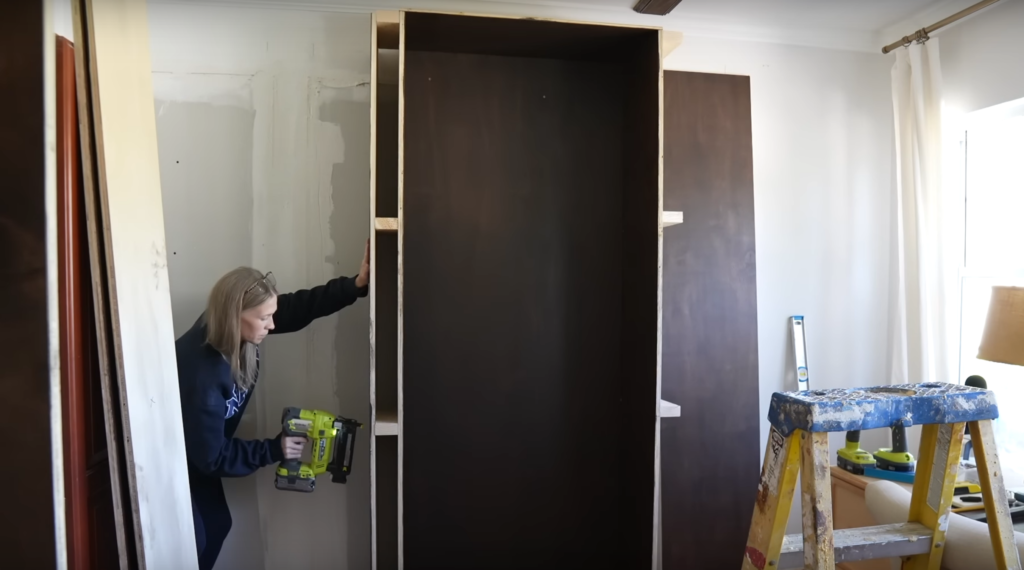
To install the left and right boxes, I followed the same steps as the middle box.
RIP BASE & CROWN 1×5’s
The boxes are secured and now I can prep all the trim.
I’m using these 1×5’s that I ripped down at 4 1/4” to cover the 2×4 frame.


I also ripped down a 1×5 at 4” to install at the top of the bookshelf behind the crown moulding.
I’m using this this 2 1/4” detail trim to cover the vertical supports of the smaller left and right boxes

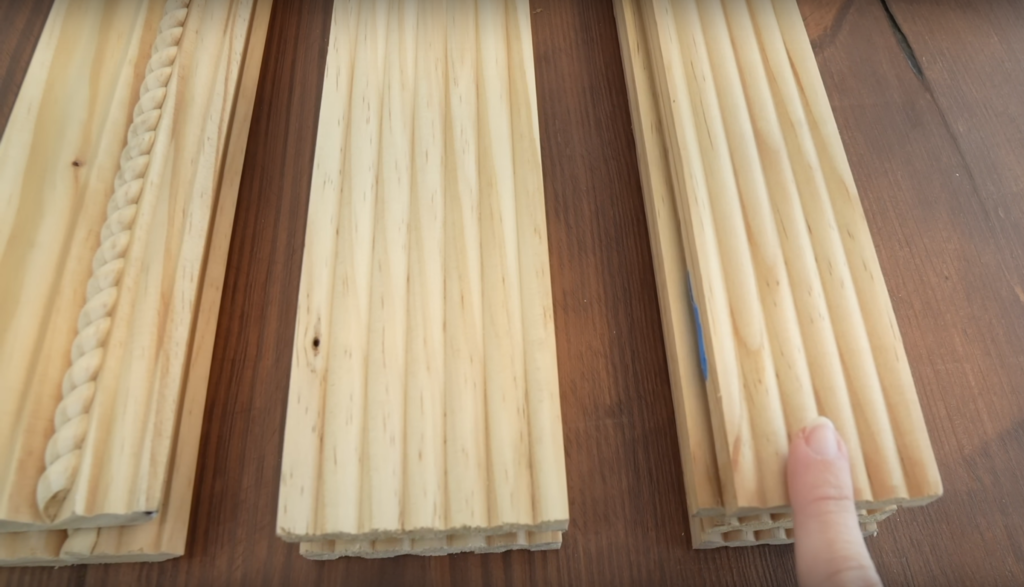
and then this wider 3 1/2” detail trim to cover the vertical supports of the middle box.
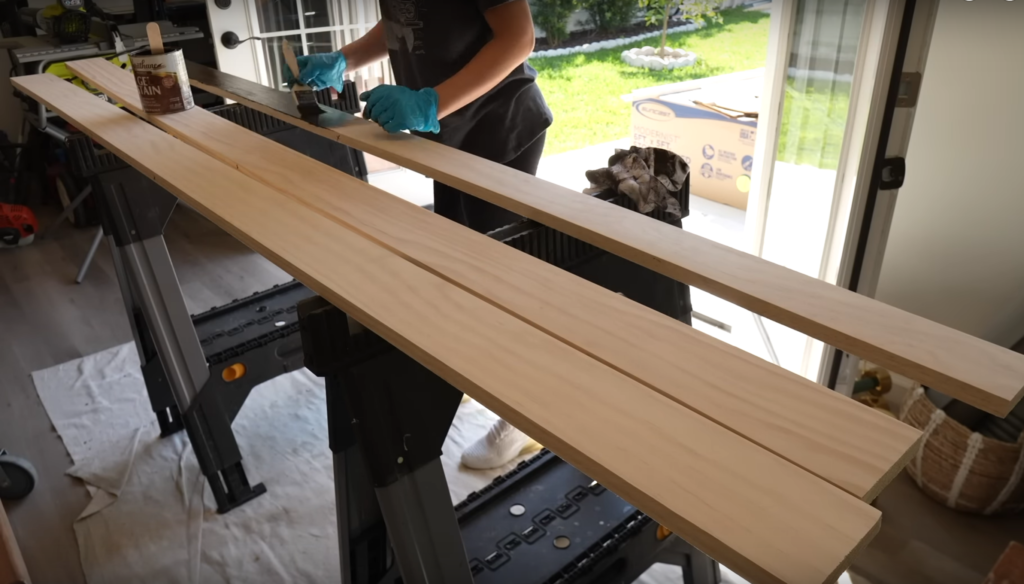
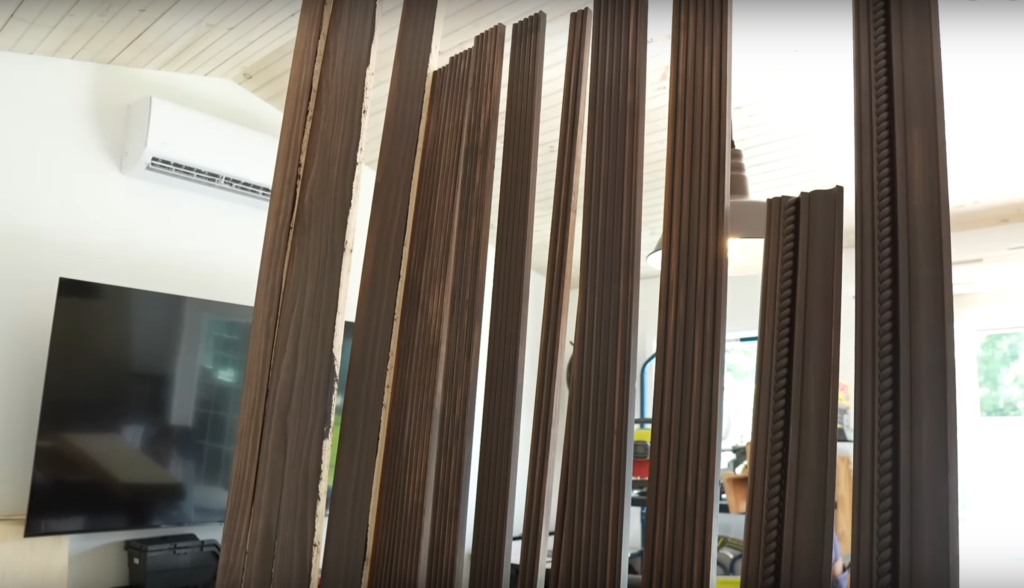
STAIN TRIM
I ripped down the 1×5’s, sanded them, and then stained them along with the detail base trim, vertical trim and crown moulding.
CUT SHELVES
The trim is prepped and now I can prep the shelves.
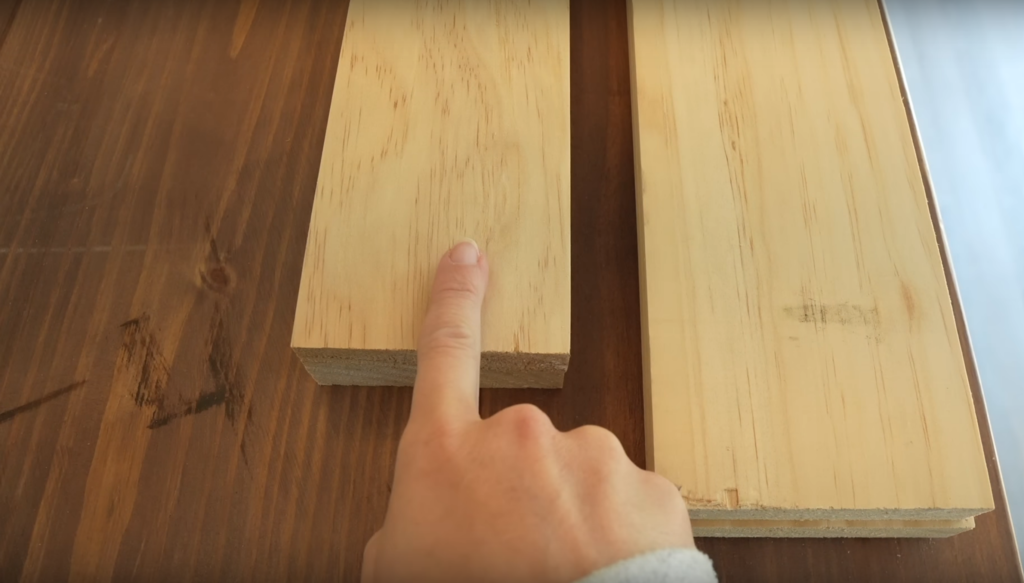
For the shelves I’m using these pine stair treads. They’re 1” thick so they will be nice and sturdy, and they have this bullnose which I think adds a nice touch.
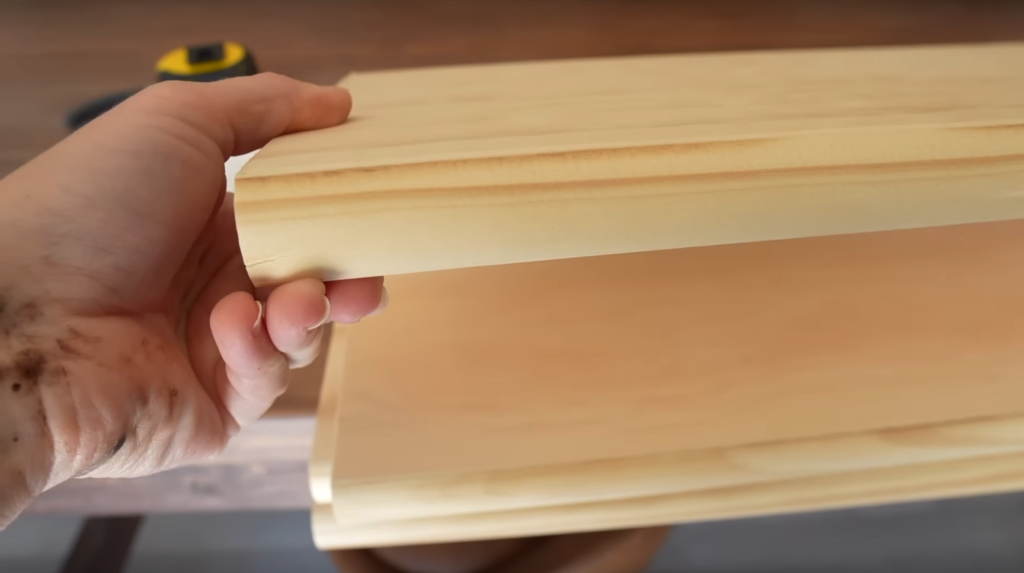
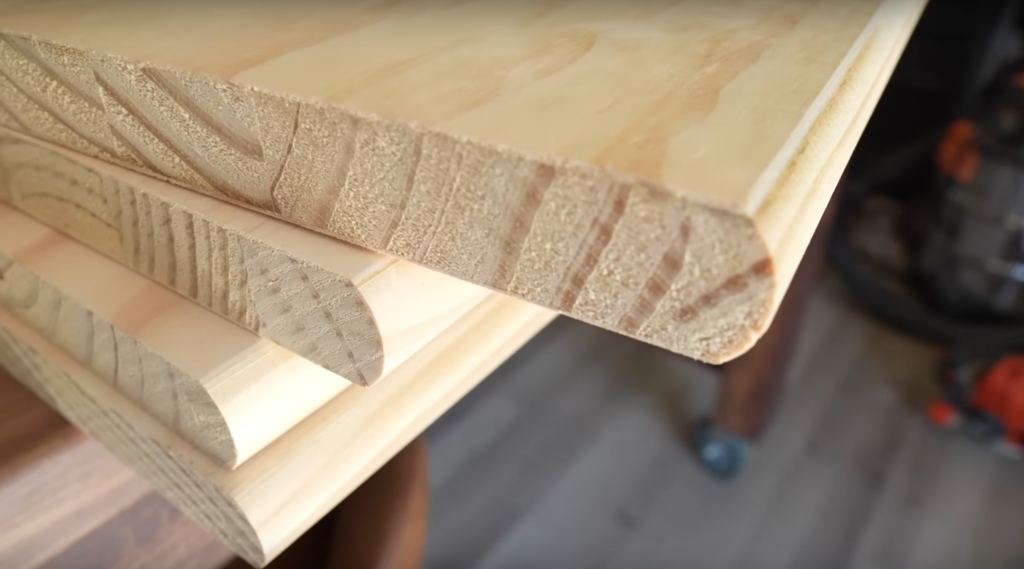
These are 11 1/2” deep which fits perfectly in the 12” deep left and right bookshelves. But for the middle shelf I will need to add some depth to fit in the 17” deep shelves.
I cut all the shelves down to the right length – these shelves are going to be adjustable so I cut them about a quarter inch less than the opening.


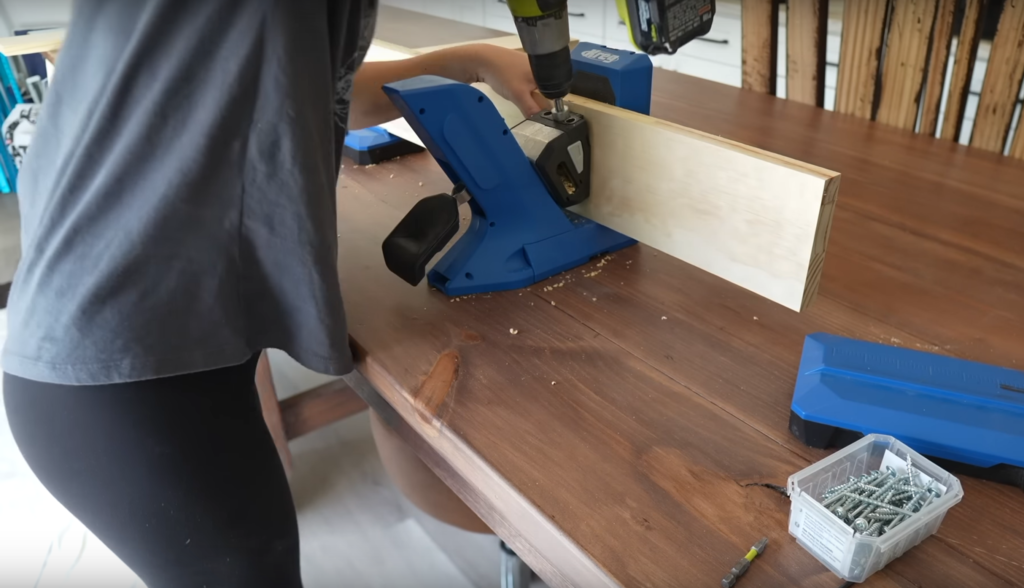
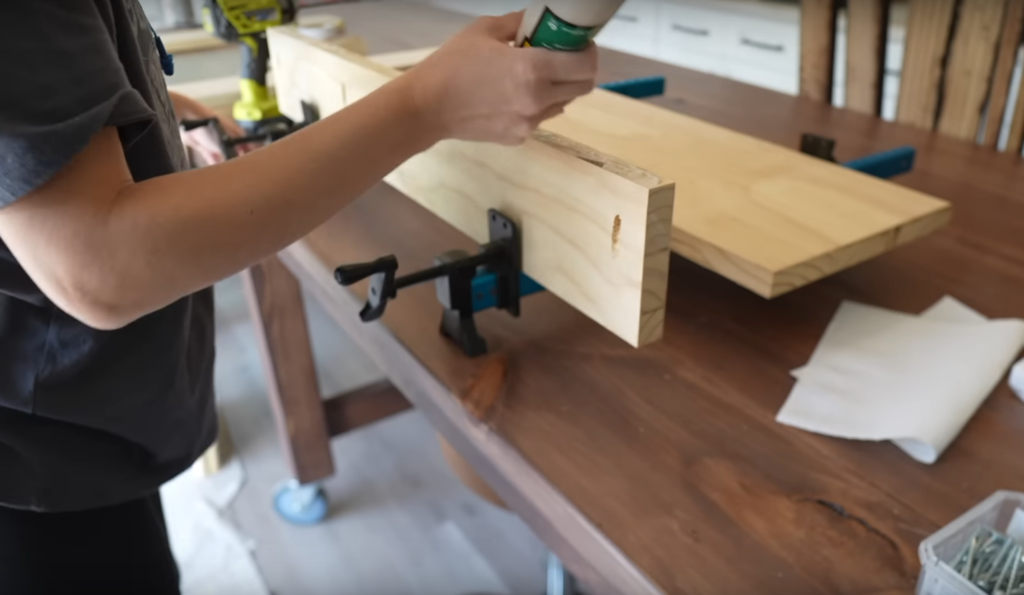
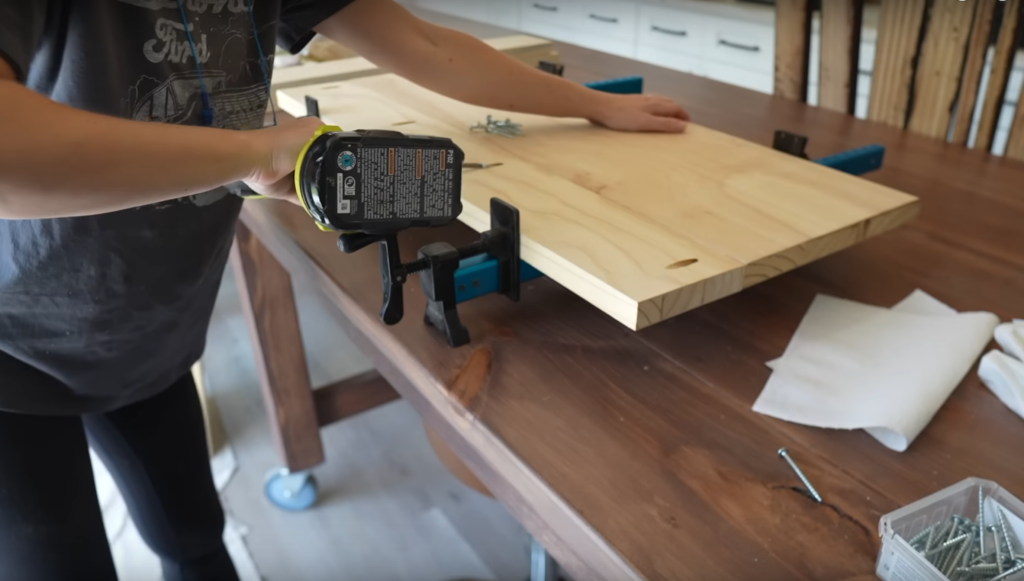
ASSEMBLE MIDDLE SHELVES
Since the middle shelves are 17” deep and the stair treads are only 11 1/2” deep I had to rip down a few boards and splice the two boards together to create a 16 1/2” deep shelf. I secured the extra material together with wood glue and pocket screws. I used my clamps to hold the two pieces together while I secured them.

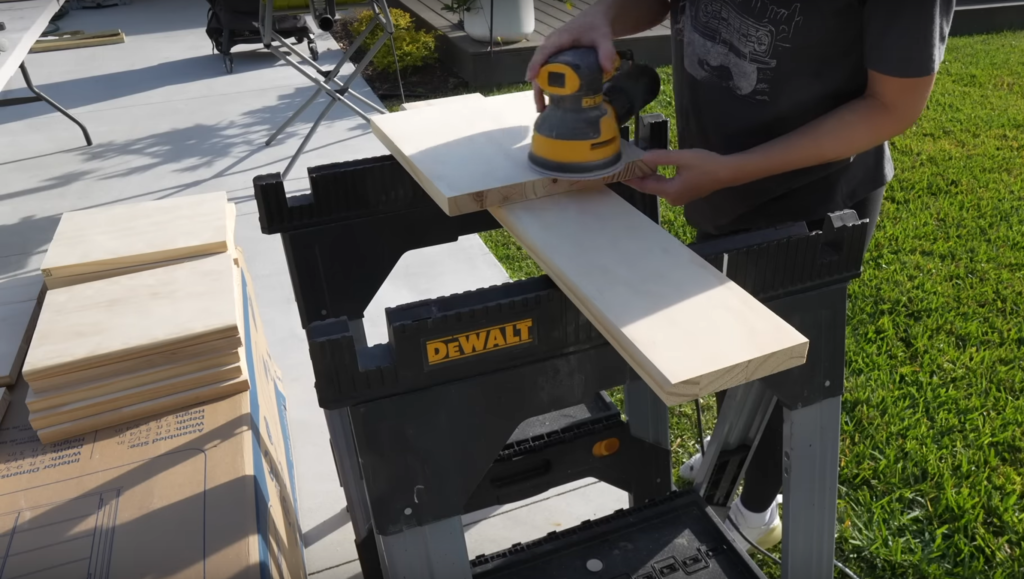
SAND, STAIN & POLY SHELVES
The shelves are cut and assembled, now I can sand them all down, stain them and poly them with the same dark walnut gel stain and polyurethane.

INSTALL BASEBOARD
For trim I installed the base 1x material first. I mitered the corners and wrapped it around the entire base of the bookshelves. I secured the trim to the base framing with brad nails.
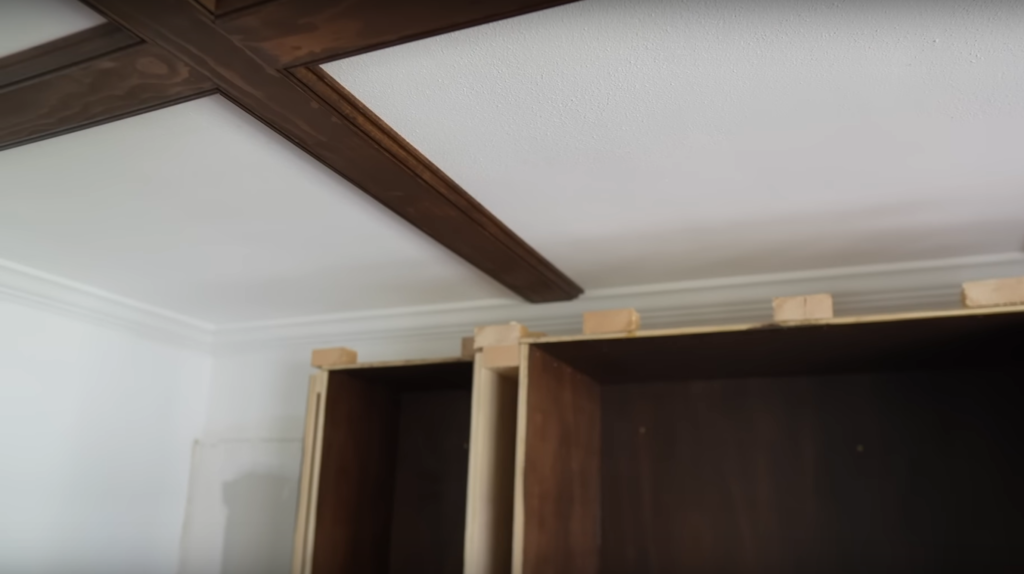
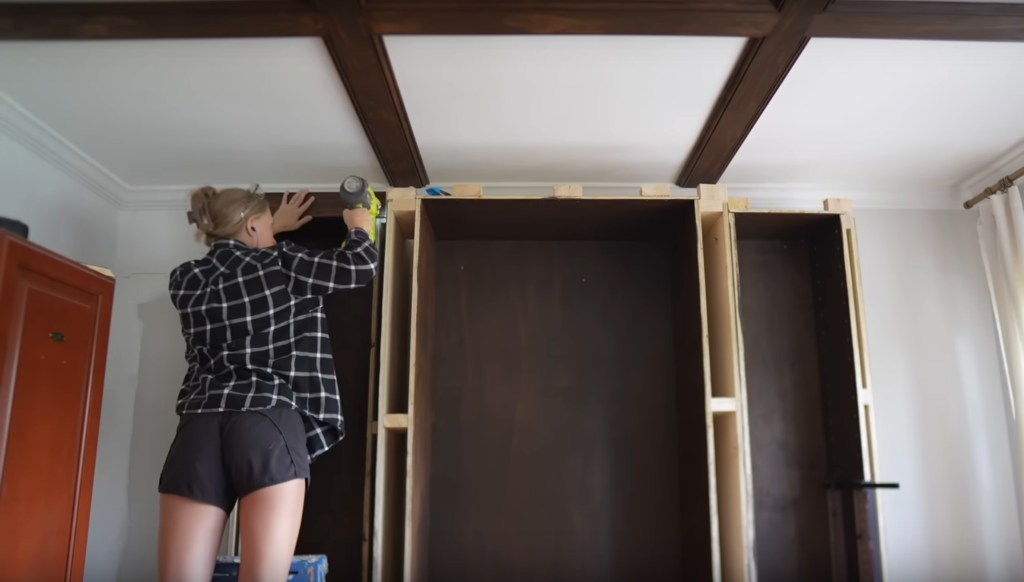
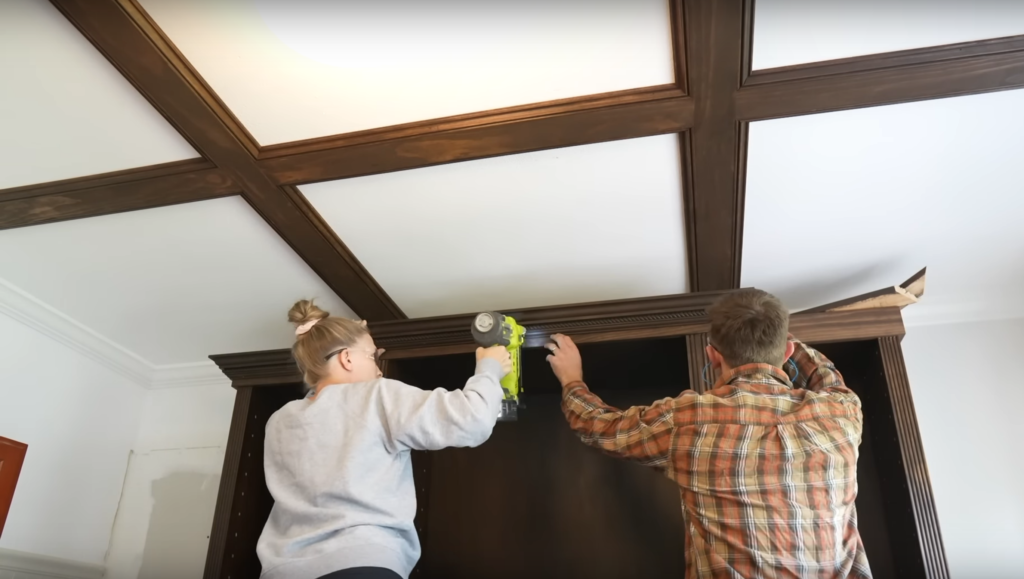
INSTALL UPPER BLOCKING & CROWN BOARD
To install the upper 1x I needed to secure some blocking first. I cut some blocking out of scrap 2×4’s and secured it to the top of the boxes with brad nails.
After the blocking was secured, I secured the 1x material to the blocking at the top of the bookshelves with brad nails making sure the trim was nice and level.

INSTALL VERTICAL TRIM
Next, I installed the detail vertical trim. I secured this to the blocking for each of the boxes.

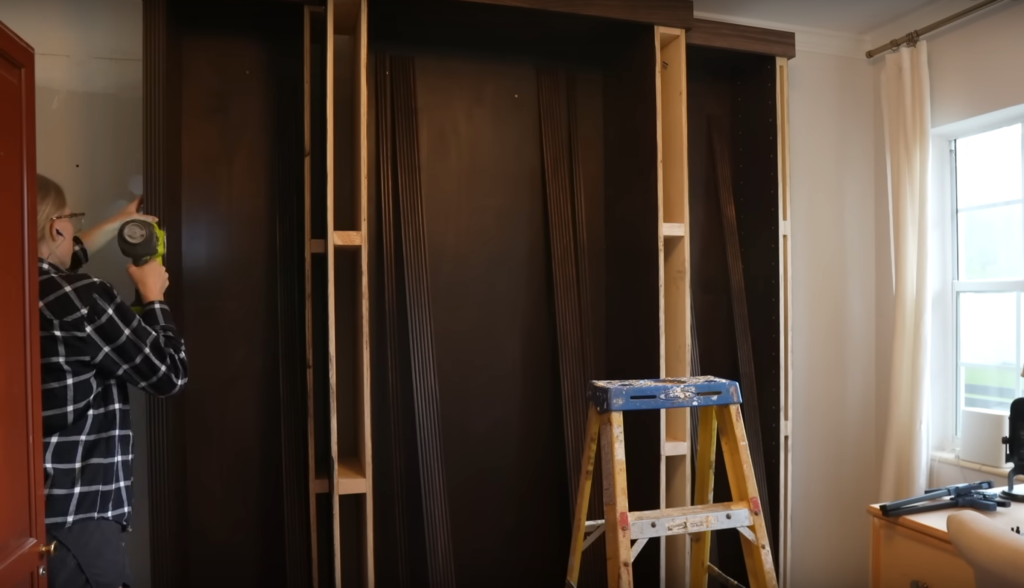
For the two outside bookshelves I made the width of the vertical supports 2 1/4” to fit the 2 1/4” detail trim. For the middle box I wanted to make the vertical supports a bit wider at 4 1/2” and the larger detail trim was only 3 1/2” so I had to rip an extra inch to get the full 4 1/2” width. I used brad nails and glue to secure these detail trim pieces.
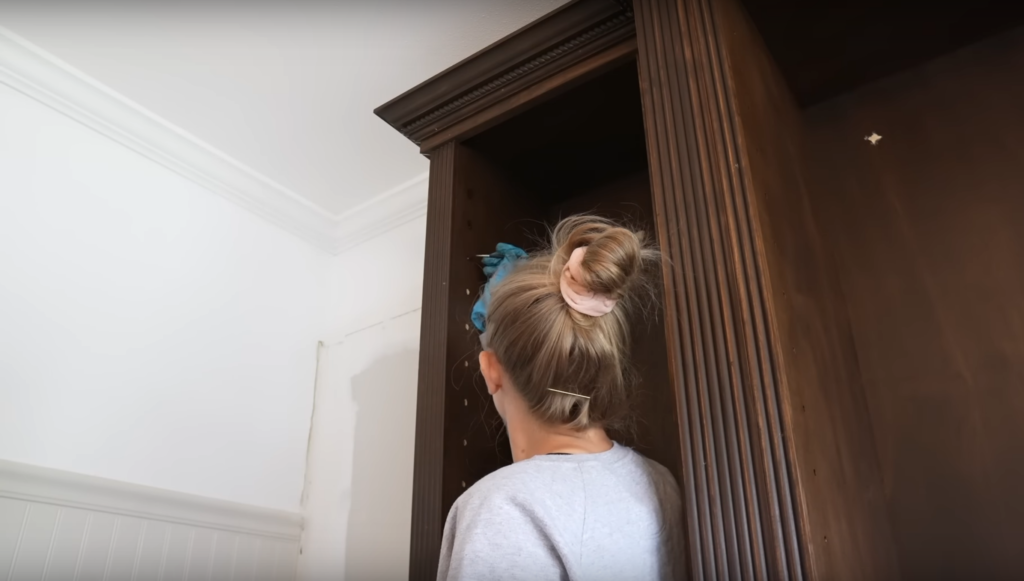
INSTALL BASE TRIM & CROWN
Now I can finally install the base trim and the crown moulding. I mitered the corner of the base and the crown and secured it to the 1x lumber behind it with brad nails – leaving about an inch reveal.
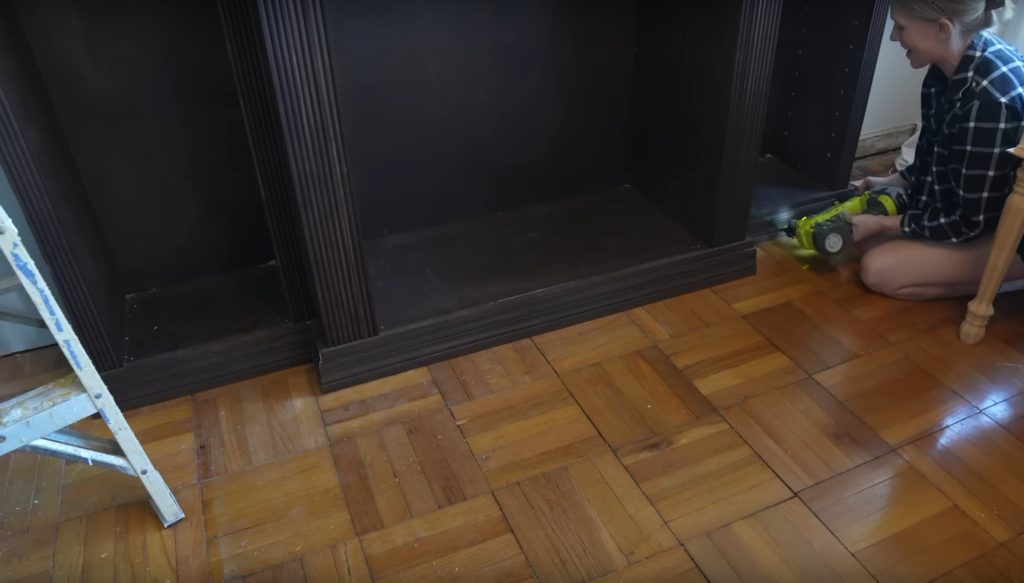
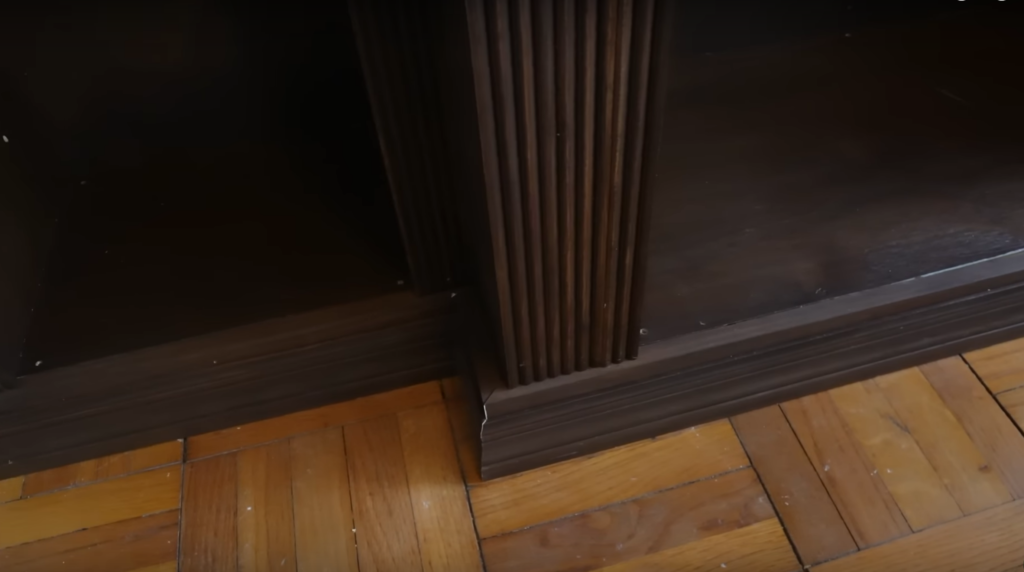
I love the character that the base trim and the crown moulding adds. I think it gives the bookshelf a more sophisticated and traditional look which is the look that I’m going for.

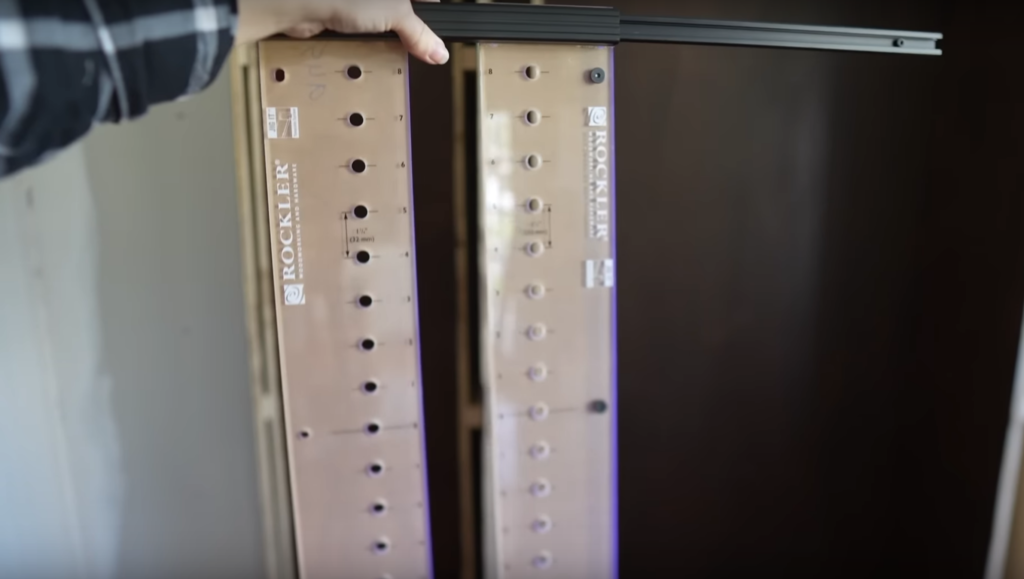
DRILL SHELF HOLES
I wanted these shelves to be adjustable so I drilled shelf pin holes in all the boxes. I used this special shelf pin drill and guide from Rockler to drill all the holes. It’s really hard to see but this jig made it super easy and now we have the ability to adjust the shelves however we need to.


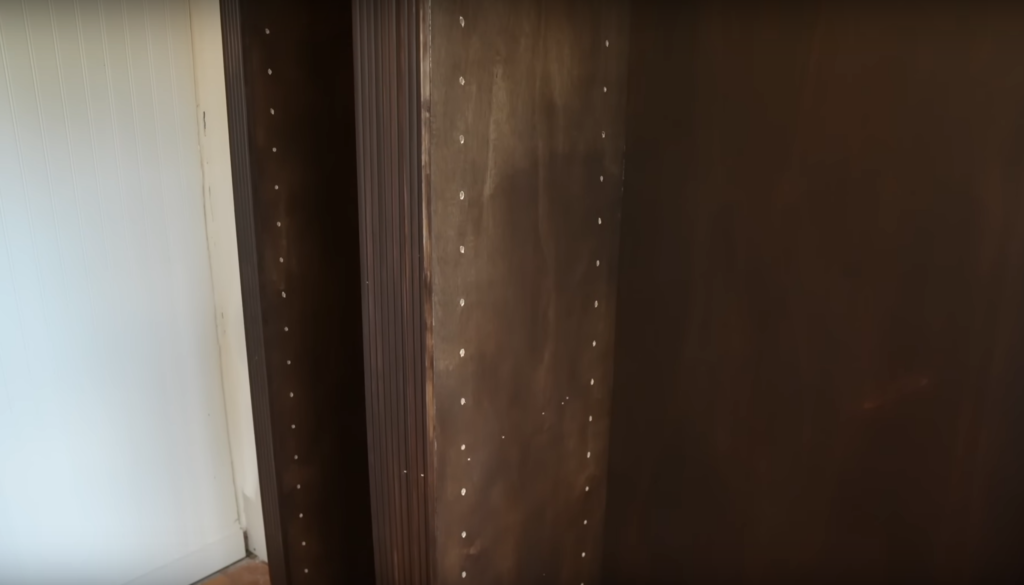
STAIN SHELF HOLES AND NAIL HOLES
After the holes were drilled, I took a tiny paint brush and stained all the holes so that they blended in better with the rest of the bookshelves.
INSTALL SHELF PINS AND SHELVES
Last but not least it was finally time to install the shelf pins and the adjustable shelves.