
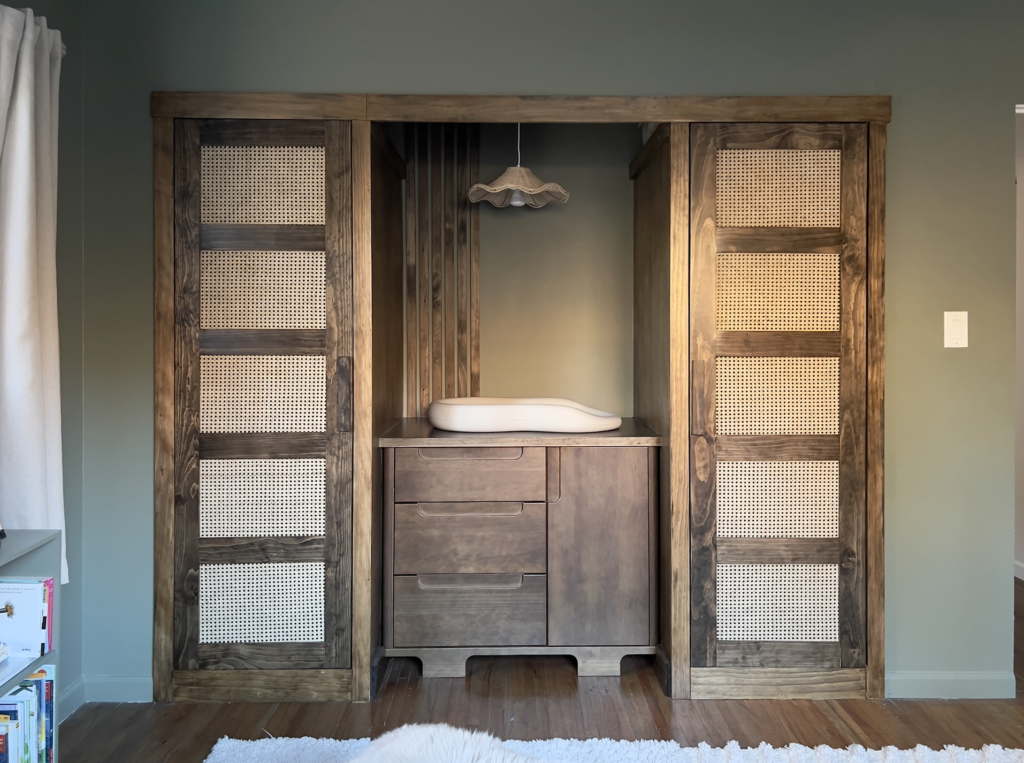
Hey guys – Happy New Year! I’m starting off 2024 with a nursery makeover for my sister!! My sister and her husband live in Montana – My whole family chipped in to get most of the nursery finished in September when we visited for their baby shower. Over Christmas we went back to Montana and completely finished the project, I also got to meet my niece – it was such a special time. So, in this post I’m going over how I turned an ordinary closet into a custom nursery closet with a changing table – with the help of my pal, Waylon (my doggy nephew).
Check out the nursery links below.
Nursery Links
| ITEM | LINK |
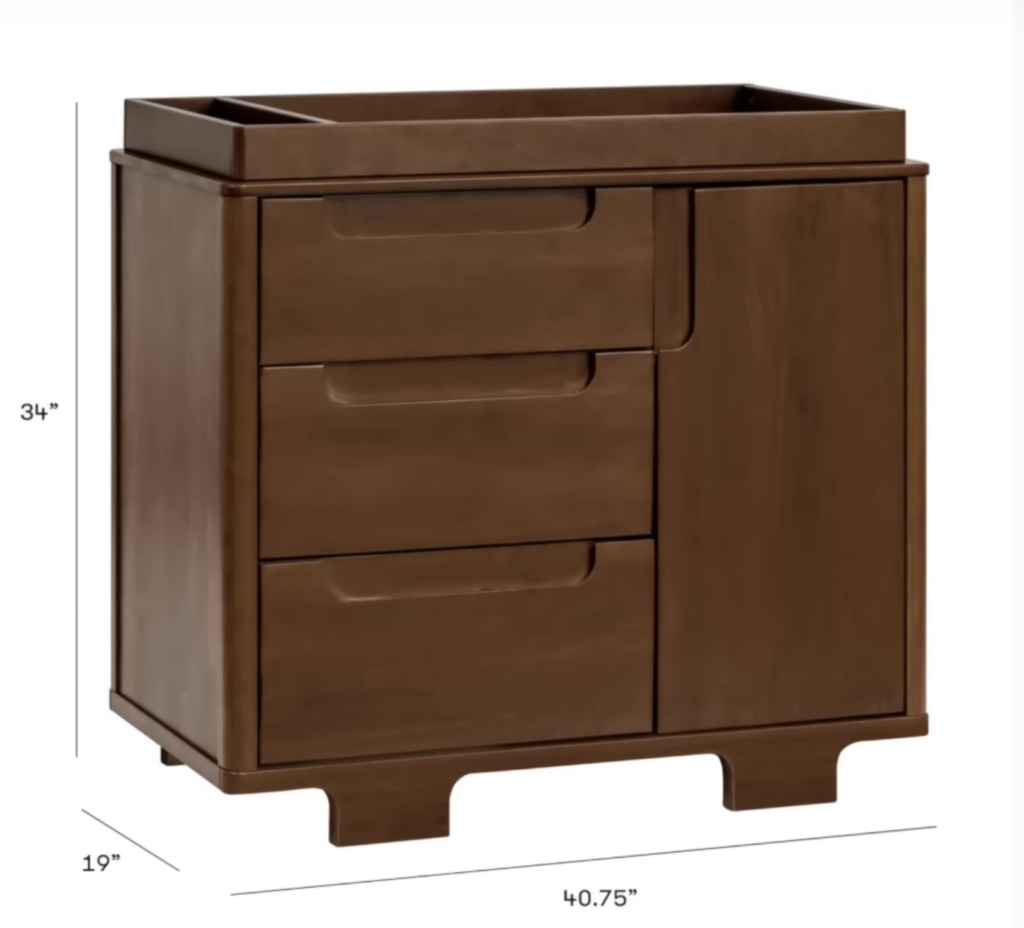
| Babyletto Changing Dresser | https://bit.ly/492JHcQ |
| Caning Material | https://bit.ly/3vH0AeC |
| Rattan Pendant | https://bit.ly/42b1n3M |
| Plush Rug | https://bit.ly/3PFzBaX |
| Recliner | https://bit.ly/3ZiPEyq |
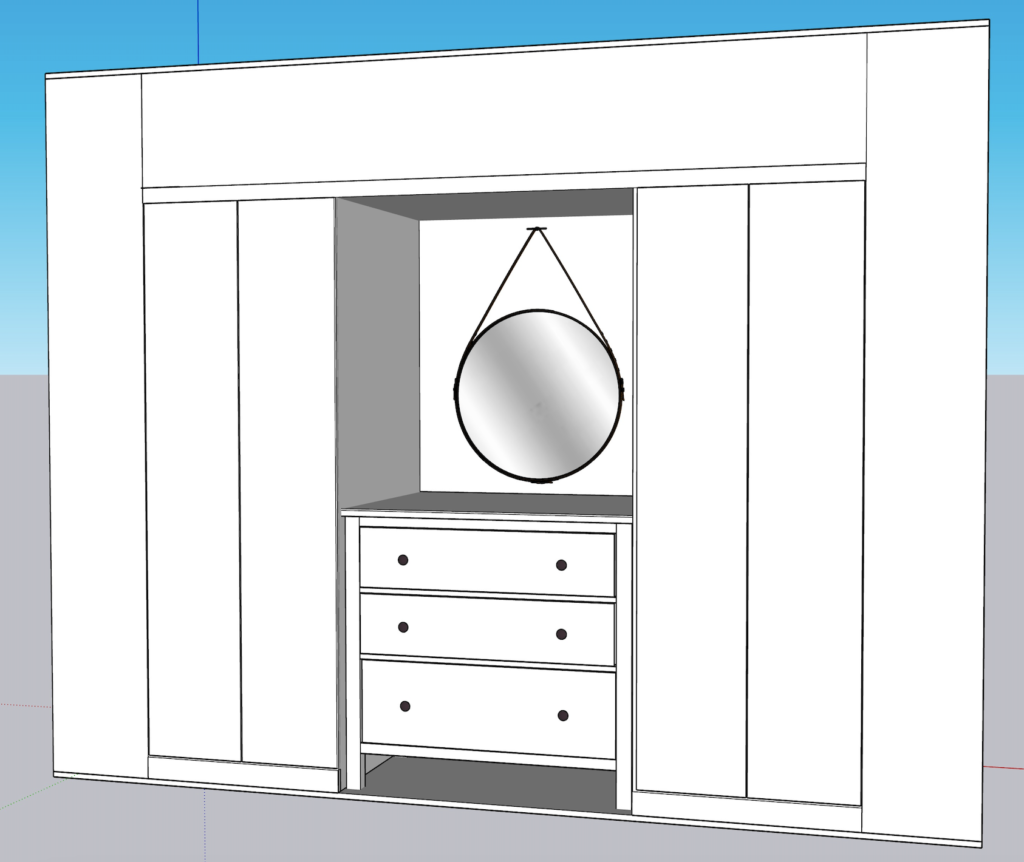
CLOSET DESIGN
For the closet design I had my sister pick out her dresser / changing table first so that we could get the measurements of it and then build the two wardrobes on either side. This will serve as a dresser when baby gets older or they can remove the dresser down the road and add a little desk in the center of the closet or whatever they choose.


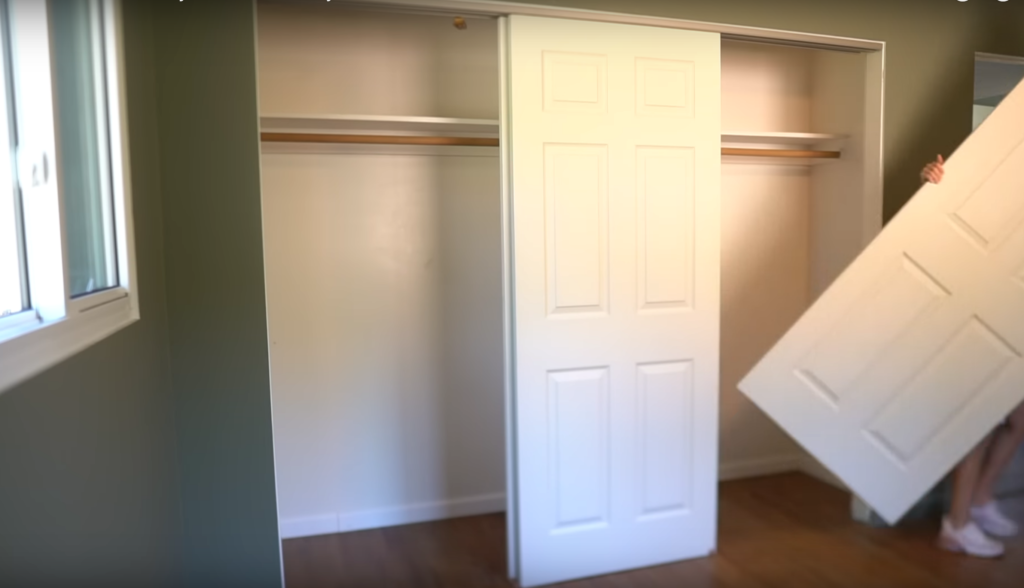
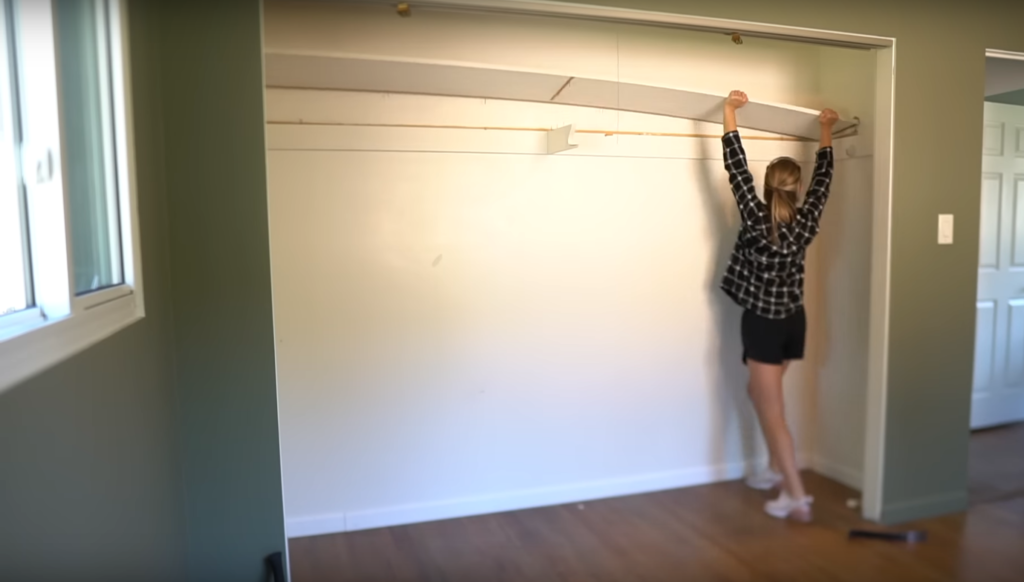
STRIP CLOSET
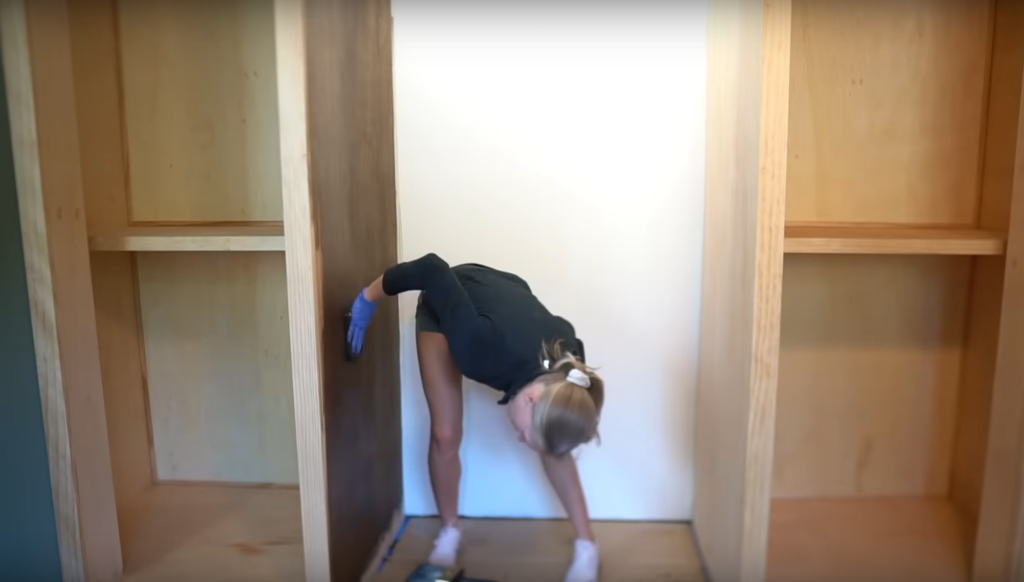
First things first I took off the closet doors – we won’t be needing these. I’m also taking out all the trim and any old shelving.


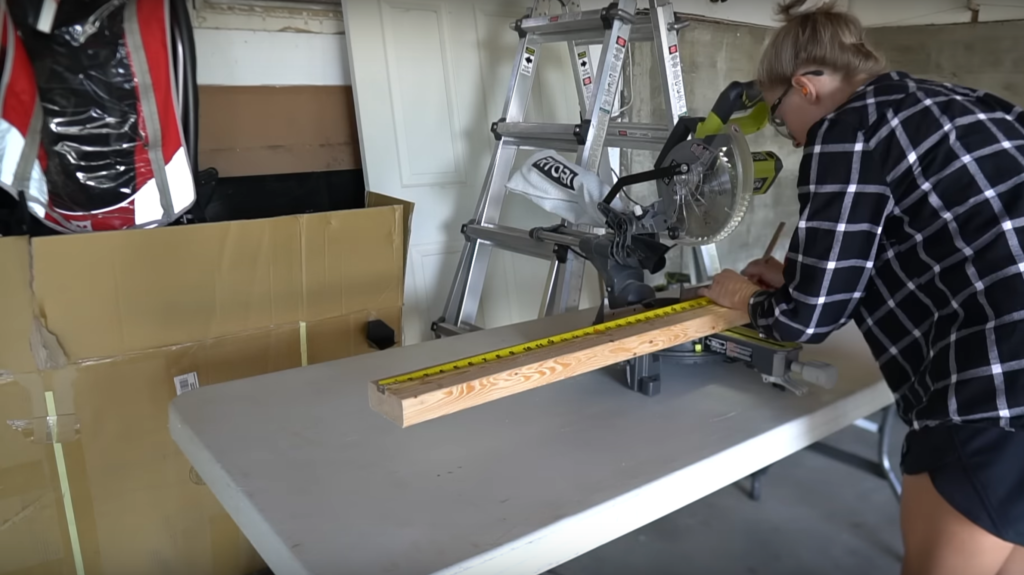
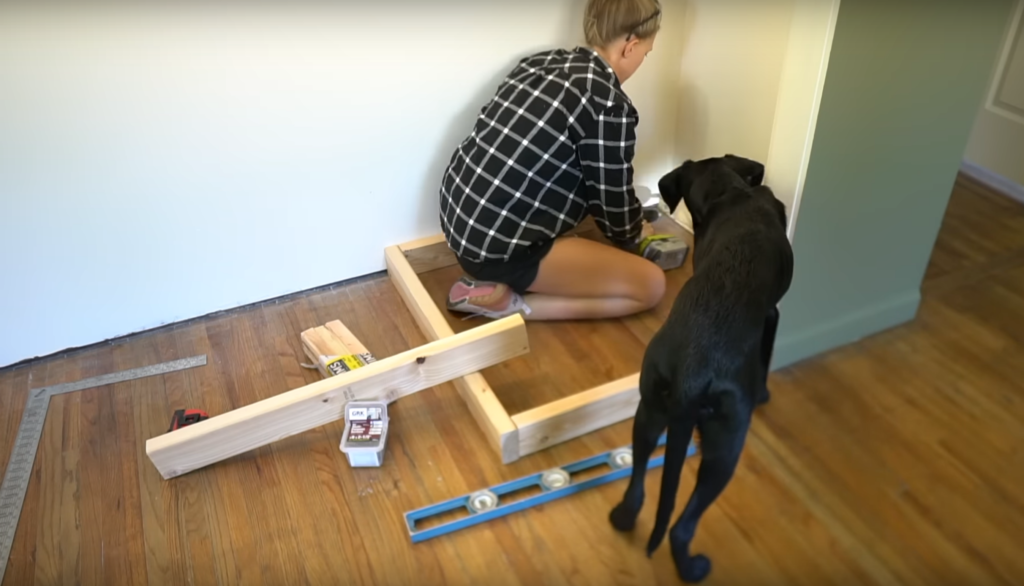
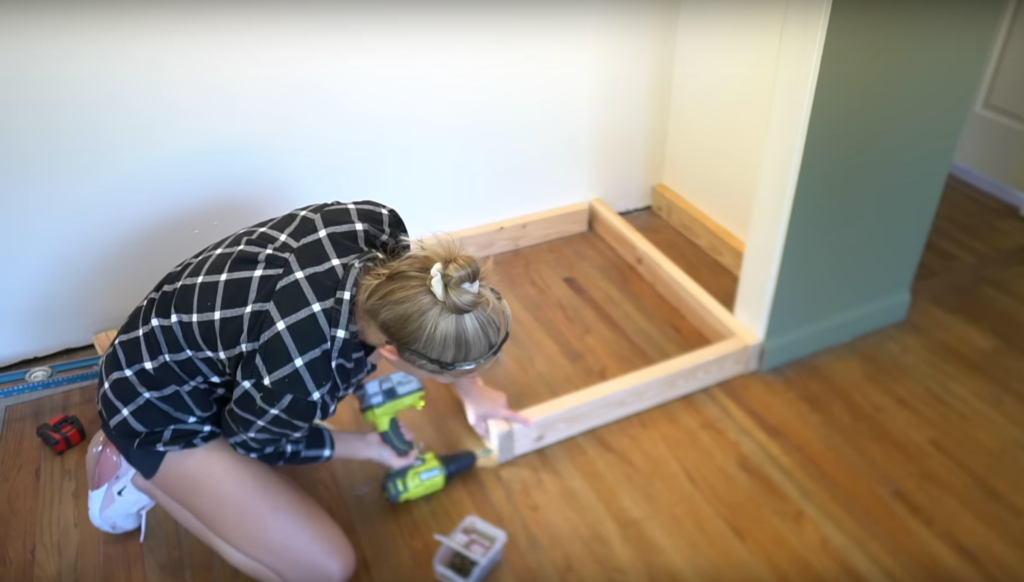
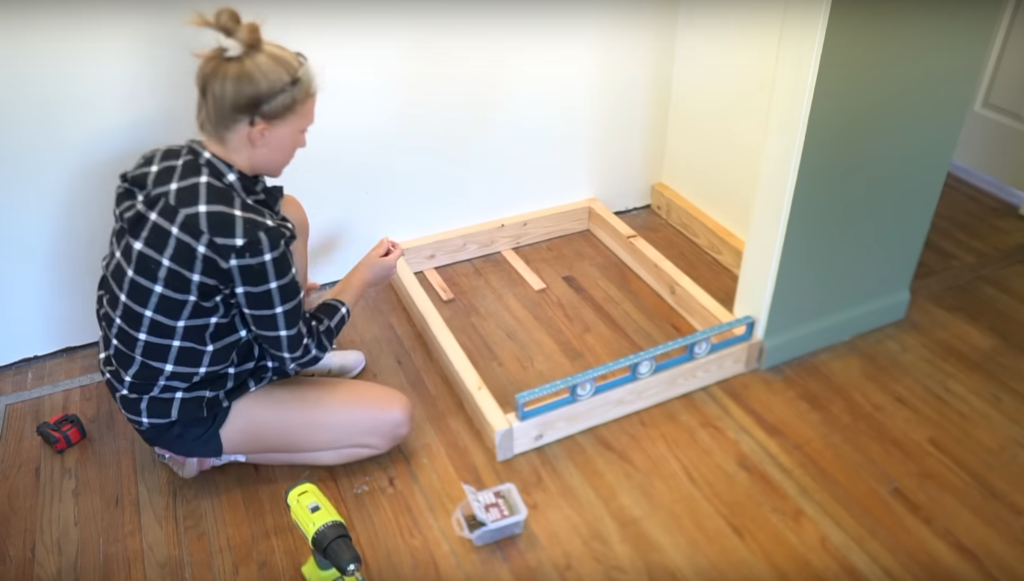
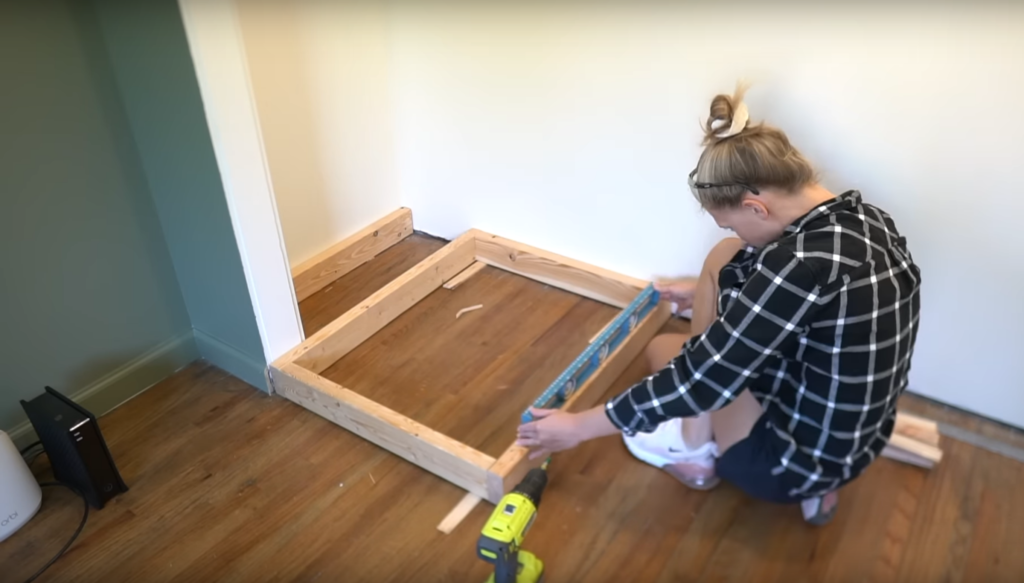
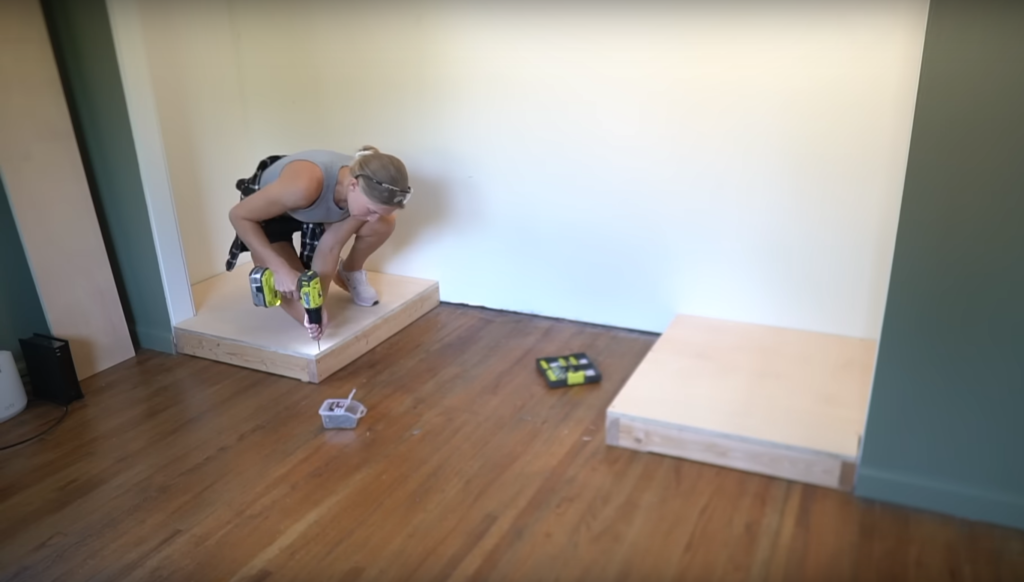
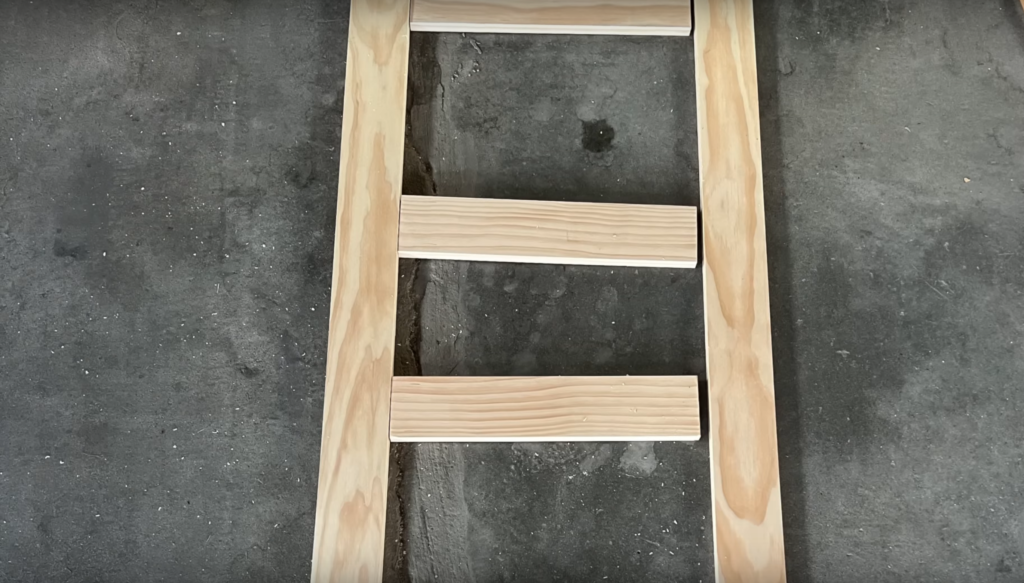
BUILD BASE
Next, I’m working on building a base for each of the 2 wardrobes out of 2×4’s. I cut all the 2×4’s down to size and dry fit them in the closet to make sure they fit.

I secured the 2×4 boxes together with wood screws and then after the boxes were assembled I made sure they were level and square. It’s important for your base to be level because this is the foundation of your wardrobe boxes. I used shims to get the framing where I needed it and then secured the framing into the back and side walls.

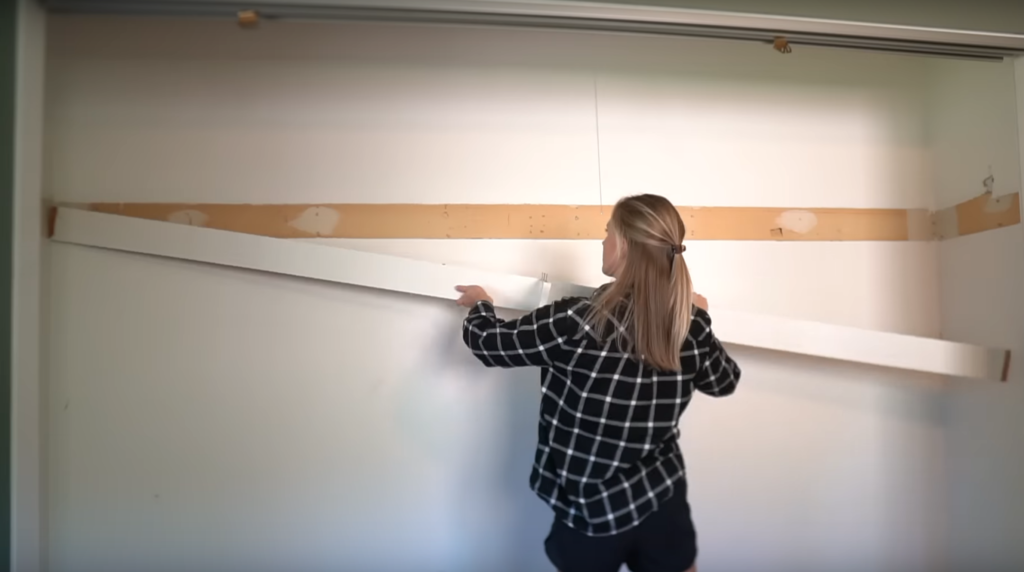
CUT PLYWOOD
After the base was secured I measured and cut out all of the plywood for the wardrobe boxes.
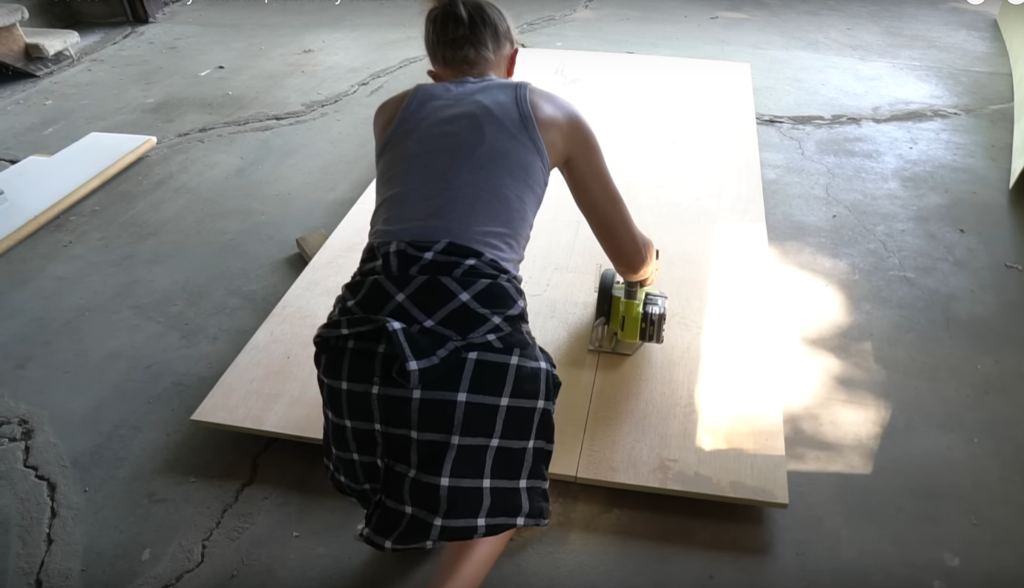
I’m using 3/4” plywood for the wardrobe boxes and 1/4” plywood for the back of the wardrobe box.
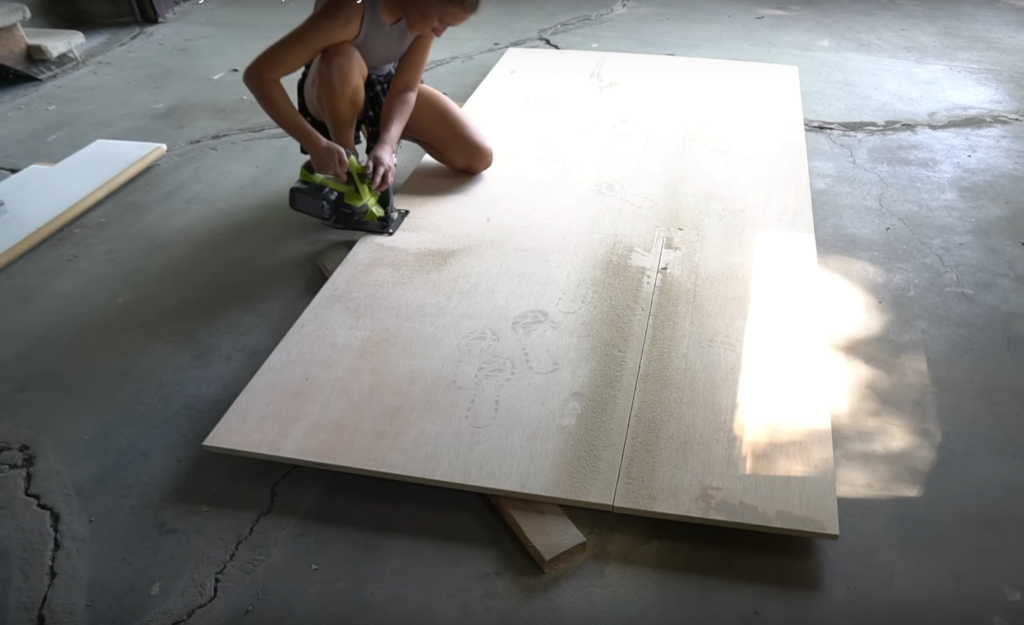
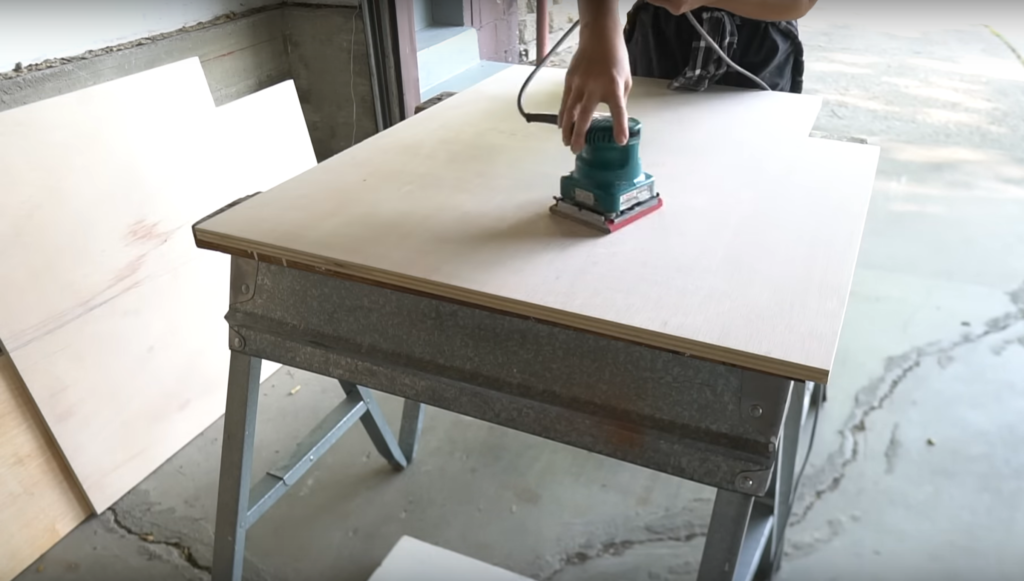
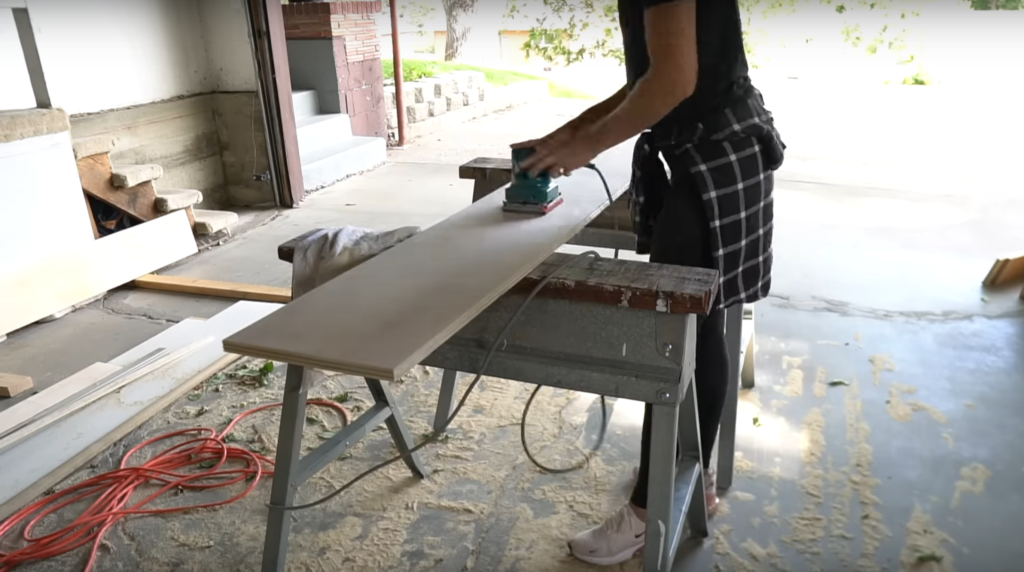
SAND PLYWOOD
After all the plywood was cut to size I sanded everything down up to 220 grit sandpaper.
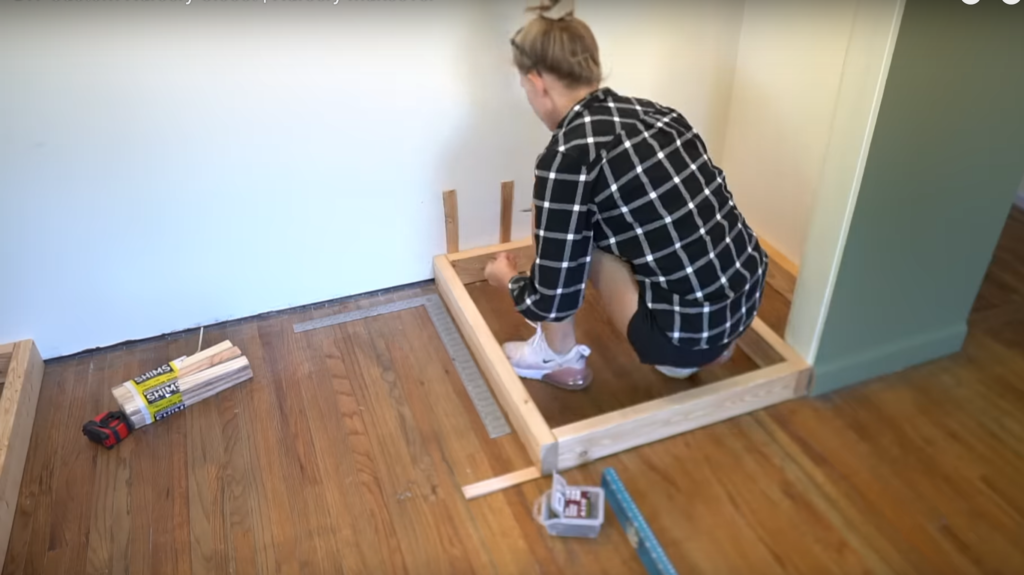
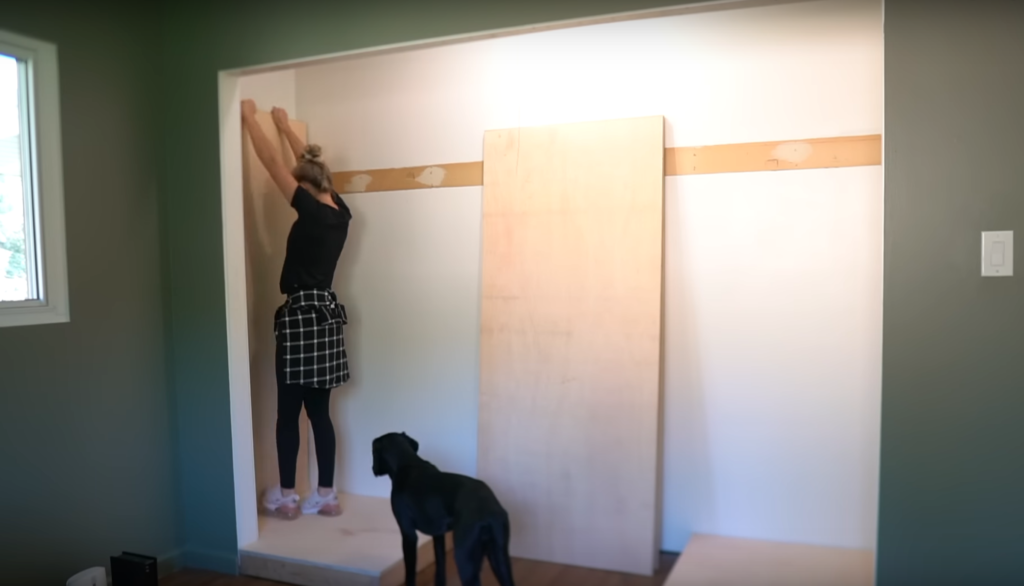
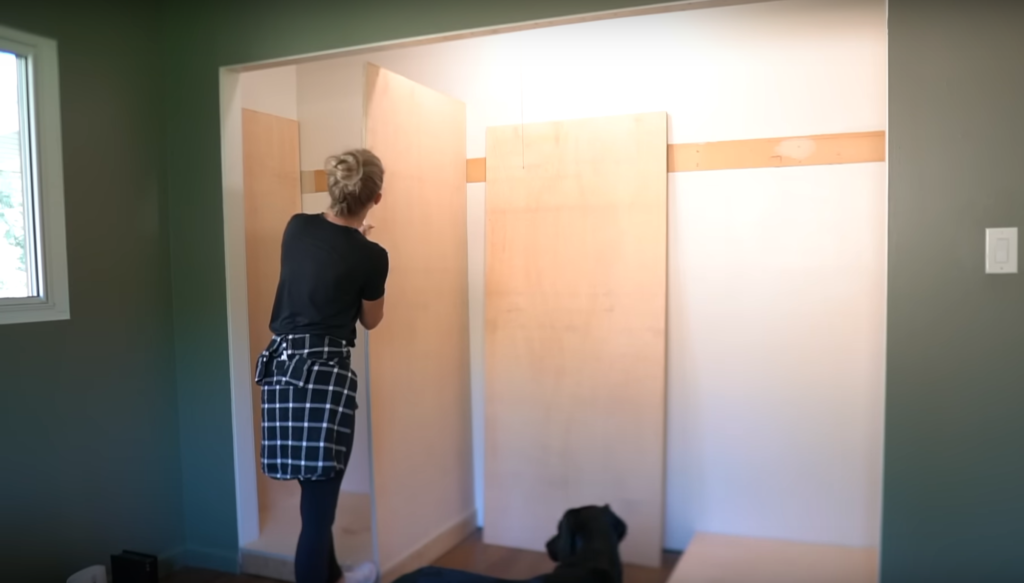
DRYFIT PLYWOOD
Once everything was sanded I brought all the plywood pieces inside and dry fit them in place to see if I needed to make any adjustments.

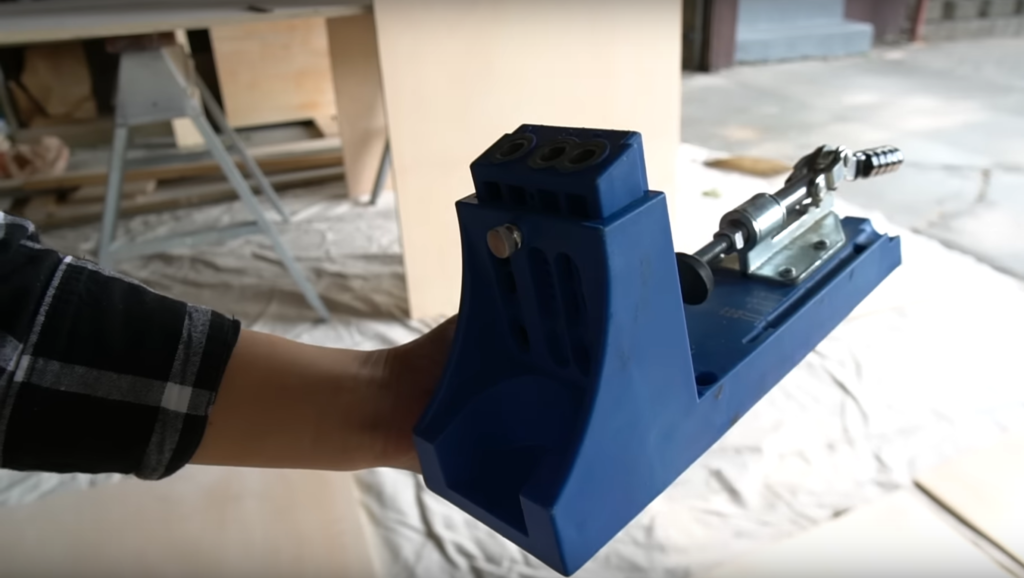
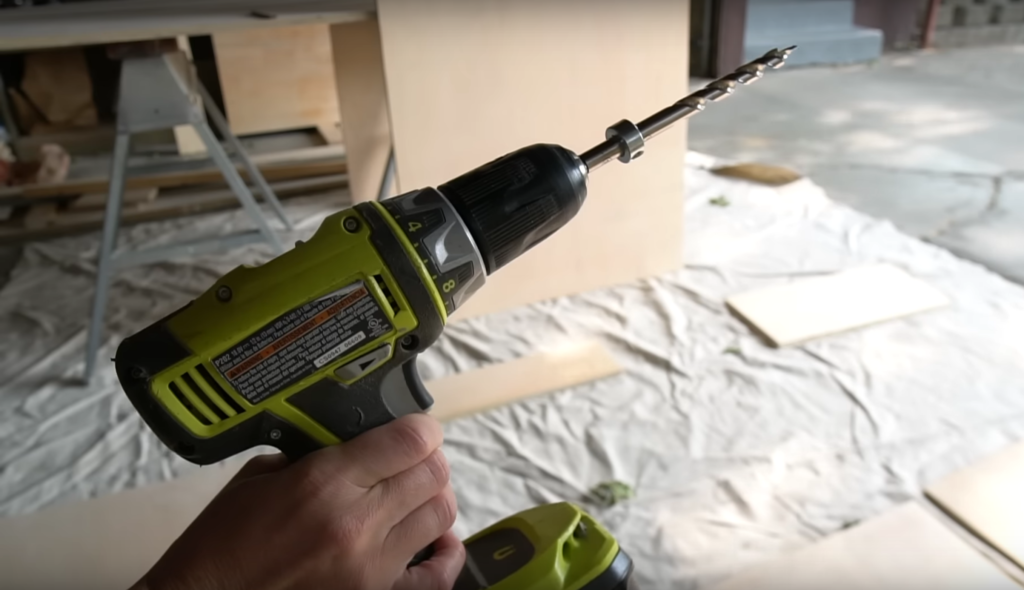
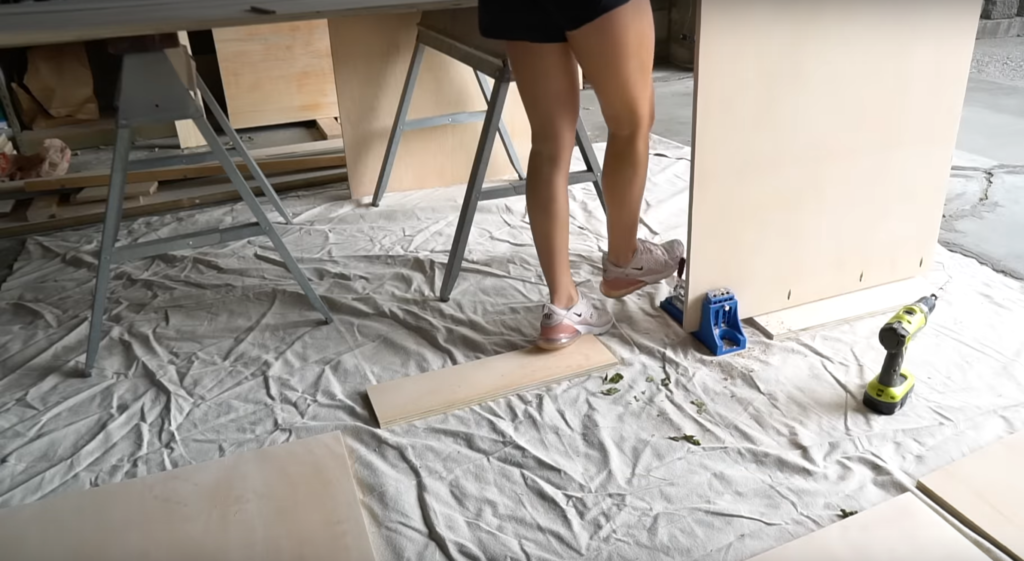
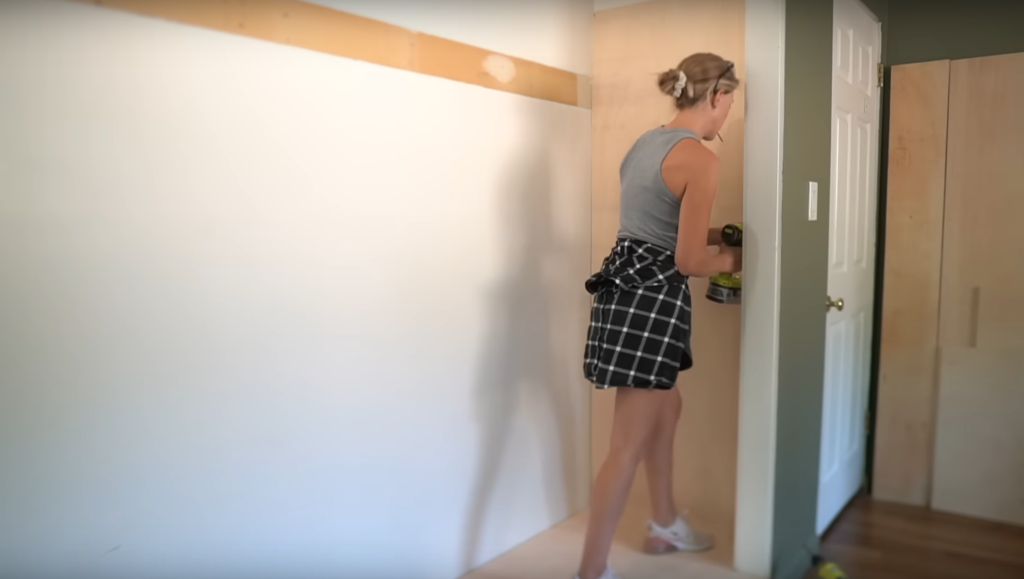
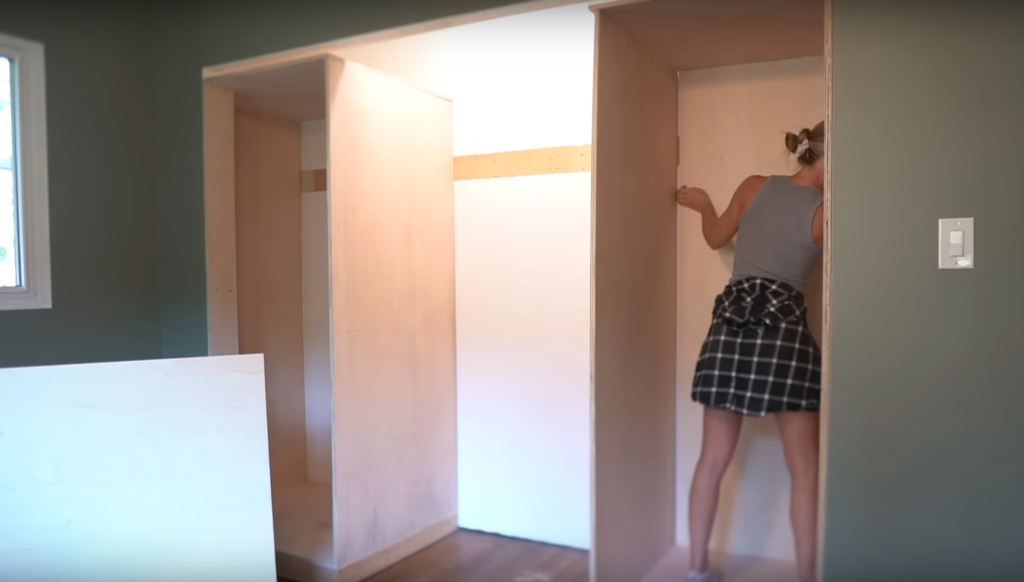
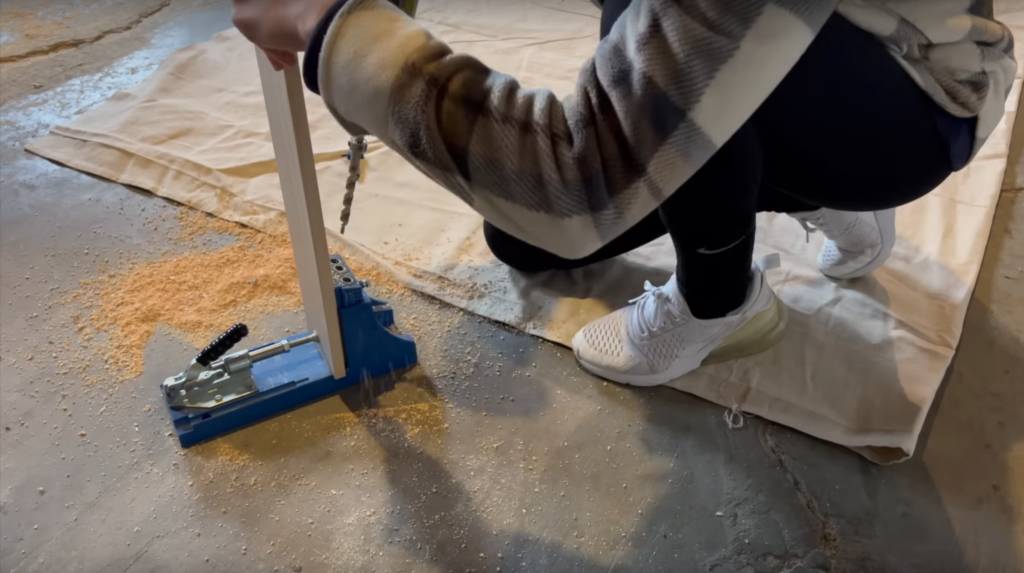
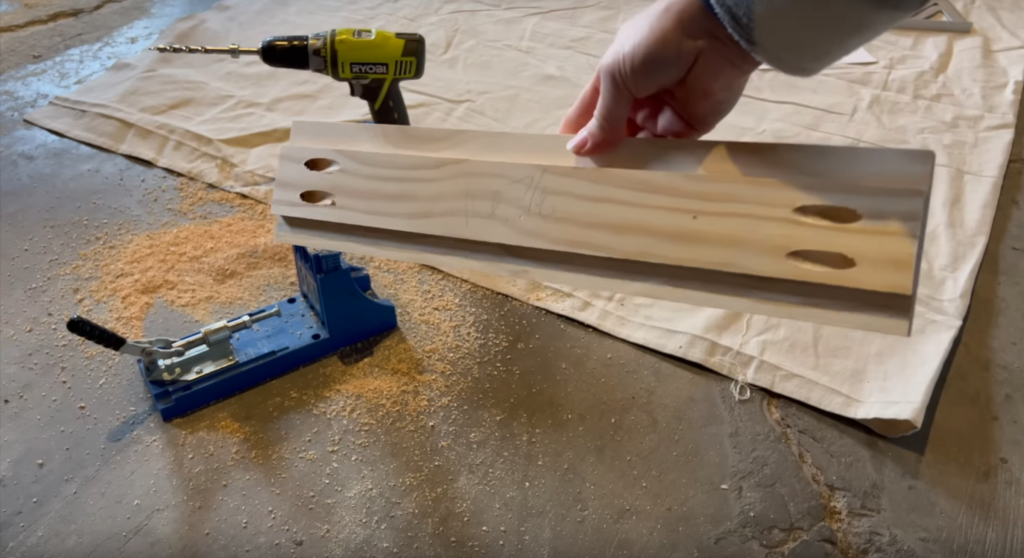
DRILL POCKET HOLES
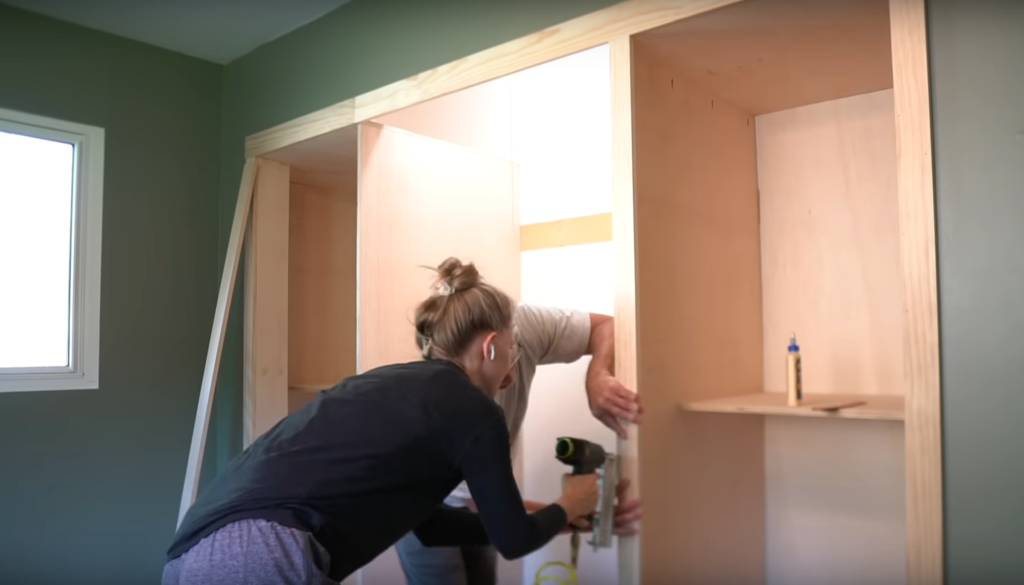
Next up I’m drilling pocket holes – I’m only drilling pocket holes on the two inside panels – all of the other panels are against a wall and I can secure those plywood panels right into the wall. These inside panels I will secure down into the base and up into the top plywood piece which will make more sense in a second.

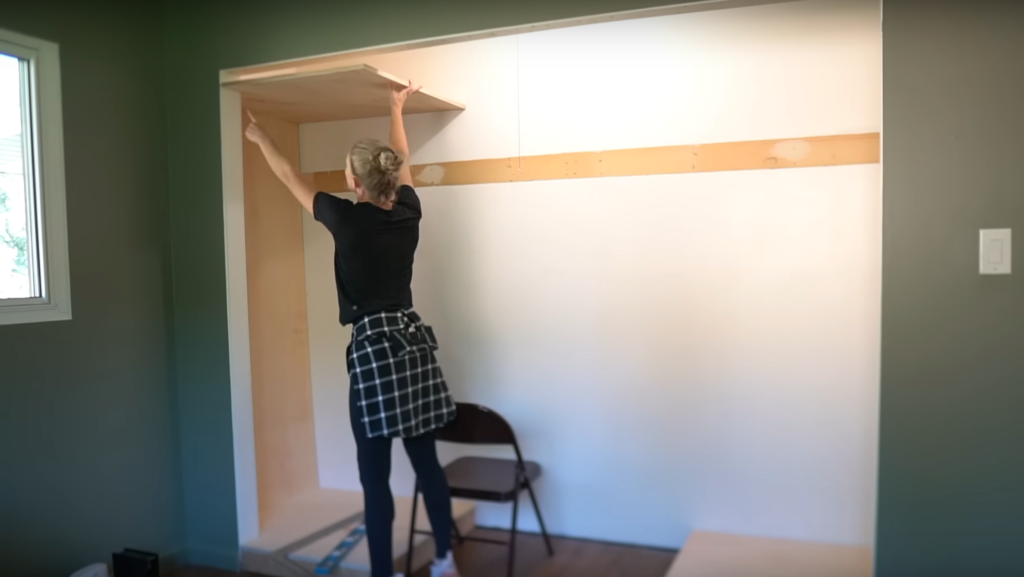
INSTALL PLYWOOD BOXES & PERMANENT SHELF
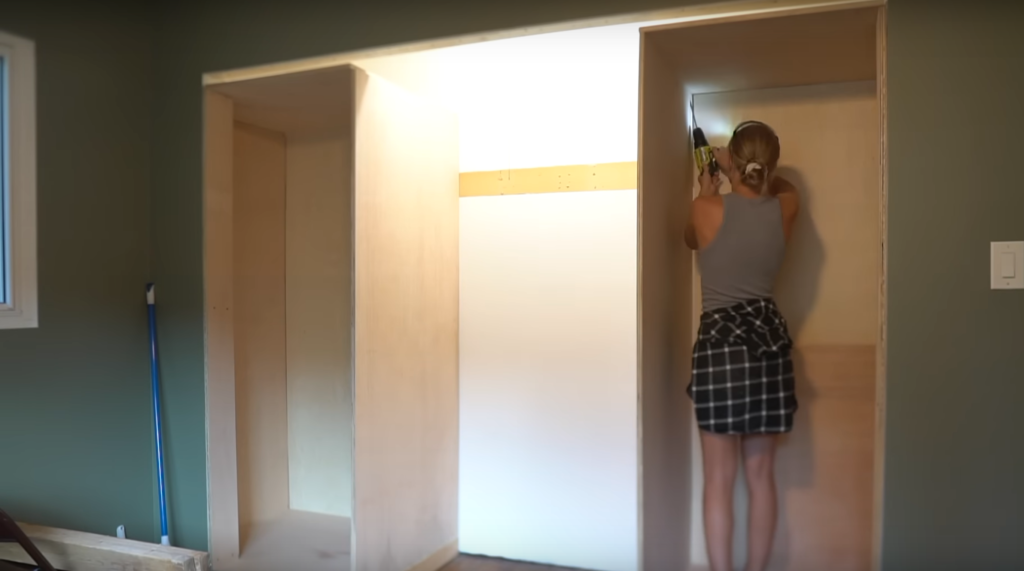
I installed the bottom plywood piece first. I secured it to the base with wood screws. Now you could assemble the entire box and then maneuver it into the closet – but working by myself it was just easier to piece everything in one panel at a time.

I secured all the wall panel pieces by securing them right to studs in the wall where possible.
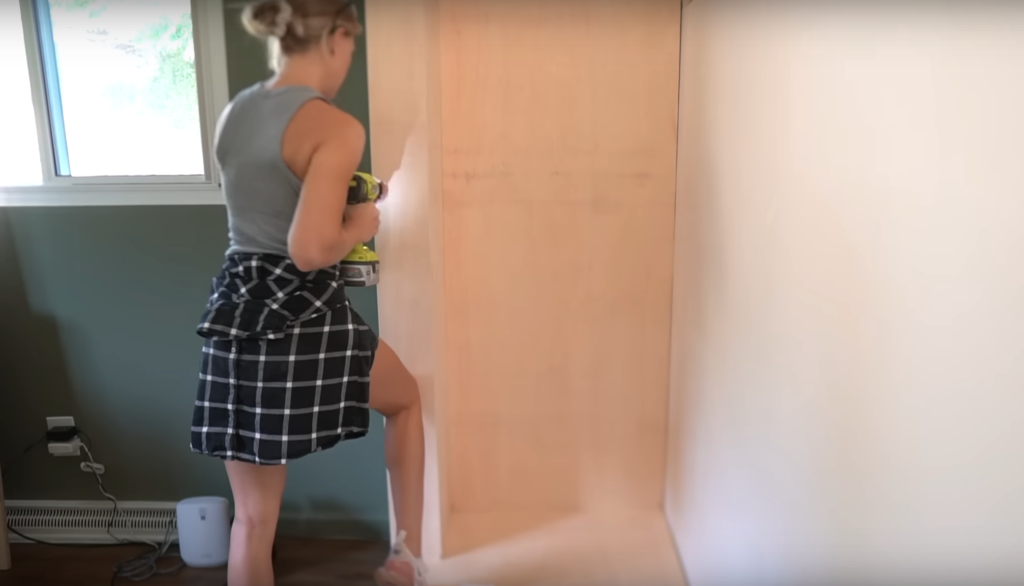
Then for the two center panels – I secured them down into the base and up into the top piece with the pocket holes that I drilled.
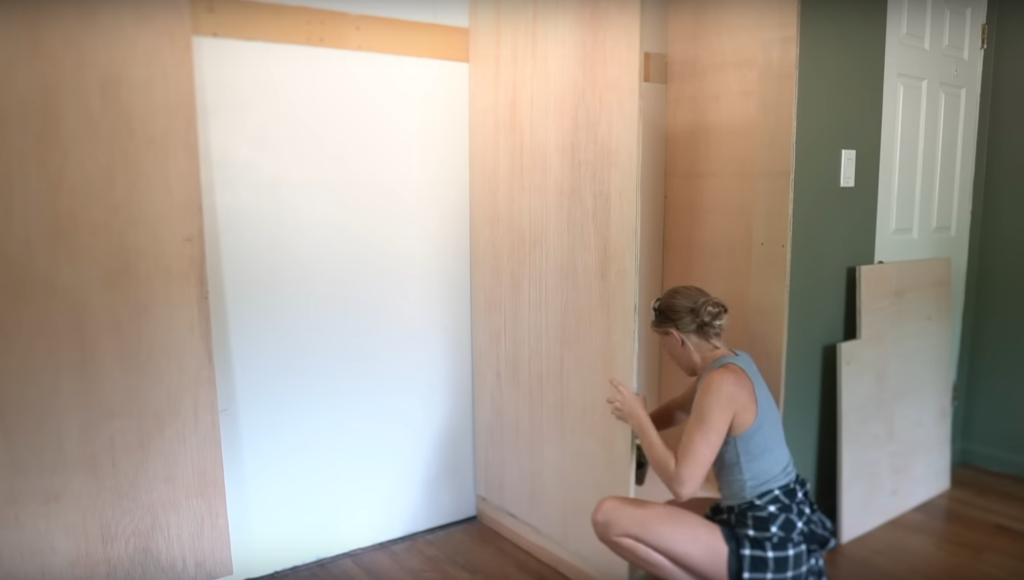

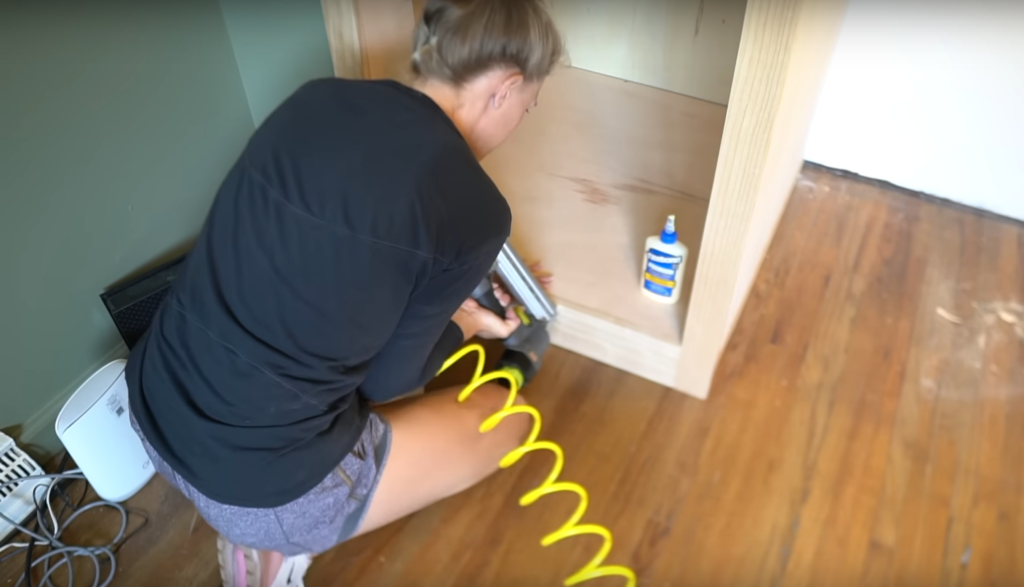
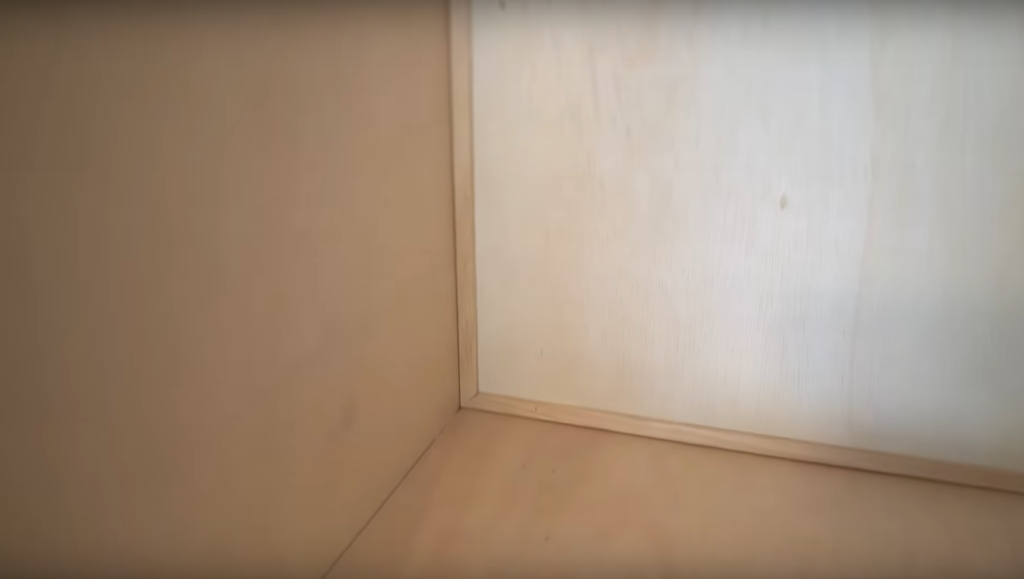
For the back of the wardrobes I used 1/4” plywood which I glued and nailed to the back wall.
I made sure to make the wardrobes fit flush with the closet opening so I could add some face trim to hide all the edges of the panels.
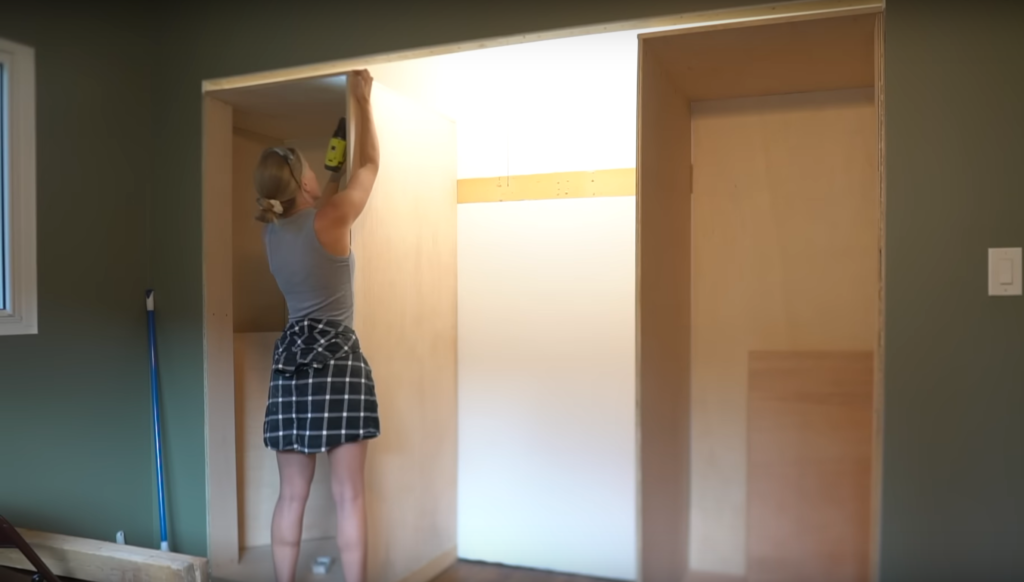
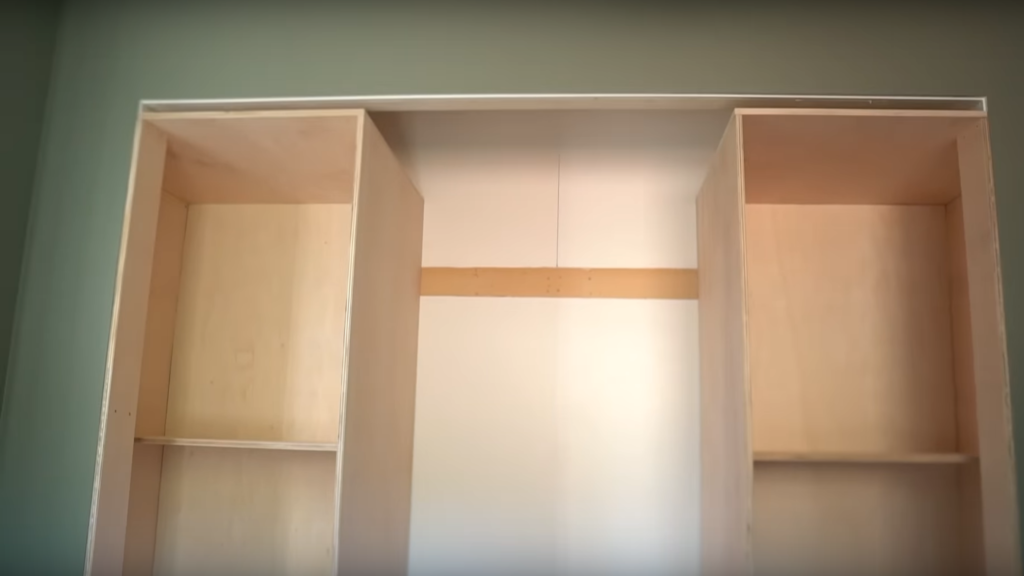
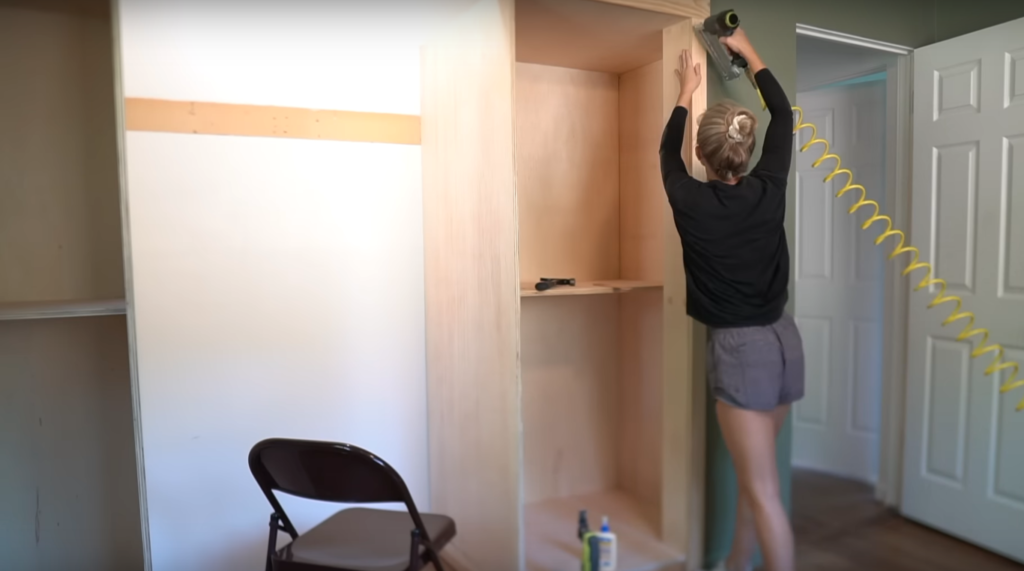
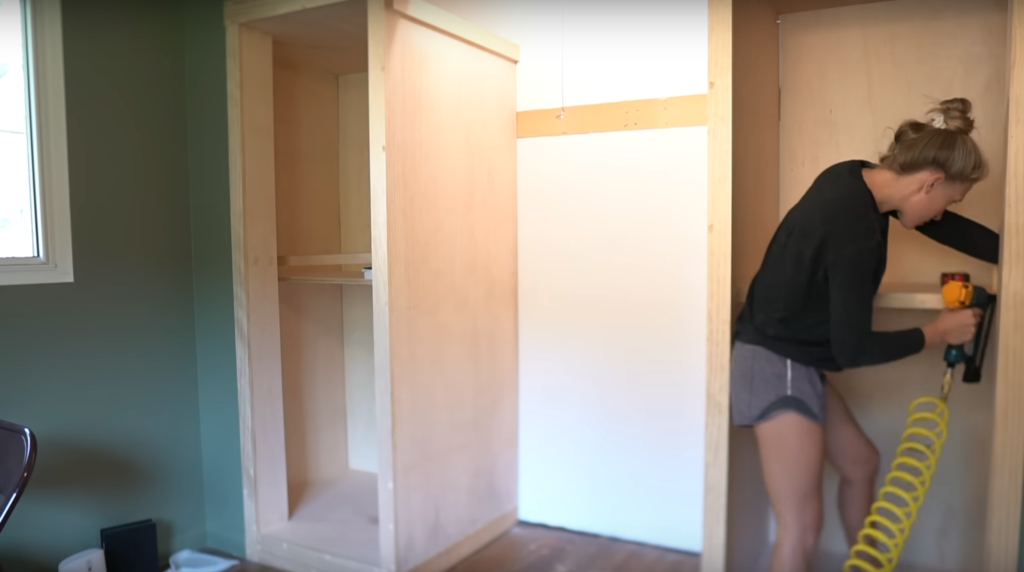
To give the wardrobes some added strength I installed a permanent shelf in the center of the wardrobe. This will keep the outer panels from bowing.


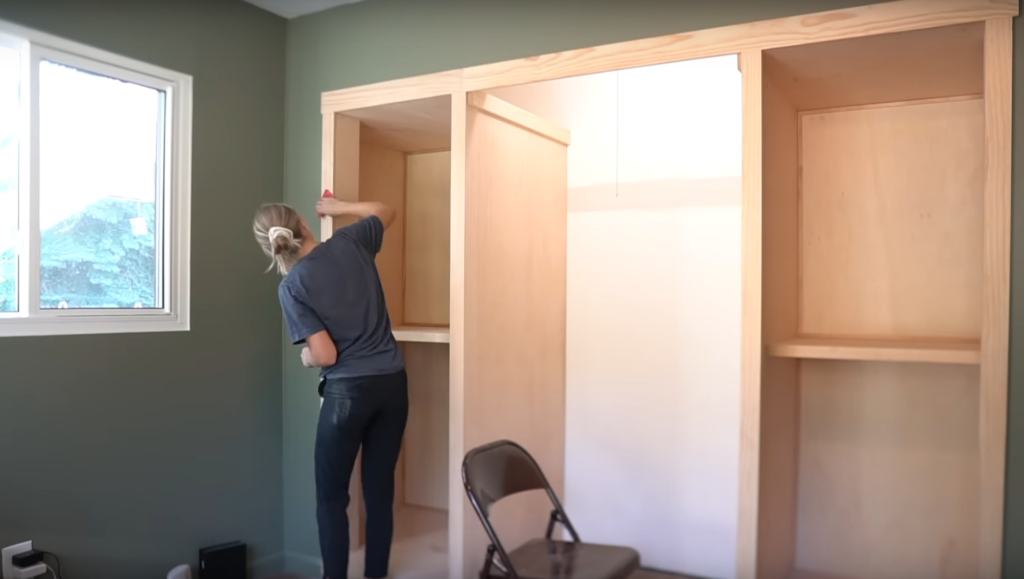
With this closet design they are still able to access the 2 feet at the top of the closet. They can store bins or whatever else up on top of the wardrobes so it’s not wasted space.

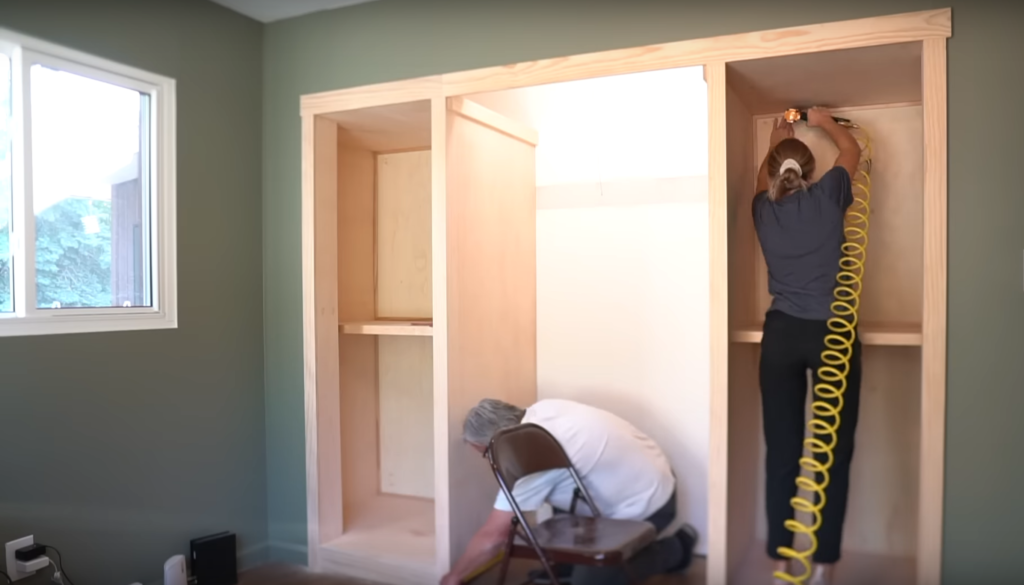
TRIM OUT CLOSET
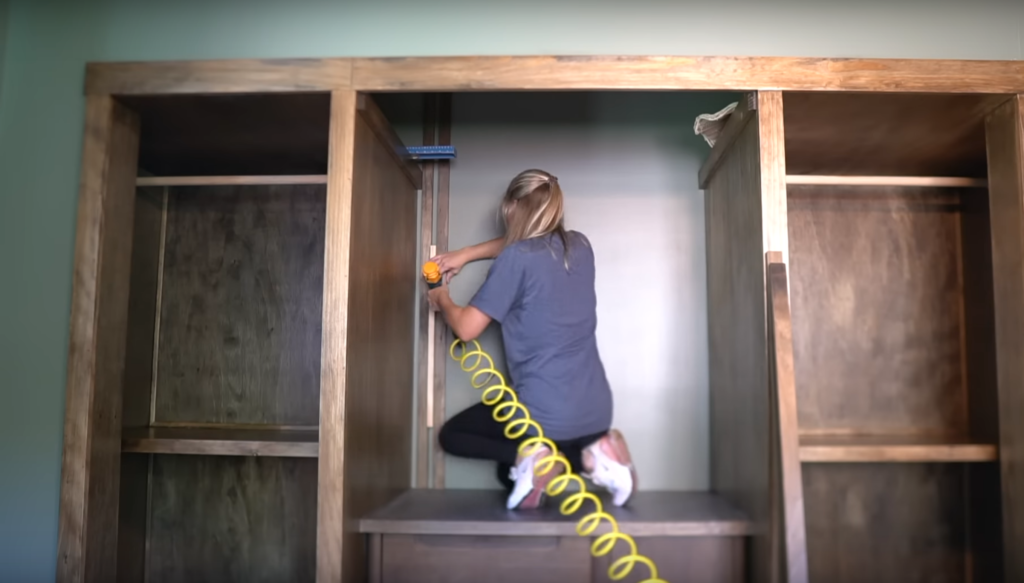
Next up is closet trim and I finally have a helper – my dad!! The whole family is in town for my sister’s baby shower so everyone pitched in to get this closet and nursery finished.
We added 1×4 trim to the top of the closet.

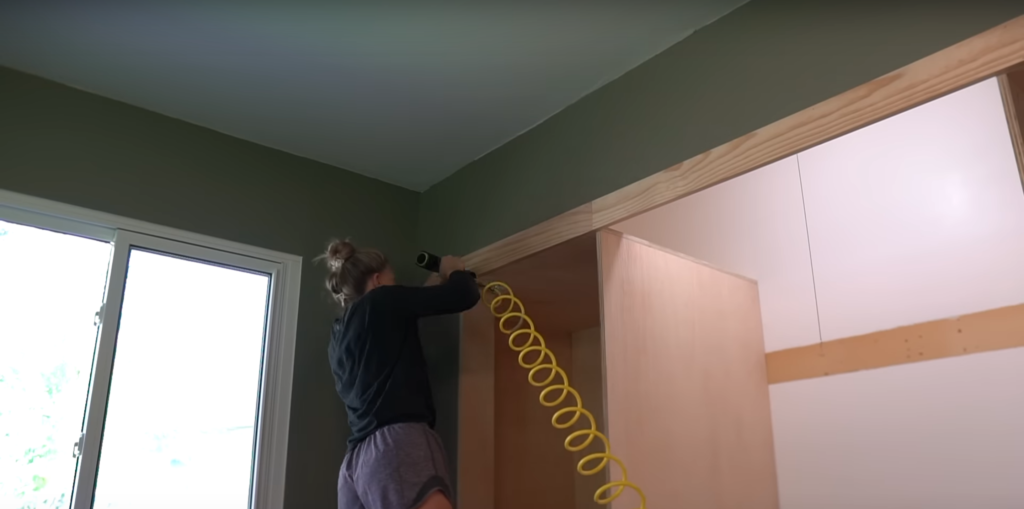
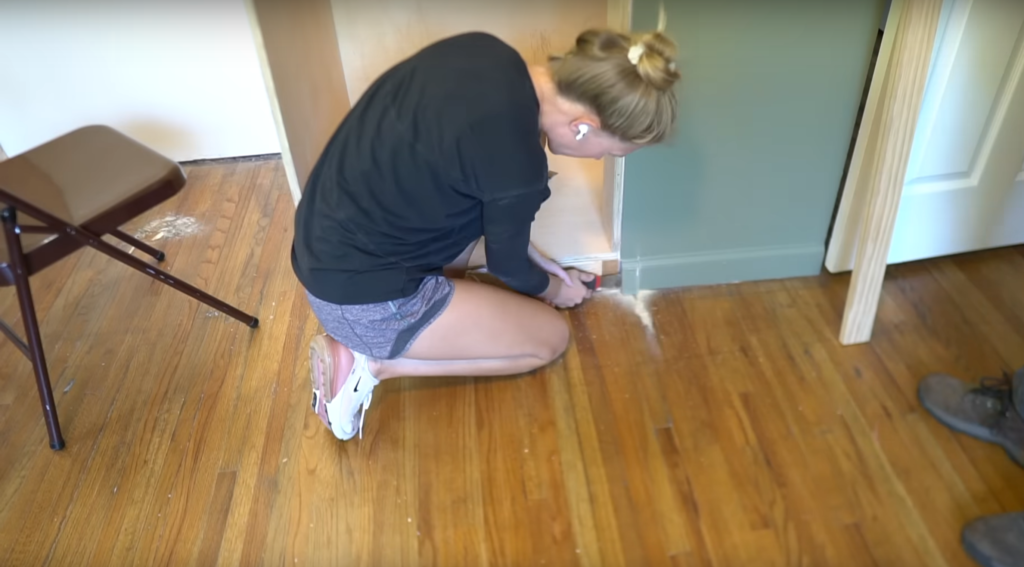
I notched out the existing baseboard a bit and then we added 1×3 trim to each side of the closet.
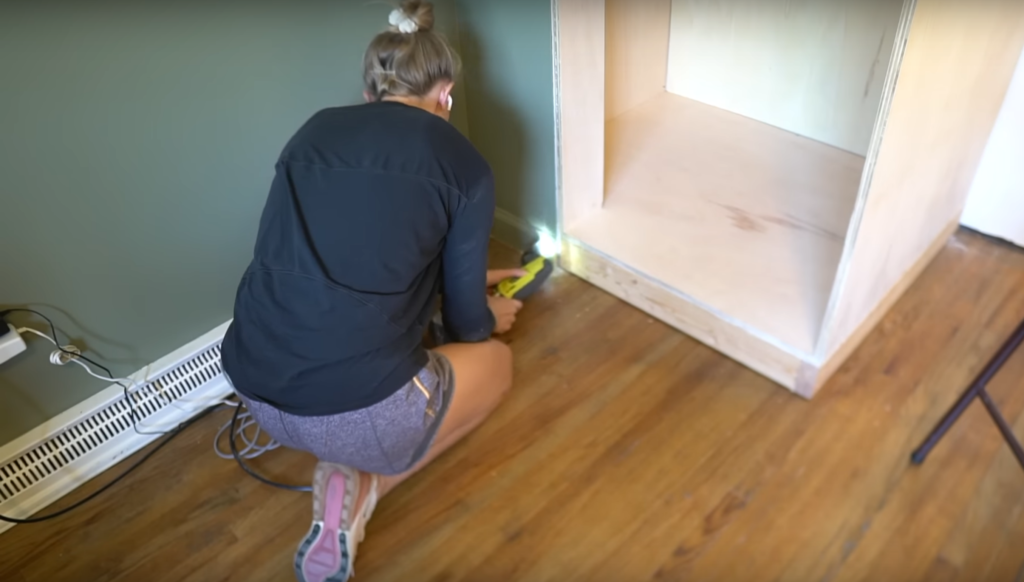

We trimmed out the inside panels with 1×3’s as well to keep it uniform.

Then the base was trimmed out with a 1×4

I added 1×2 board to trim out the permanent center shelves.
The closet is not square so I had some gaps that were showing along that back 1/4” panel – so I used some really thin moulding to cover it up and make it look like it was part of the closet design.
FILL HOLES & SAND
Next up I filled all the nail holes and then sanded the wood filler down once it dried.

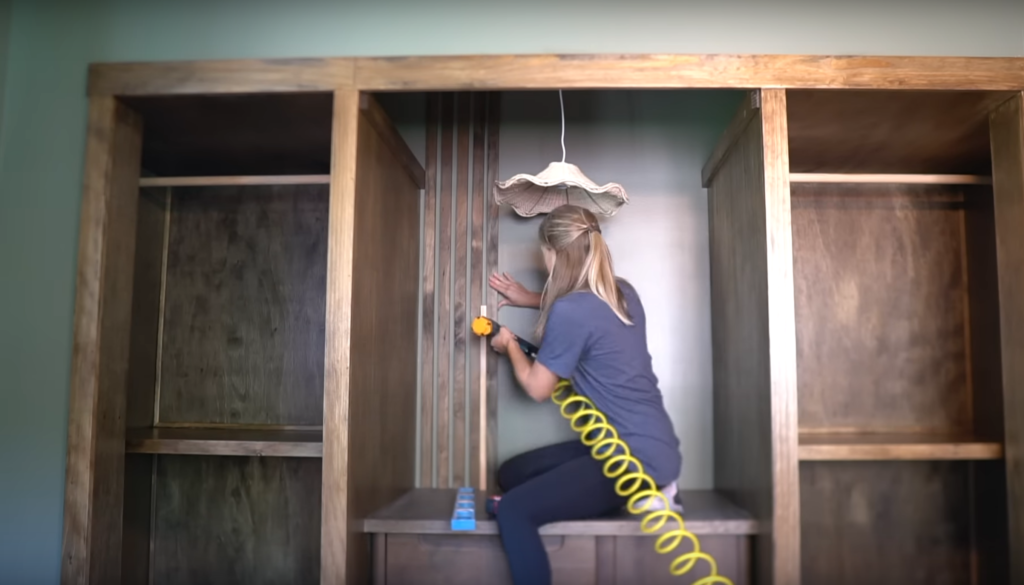
PRE STAIN AND STAIN
I used pre-stain wood conditioner on the entire closet first.
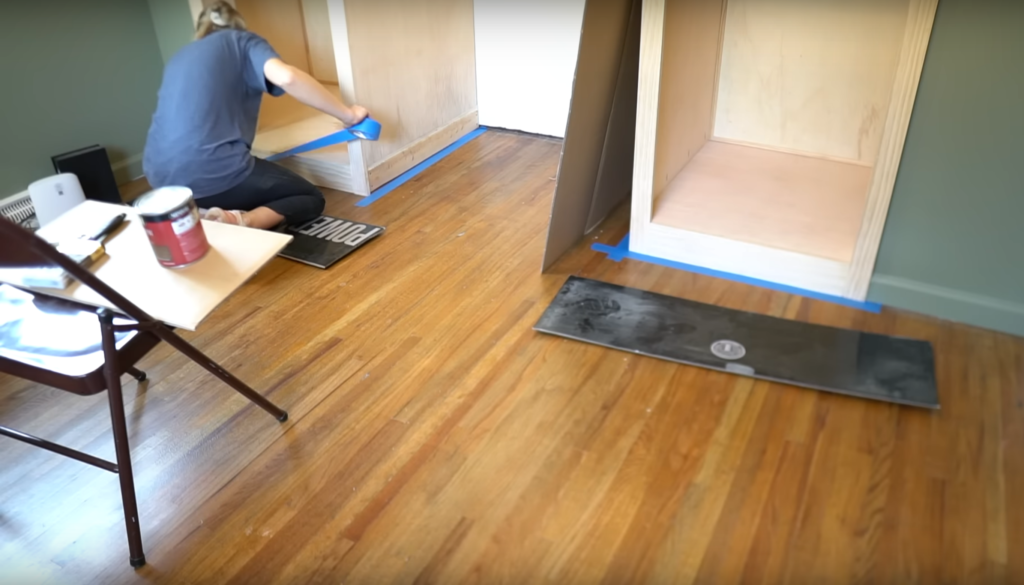
Baby won’t be sleeping in here for a long time so we’ve got plenty of time for the wood conditioner and stain to air out before then.
I stained the entire closet with a deep walnut stain.
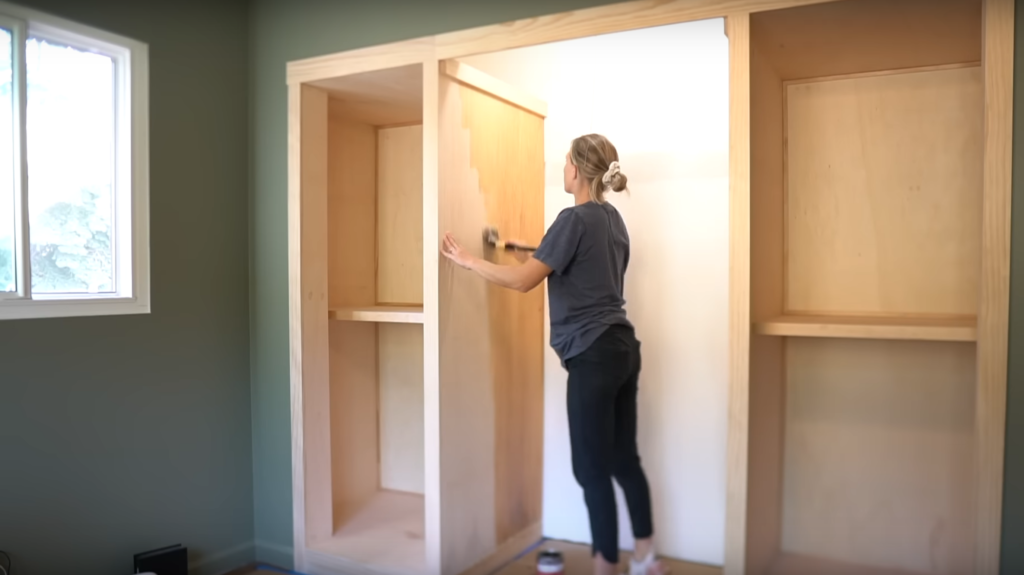
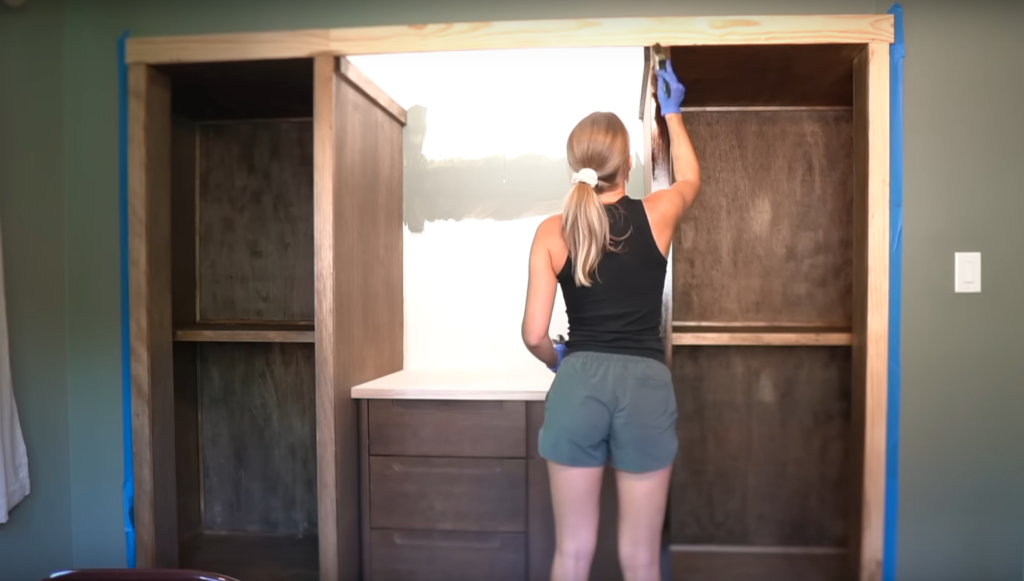
INSTALL DRESSER / BASE TRIM / EXTENDED TABLE TOP
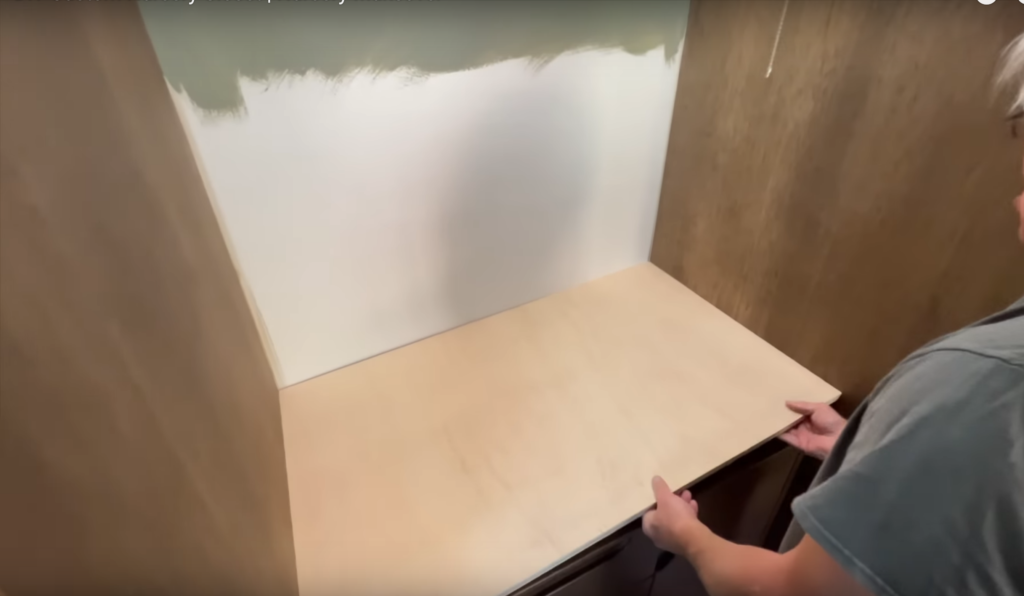
With the inside panels stained my dad and brother put the dresser in place. The dresser was only 19” deep and we wanted to make it deeper to allow more space for the changing pad and other essentials. We brought the dresser out away from the wall a bit and then I will make a new dresser top for it.
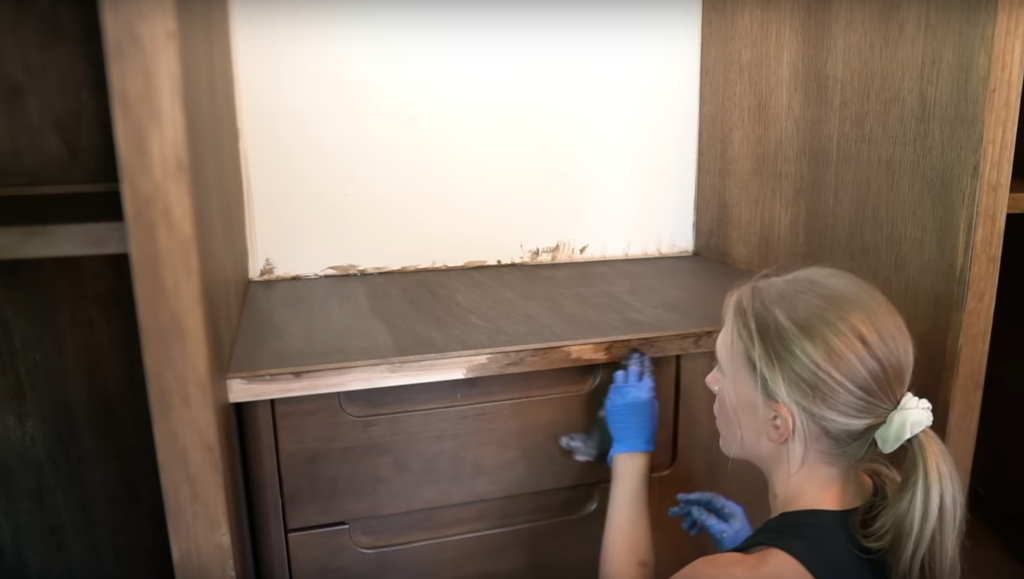
Once the dresser location was set, my dad notched out some 1×4 trim for the bottom.
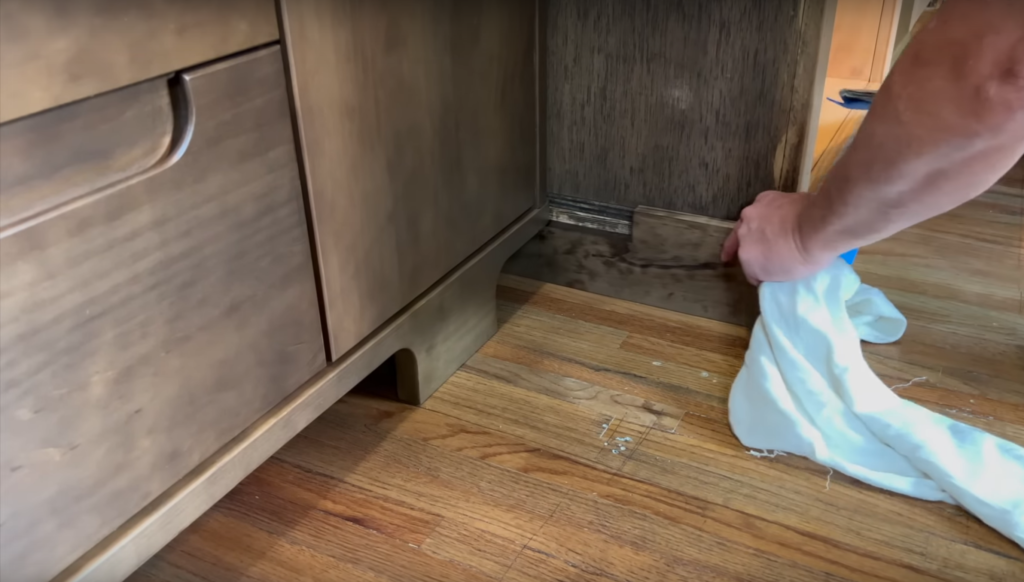
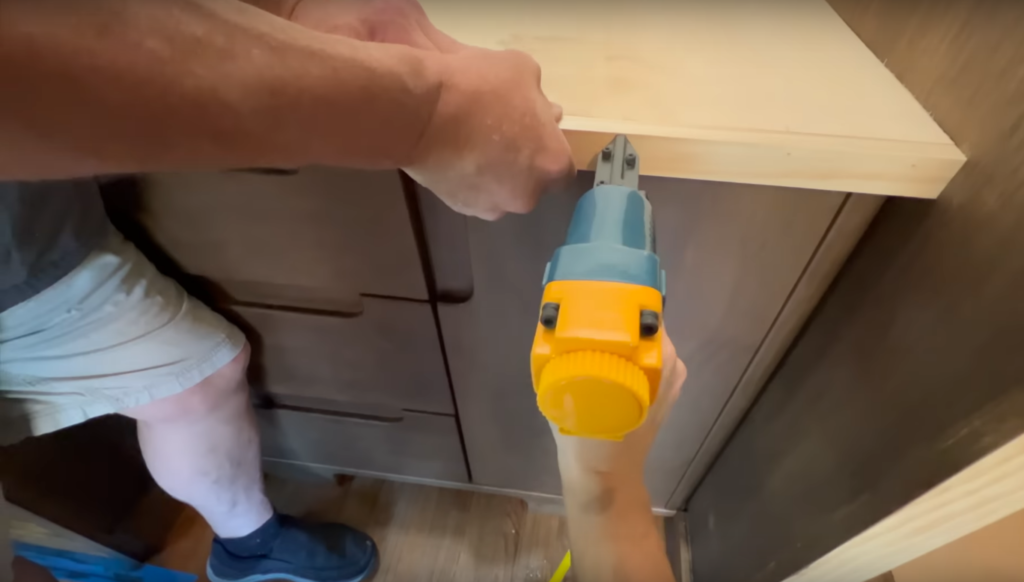
We attached a small cleat to the back wall and then cut a new dresser top to fit the new depth that we created. We added a 1×2 trim piece to the front of the plywood piece to make it look like a part of the dresser – making sure not to interfere with the drawers or door opening.

I didn’t show this but we also secured the dresser into the side panels so there’s no possibility of it tipping over. Like I said before they can always remove the dresser later on if they want to put a deck in the center or something else.
After the dresser was set and everything was trimmed out I finished staining the rest of the closet.
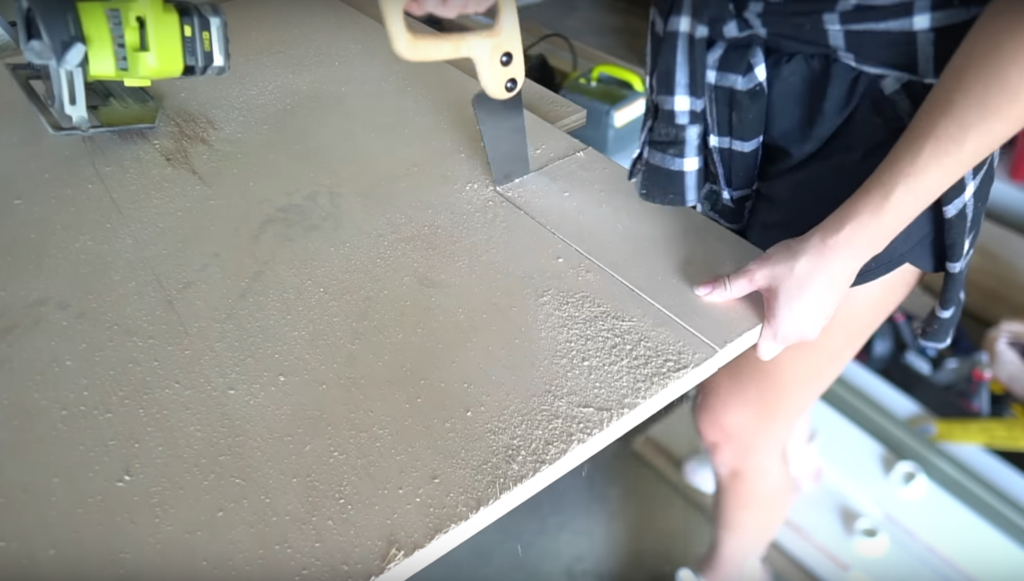
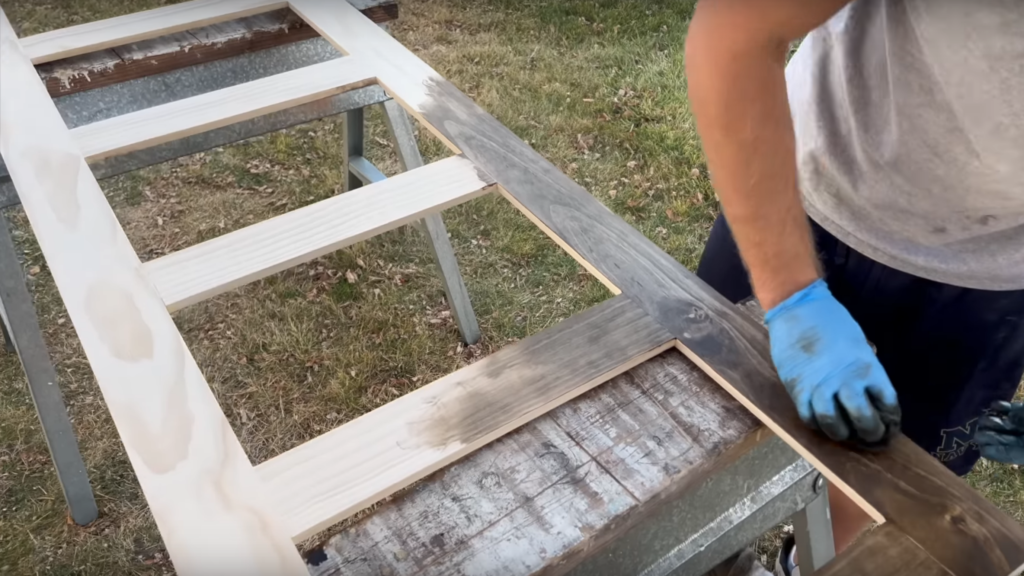
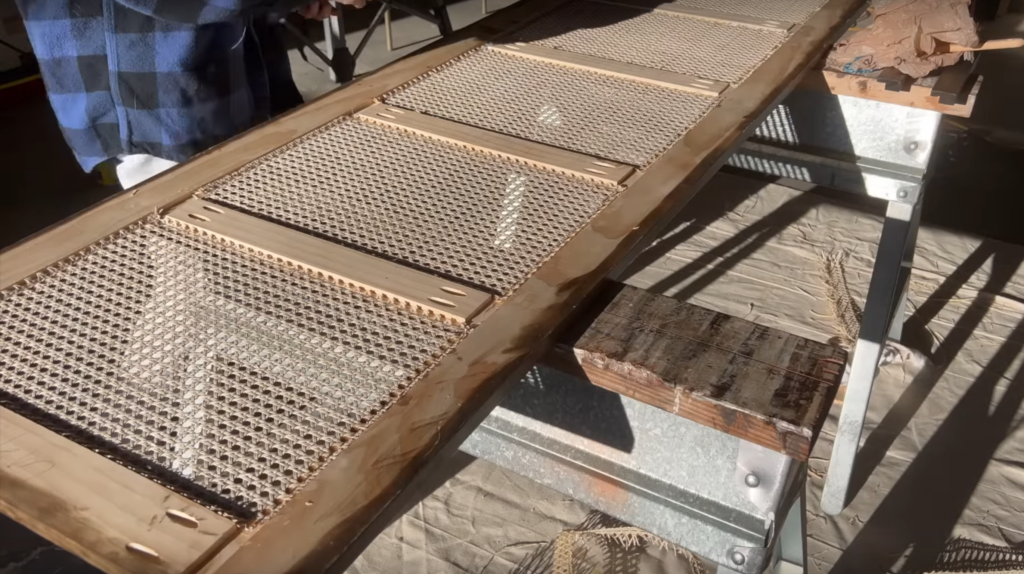
CUT MATERIAL FOR DOORS / NOTCH OUT FOR CANING
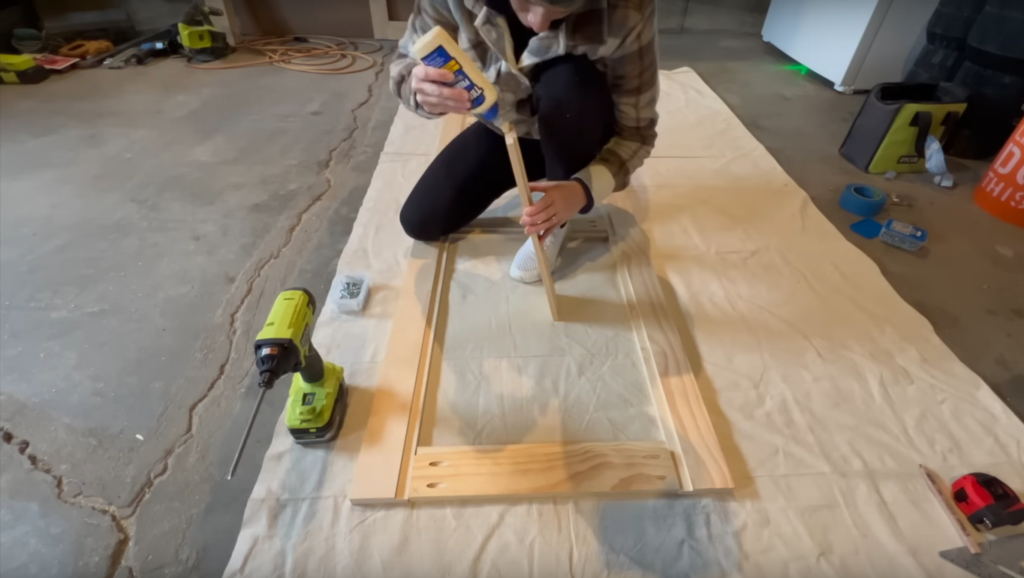
Now it’s time to make the doors for the wardrobe!! I am making some custom doors out of 1×4’s and then adding some canning.

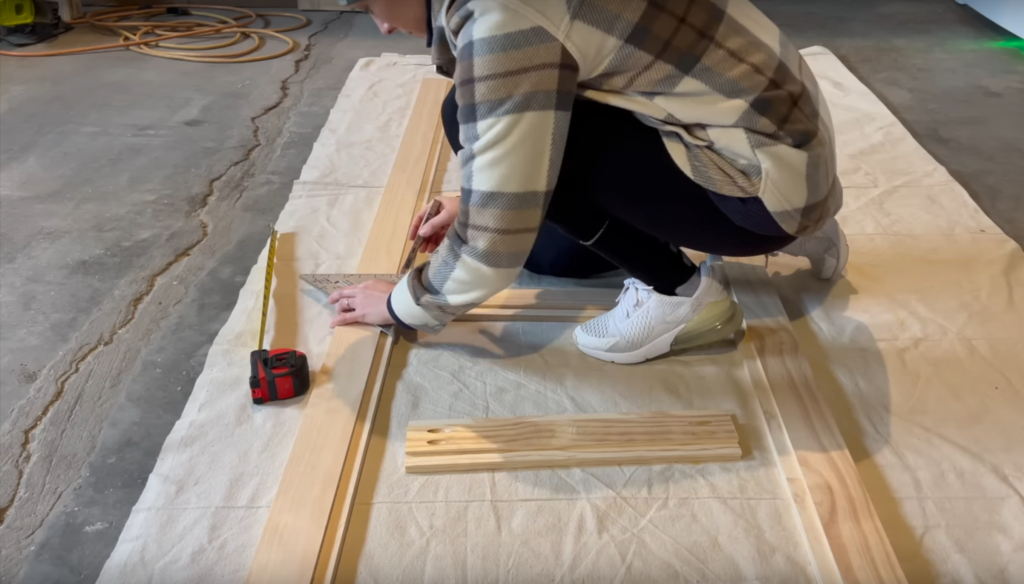
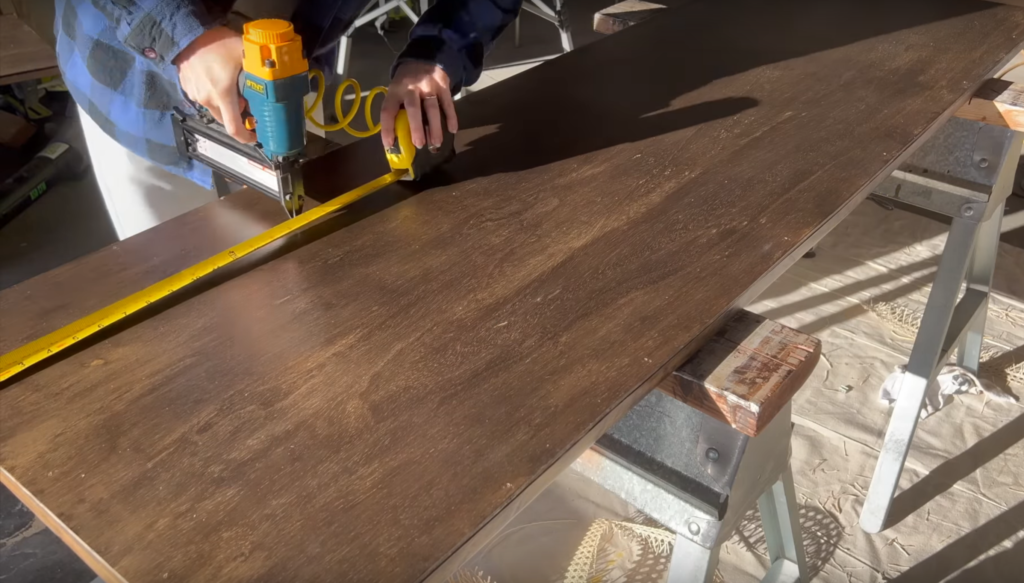
I measured the opening of each of the wardrobes and then subtracted about an 1/8 to 1/4” so that they had enough of a gap to be inset in the wardrobe boxes.
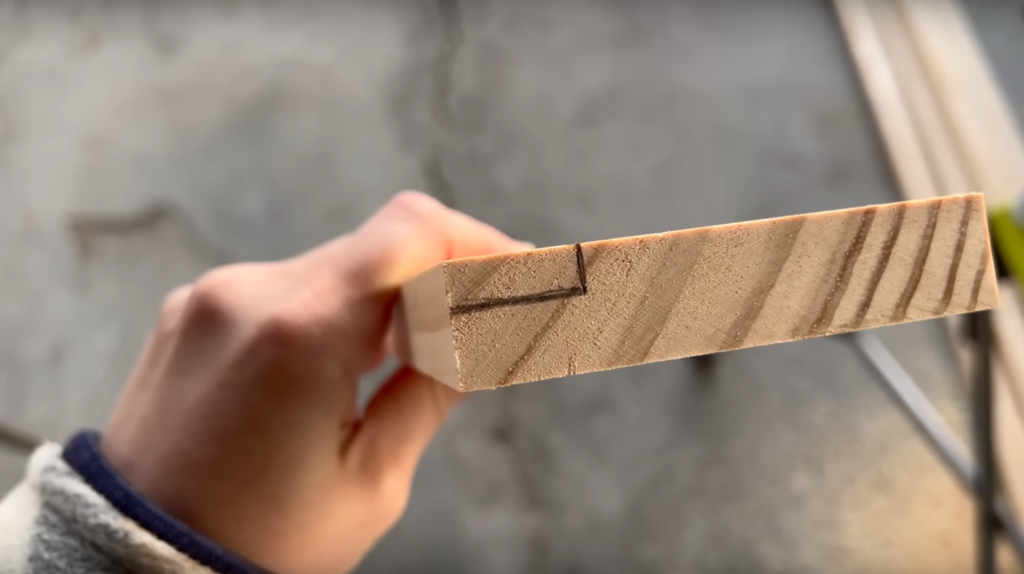
I cut the 1×4’s down to size and then I notched out the edges of the 1×4’s with my table saw. These notches out edges will be where I staple the caning too.


POCKET HOLES
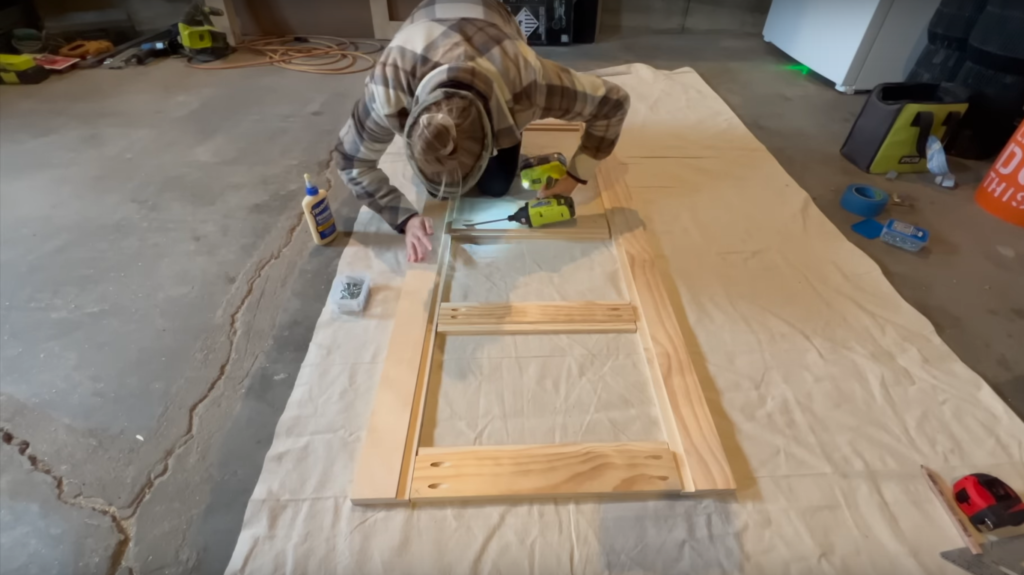
After all the framing pieces were cut and notched out, I drilled pocket holes in each end of the inside framing pieces.
ASSEMBLE DOORS
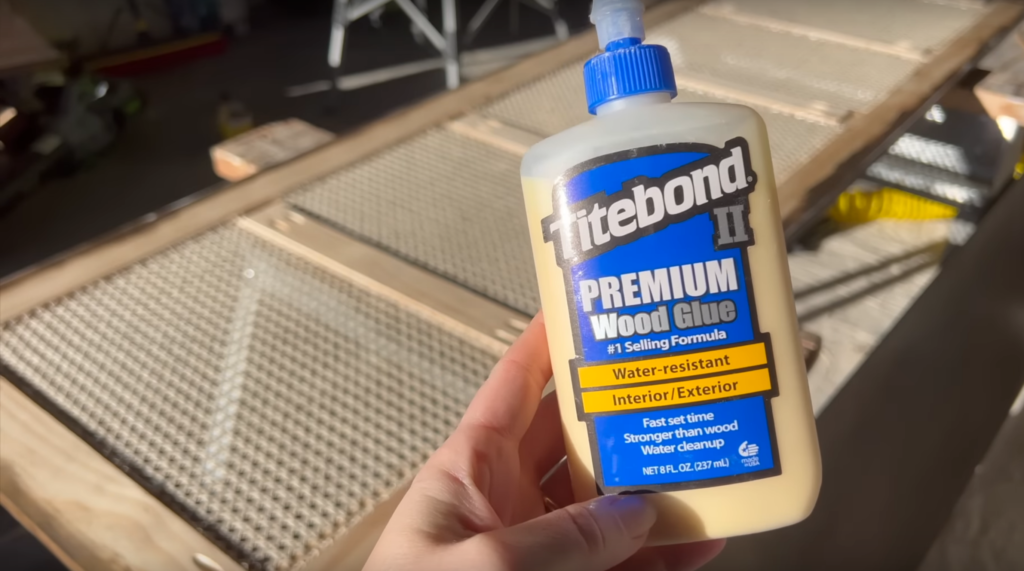
I measured and marked out the framing pieces evenly and then secured each of the framing pieces with wood glue and 1 1/4” pocket screws.
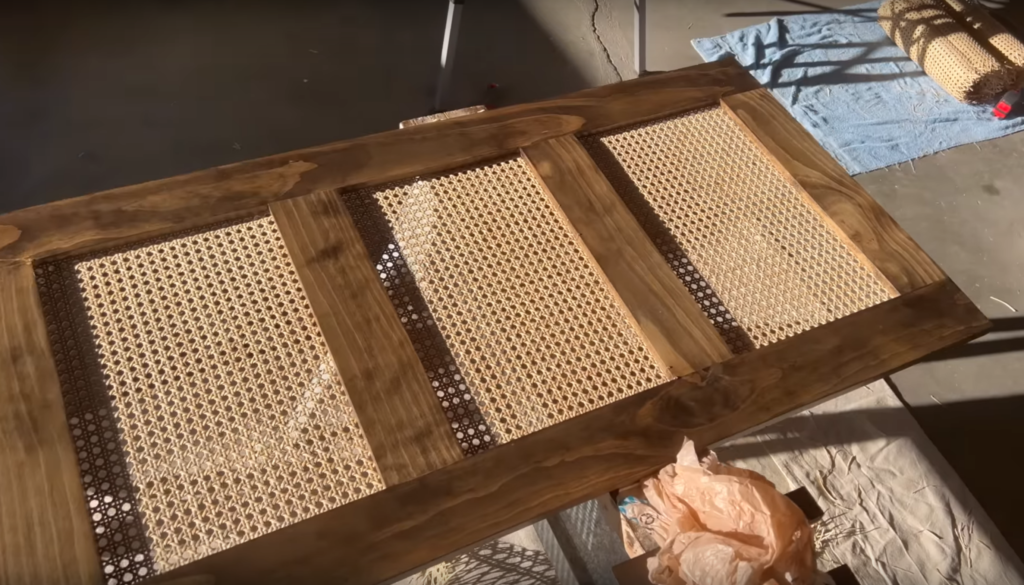
SAND AND STAIN DOORS
The door frames are assembled and now I’m sanding everything down.

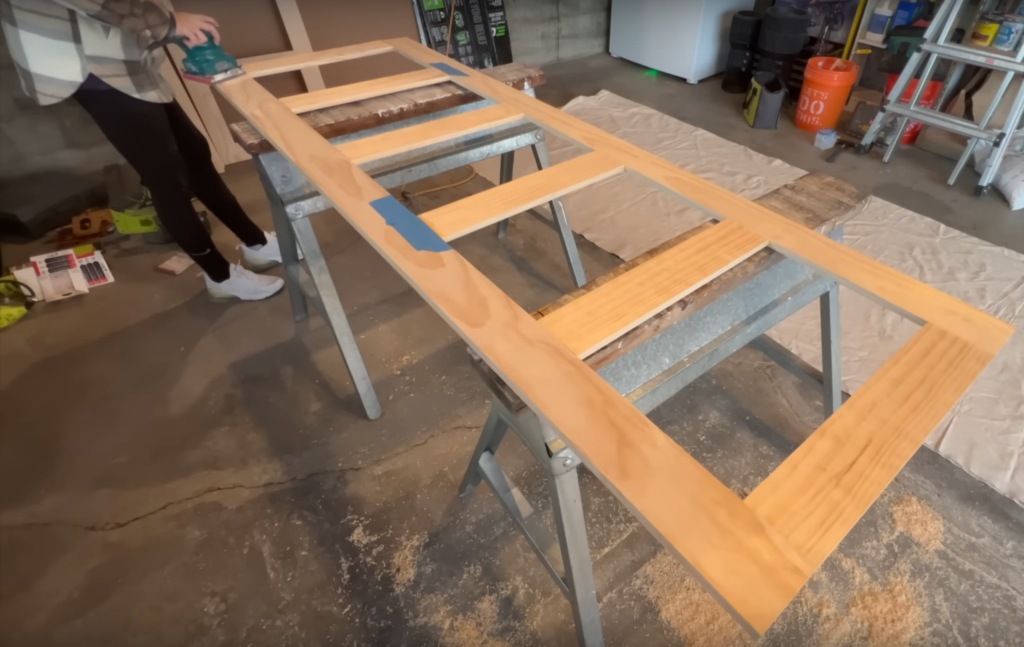
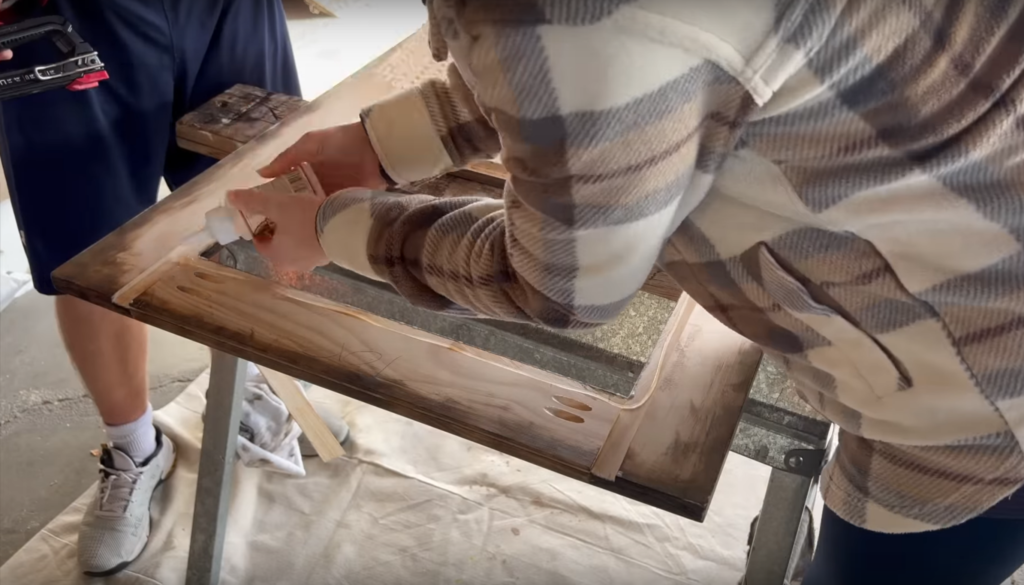
We are adding a 1/4” panel to the back of the door to give it some extra strength. So I cut that down to size, sanded it and then Devin is going to stain the door frames and the panel with the same walnut wood stain while I prep the canning.
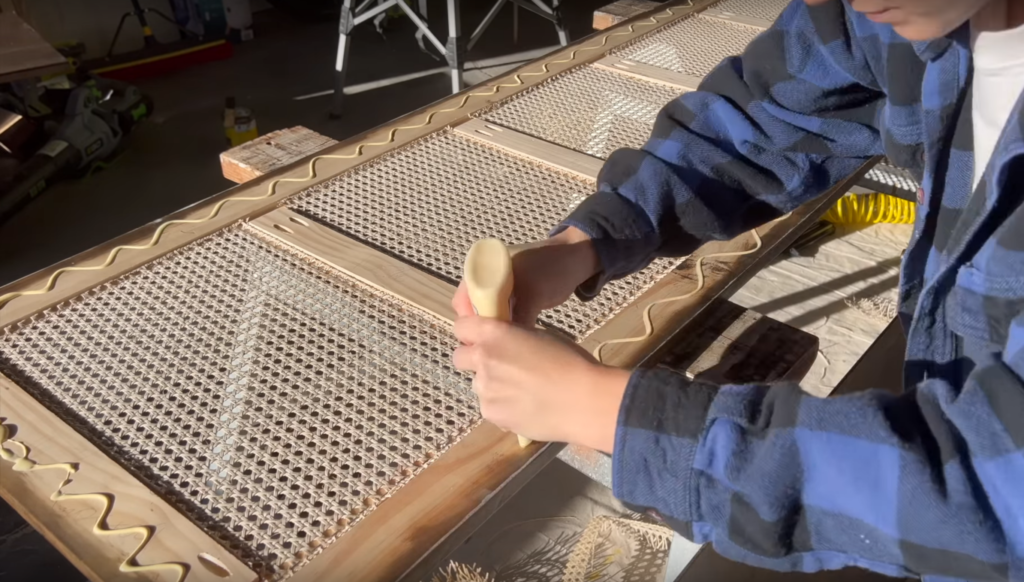
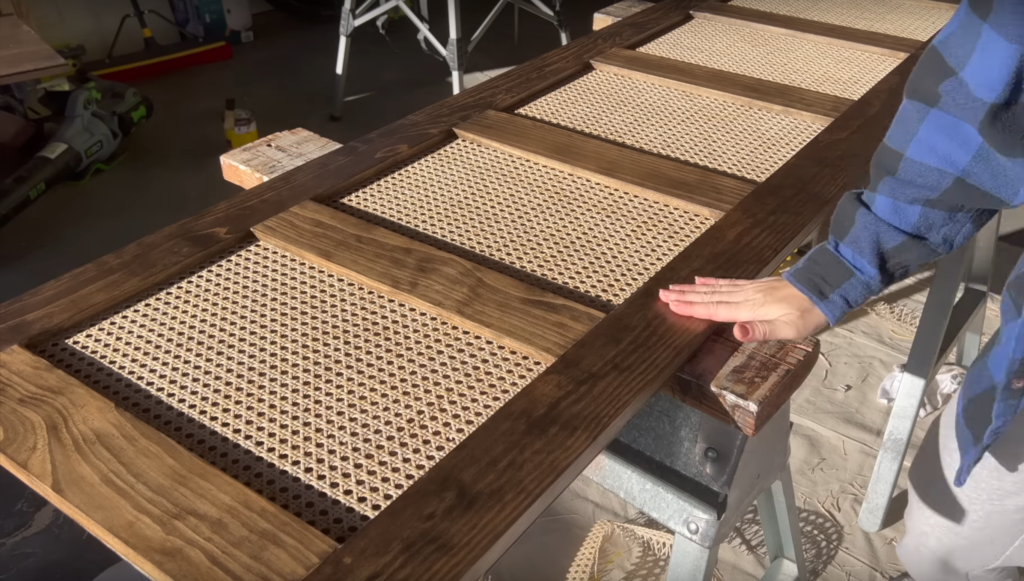
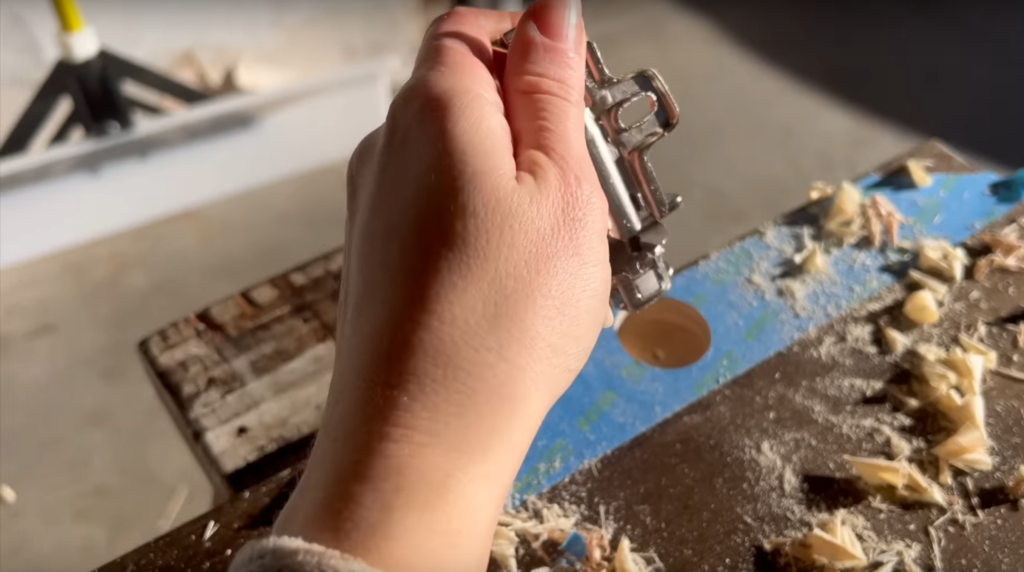
INSTALL CANING
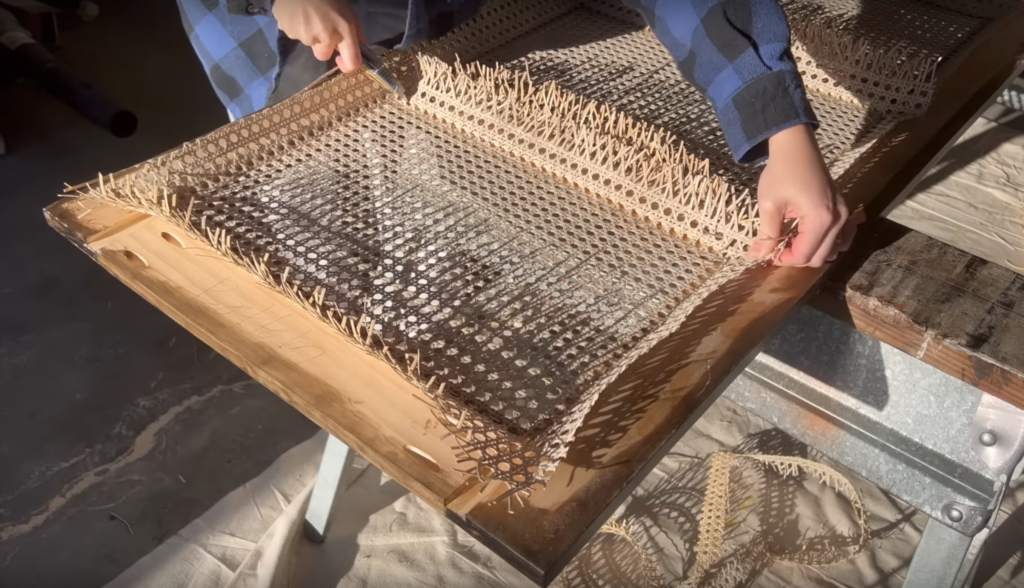
I let the canning soak in the tub for a few hours. I bought this off Amazon. It was pretty easy to work with. There are a few different ways to secure the caning – I went an easier route using super glue and staples.
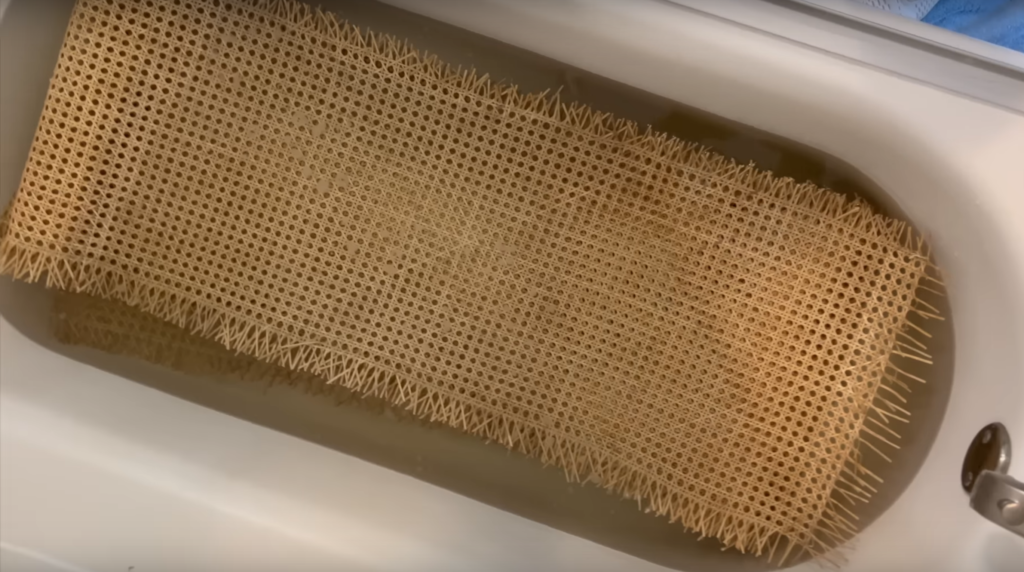
I cut the caning down so that each piece was a few inches larger than the opening.

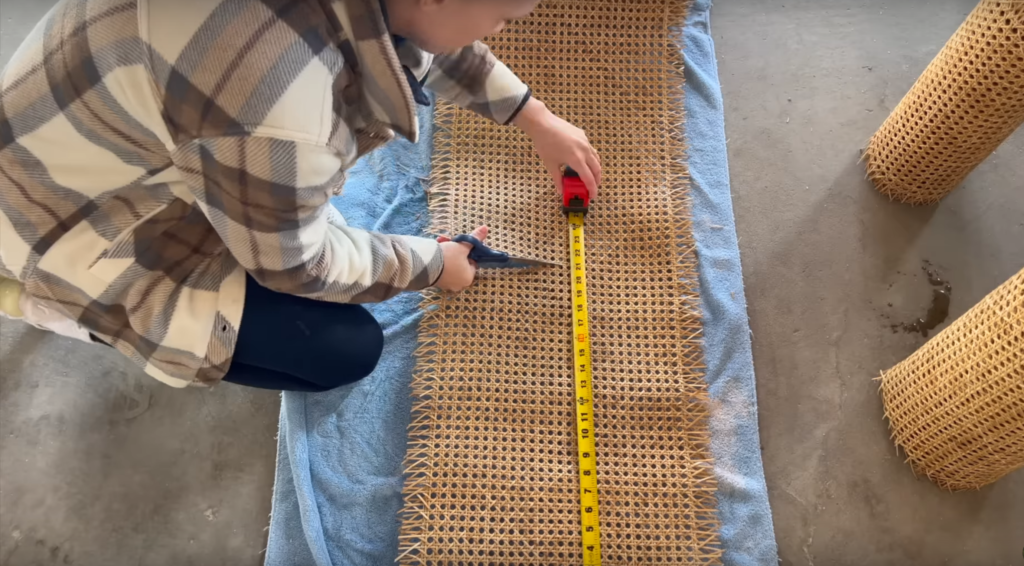
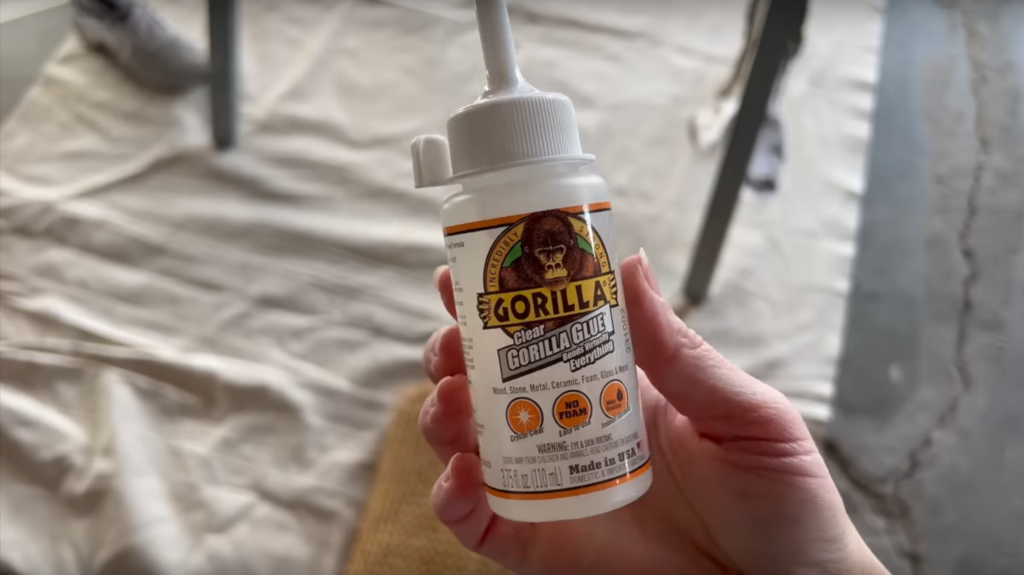
I added some gorilla glue to the framing, set the wet caning in place, I held the caning straight and pulled it tight while Devin stapled the caning to the notched framing.
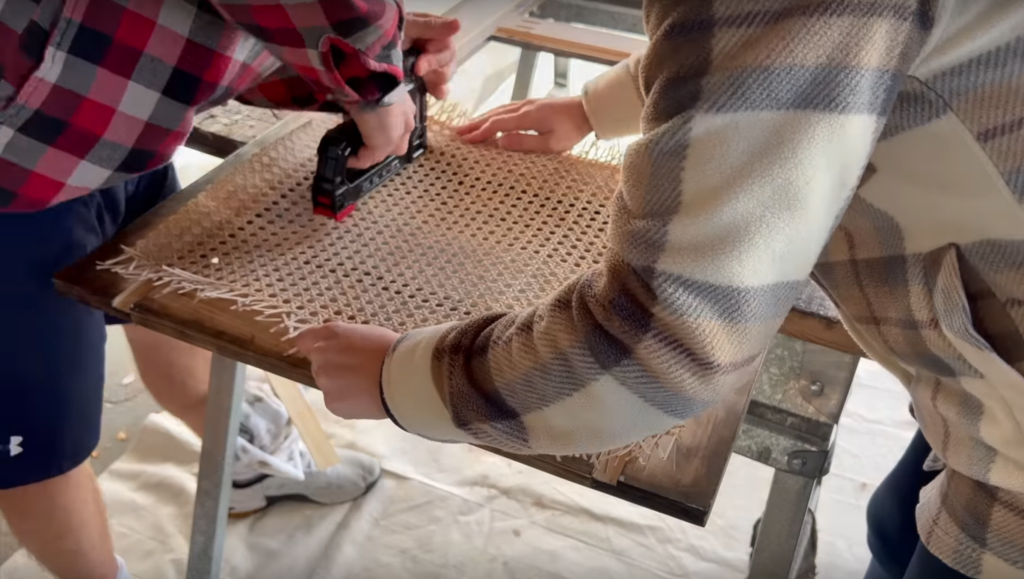
We secured staples with barely any gaps in between just to make sure it held up.
After all the caning was stapled we trimmed off the access canning.
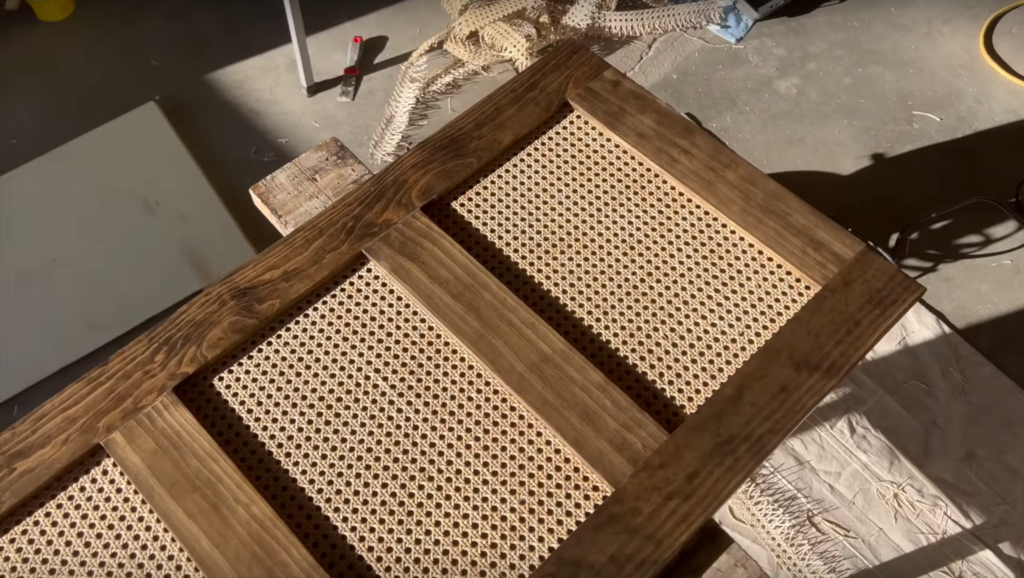
INSTALL BACK PANEL
You could leave the doors here but we want to add a bit more strength so that the doors don’t bow over time and they also wanted to make it so that you can’t see through the canning into a messy closet.
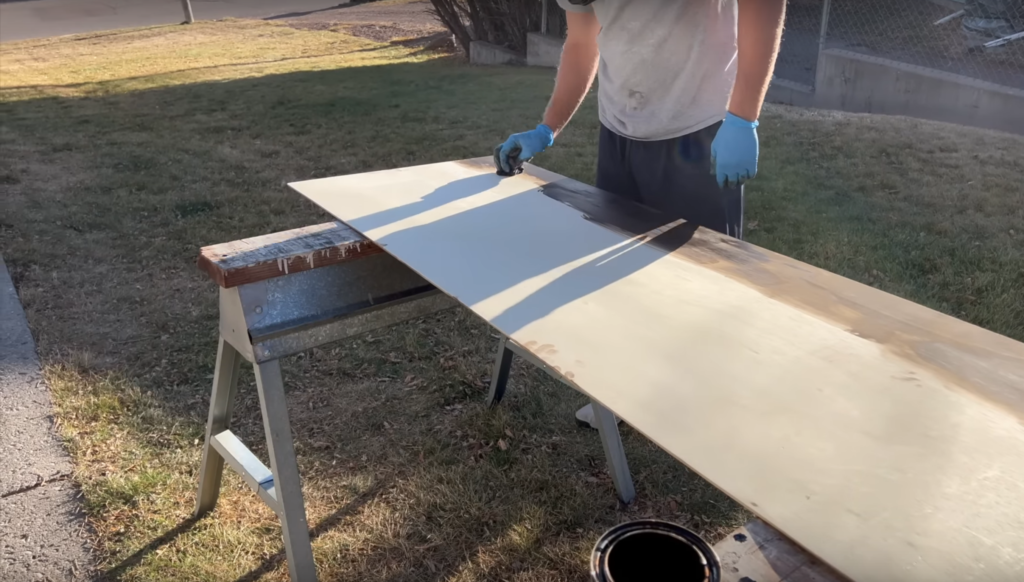
So I flipped the door over – used wood glue on the entire frame and then used brad nails to secure the 1/4” plywood to the back of the door.

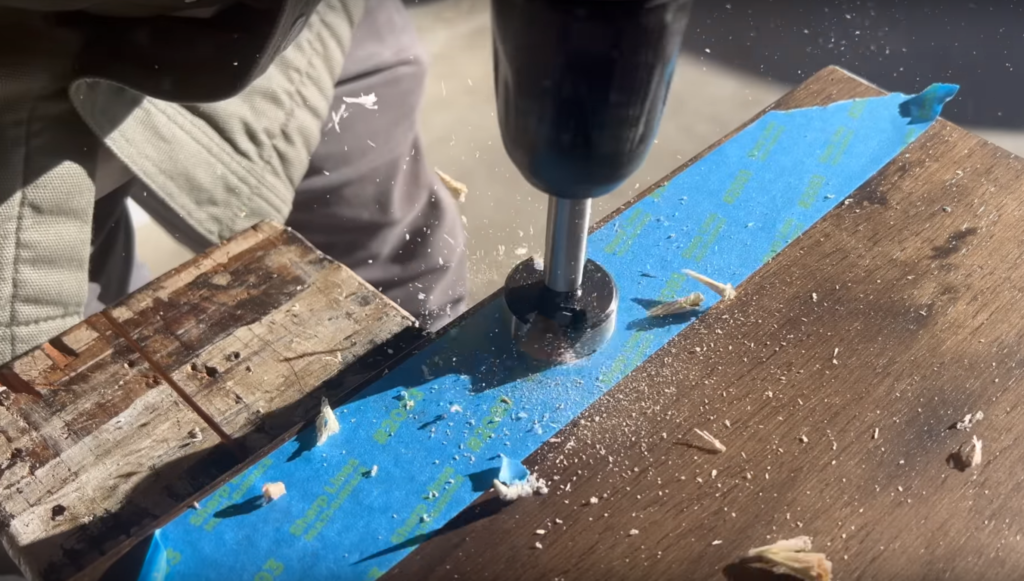
INSTALL HINGES & HANG DOOR
Next, we added three inset door hinges to the back of each door.
FINAL TOUCHES
Last but not least are the final touches.
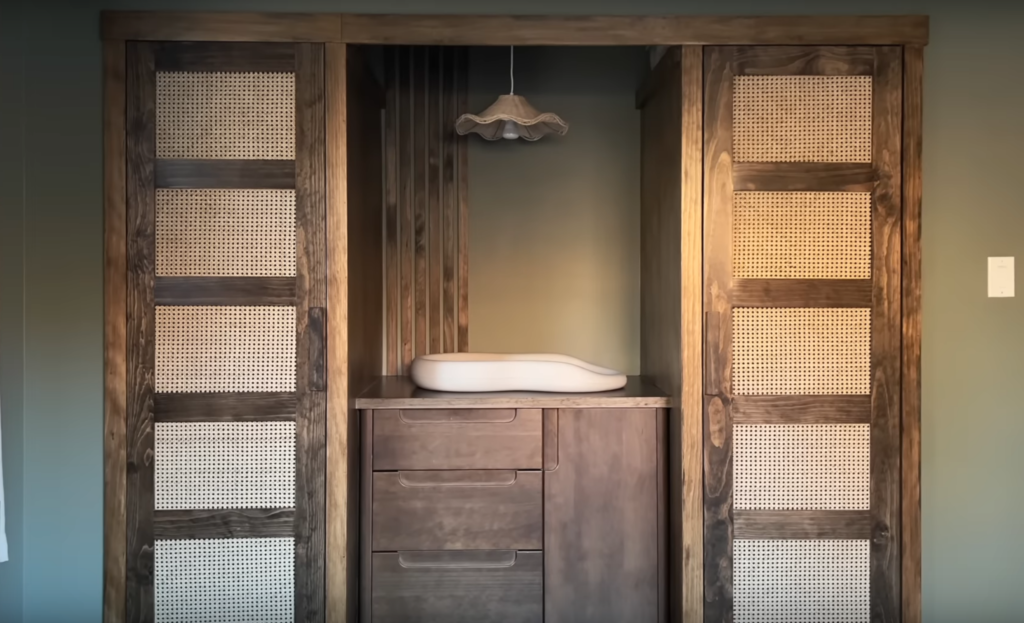
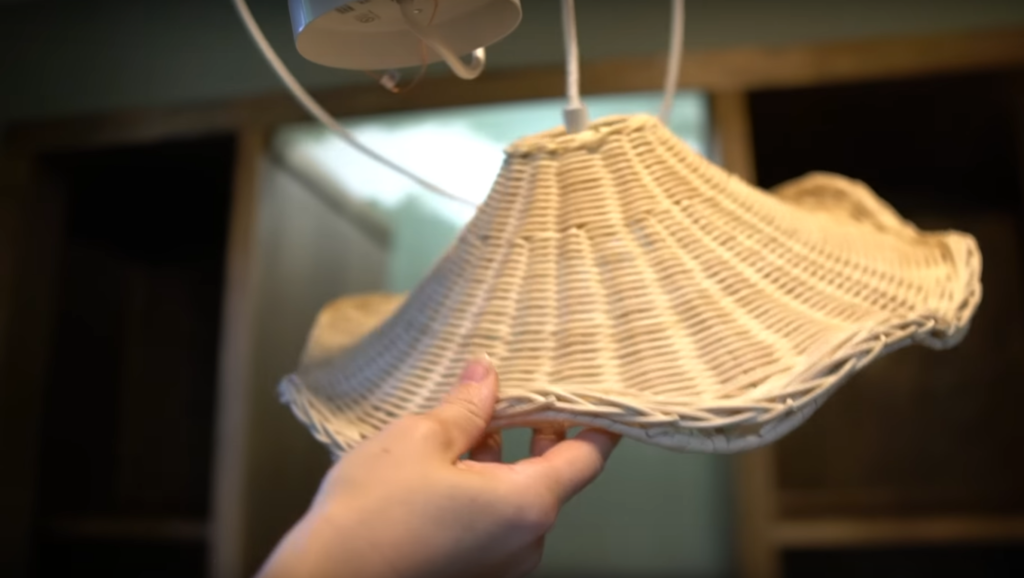
I installed this cute whicker light to hang down in the center of the closet.
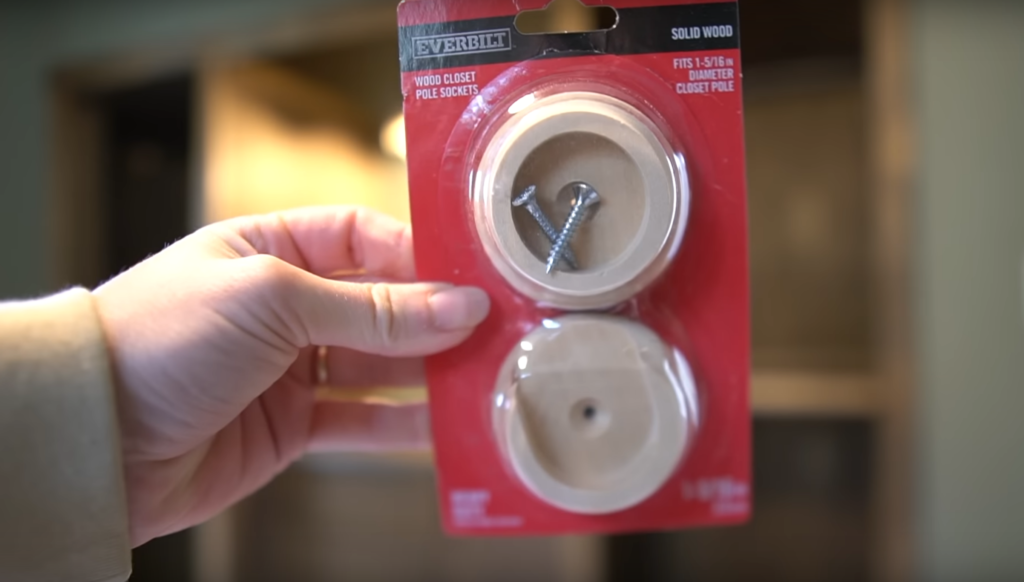
I added some wooden closet rods.
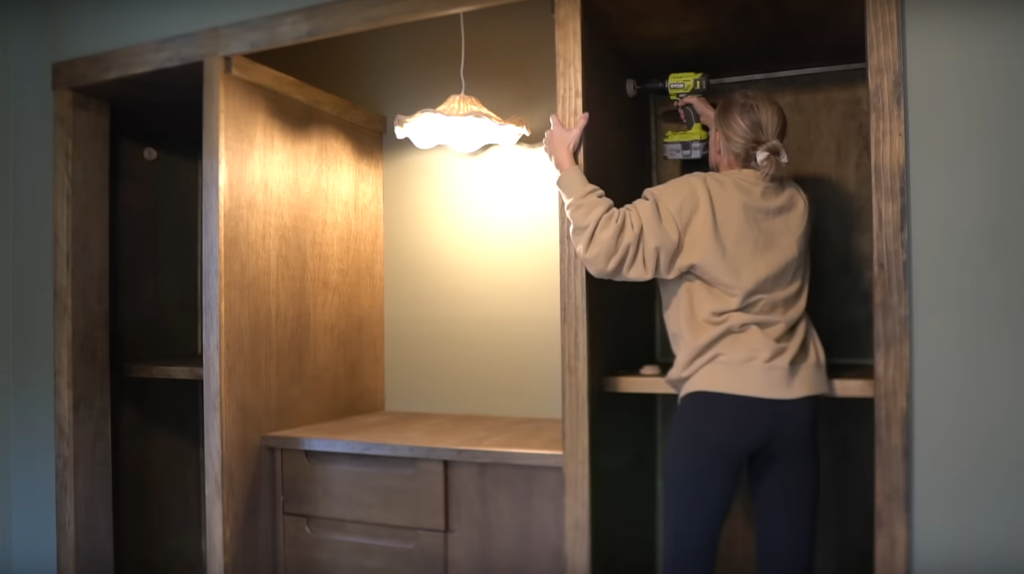
You could add adjustable shelves to this closet or more closet rods for hanging. It’s fully customizable but this is how they wanted it for now.
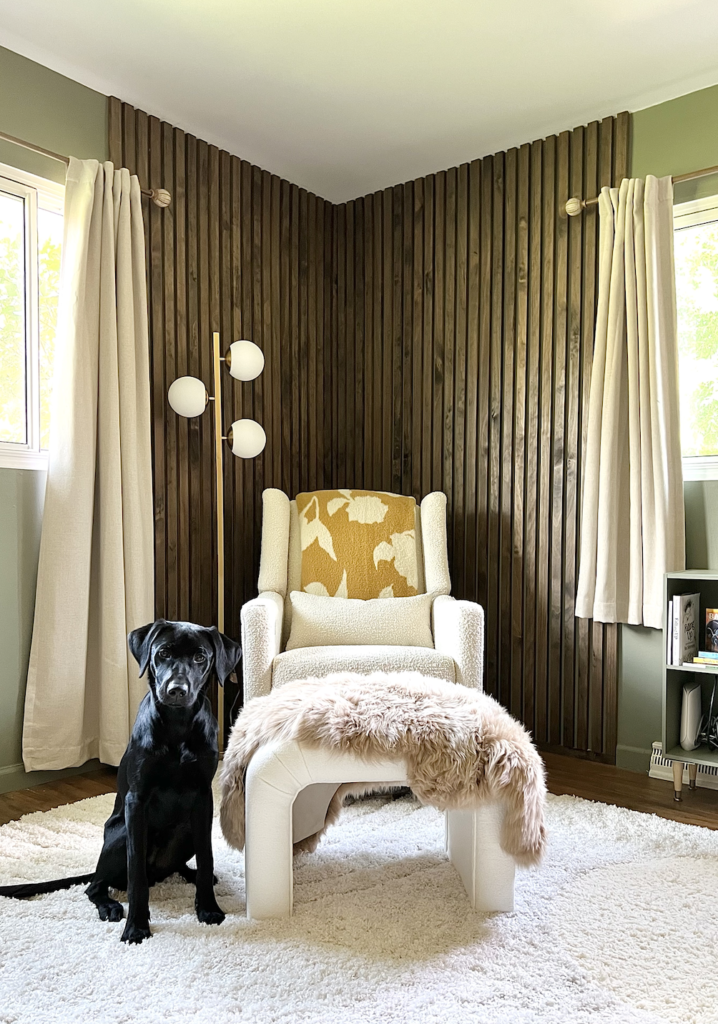
We had some leftover slat boards from the accent wall so I installed a little accent slat wall here.
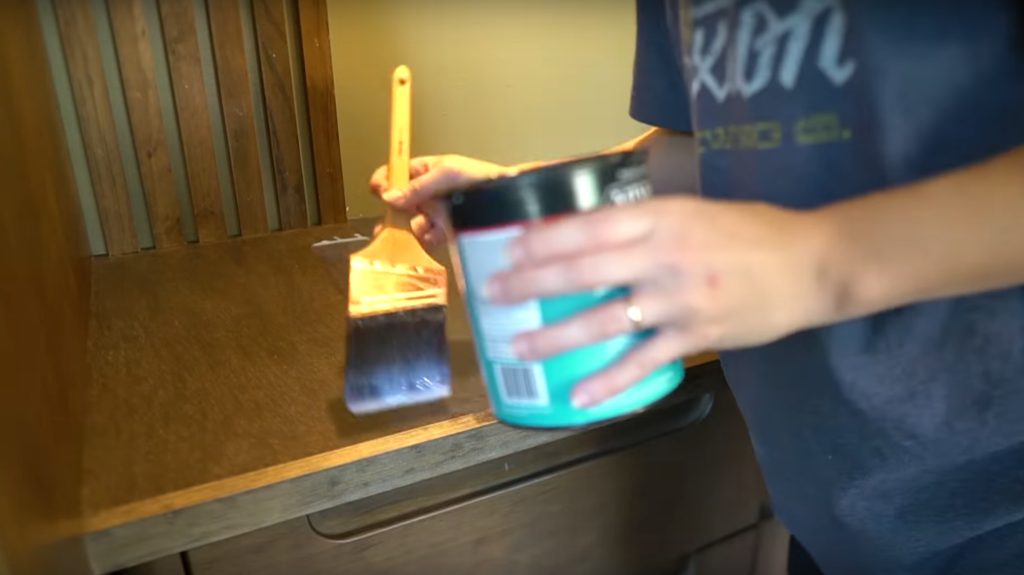
After the closet was finished I applied a few coats of polyurethane to protect the wood and to make cleaning off the surfaces easier.
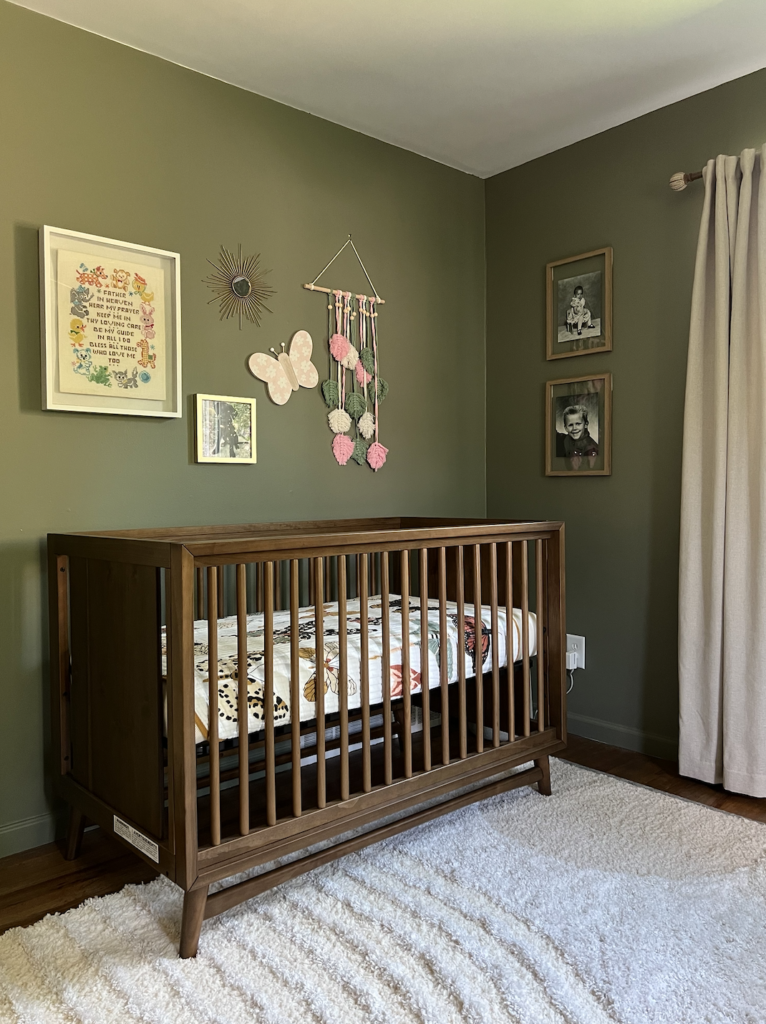
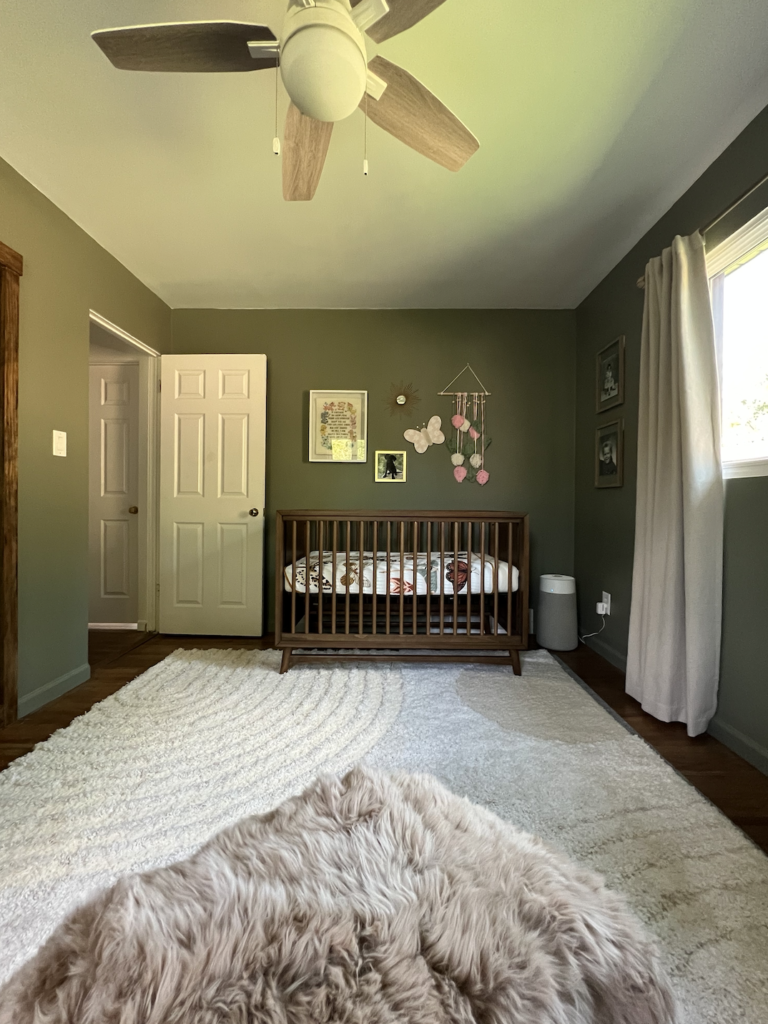
We added some other fun furniture and decor touches and voila!! We have a cozy nursery with a custom changing closet with TONS of storage.

Check out more DIY tutorials HERE!