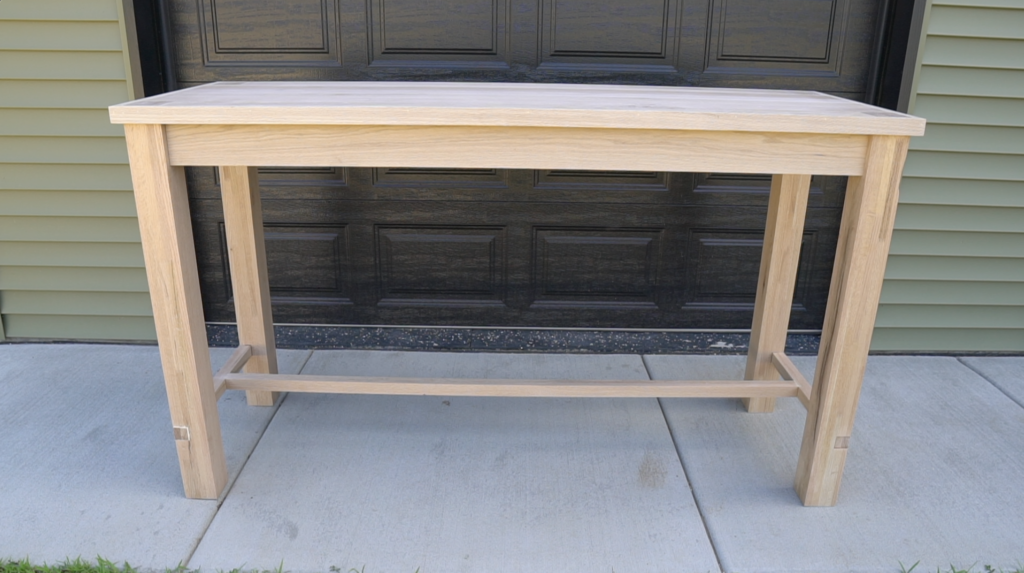
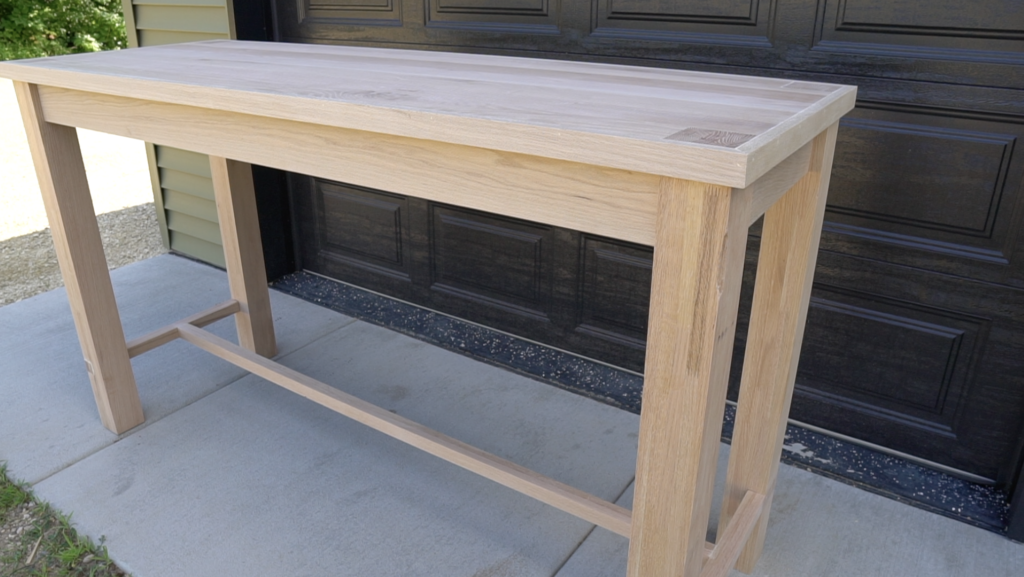
We’re building a vacation rental on a budget and that means tons of DIY projects! I wanted to build a freestanding kitchen island where guests can pull up a barstool to hangout or prep food near the kitchen. This kitchen island is made of red oak lumber and there are minimal tools required! Check out the YouTube tutorial as well as the free plans below.
LUMBER LIST
| (#) | DIMENSION |
| (3) | 1″ x 6″ x 6′ Red Oak Board (Aprons) |
| (4) | 4″ x 4″ x 4′ Solid Oak (Legs) |
| (1) | 1″ x 24″ x 6′ Red Oak (Tabletop) |
| (5) | 1″ x 2″ x 6′ Red Oak Board (Stretchers & Short Trim) |
| (2) | 1″ x 2″ x 8′ Red Oak Board (Long Trim) |
CUT LIST
| (#) | WOOD | LENGTH |
| (1) | 1″ x 24″ x 6′ | @ 24″ x 72″ (Tabletop) |
| (2) | 1″ x 6″ x 6′ | @ 65″ (Long Apron) |
| (2) | 1″ x 6″ x 6′ | @ 17″ (Short Apron) |
| (4) | 4″ x 4″ x 4′ | @ 42″ (Table Legs) |
| (4) | 1″ x 2″ x 6′ | @ 17″ (Side Stretchers) *Doubled up* |
| (2) | 1″ x 2″ x 6′ | @ 69 (Middle Stretchers) *Doubled up* |
| (2) | 1″ x 2″ x 8′ | @ 73 1/2″ (Trim Long) *45 Degree Miter* |
| (2) | 1″ x 8″ x 6′ | @ 25 1/2″ (Trim Short) *45 Degree Miter* |
Overall kitchen island dimensions: 73 1/2″ wide x 25 1/2″ deep x 42″ tall (bar height)

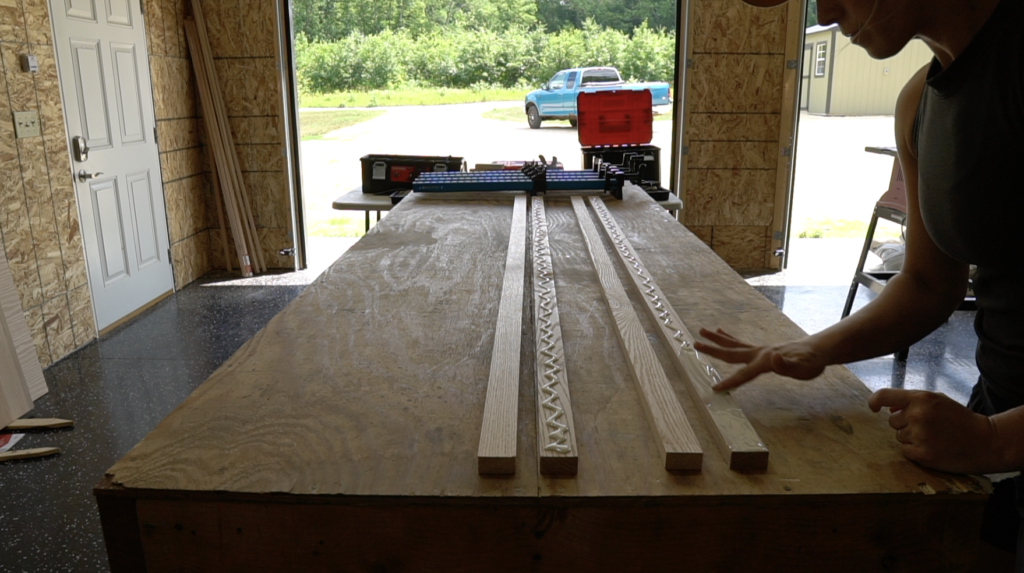
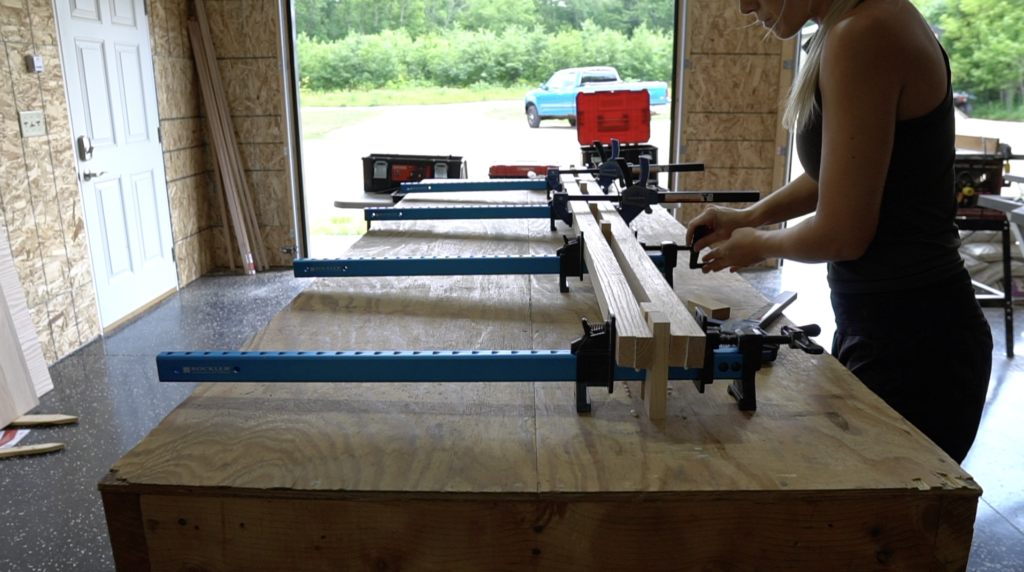
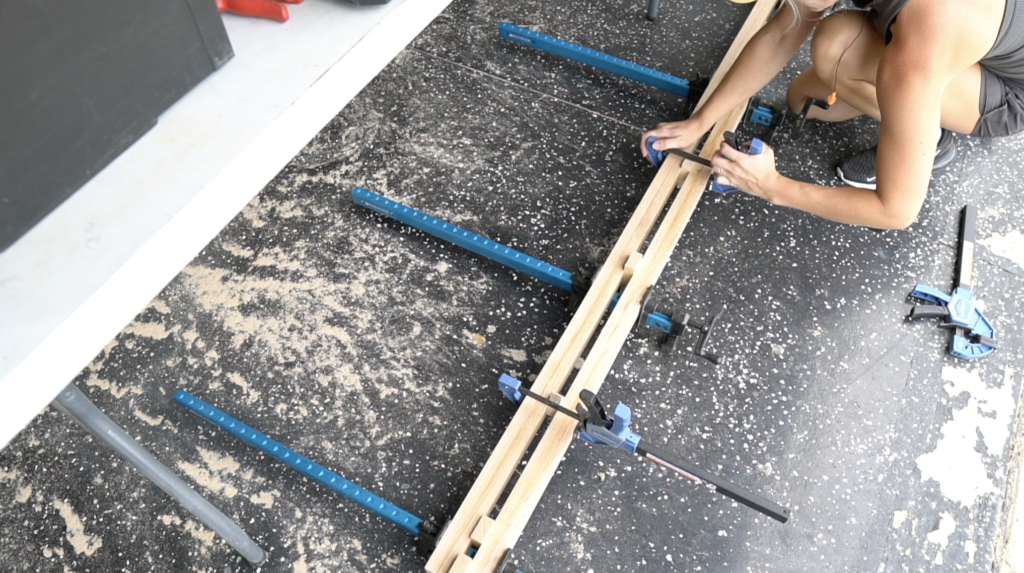
Glue 1×2 Stretchers Together
First, glue two sets of 1 “x 2” x 6′ together. These will be used for the middle and side stretchers. Glue and clamp these together and let them set for the rest of the day.


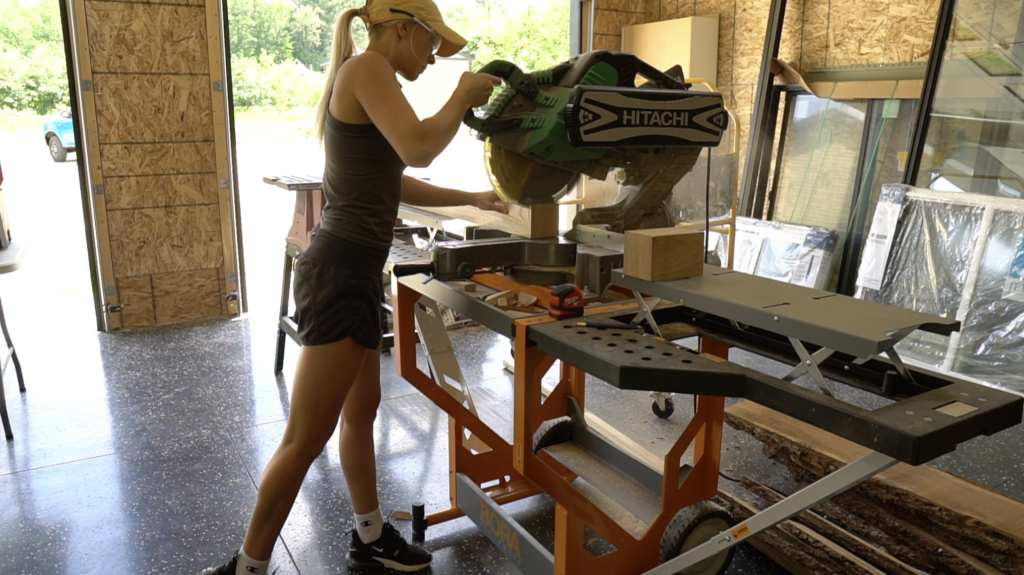
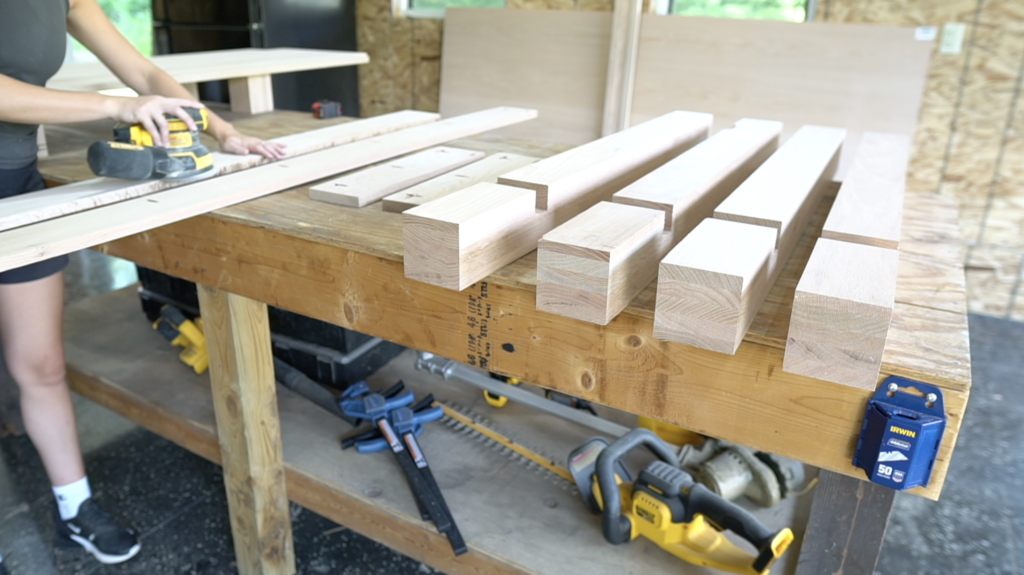
Cut 4×4 Legs Down to Size
Next, cut the 4 x 4 legs down to size. I’m doing a bar height kitchen island so these legs are 42” long.

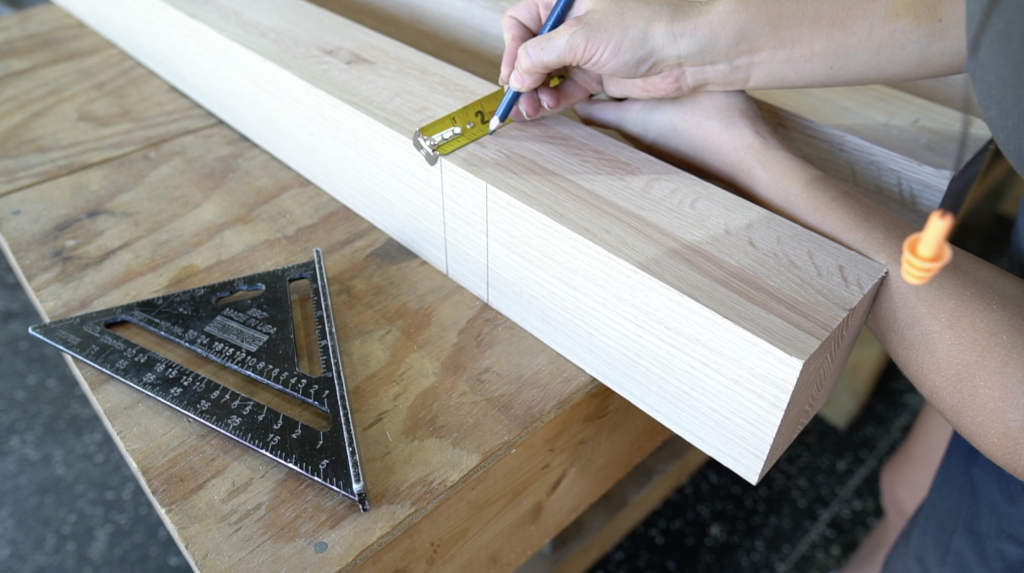
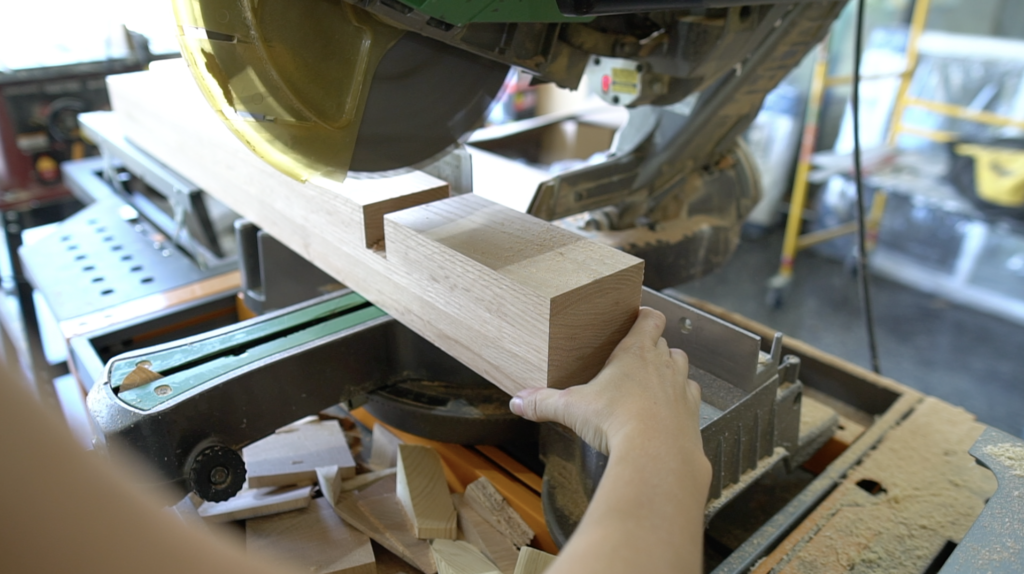
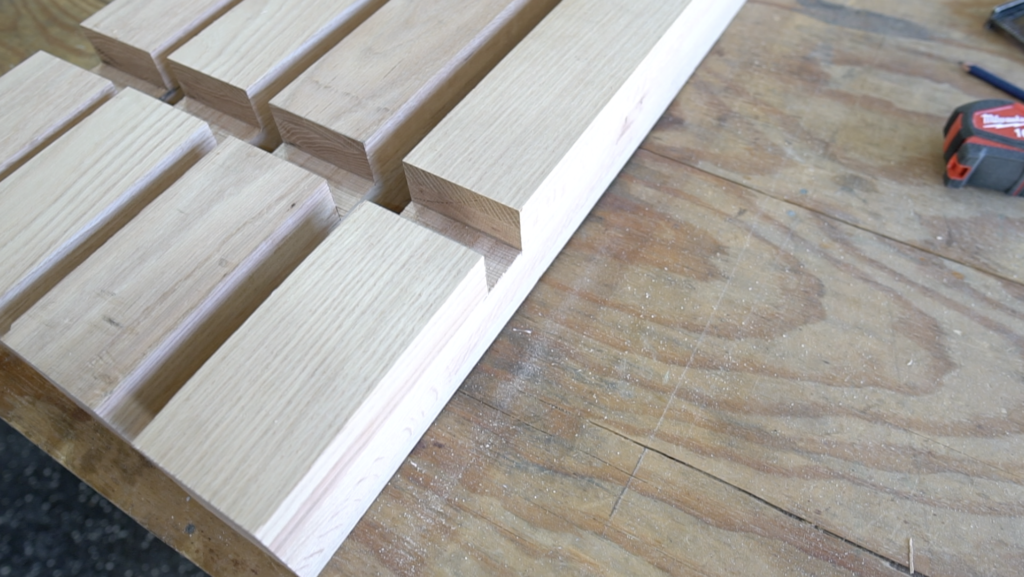
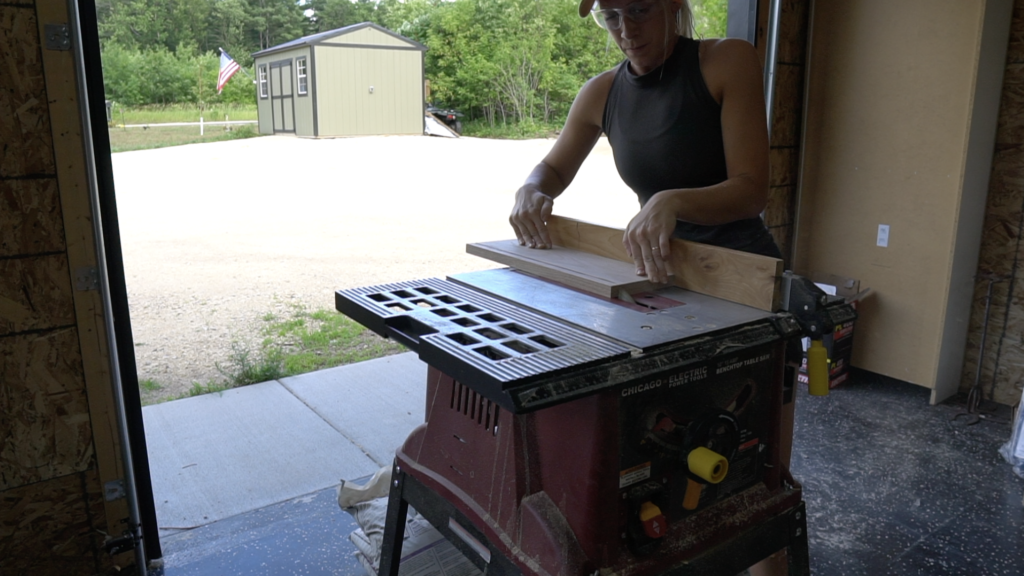
Notch 1×2 Stringers out of 4×4 Legs
Mark out the 1 1/2” side stretchers on three sides of your legs (6″ up from the bottom of the leg). This will be your guide to cut out the notches.
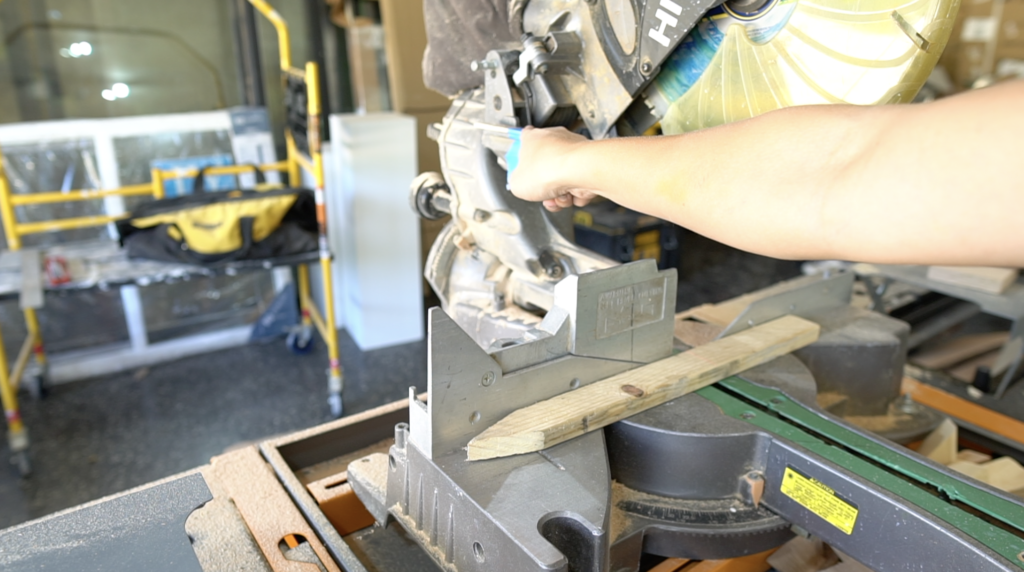
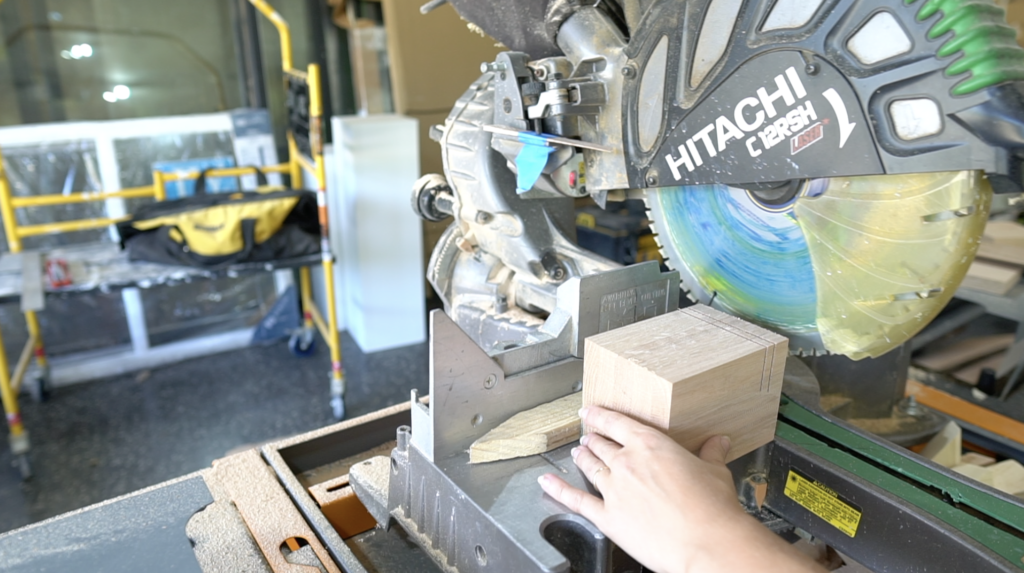
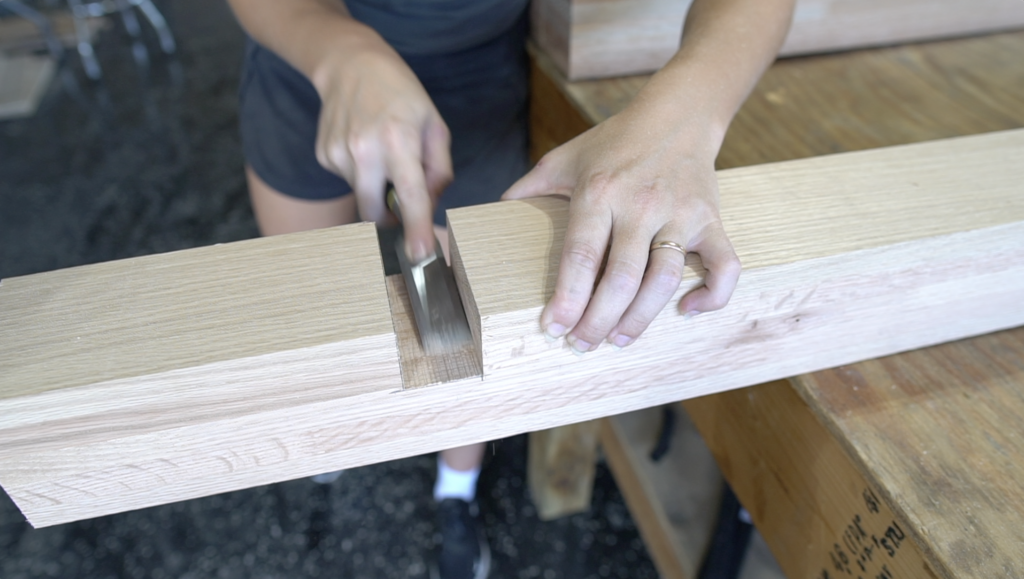
To cut the notches I’m using a miter saw. I adjusted the miter saw so that the stop – stops the blade at 1.5” deep. Then I added a 1 1/2″ spacer piece to the back fence so the blade cuts the 1 1/2″ depth all the way through the leg.
Make one pass with your miter saw and move the 4×4 leg over a little bit each time until the 1 1/2″ notch is cut out completely. You could also use a table saw for this step.
Use a chisel to clean up any high spots.


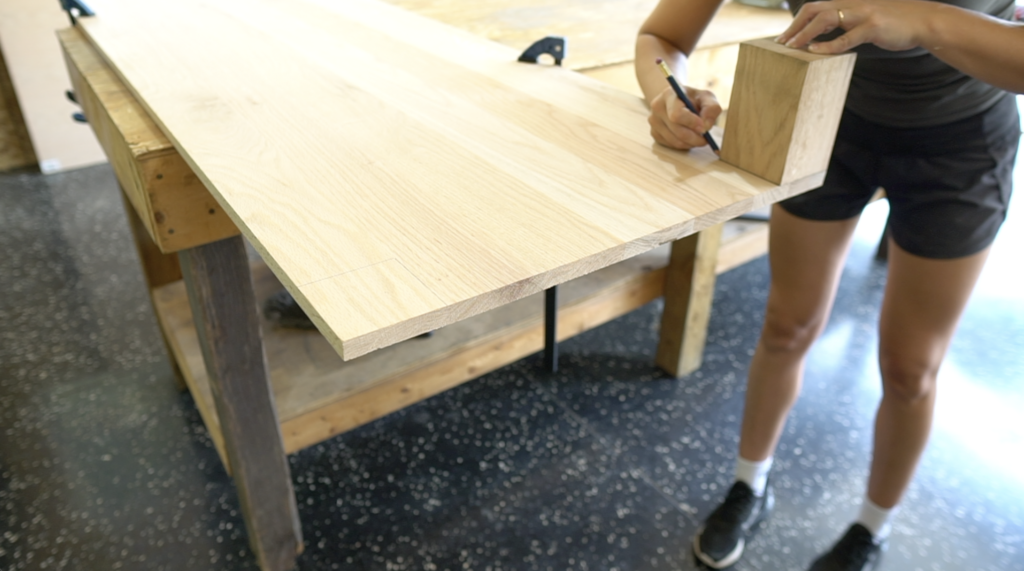
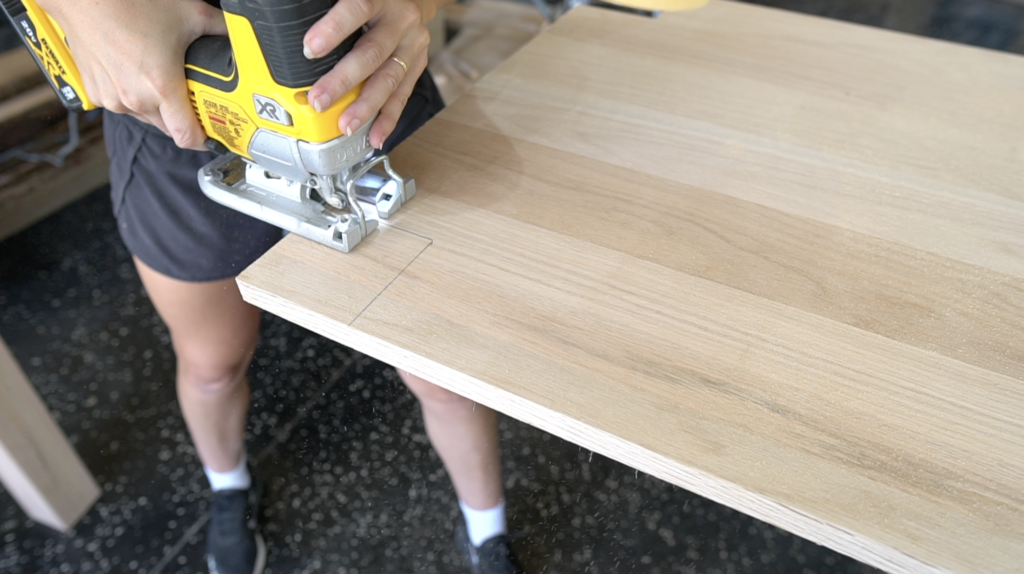
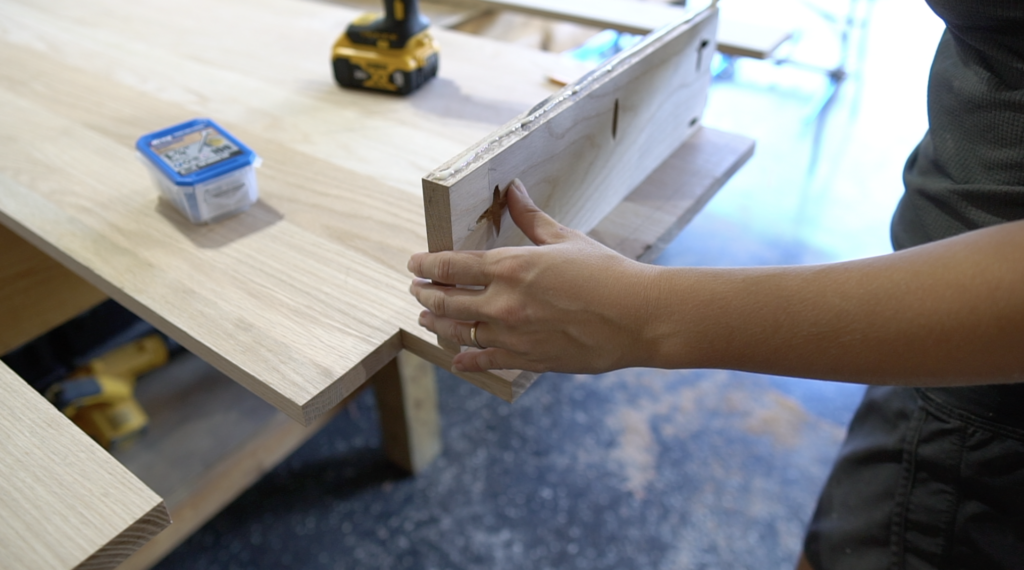
Notch Corners out of Table Top
Trace out a table leg on each corner of the tabletop. Notch out this 3 1/2″ x 3 1/2″ square with a jigsaw.

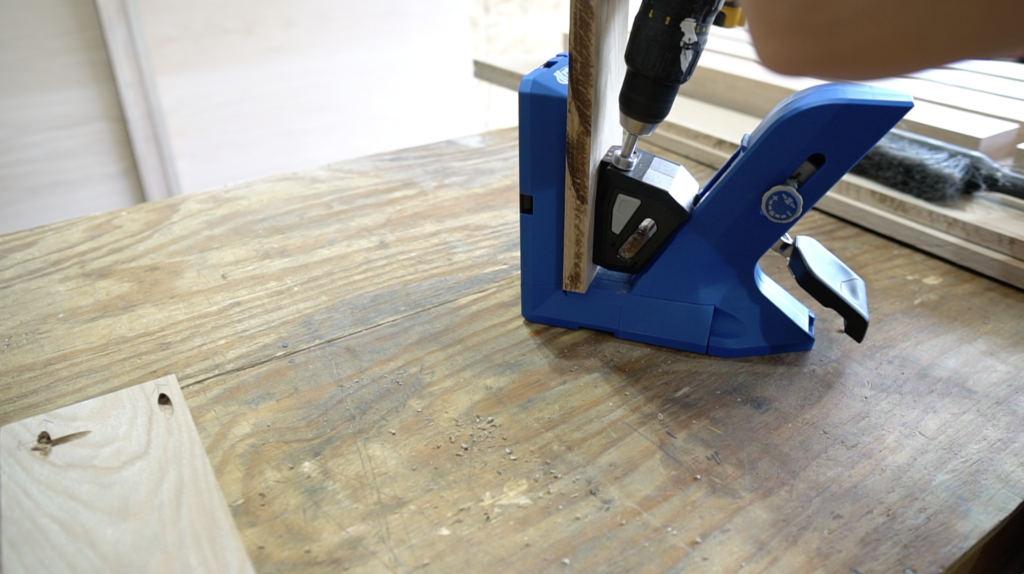
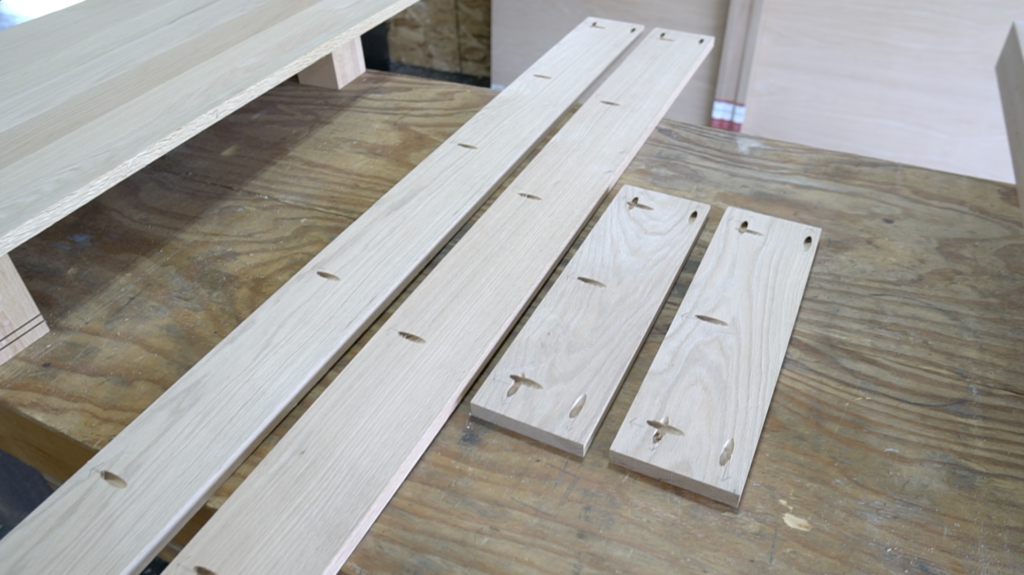
Cut Apron Pieces & Drill Pocket Holes
Cut the apron pieces to size and rip the 1×6’s down to 4 3/4”. Use a Kreg Jig to drill pocket holes into 3 sides of each of the apron pieces like the pictures below.


Sand Apron & Leg Pieces
Before assembling these pieces together sand everything down.

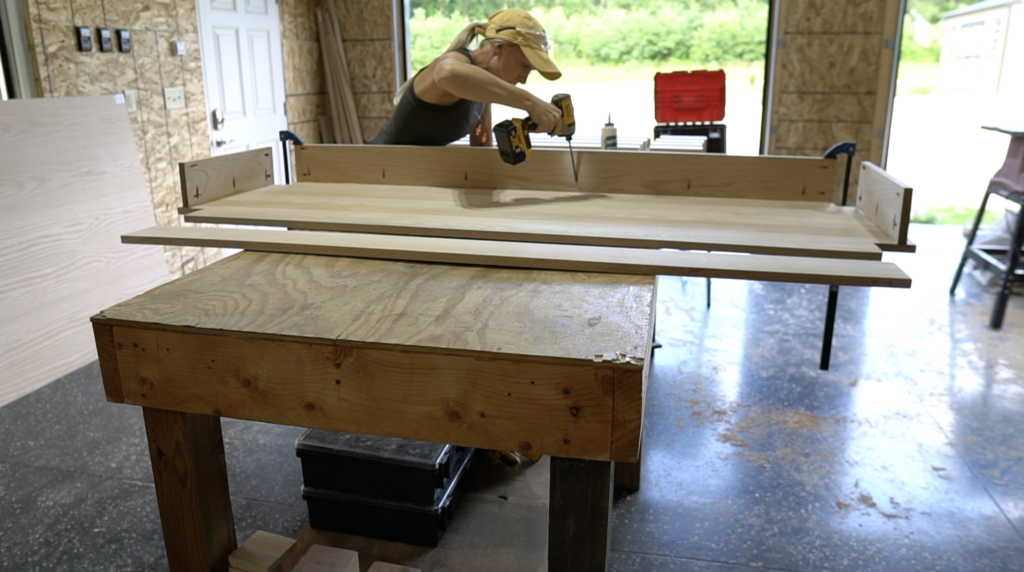
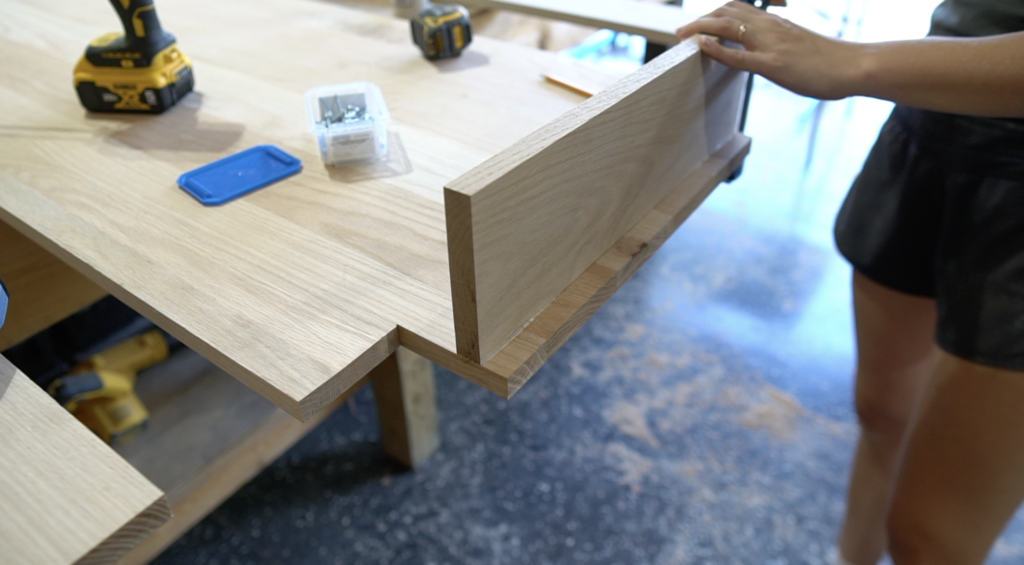
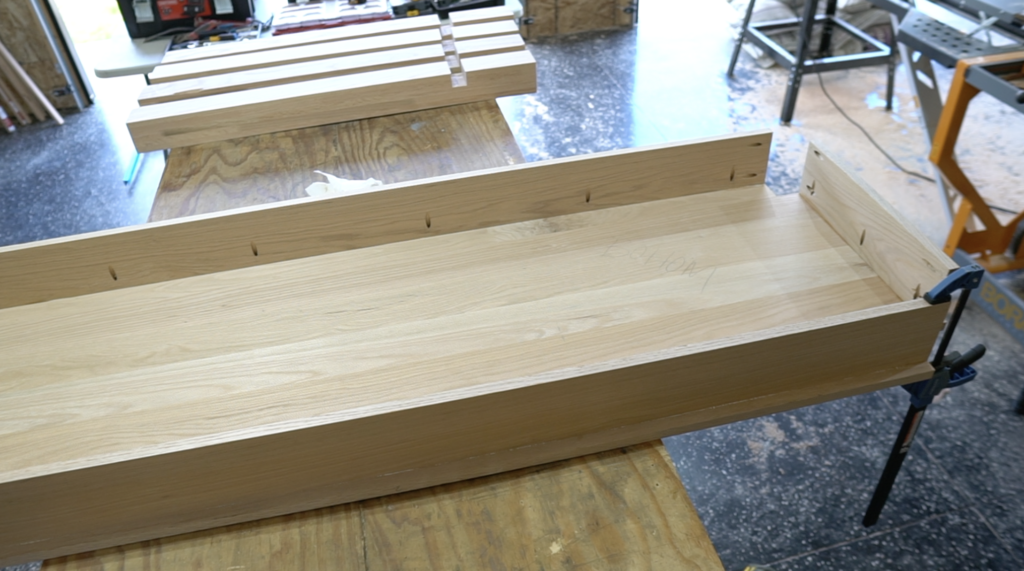
Install Aprons
Use wood glue and 1 1/4” pocket screws to secure the apron boards to the bottom of the tabletop 3/4” of an inch in from the end of the tabletop. The end of these apron pieces should be flush with the notched out corners.


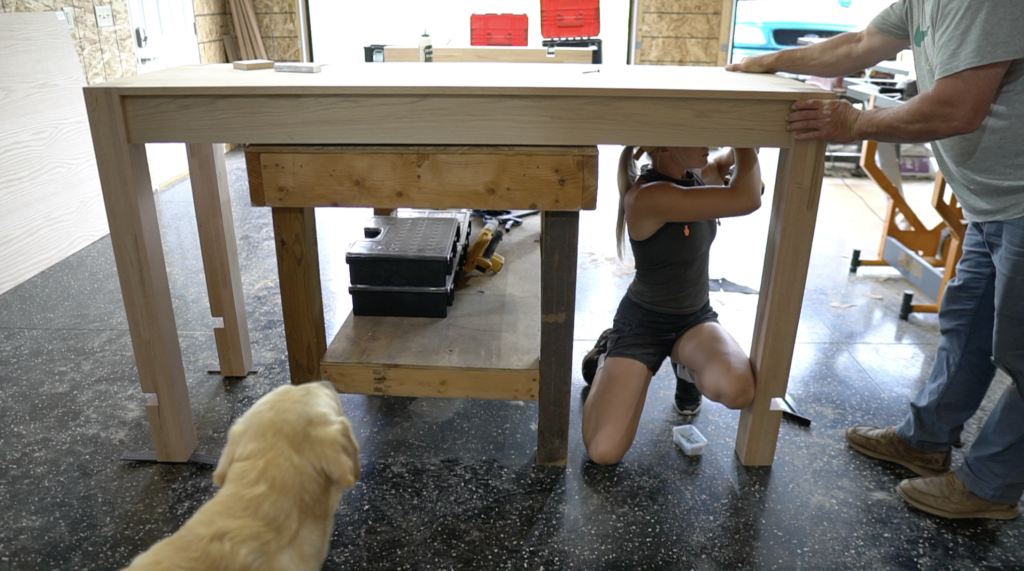
Attach Table Legs
Flip the table over and secure the legs with 2” pocket screws making sure the legs are nice and square.

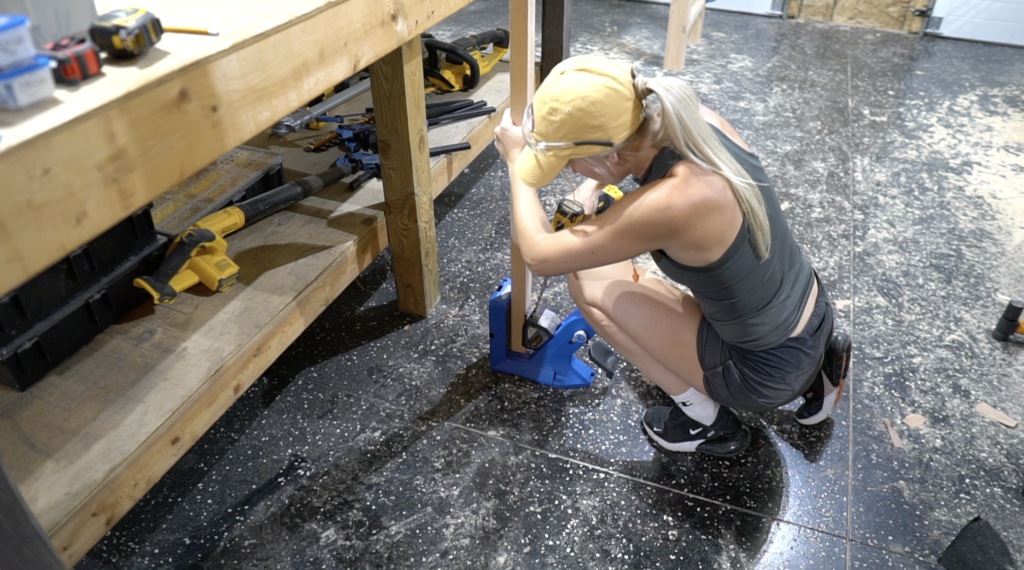
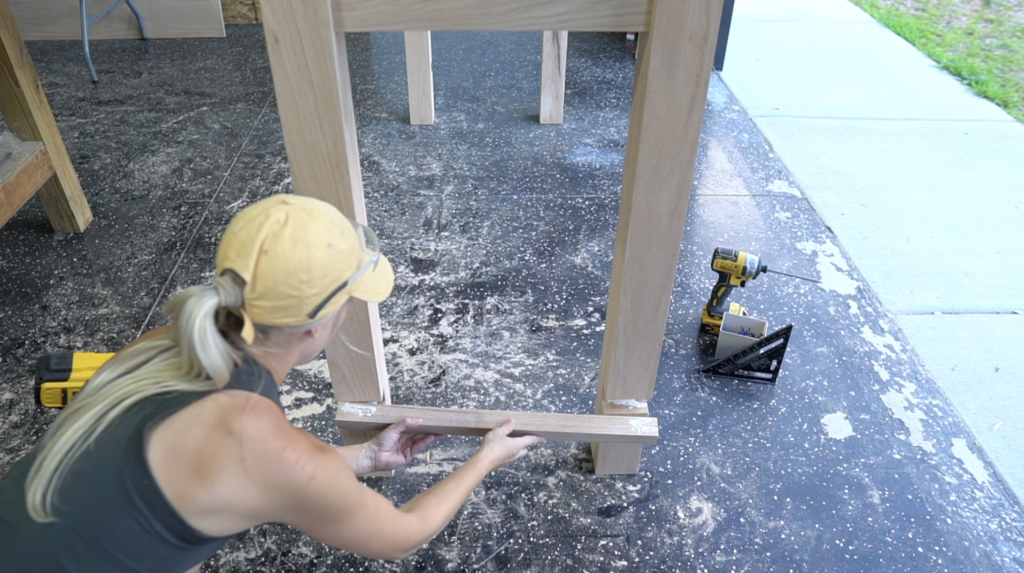
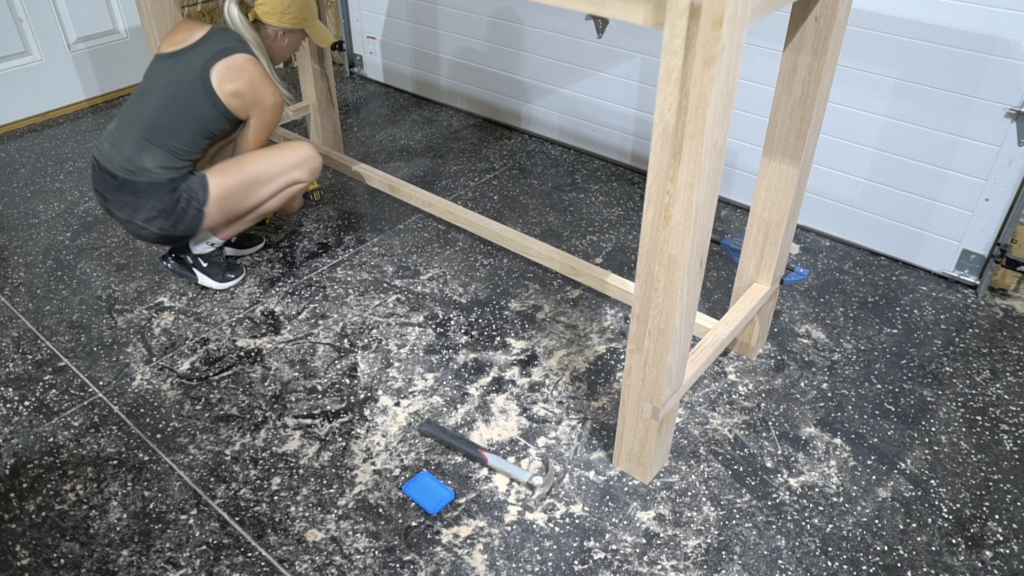
Attach Side and Middle Stretchers
Remove the 1.5 x 1.5” stretcher pieces from the clamps. Sand these down and cut them down to size. Use wood glue and a few long brad nails to secure the side stretchers into the table legs. Use clamps to hold in place if necessary. For the long middle stretcher drill two pocket holes at each end (on the bottom side of the stretcher) and secure to the middle of each side stretcher.
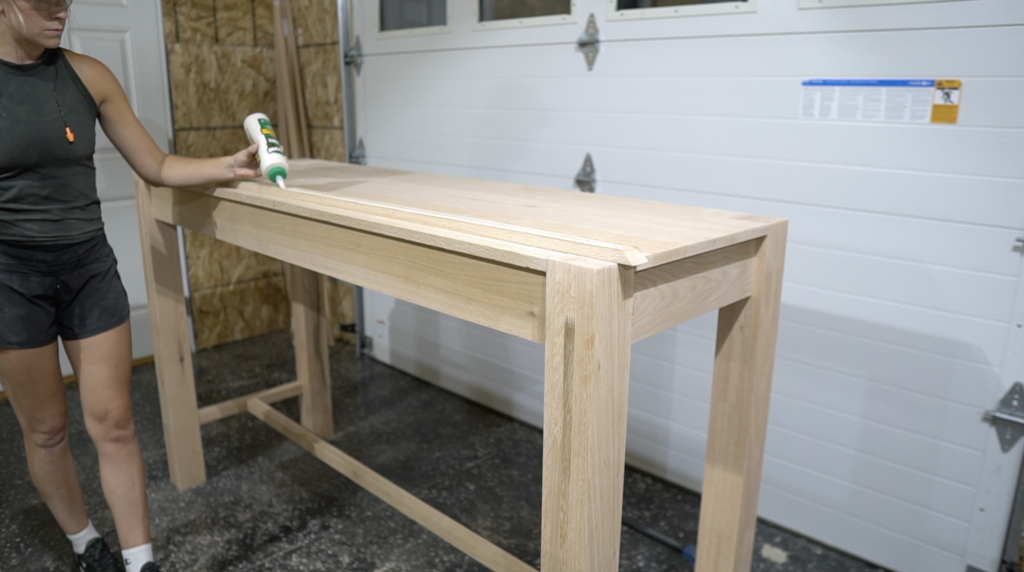
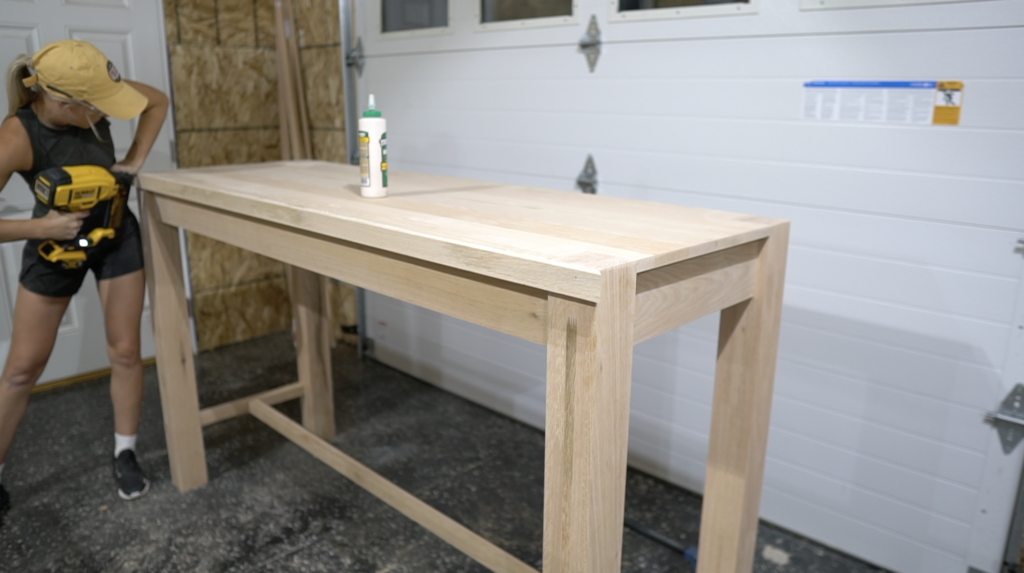
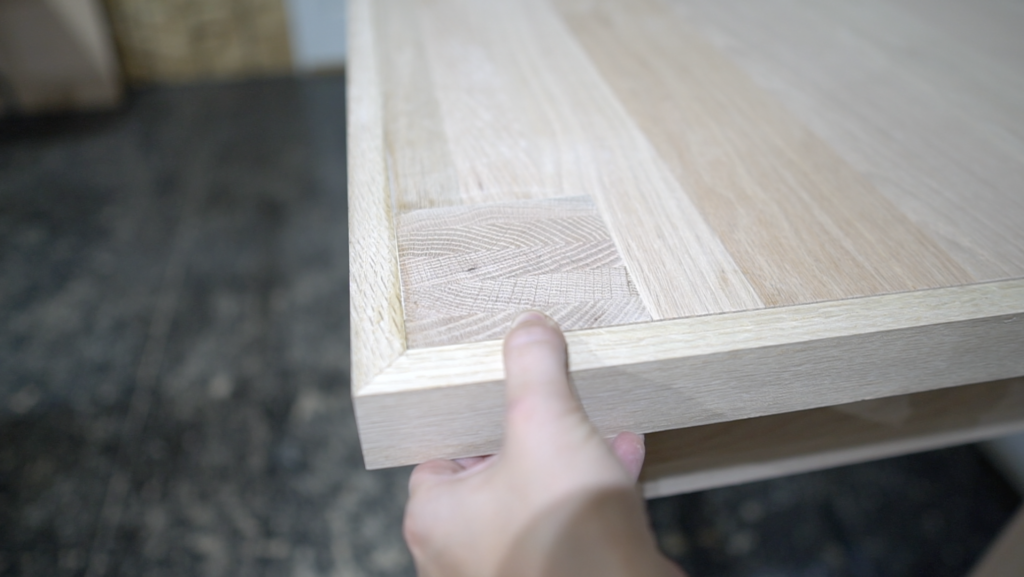
Trim out Tabletop
Use 1×2 trim to trim out the tabletop. Miter each of the corners at a 45 degree angle. Secure the trim to the table top with wood glue and brad nails.

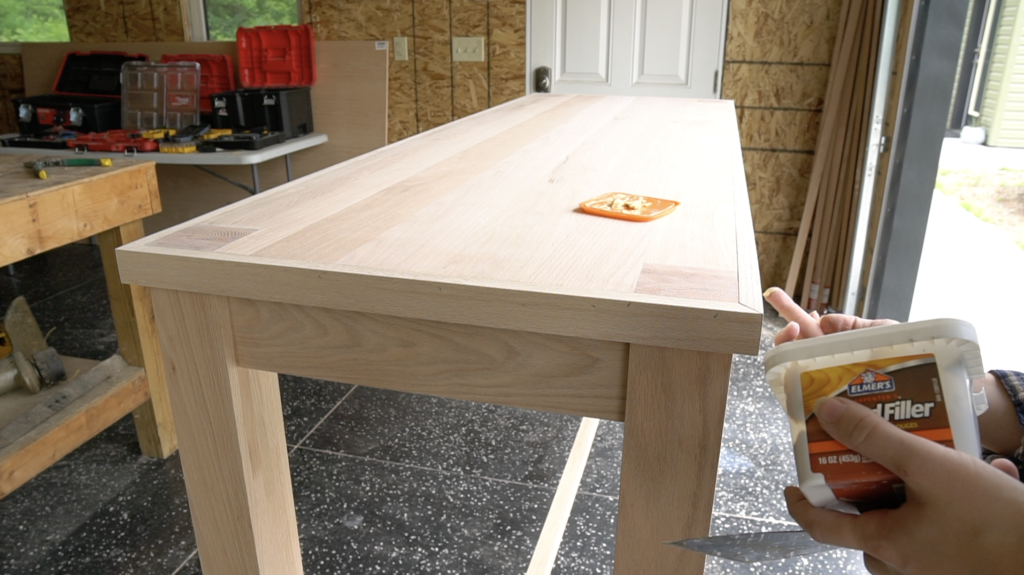
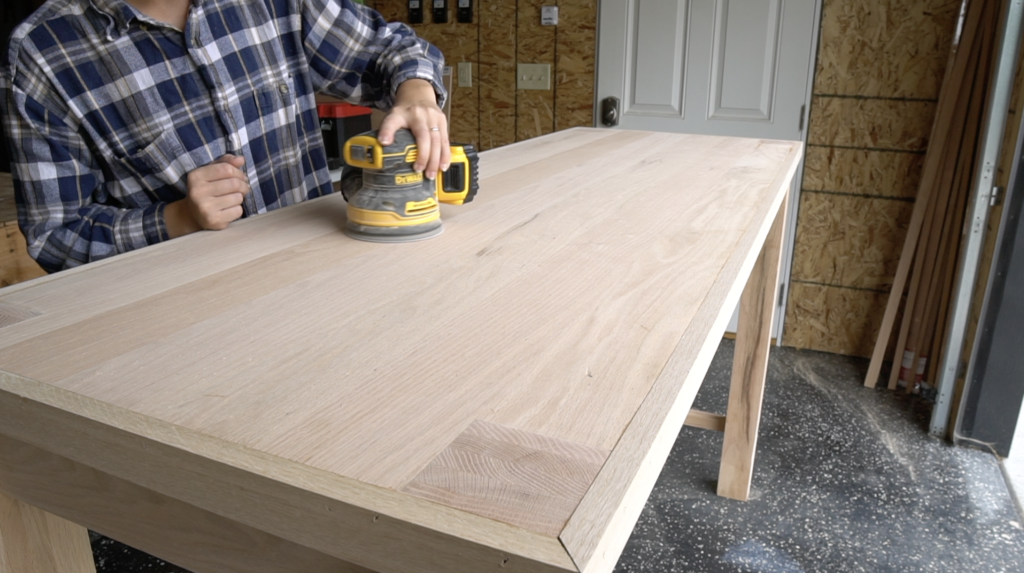
Fill Nail Holes & Sand
Fill nail holes with wood filler and then finish with one final sanding.

Finish Kitchen Island
I plan to finish off the island with a whitewash stain and few coats of durable polyurethane to protect it.