
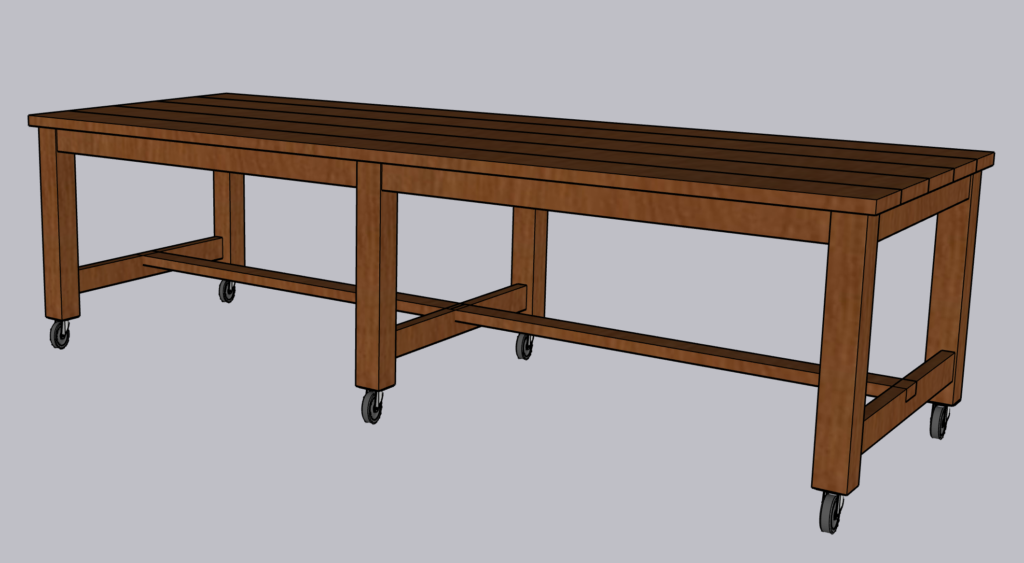
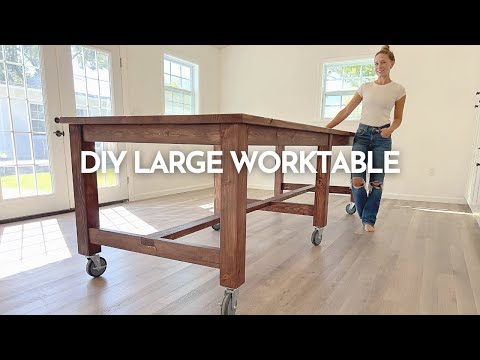
The workshop is almost complete there is just one GIANT thing missing… a work table!! When designing this space I envisioned a large table in the center of the workshop. I looked up some inspiration on Pinterest and designed the perfect work table to complete this space. Check out the tools and materials linked below and good luck building!


MATERIAL LIST
| (#) | DIMENSION |
| (2) | 4″ x 4″ x 8′ Pine (Legs) |
| (8) | 2″ x 4″ x 8′ Pine (Table Base) |
| (5) | 2″ x 10″ x 12′ Pine (Tabletop) |
| (6) | 5″ Casters (actually 6″ tall) |
CUT LIST
| (#) | WOOD | LENGTH |
| (6) | 4″ x 4″ | @ 28 1/2″ (Legs) |
| (4) | 2″ x 4″ | @ 54″ (Long Apron) |
| (6) | 1″ x 6″ x 6′ | @ 34″ (Short Apron / Stretchers) |
| (2) | 2″ x 4″ | @ 37 1/2″ (Short Apron) |
| (2) | 2″ x 4″ | @ 59″ (Stretcher) |
| (3) | 2″ x 10″ | @ 120 1/2″ (Tabletop: full width 9 1/4″) |
| (2) | 2″ x 10″ | @ 120 1/2″ (Tabletop: ripped to 7 5/8″) |
TOOLS
| TOOL | LINK |
| Miter Saw | https://bit.ly/3QQ1hZJ |
| Rigid Planer | https://bit.ly/48nPeLf |
| Table Saw | https://bit.ly/3PYQAUl |
| Circular Saw | https://bit.ly/46lgYPo |
| Orbital Hand Sander | https://bit.ly/3ljgcuS |
| Belt Sander | https://bit.ly/3EPSlye |
| Bosch Router | https://bit.ly/3PU55ZL |
| Kreg Jig | https://bit.ly/46fgKcG |
| 2 1/2” Pocket Screws | https://bit.ly/403C3M0 |
| 5” Casters | https://bit.ly/3tzRKyp |
| Special Walnut Stain | https://bit.ly/3PVBPll |
| Polyurethane Matte | https://bit.ly/3M3f2CO |
| 24” Clamps | |
| 48” Clamps | |
| Spring Loaded Clamps | |
| Stain Applicator Pad | https://bit.ly/3QiNDPW |
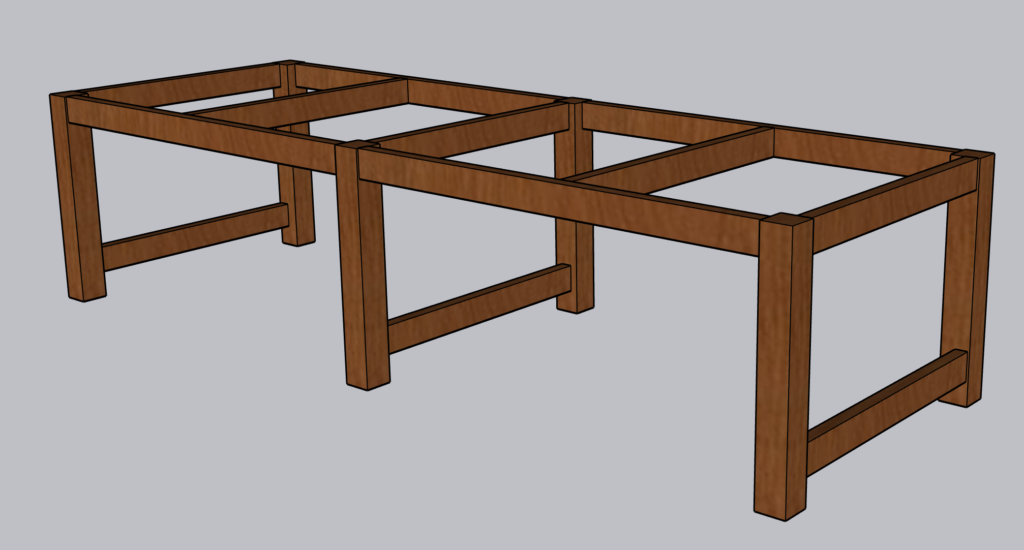
Overall table dimensions: 120 1/2″ (L) x 43″ (D) x 36″ (H)

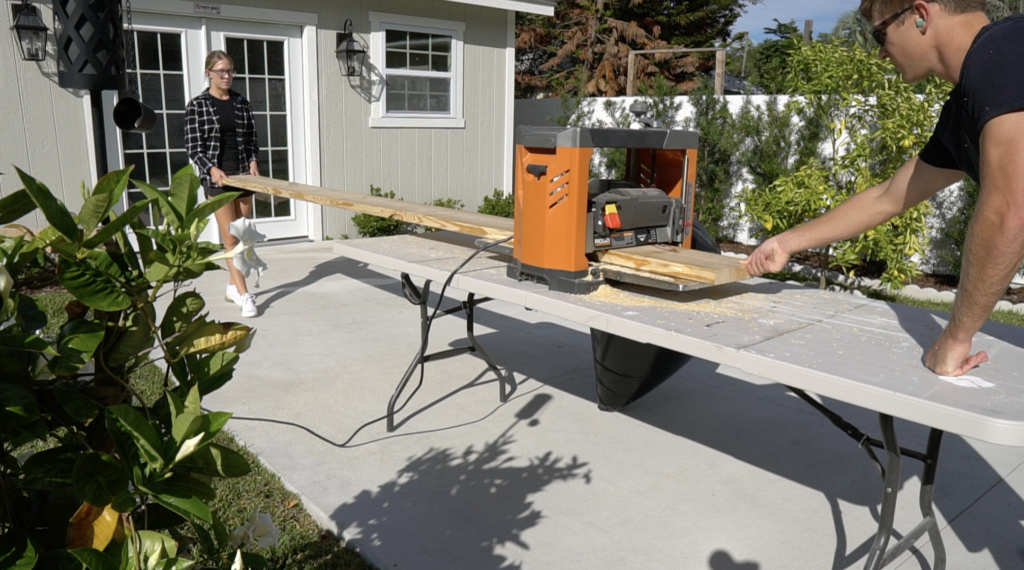
Cut Material
To start this project we planed down all of the 2×10 boards. If you don’t have a planer, no worries, this isn’t a necessary step. You may just have to do some extra sanding.

You could use 1 by lumber if you want to make this table top lighter. I liked the look of a thick, chunky table top so I opted to go with the 2×10’s.
After the 2×10’s were planed, we ripped the two end boards down to get the final depth of the table top which is 43”.

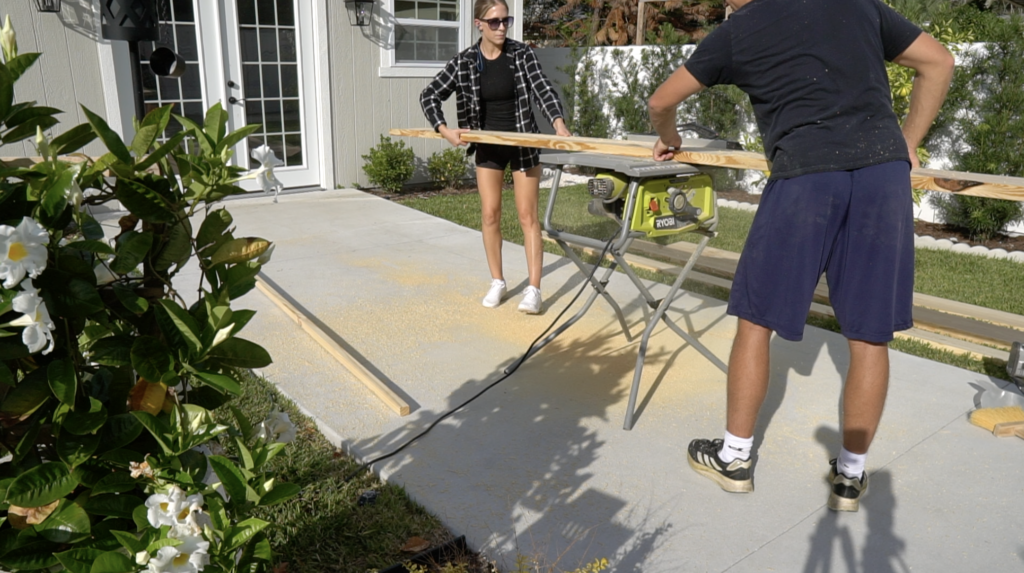
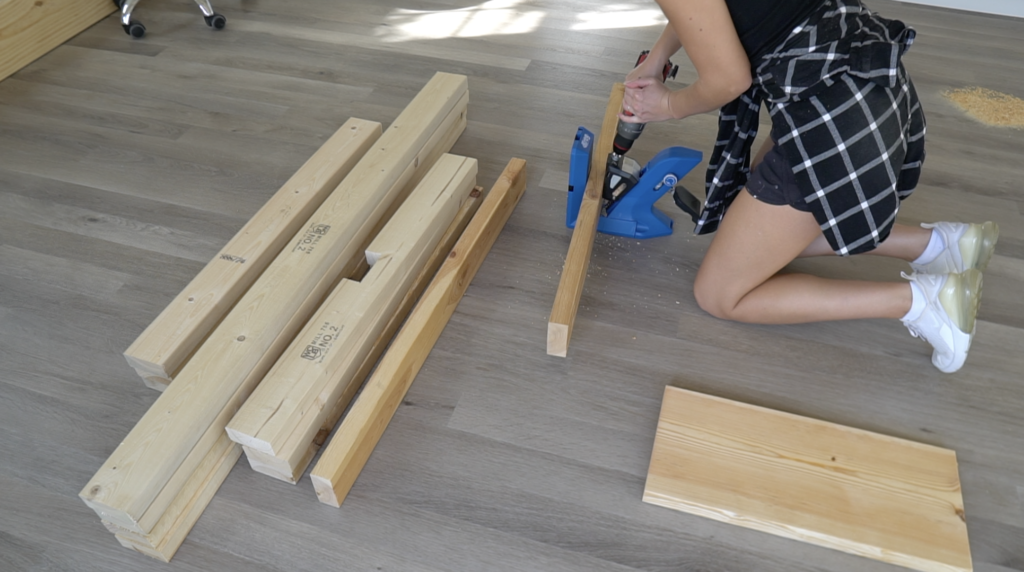
Next I cut all the framing pieces down to size.

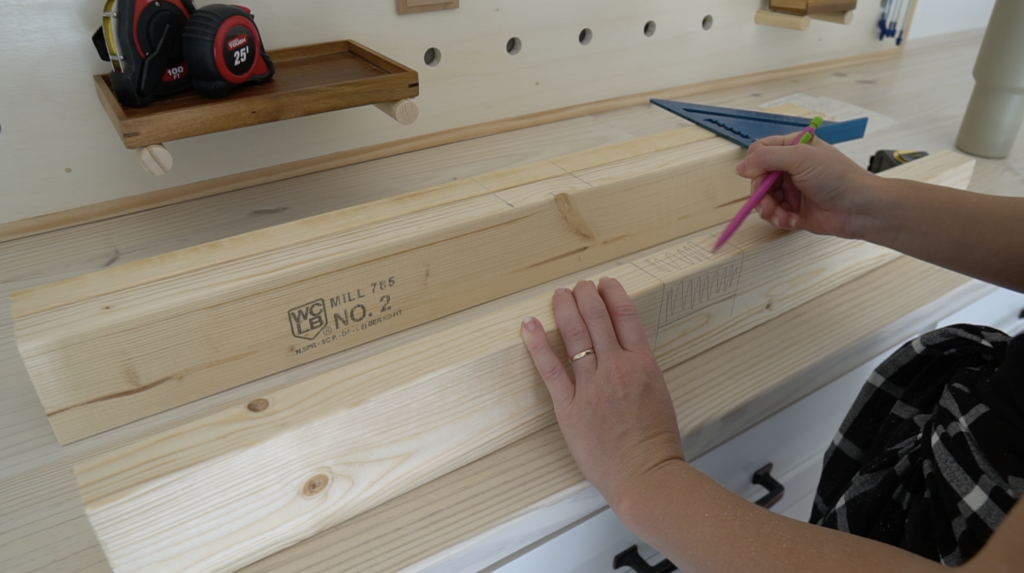
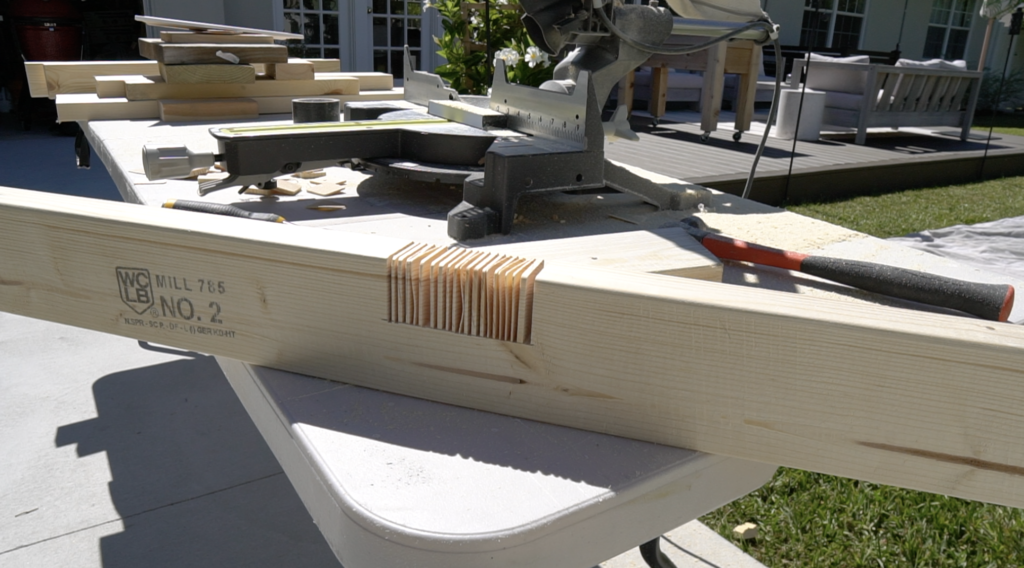
I notched out the bottom 3 side stretcher pieces so that I could lay the long center stretcher across it.
To do this I marked out a 2×4 in the center and made a bunch of small cuts with my miter saw.

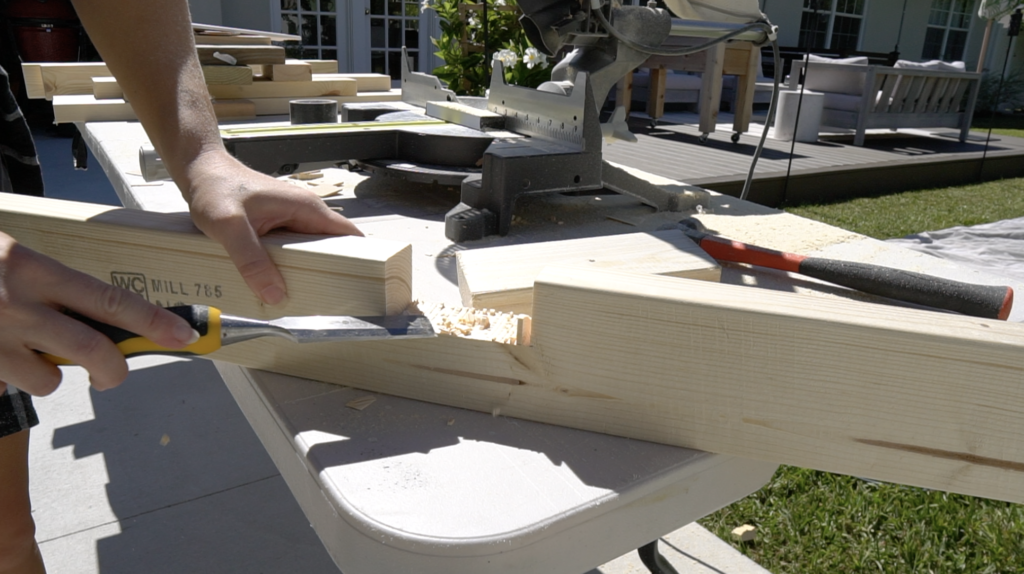
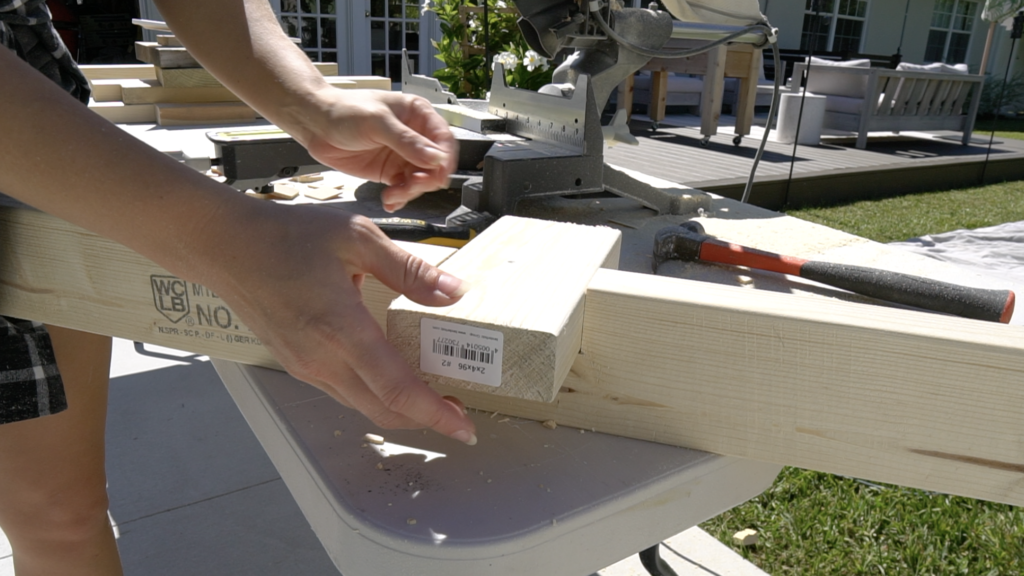
I cleared the wood pieces and used a chisel to chisel away any leftover wood.


Drill Pocket Holes
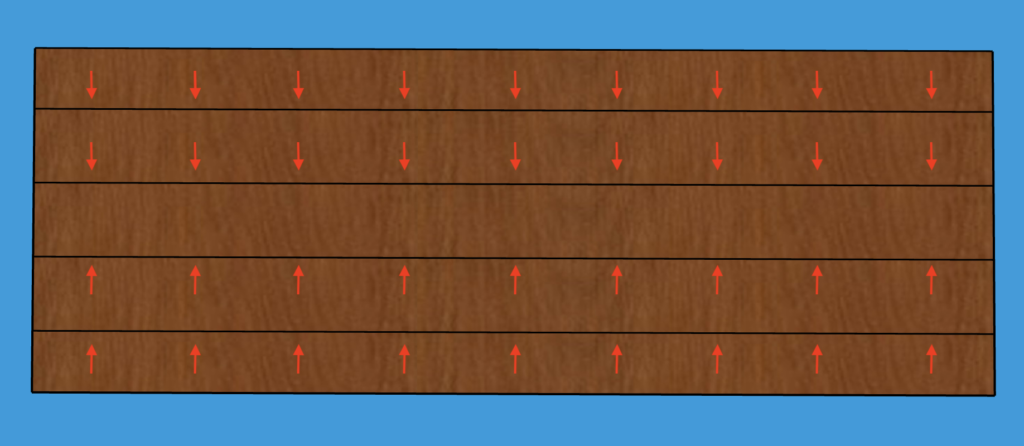
All of the wood is cut down to size and now we can drill pocket holes! I started by laying out the 2×10 boards how I want them, and marked out where the pocket holes need to go. I drilled pocket holes in each board about 8” apart or so following the diagram below.


This Kreg Jig is great tool – it self adjusts to the material thickness making the process super easy.


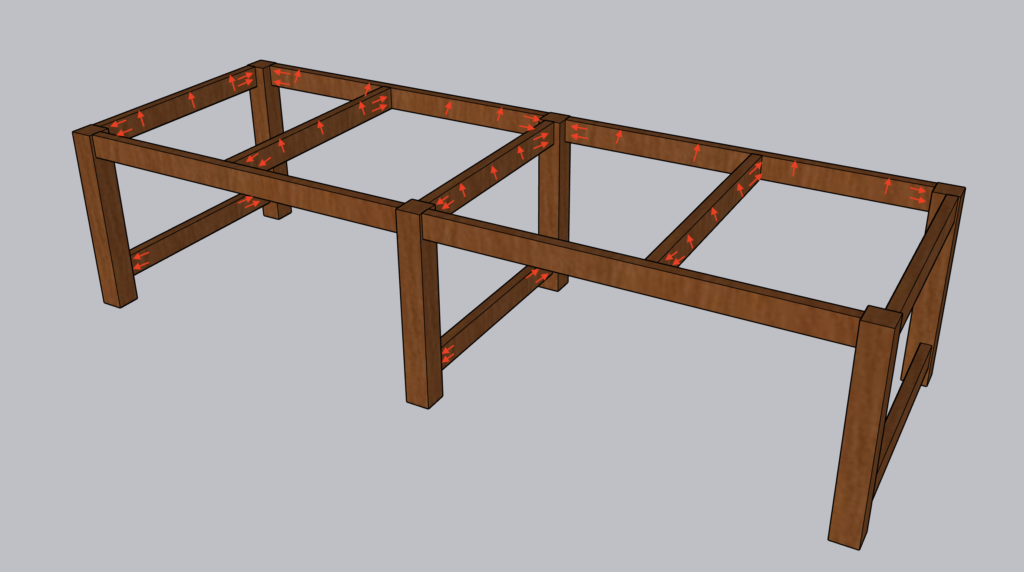
After the pocket holes were drilled in the 2×10’s I drilled pocket holes in all of the framing pieces following the diagram below.

Assemble Table Top
The pocket holes are drilled – now it’s time to assemble the table top.
I assembled the table top in sections just to make it a bit more manageable.
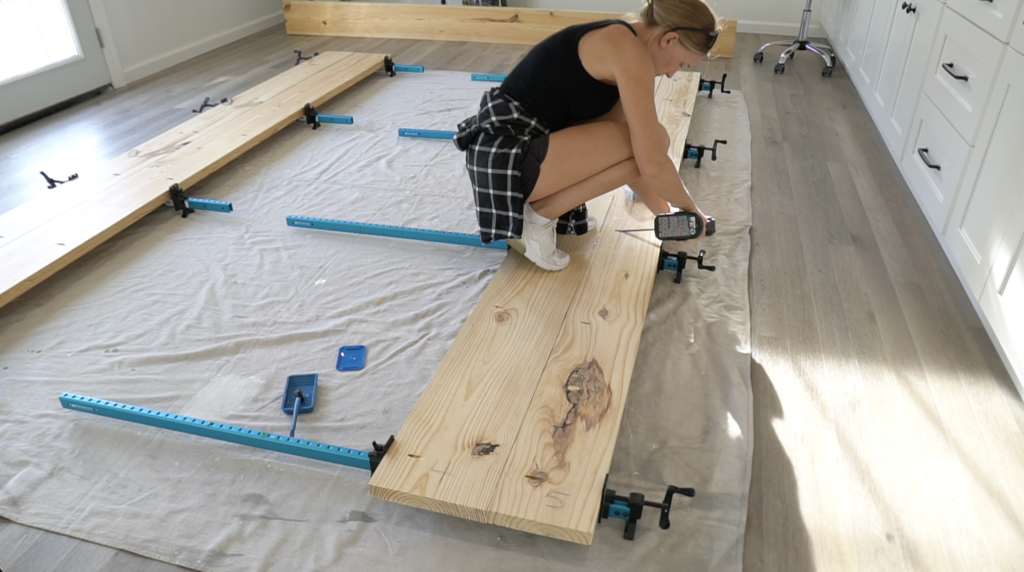
I have my 48” clamps set up and 24” clamps set up so I can do two at a time.
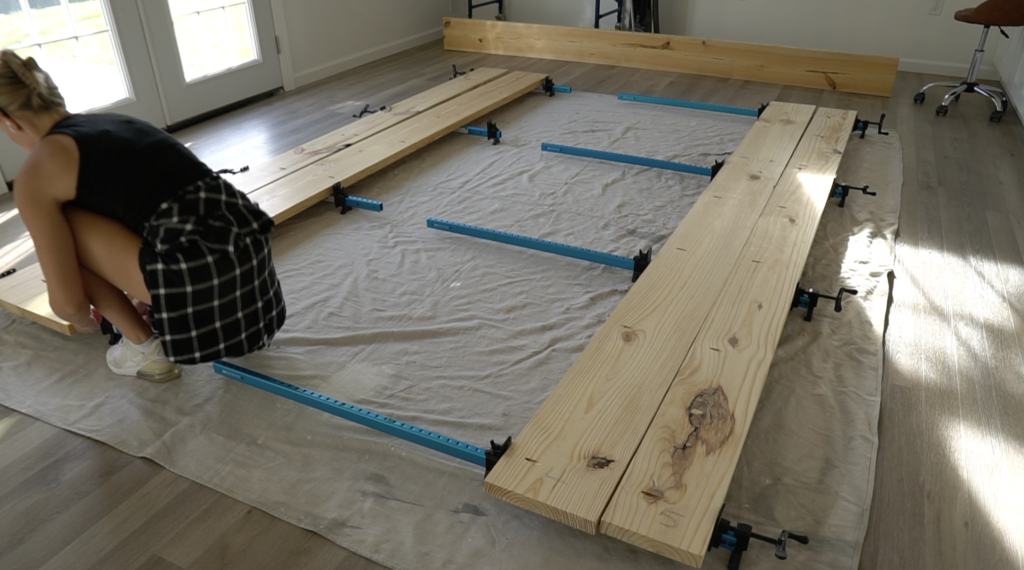
To secure the boards together I’m using wood glue and 2 1/2” pocket screws.
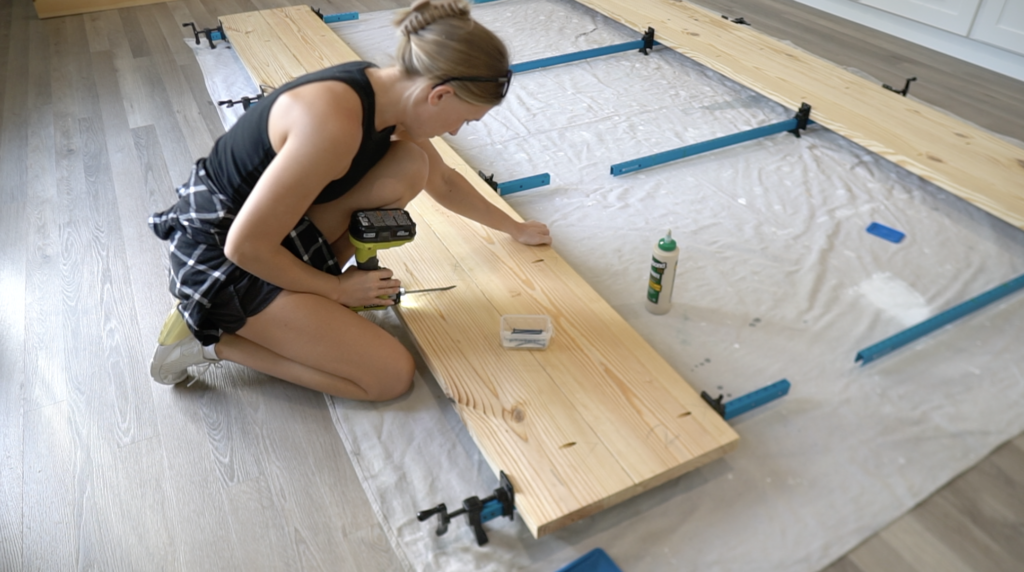
I glued up one side of the board, set the board in place, clamped all the clamps down, and then secured the 2 1/2” pocket screws. I used my weight to push down on each of the boards flat as I screwed them together.

I followed the same steps for the next two boards.
The next day after the wood glue was set, I added a third board to the 48” clamps. Once those 3 boards were set – I added the last two boards.

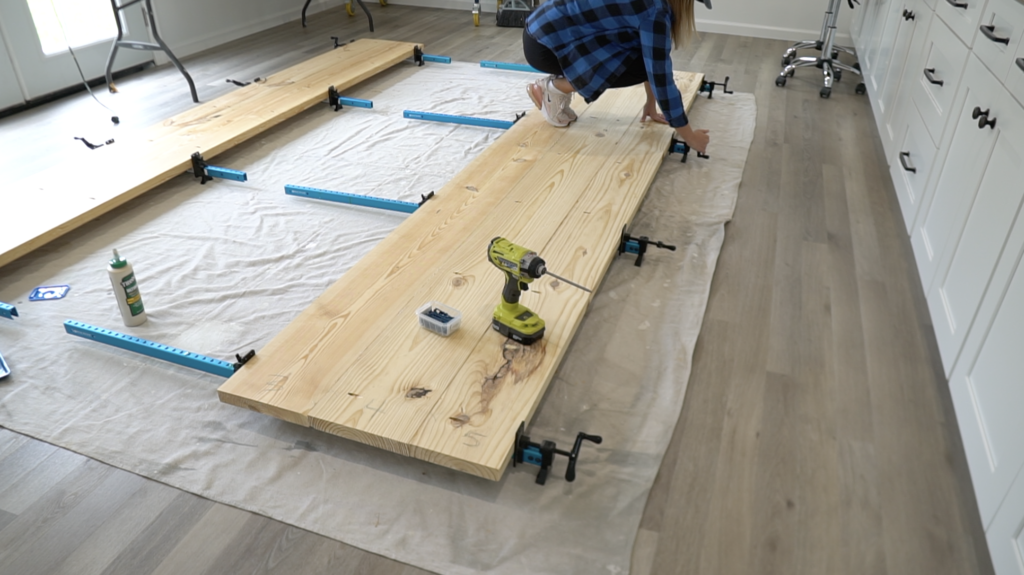

This was extremely heavy so if you’re building a table top this big make sure you have help lifting it up.
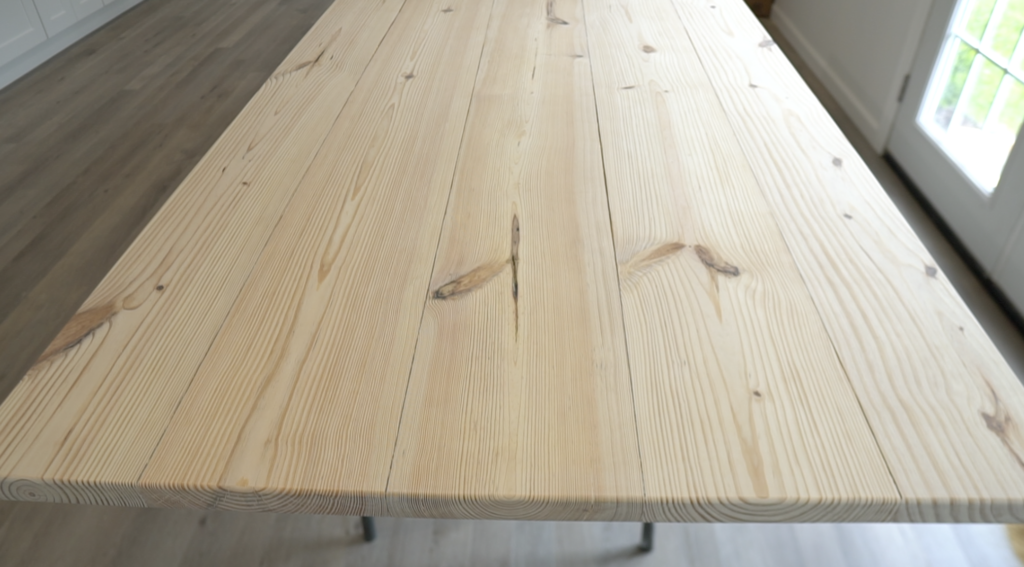
Cut & Router Table Top
The table top is assembled and now it’s time to sand. I chose to keep the edges of the 2×10’s a little bit rounded instead of squaring them off. I wanted to be able to see the individual boards rather than it looking like one giant board.
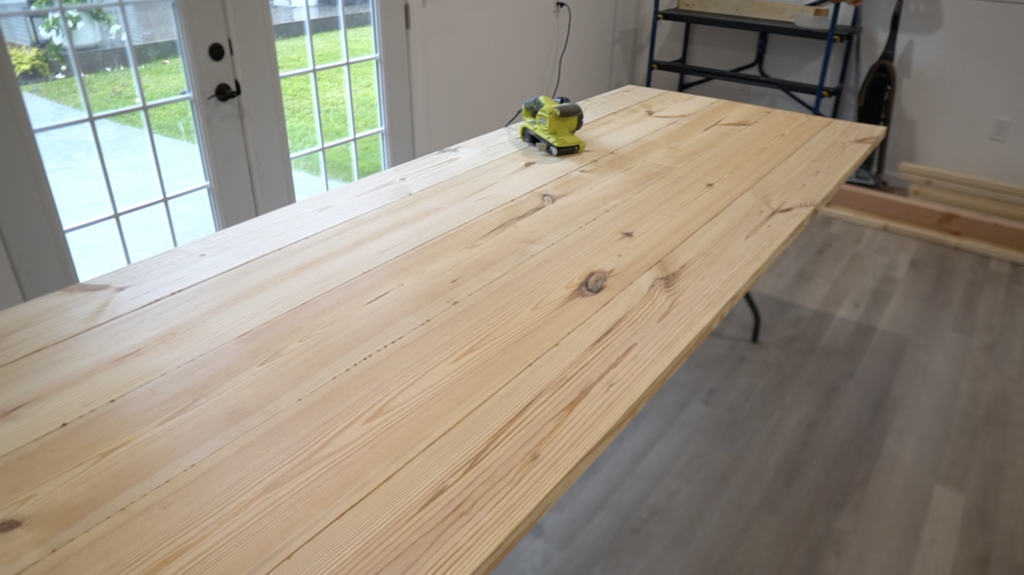
I used 50 grit sandpaper and my belt sander to sand down the entire table top.
If you don’t have a planer you may want to invest in a belt sander – this thing can cut through the wood pretty quick and create a nice level surface.
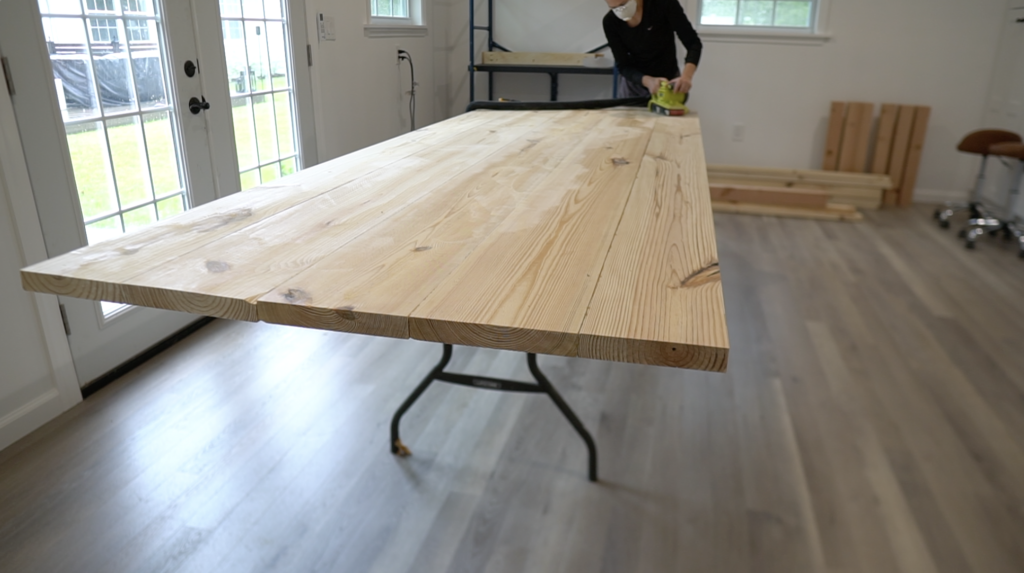
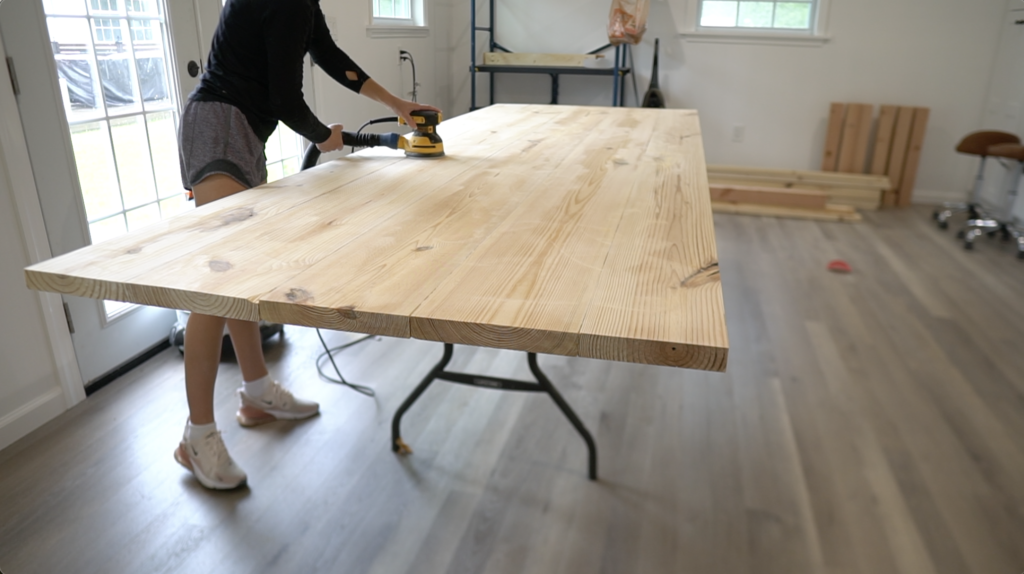
After the belt sander I used my orbital hand sander up to 220 grit sandpaper until the table top was nicer and smooth.
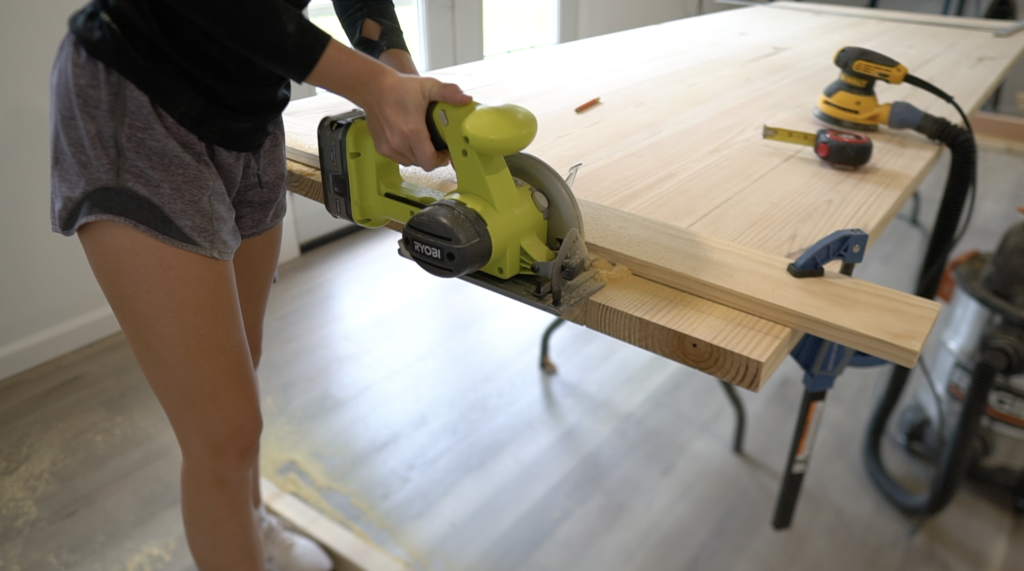
I made the countertop a few inches long on purpose so I could do a final square cut on each end. I used my circle saw to cut the table top to it’s final length which is about 10’ long.

After the table top was cut down I used my router and round over bit to round off the edge’s and corners of the table top. If you don’t have a router I recommend rounding off the edges with your sander so they aren’t so sharp.
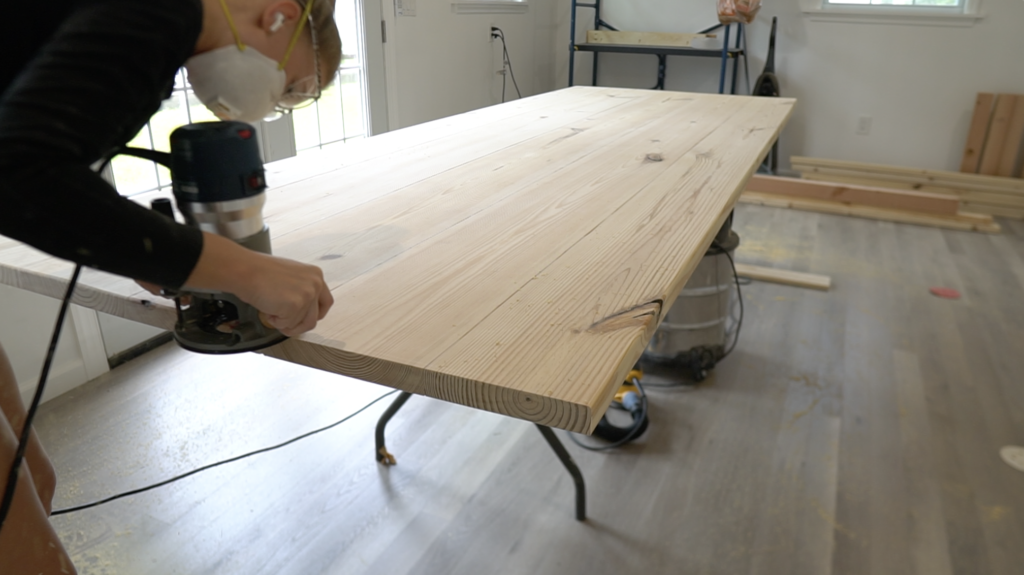
The table top is finished and now we can start focusing on the base!!

Sand Framing Pieces & Legs
I went through and sanded all the 2×4 framing pieces and 4×4 legs.


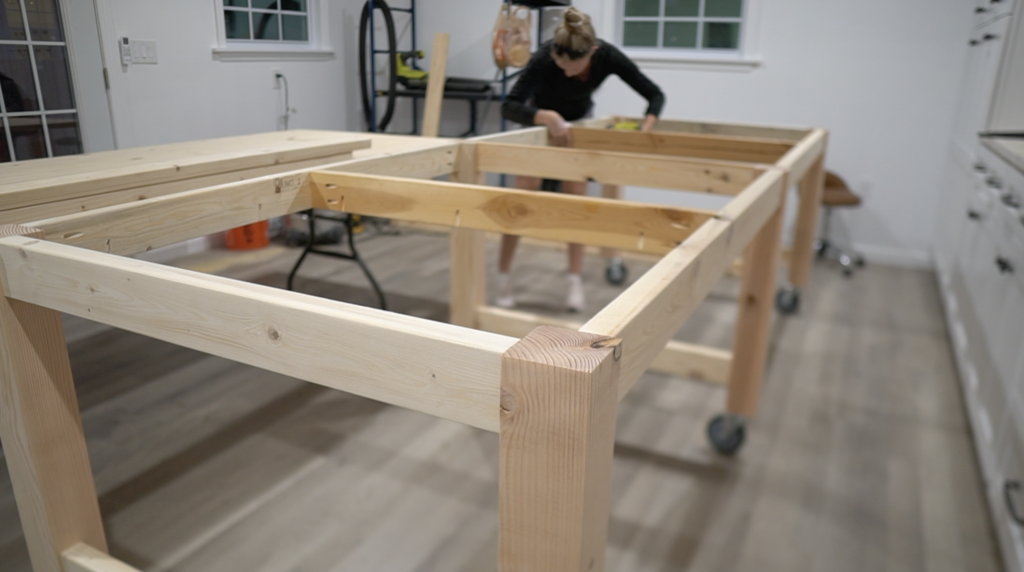
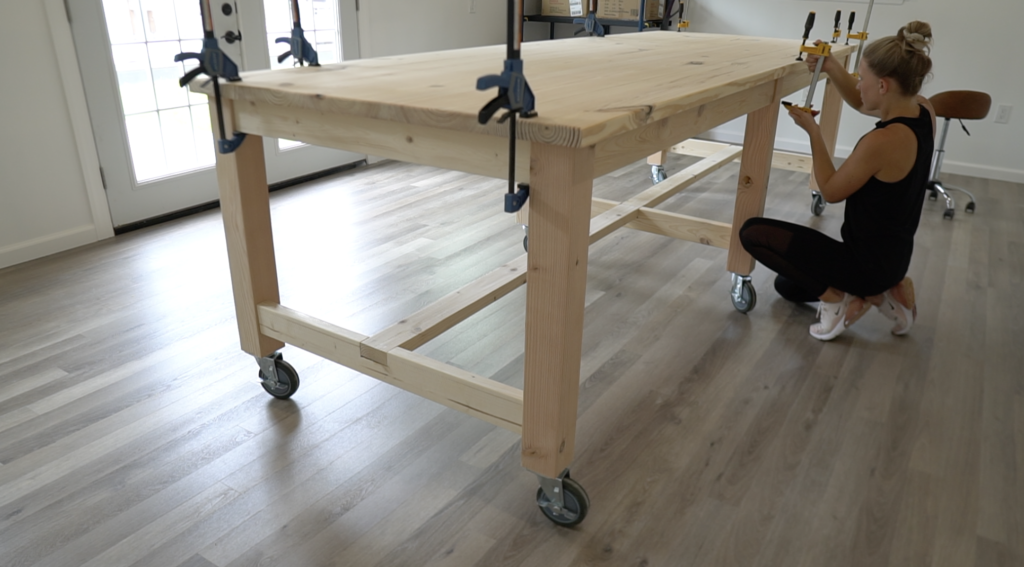
Assemble Frame
Now we can start to assemble the frame! I laid down some scrap hardboard so that my apron pieces were inset from the legs about 1/4”. I used wood glue and 2 1/2” pocket screws to secure each of the apron pieces to the 4×4 legs. the bottom apron piece is secure to the legs about 3” from the bottom of the 4×4.

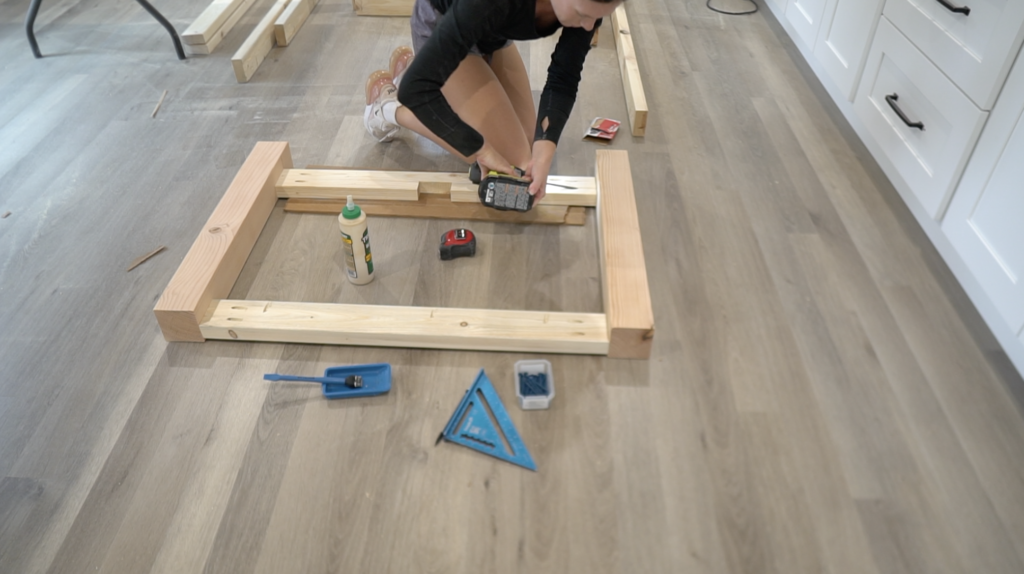


I secured each of the short leg framing pieces first and then set the legs up on their side to secure the longer apron pieces.
I secured the long apron pieces following the same steps.

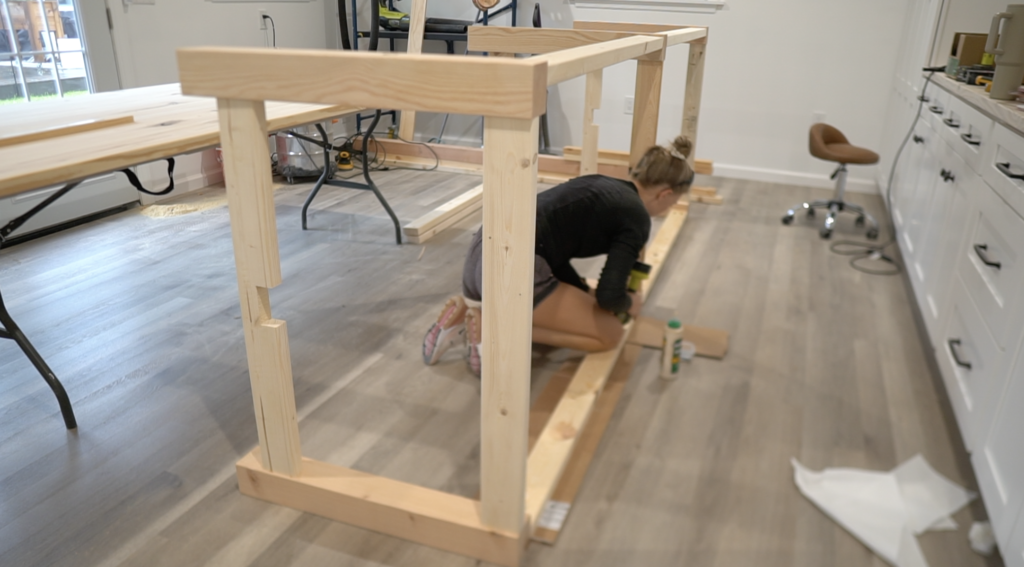
Devin helped me flip the base over to attach the long apron pieces on the other side.
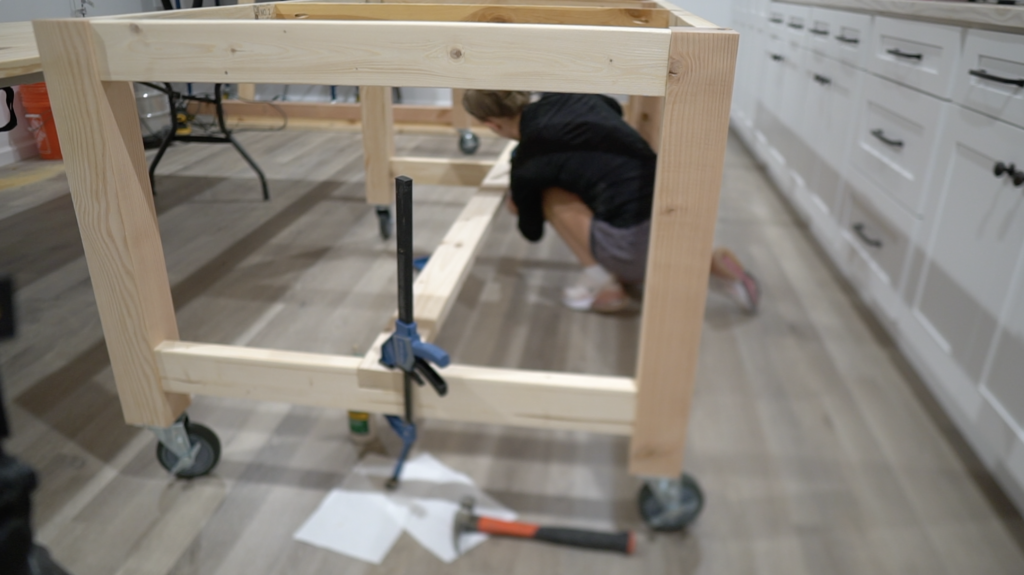
Attach Casters
With the base laid on it’s side I took this time to secure all of the 5” casters to the bottom of the 4×4 legs. These casters added 6” to the height of the table so keep that in mind when determining the dimensions of your table.
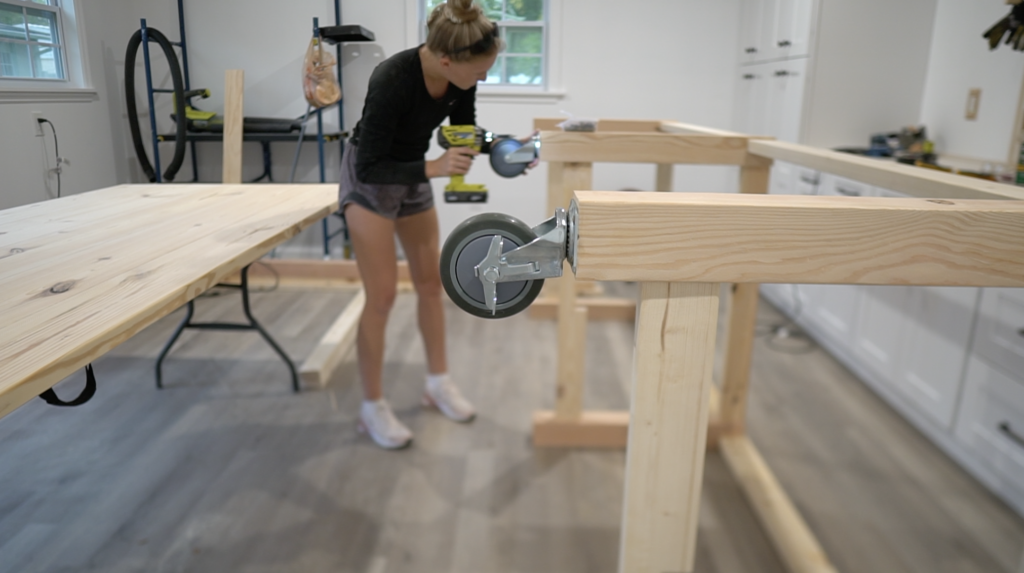
The base is assembled – it rolls incredibly smooth on the 6” casters and now we can secure the tabletop
Install Additional support framing
Once the base was flipped upright I added a few more support pieces for the table top.

Next I used wood glue and clamps to secure the long stretcher piece inside the notched 2×4’s.

Attach Table Top
The table top has a 1” overhang on all sides. I made sure to adjust the tabletop so the overhang was even, then I used clamps to clamp the table top down to the apron pieces.
All of the apron pieces have pocket holes going up towards the table top and that’s how I’m going to secure the table top to the aprons.
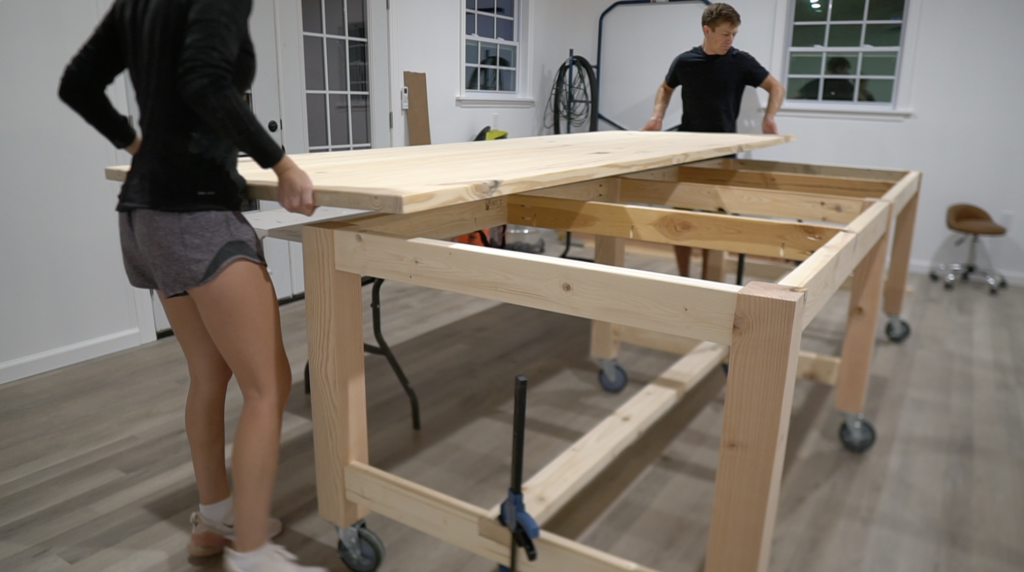

I used 2 1/2” pocket screws from underneath the table to secure the tabletop.

Stain & Seal
Our work table is assembled and now it’s time to finish it off! I am using this Water-based wood stain by Behr in the color Special Walnut, then I will finish with this Water Based Matte Polyurethane.


I applied the stain on the entire table using a little stain applicator pad. It worked perfectly for this project getting in all the corners and it made for a very clean application.
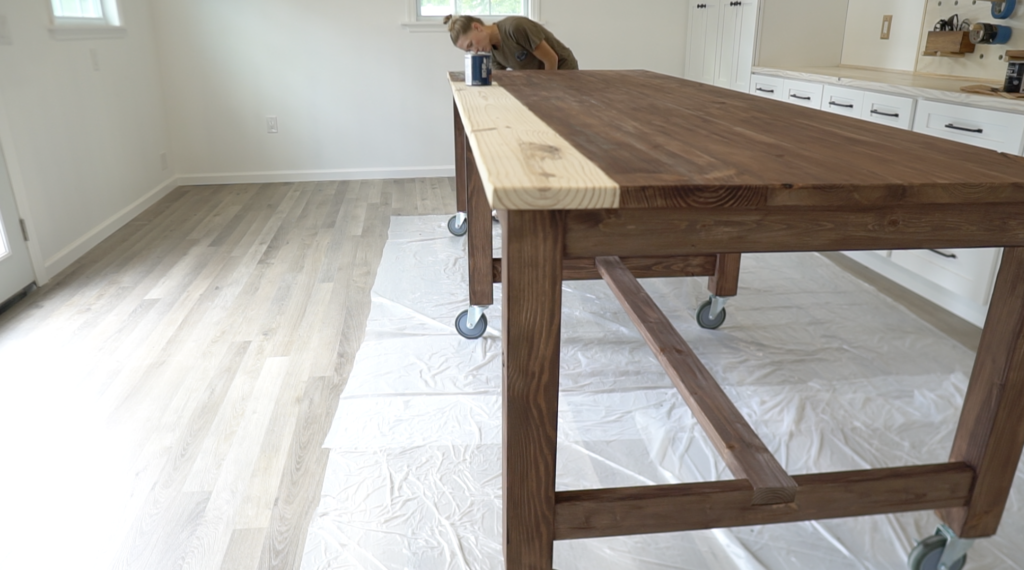

After the stain was dried I added 3 coats of polyurethane sanding with 220 grit sandpaper in between each coat.