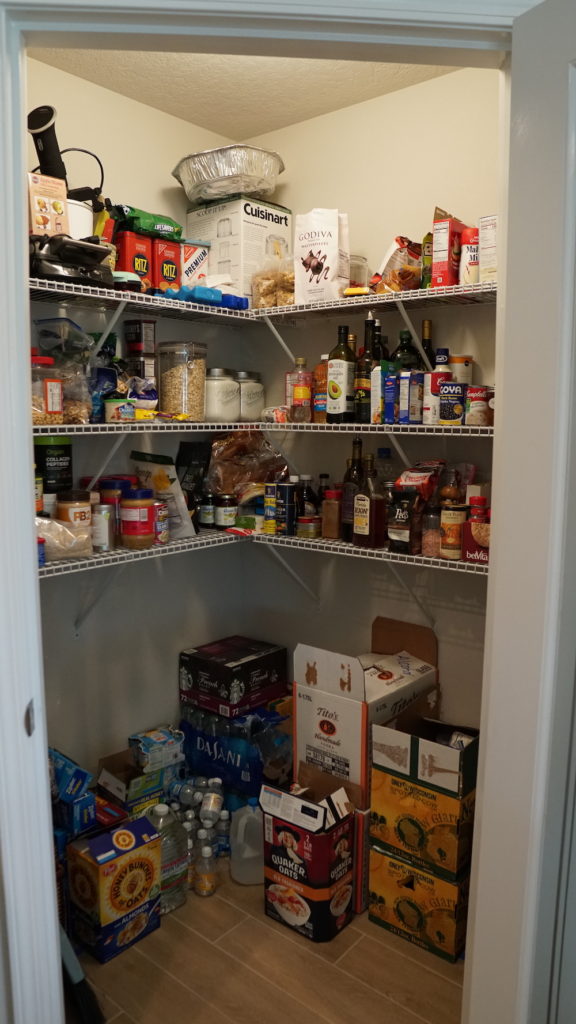
Does anyone else cringe when they look at their pantry or is it just me?? We are so blessed to have a giant pantry (I never thought I would have a pantry this big in my life). But, with all this space comes the responsibility of keeping it organized. The day has finally come to share my pantry makeover project with you guys!!
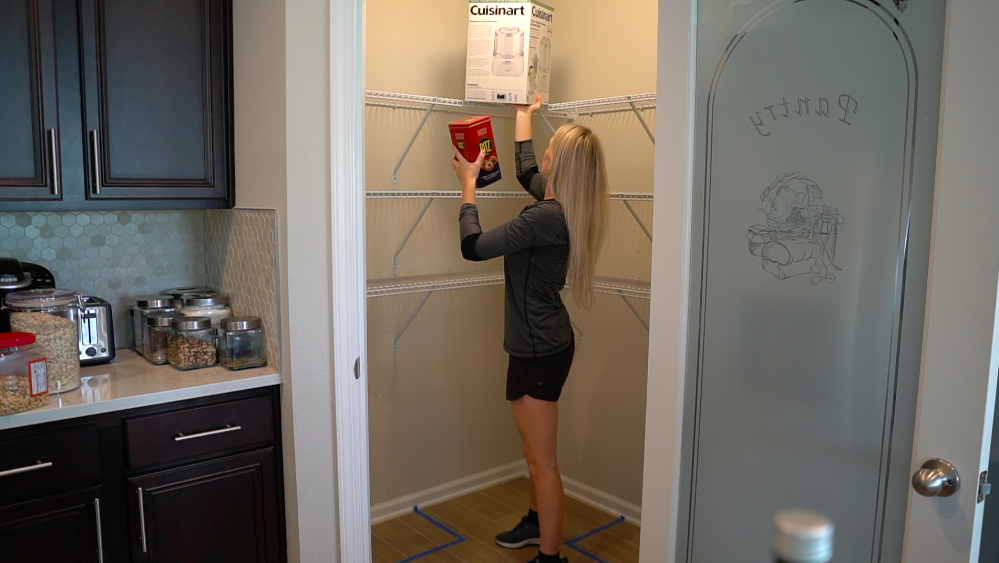
We started off with some basic wire racks. They were starting to pull away from the wall, we would always drop things in between the grates and we had to place certain items just right or else they would wobble or tip over… not very practical. I decided to rip out all of those racks and make some nice sturdy custom shelving.
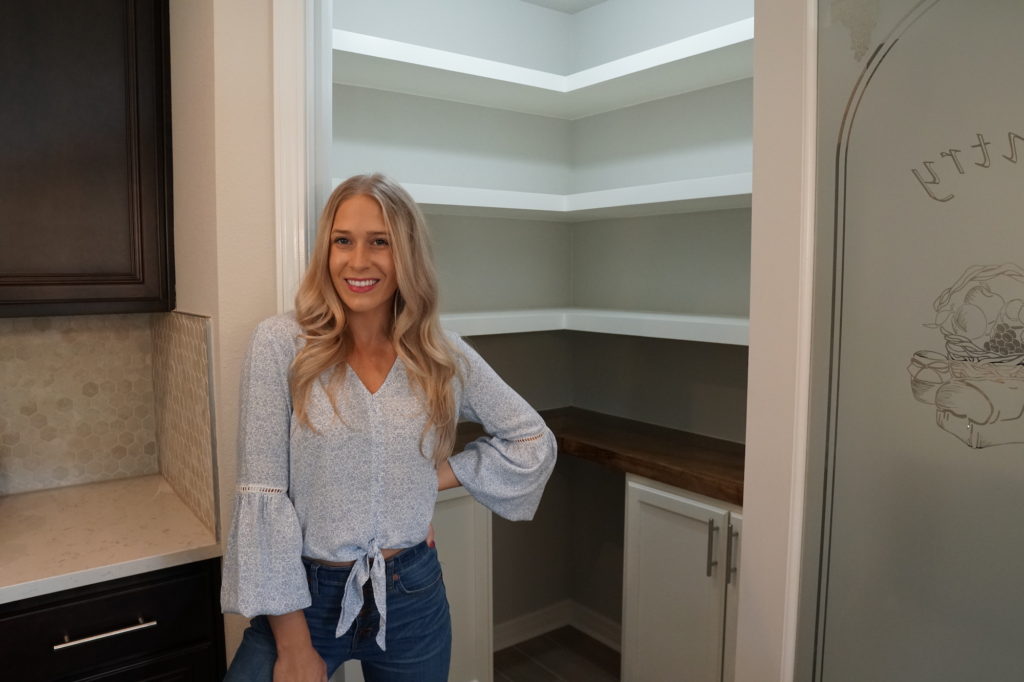
I also added two kitchen cabinets from Home Depot. These will be perfect for storing some of our smaller appliances and other kitchen items we need don’t use very often.
There’s a lot of ways you can customize this design to fit your needs.
If you missed it, I posted a video on how I planned out and designed this entire pantry project in SketchUp, so I’ll link that video HERE!!
My next blog/video is all about organizing the pantry. I’m DIYed a few cool organizers and I also bought some food storage bins to help us stay organized. Check out that post HERE!!


TOOLS
| Miter Saw or Circle Saw |
| Table saw |
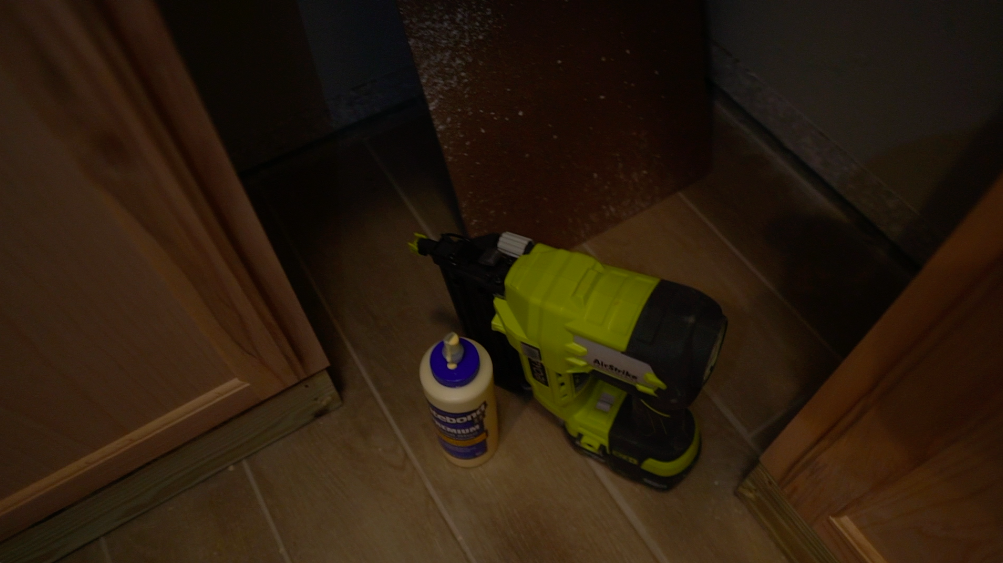
| Brad Nailer with Brad Nails |
| Hand sander |
| Cordless drill or Impact driver |
| Tape Measure |
| Level |
| Utility knife |
| Pry bar |
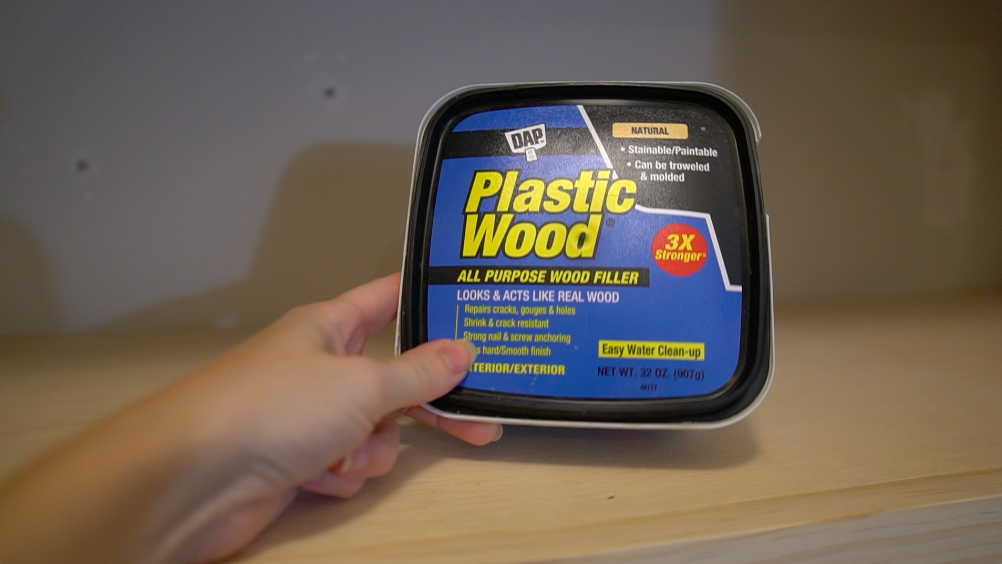
| Wood Filler |
| Wood glue |
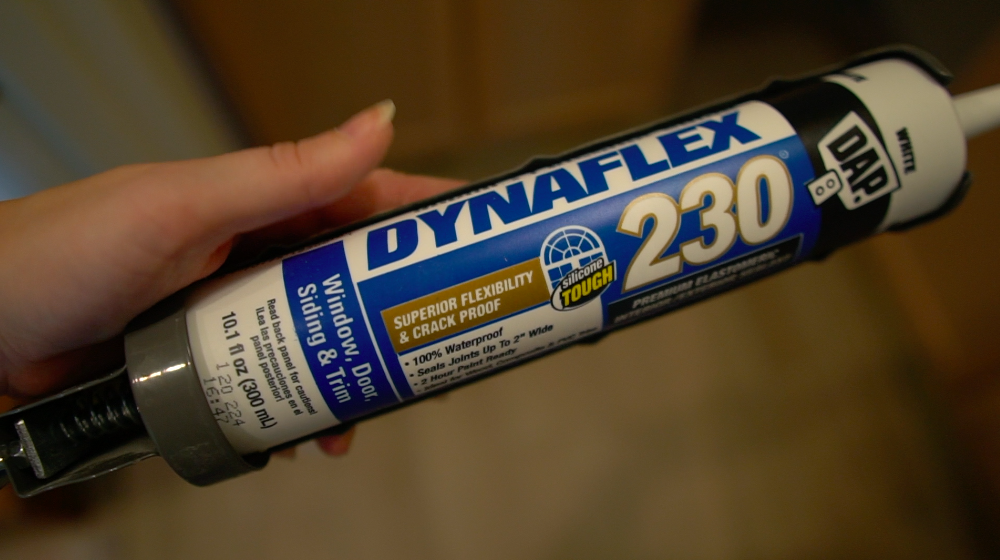
| Paintable caulk & caulk gun |
| Sand Paper (80, 120, 220) |
| Sanding block |
| Hammer or Pry bar |
| Nail set |
| Safety glasses |
| Drywall Spackling |
| Mesh tape |
| Putty knife |
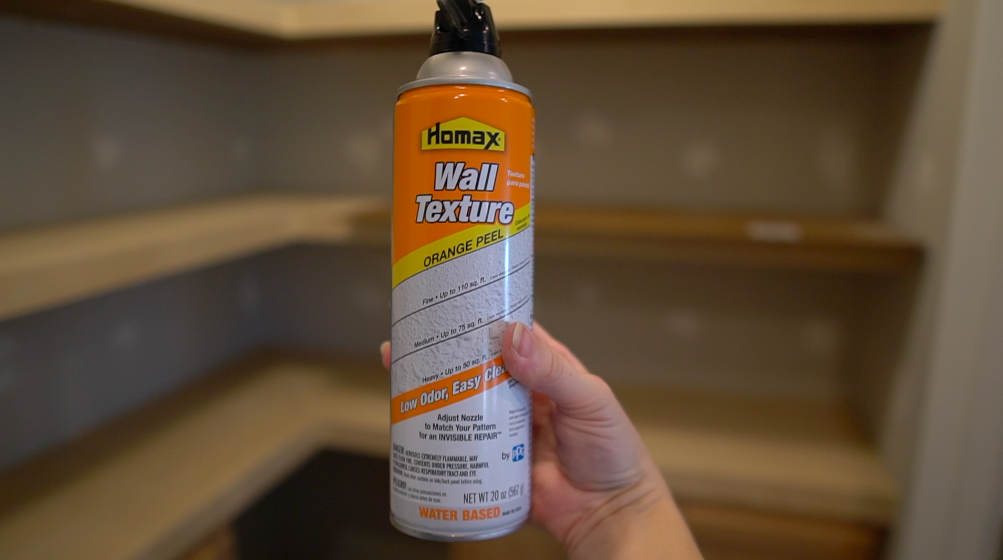
| Wall texture spray |
| 3 1/2″ Construction screws |
| Kreg Jig |
| Pocket screws: 2 1/2″ & 2″ |
| Paint (Walls: Agreeable Gray SW) |
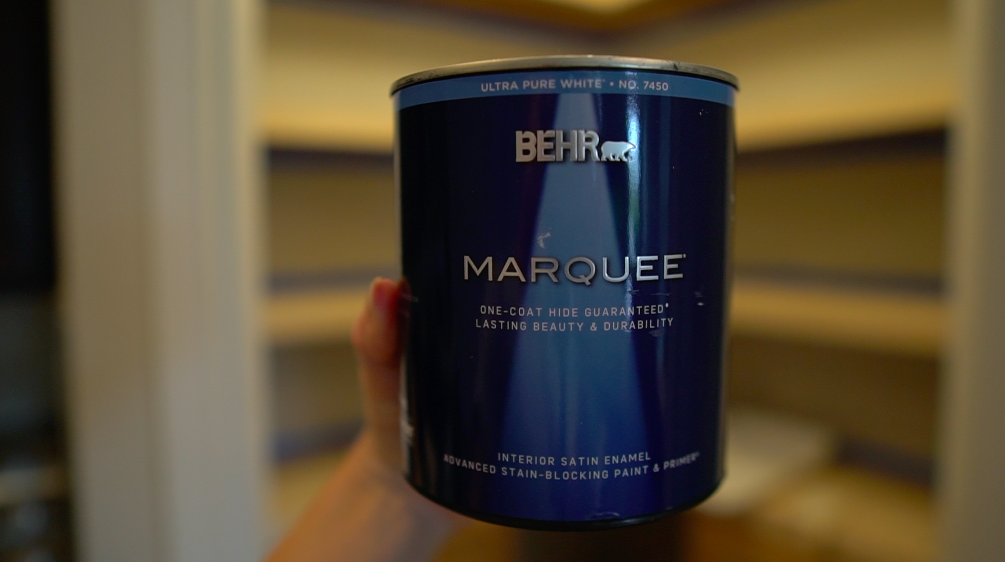
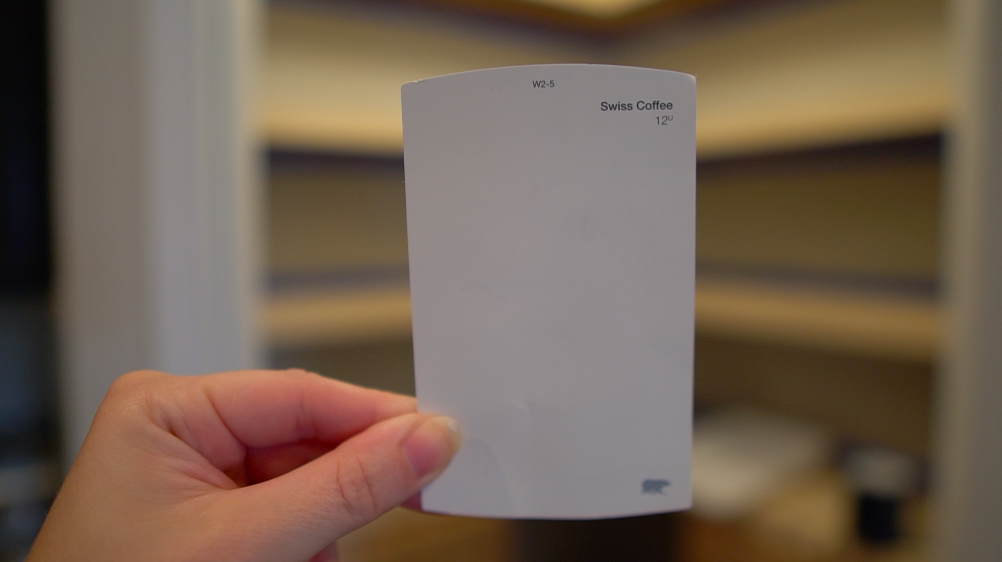
| Paint (Shelves: Swiss Coffee Behr) |
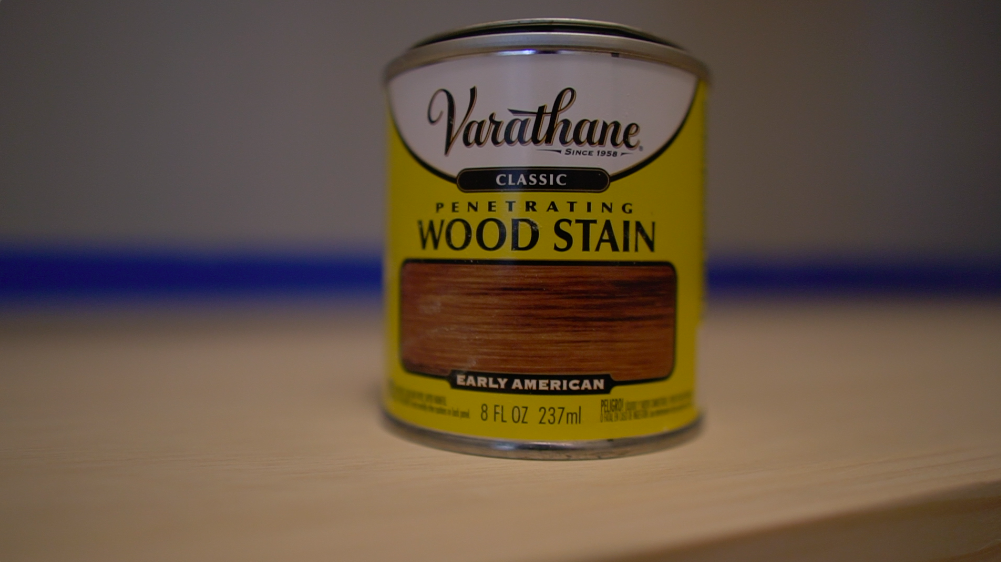
| Stain (Early American Varathane) |
| Polyurethane Varathane |
| Painting supplies |
| Painters tape |
| Cabinet pulls |
| Upper kitchen cabinets |
LUMBER LIST
| (#) | DIMENSION |
| (2) | 4′ x 8′ x 1/2″ Sande plywood (Top of shelves) |
| (2) | 4′ x 8′ x 1/8″ Hardboard (Bottom of shelves) |
| (2) | 1″ x 6″ x 8′ Select pine board (Trim for shelves) |
| (15) | 2″ x 2″ x 8′ Strip (Framing for shelves) |
| (3) | 2″ x 4″ x 8′ Treated lumber (Base for cabinets) |
| (#) | 3 1/4″ Base trim (Base trim) |
| (#) | Quarter round shoe trim (Base trim) |
This post contains affiliate links. If you decide to purchase from one of the links, I will receive a small commission at no additional cost to you. Thank you for your support!
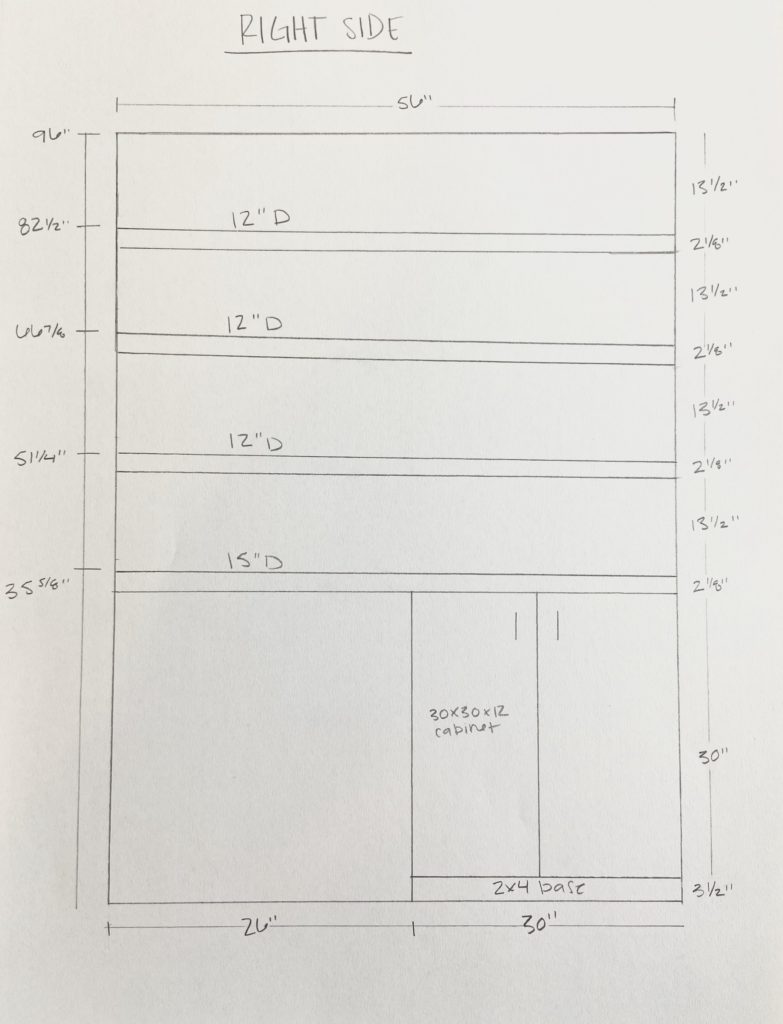
Pantry Plan
The lumber list is for my pantry dimensions below

Cost
| Lumber | $158 |
| Base Trim | $32 |
| Paint/Stain/Poly | $60 |
| Cabinets (2) | $170 |
| Cabinet Pulls | $60 |
| Total | $480 |
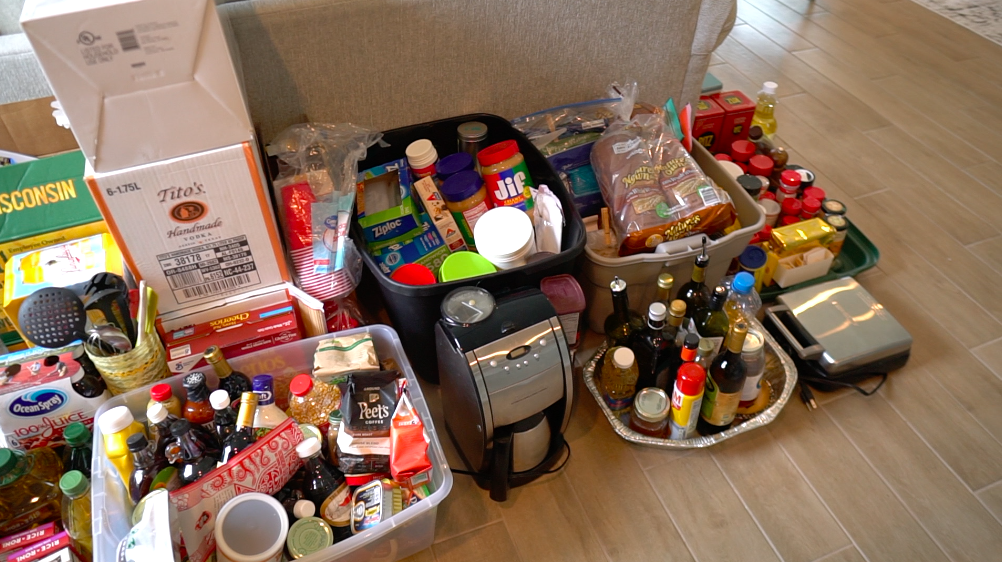
STEP 1: Remove everything from pantry
Take everything out of the pantry so you have room to work some magic!!


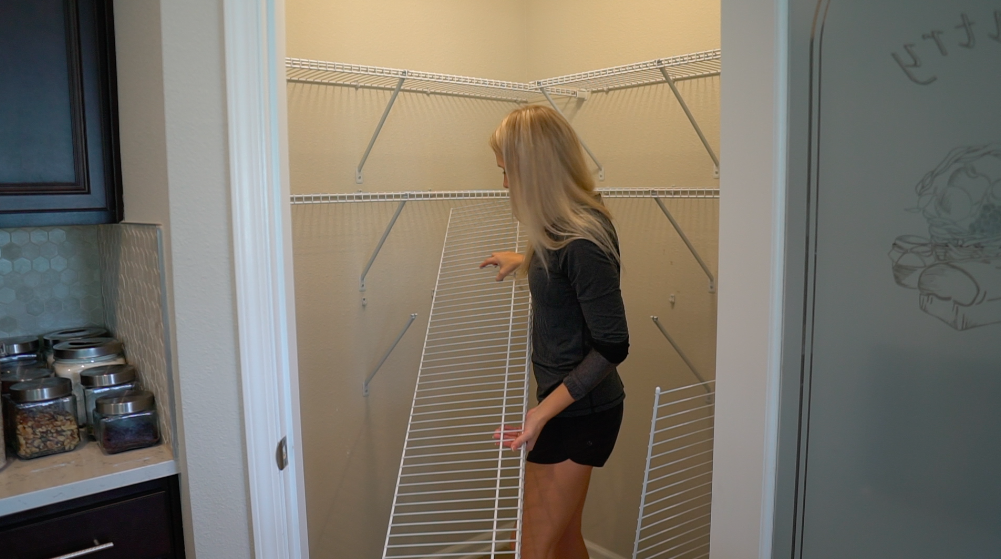
STEP 2: Take out wire racks
If you have existing racks or shelving that you need to remove, now is the time to do it!

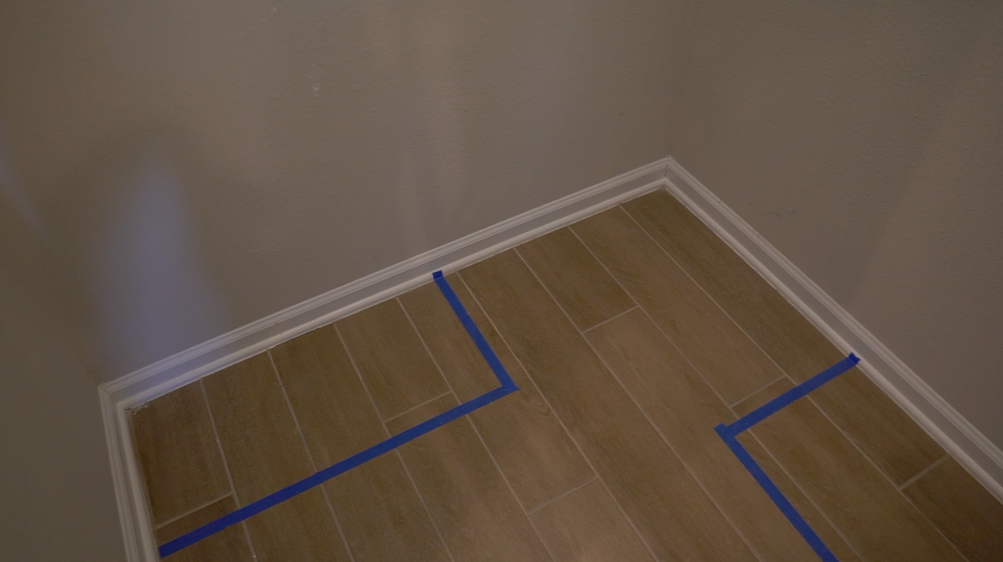
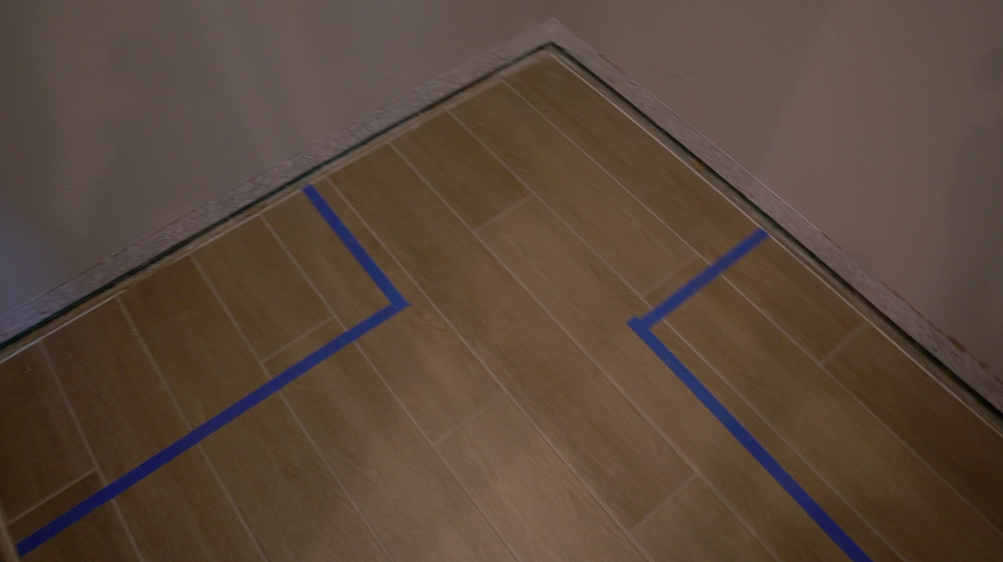
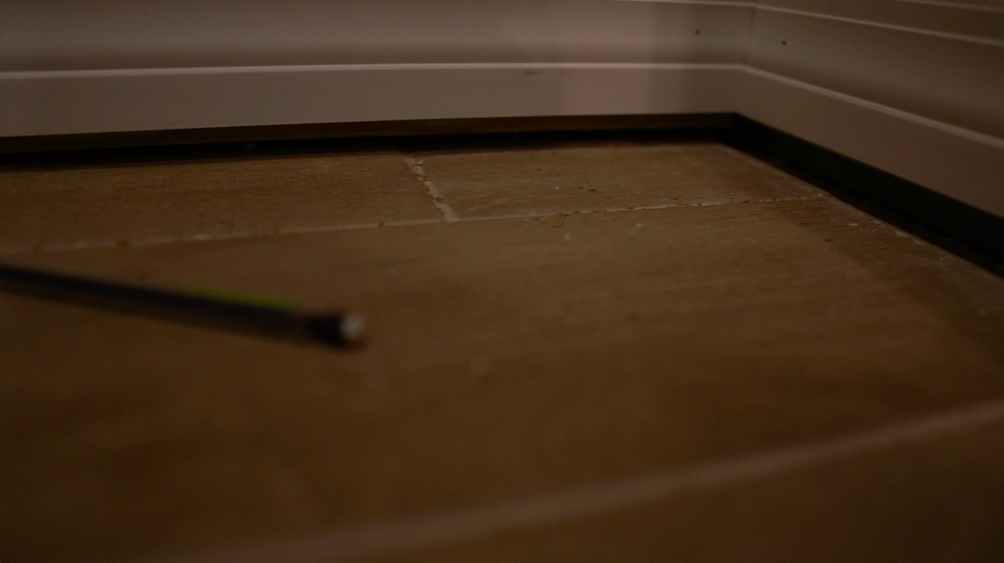
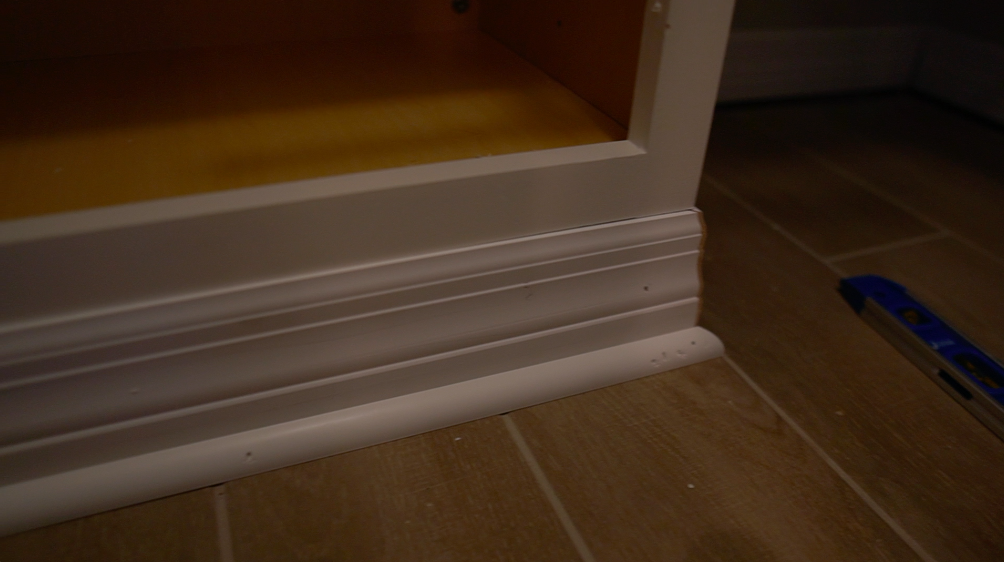
STEP 3: Remove baseboard in pantry
In order for my cabinet to fit snug in the corners of my pantry I removed all of the baseboard. I could have just removed the corner baseboard where my cabinet would sit, but I decided to take out all the baseboard and install new baseboard so I didn’t have to try and match the old and new.
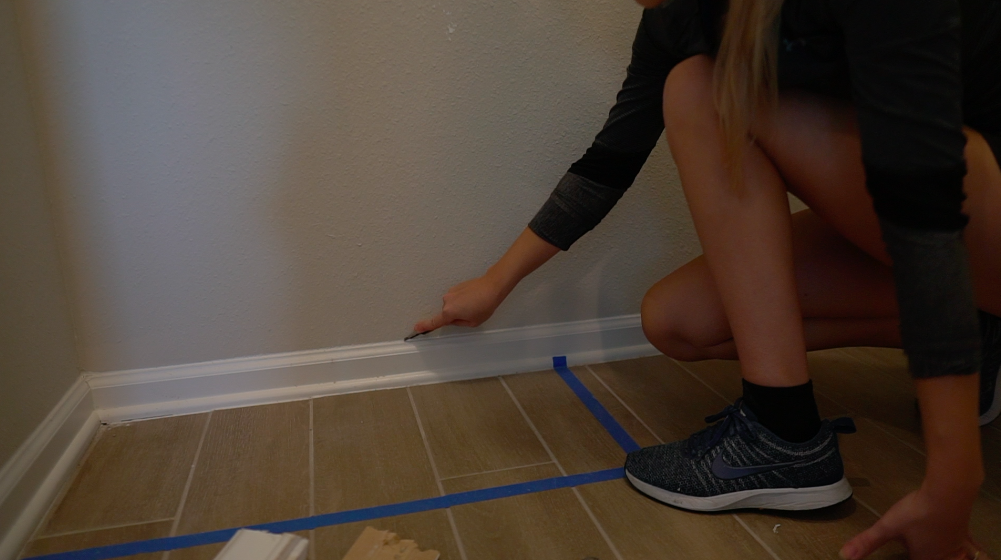
Use a utility knife to score the caulk on the top and bottom of your baseboard. Use a hammer or pry bar to pry the trim away from the wall. Be careful not to dent your walls.


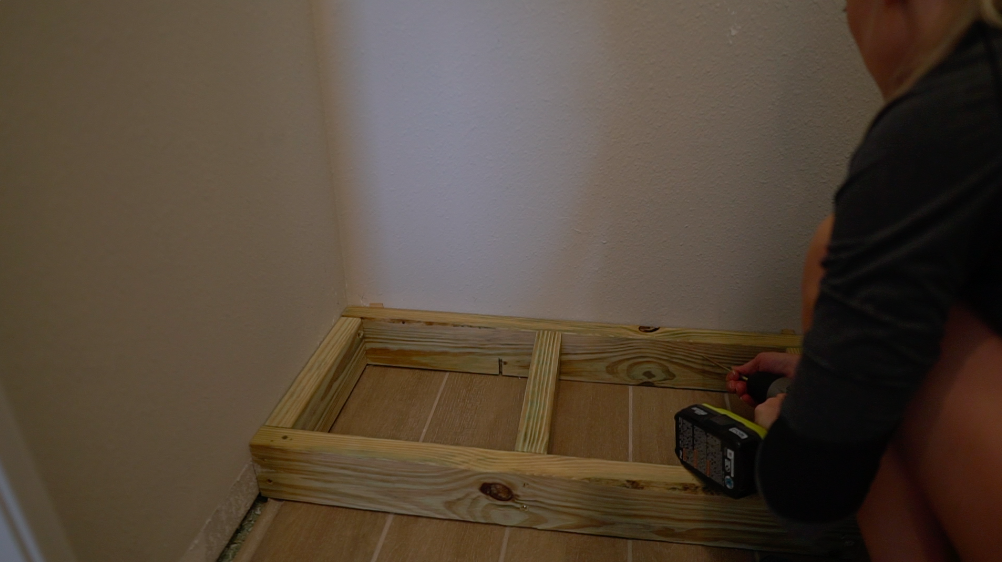
STEP 4: Build frame for cabinets
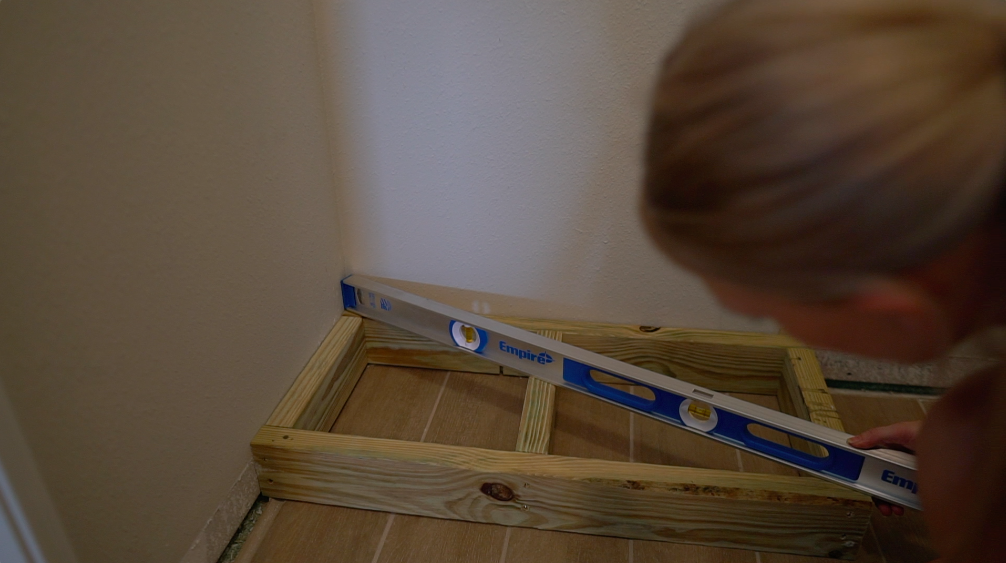
I used treated 2″ x 4″ lumber to build a base for my cabinets. I used treated in case there’s any moisture in the pantry or any accidental water spills on the ground. The cabinets that I bought were 30″ wide, 30″ tall and 12″ deep. I made my base frame 30″ wide by 15″ deep.
I screwed the 2×4’s together with 3 1/2″ construction screws. After the base was constructed, I used a level to make sure that it was level. If its not level use some wood shims to make it level. After it’s all level, use a stud finder to find the studs in your walls and screw your base into the bottom of your studs in the wall. This will insure that your base is sturdy and secure.
I wanted our bottom countertop to be 15″ instead of 12″ so I made the base 15″ and had the cabinet sit flush with the front of the base. There is a couple inch gap between the back of the cabinet and the wall but that’s okay!


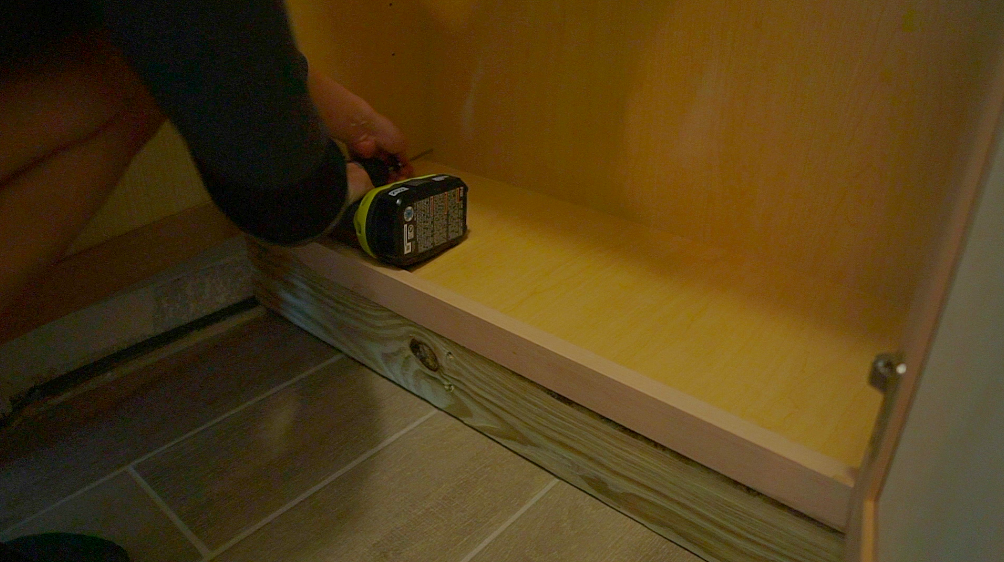
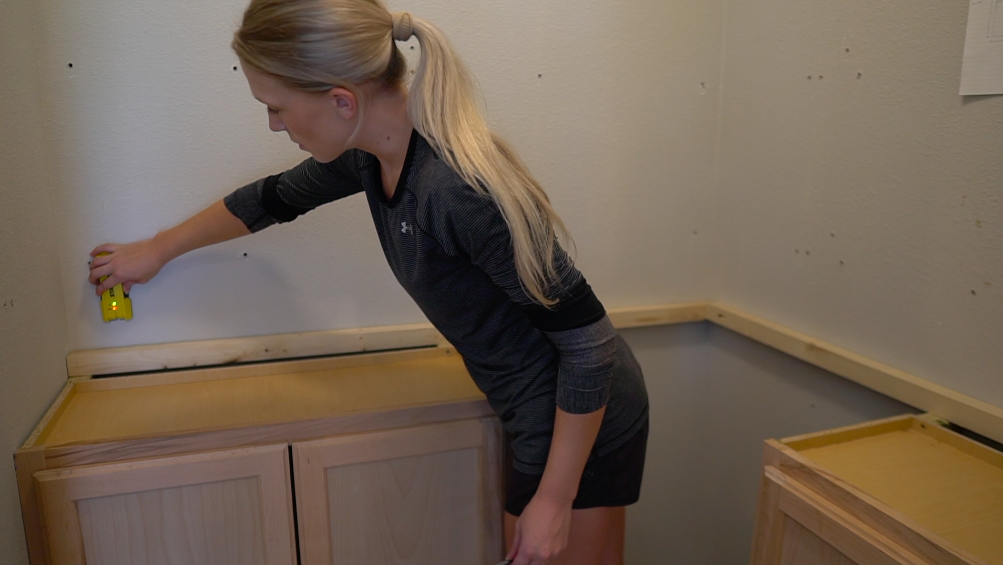
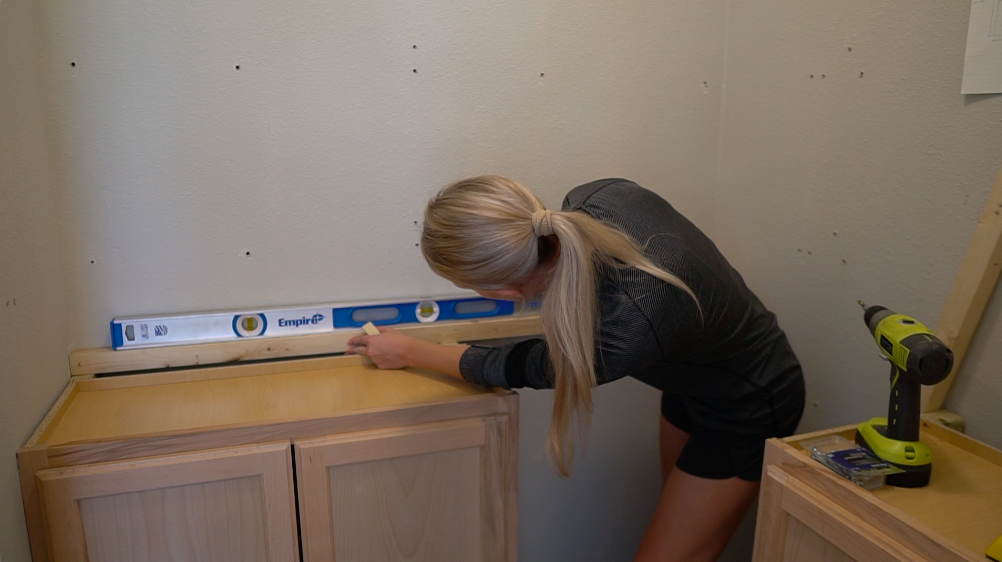
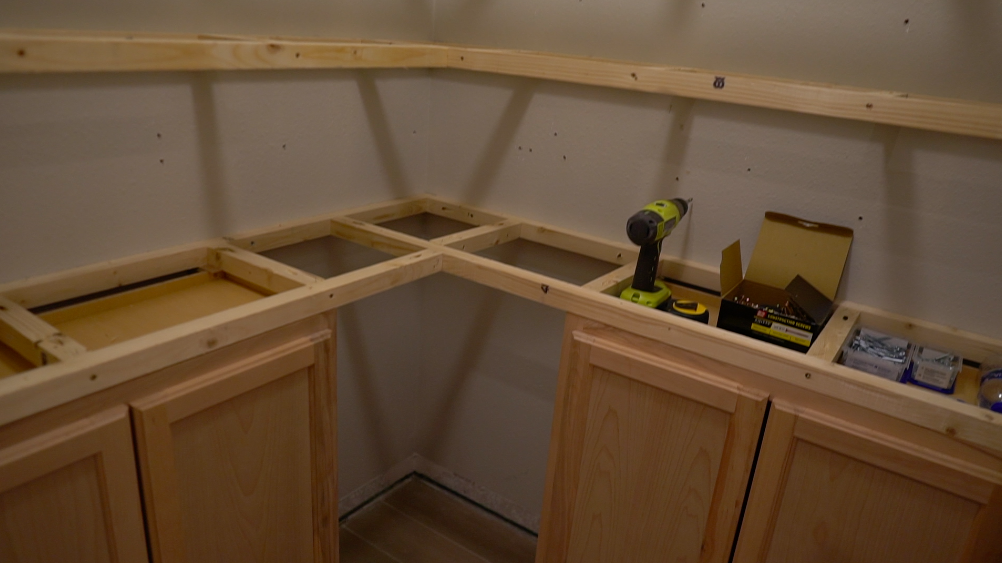
STEP 5: Install cabinets
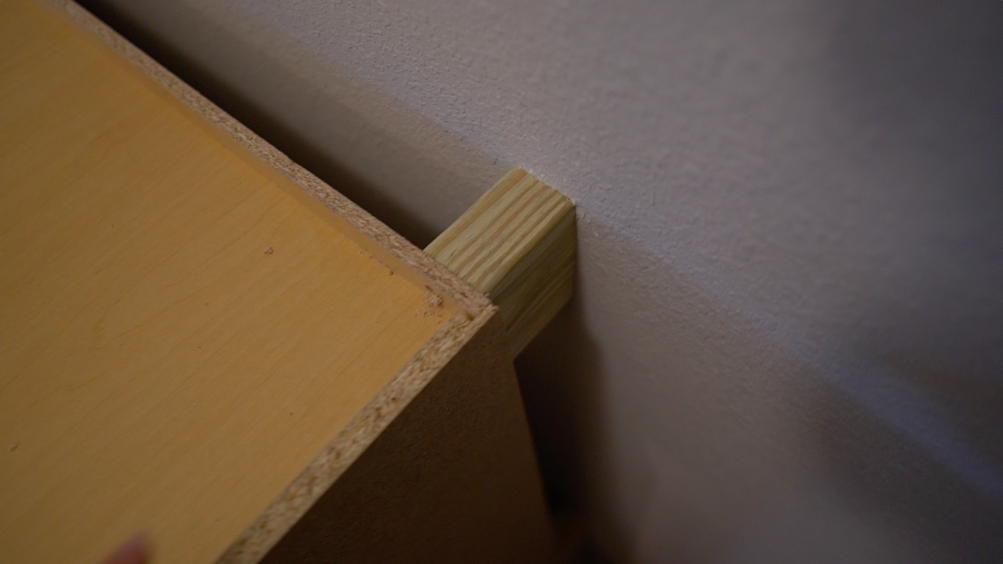
Make sure your cabinets are level and flush with the front and side of your 2×4 base. Use some extra 2×4’s to make some blocking to fit behind your cabinet and the wall. I screwed my cabinet into the blocking, then into studs in the back and side wall to make sure that my cabinets were secure.


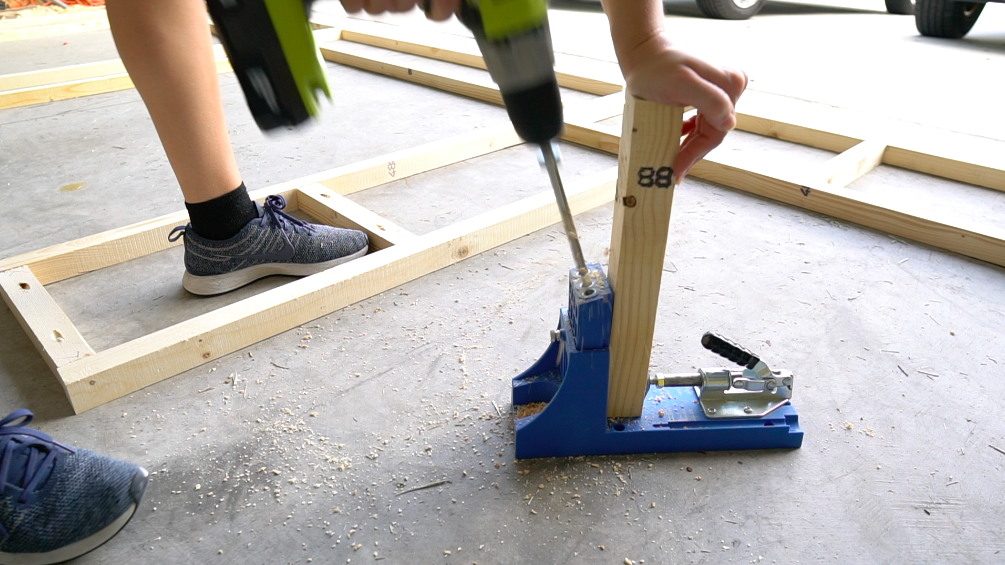
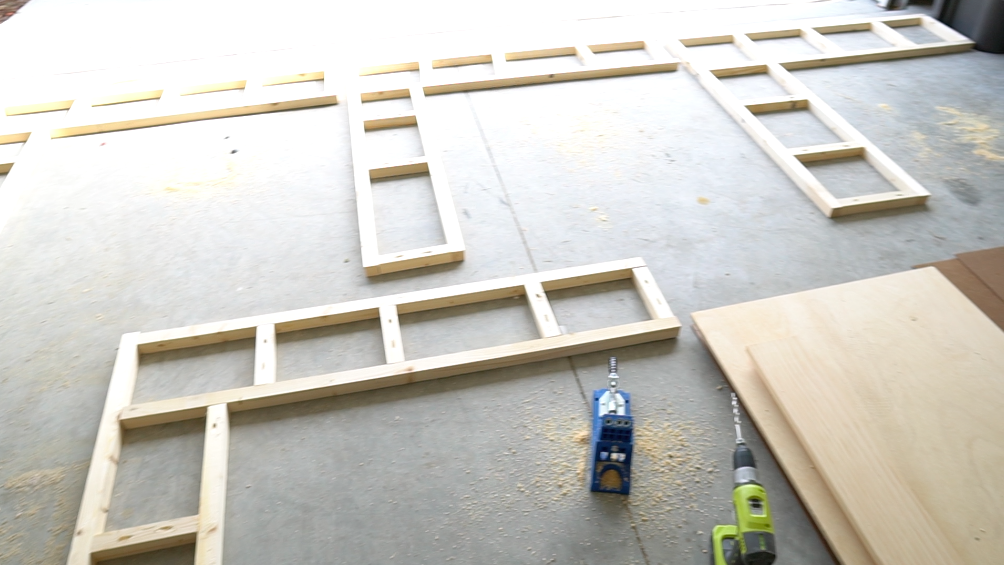
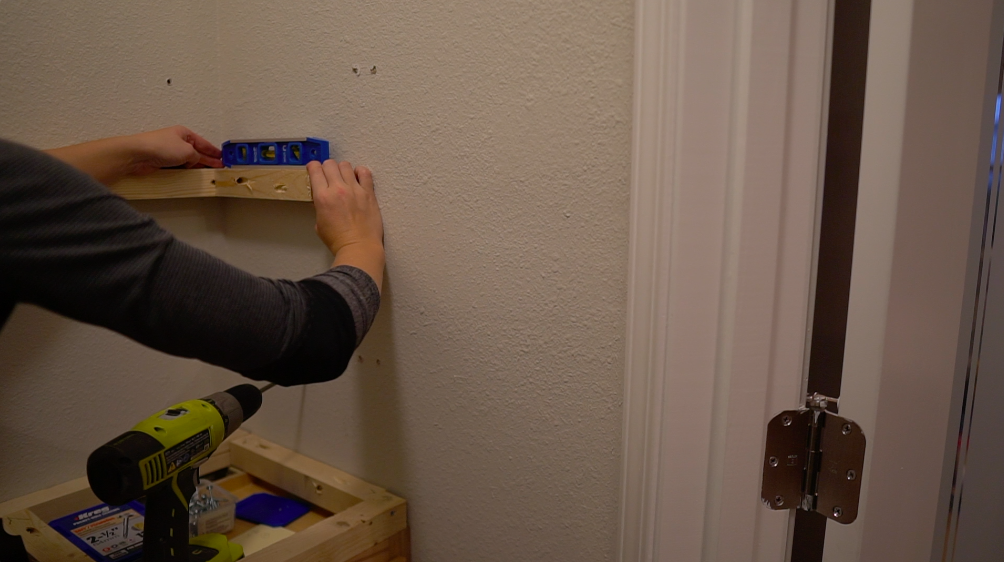
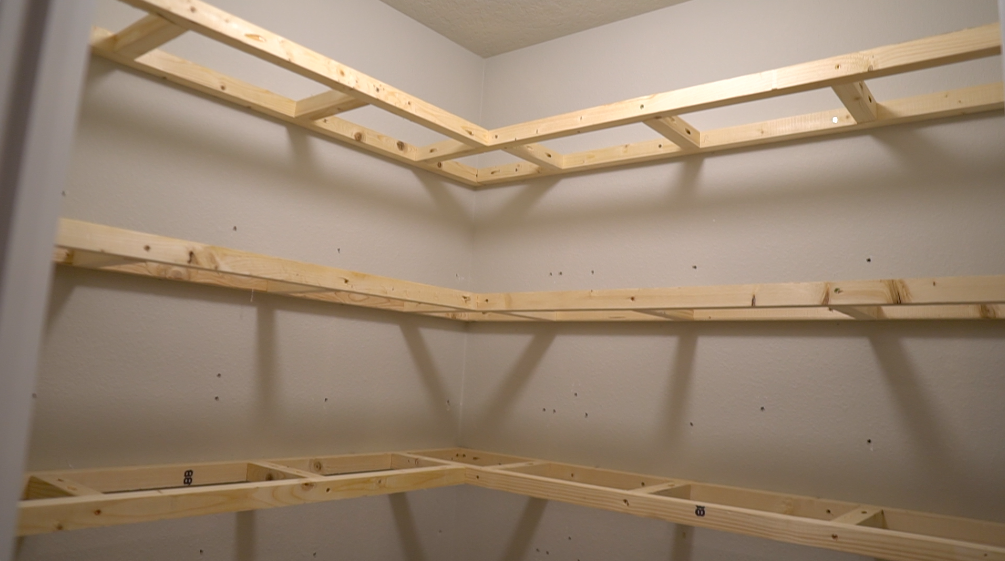
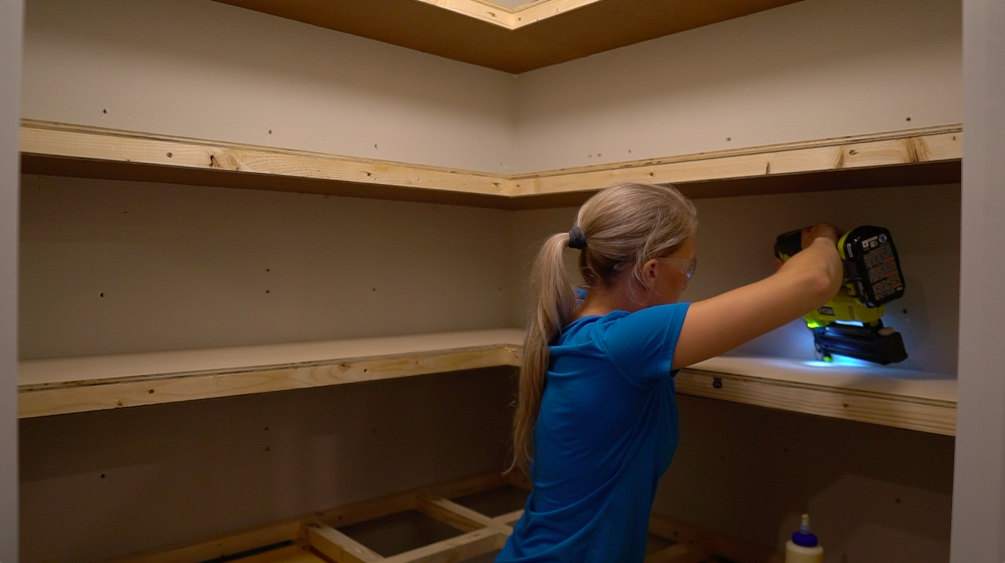
STEP 6: Install 2×2 frame
I used 2″ x 2″ stripping for my shelf framing. Your measurements for the framing will differ from mine depending on your pantry size and the size that you want your shelves.
I wanted the depth of my bottom shelves to be 15″, but in order to account for the front trim piece (3/4″) I had to make my framing end at 14 1/4″. I wanted my 3 upper shelves to be 12″ deep so I made my framing 11 1/4″ deep for those shelves.
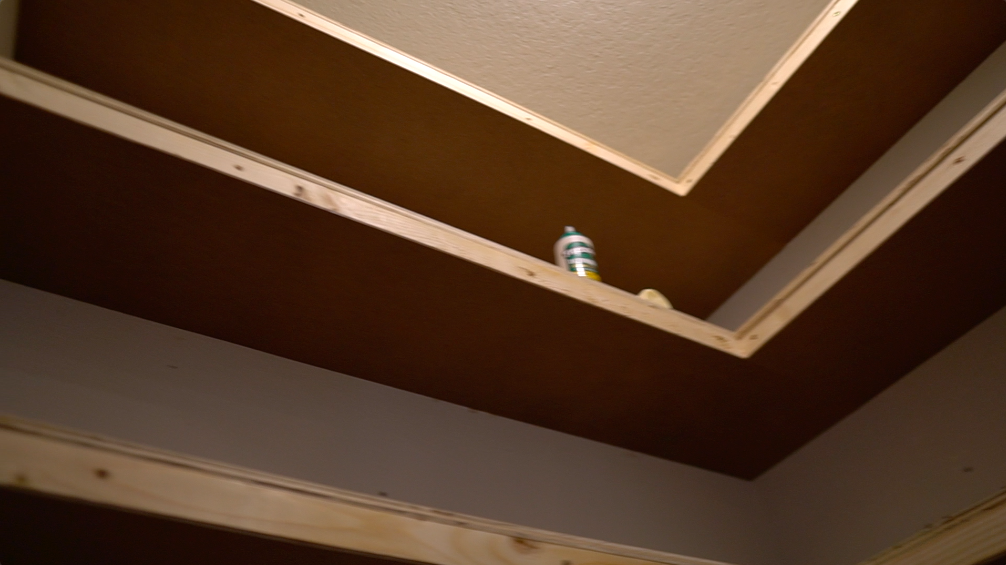
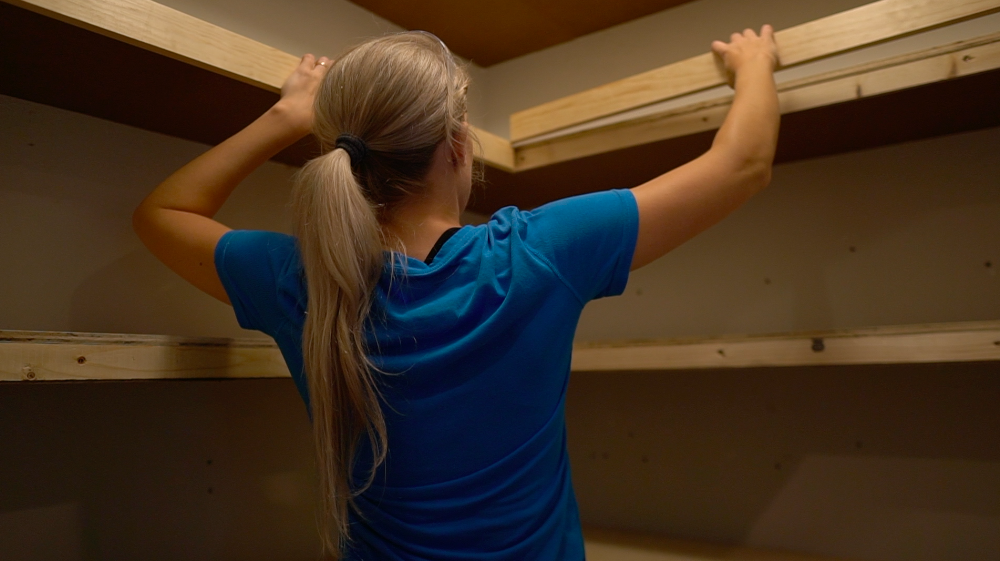
Check out the pictures below to see how I laid out my framing pieces. For all of my center framing pieces I drilled pocket holes so that they could be secured with pocket screws. Be sure to secure the 2×2’s that are against a wall into a stud so that they’re super secure. I used 3 1/2″ screws to secure the frame into the wall.
I wish I could have constructed the frames in my garage and then installed the entire frame put together, but the pantry space is too tight, I wasn’t able to do that. Instead, I had to piece together all of the framing pieces in my pantry. I started with my long pieces against the back wall, then the shorter side pieces along the side walls, then the front 2 longer framing pieces, then filled in with the shorter middle frame pieces.


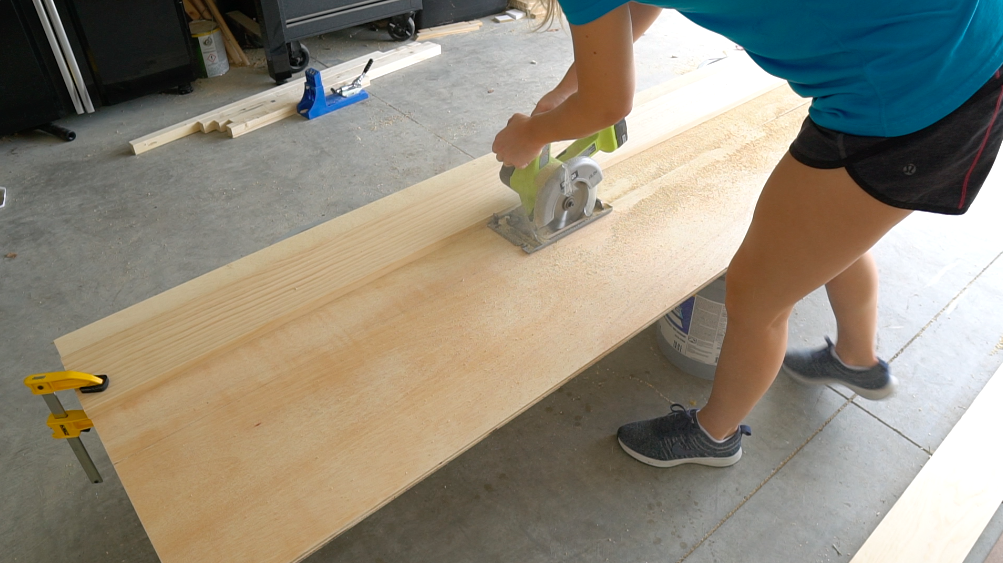
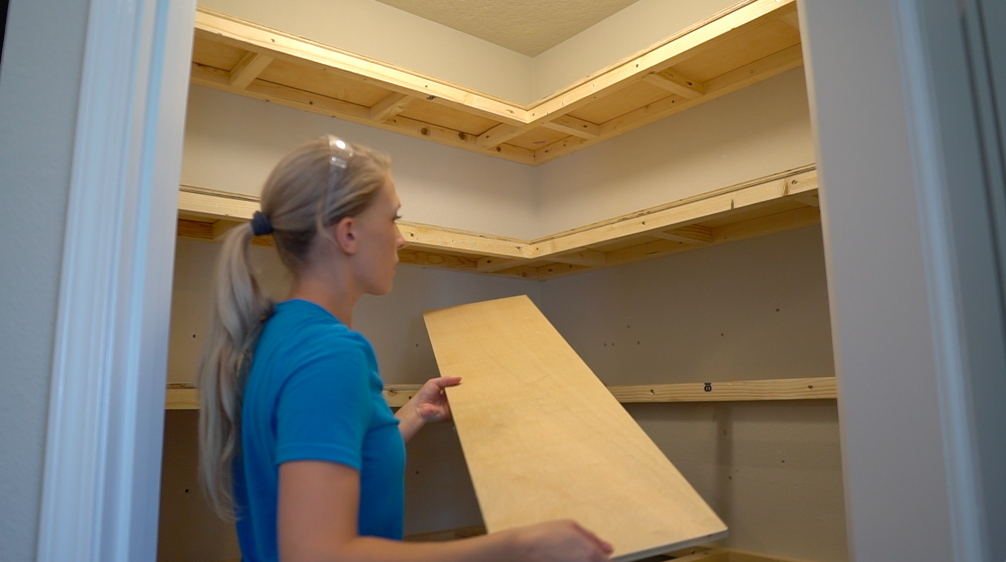
STEP 7: Cut and dry fit 1/2″ plywood
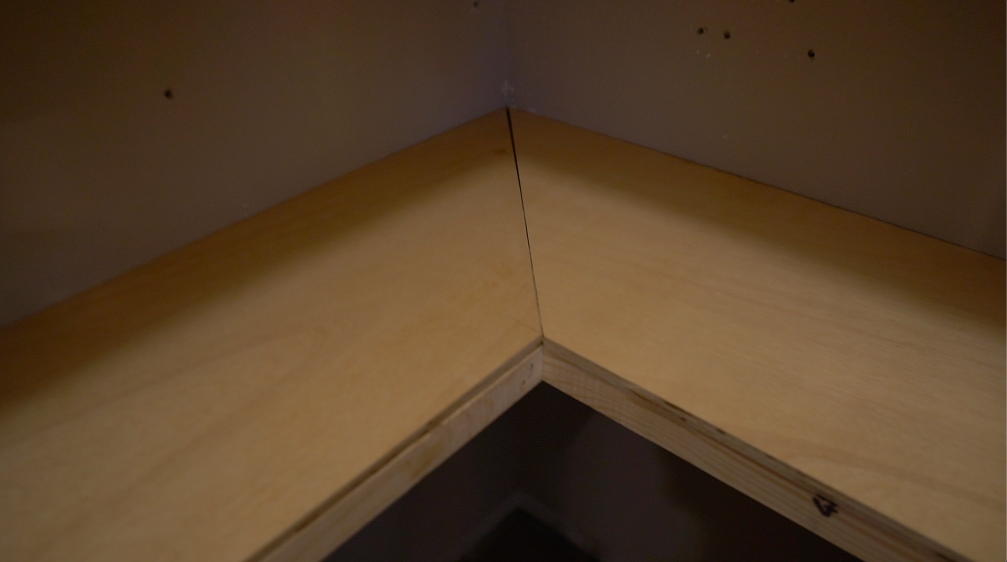
After all of your framing pieces are in. Cut and dry-fit your 1/2″ plywood to fit the top of your shelves. For my top 3 shelves I did a plain square cut. and for my bottom “countertop” I did a nicer 45 degree cut.
I’m only dry fitting the plywood now so that I can take it back out to my garage and do all of the sanding there. Be sure to label the bottom of these boards so you know where they go.


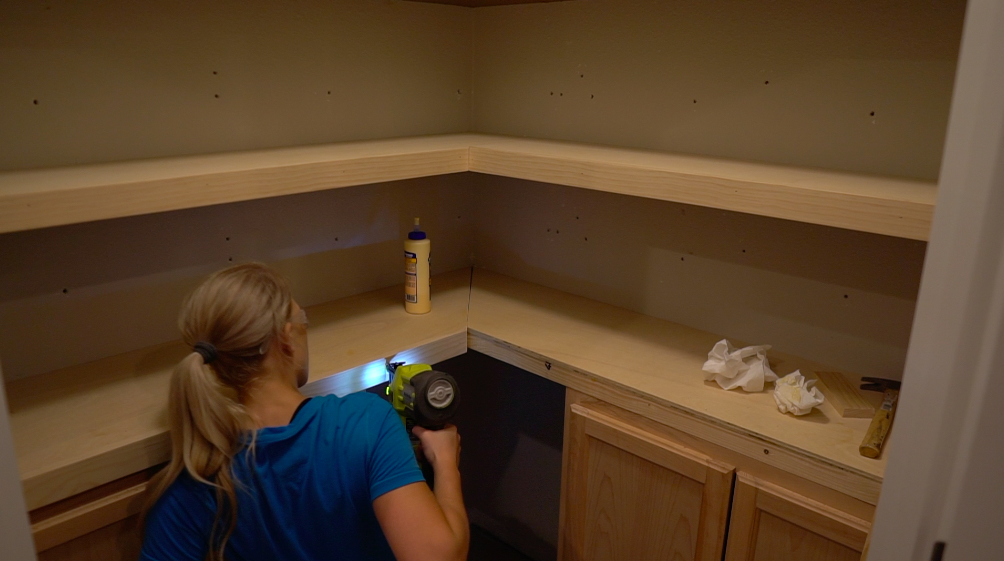
STEP 8: Install 1/8″ hardboard
I installed 1/8″ hardboard on the bottom of all of my shelves so you don’t see any of the framing pieces. I cut my hardboard down on the table saw (for the (11 1/4″ shelves) or with my circle saw (for the 14 1/4″ shelves) then used wood glue and 1″ brad nails to secure it to the bottom of my shelf framing.


I also installed this hardboard on the visible side of my cabinets. Since there’s a gap between the cabinet and the back wall, this hardboard was the perfect cover up!

STEP 9: Cut and dry fit trim pieces
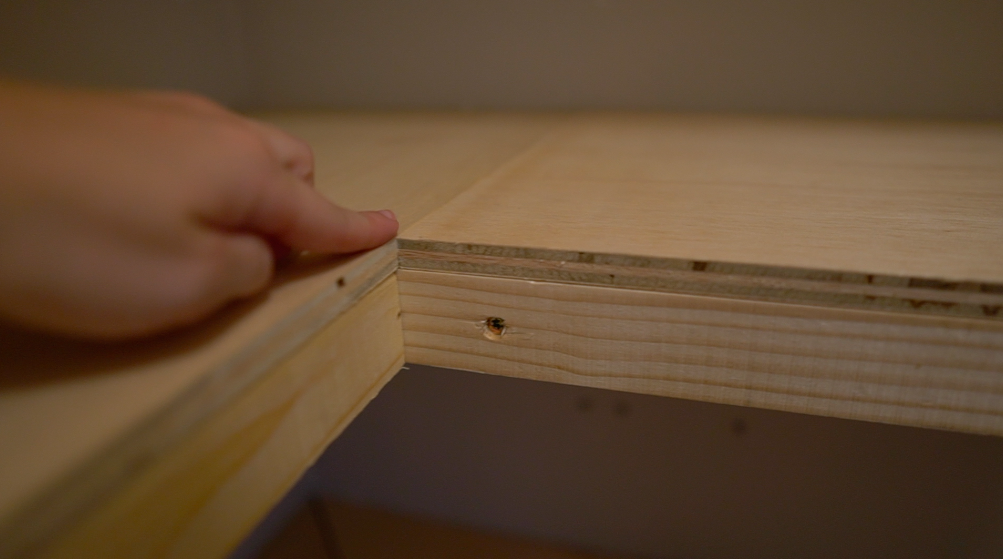
Now that you can see the total depth of your shelf, cut your trim pieces the same depth as your shelf. My shelves are about 2 1/8″ deep (1/8″ hardboard + 1 1/2″ frame piece + 1/2 plywood). I bought 1″ x 6″ x 8′ select pine board and then ripped it down to 2 1/8″ on my table saw.
I mitered the center corner at 45 degree so they met at a perfect 90 degree angle. Dry fit your trim pieces first to make sure they fit. Make sure to label your pieces so you can return them to the right place.


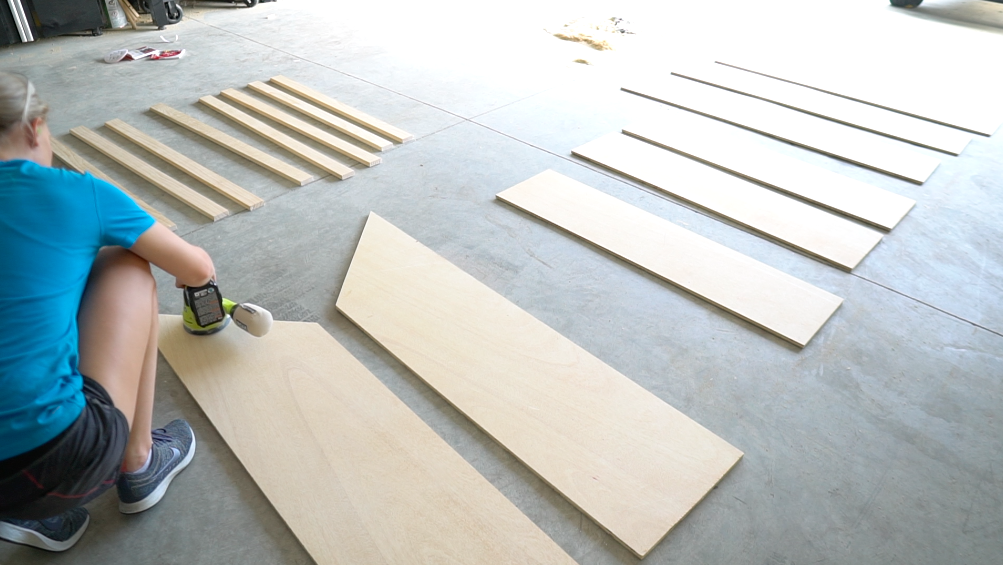
STEP 10: Sand 1/2 plywood & trim pieces
After I made sure that my 1/2″ plywood and trim pieces fit perfectly, I brought them out to my garage and sanded everything down. You don’t need to sand the 1/8″ hardboard. I started with 80 grit, 120 grit then 220 grit sand paper to get my shelves and trim nice and smooth! I also took some sand paper and knocked down the sharp corners of my trim pieces.

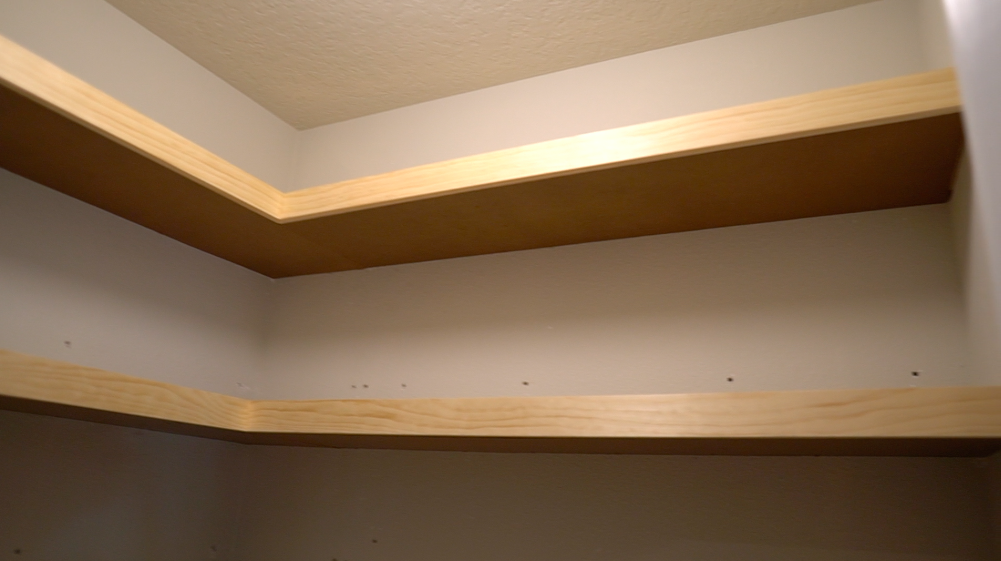
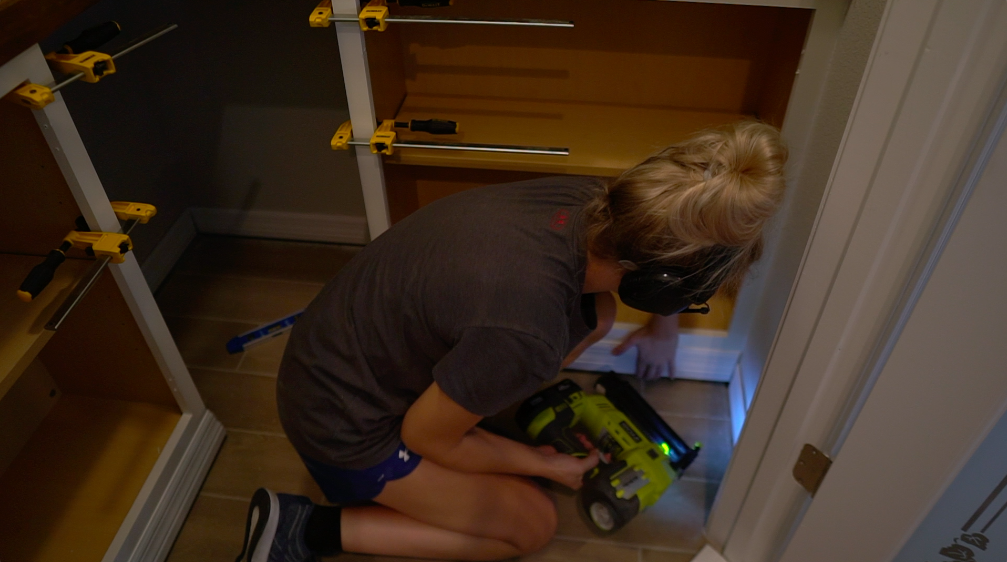
STEP 11: Install 1/2 plywood & trim
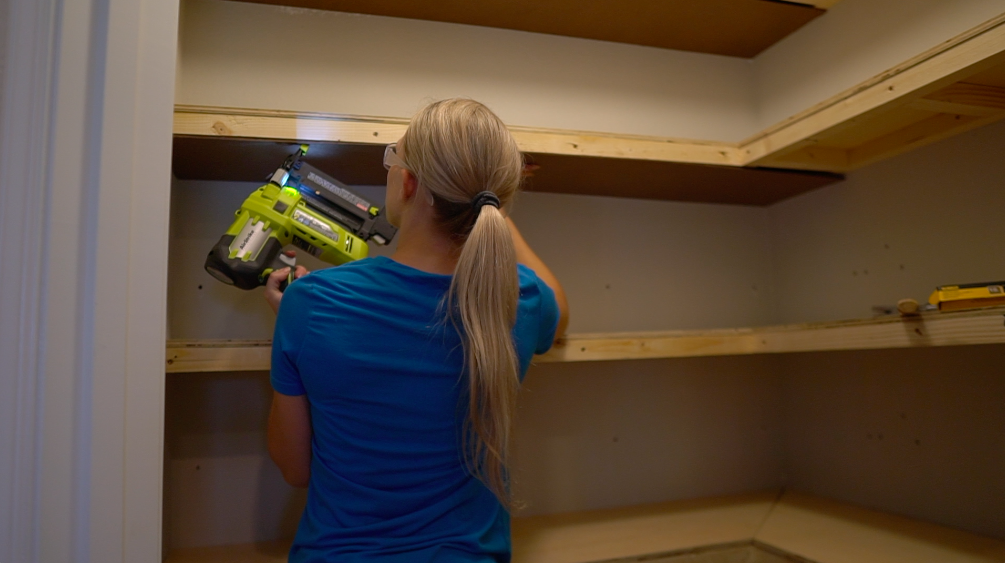
After your pieces are sanded, install the plywood first and then your trim using wood glue and 1 1/2″ brad nails.


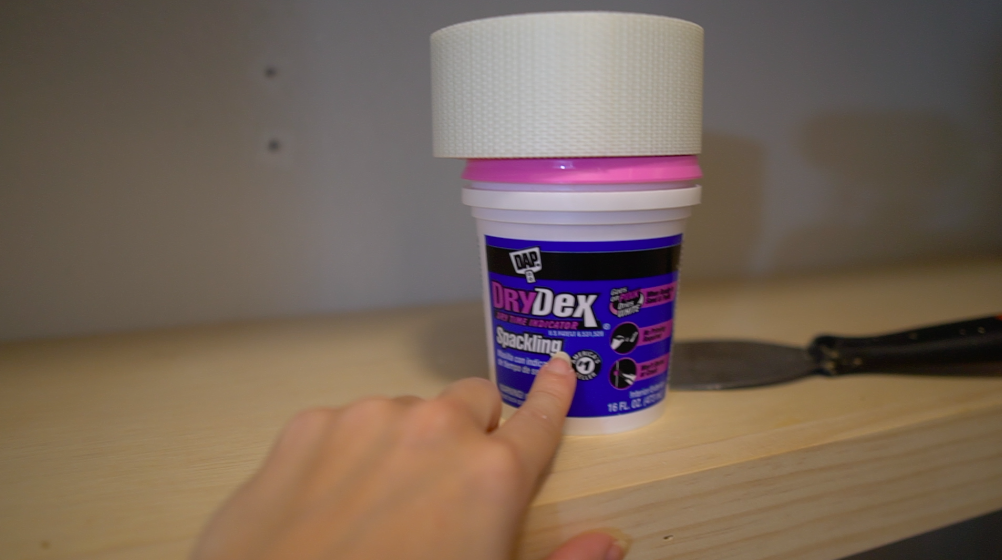
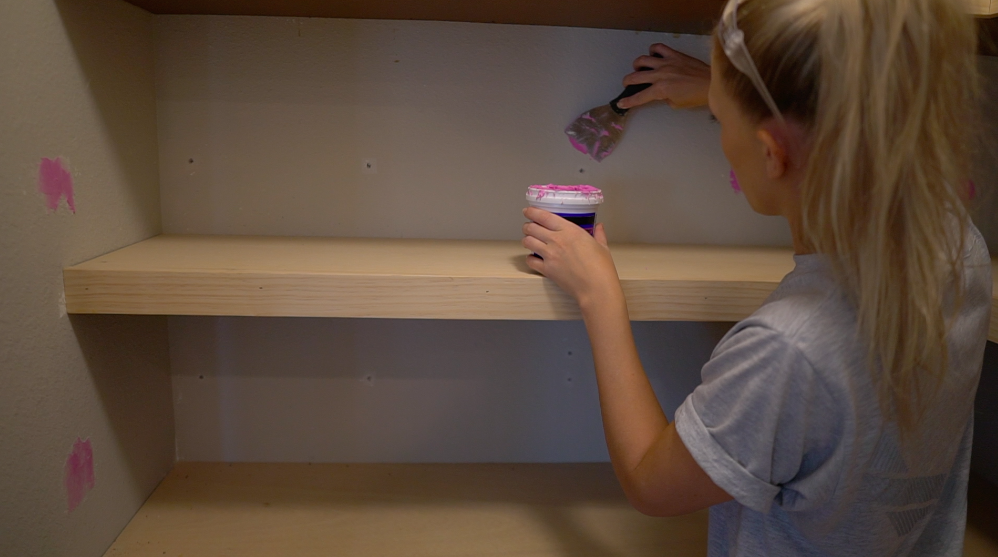
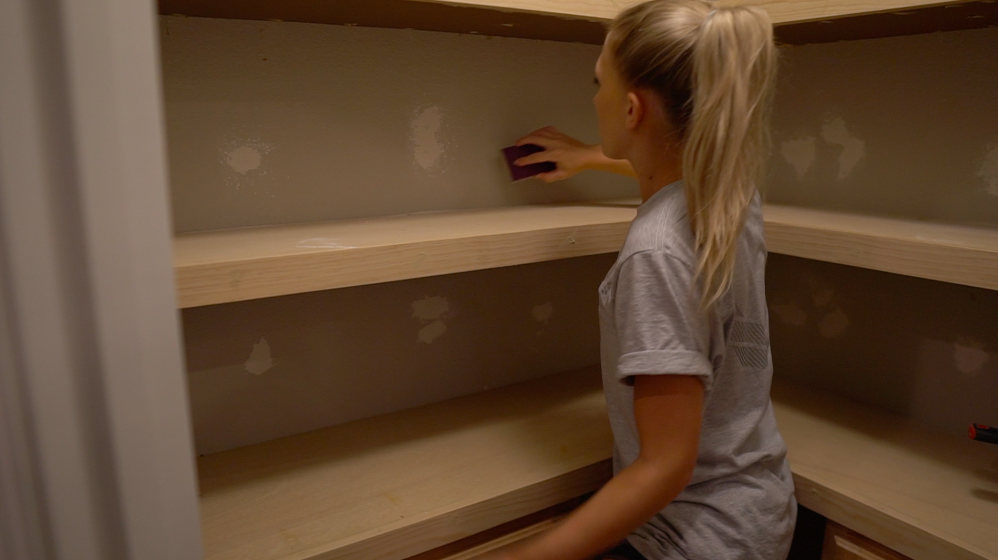
STEP 12: Patch holes in drywall
I used this mesh tape and spackling to fill all of the holes in my drywall left over from the wire racks. After the spackling is dry, take a sanding block to smooth down the patches. Since the patch is smooth and the rest of my walls are textured, I bought this texture spray to spray over all of the patches. This will ensure the patches blend right into the wall once I paint over everything. I adjusted the spray to the medium option to match my wall texture. Make sure to cover your shelves with something while spraying on the texture.


STEP 13: Fill holes and cracks with wood filler
Use wood filler to fill in ALL of the cracks and nail holes. I even filled in the nail holes that I put in the 1/8″ hardboard. Once your wood filler has had enough time to dry, take your sanding block to sand over all of the high spots.

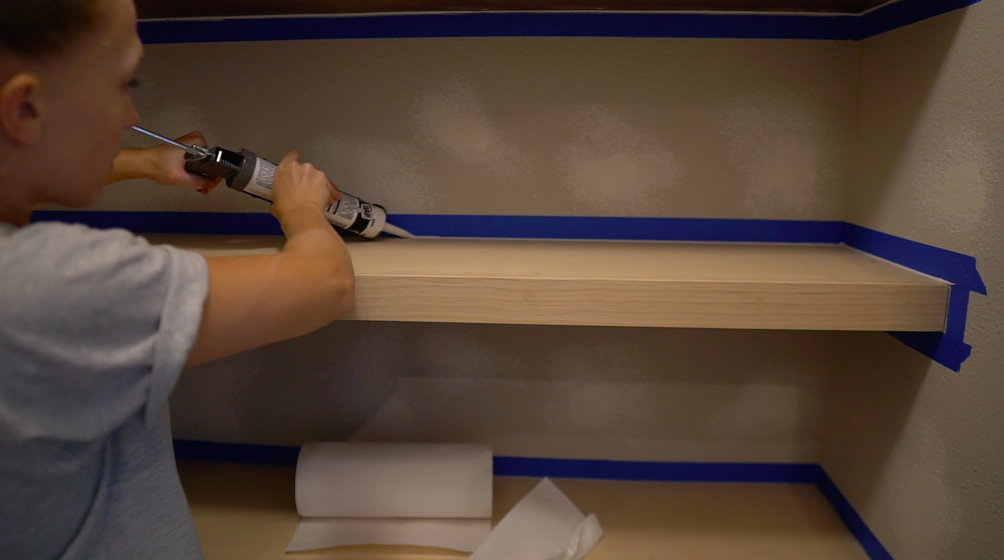
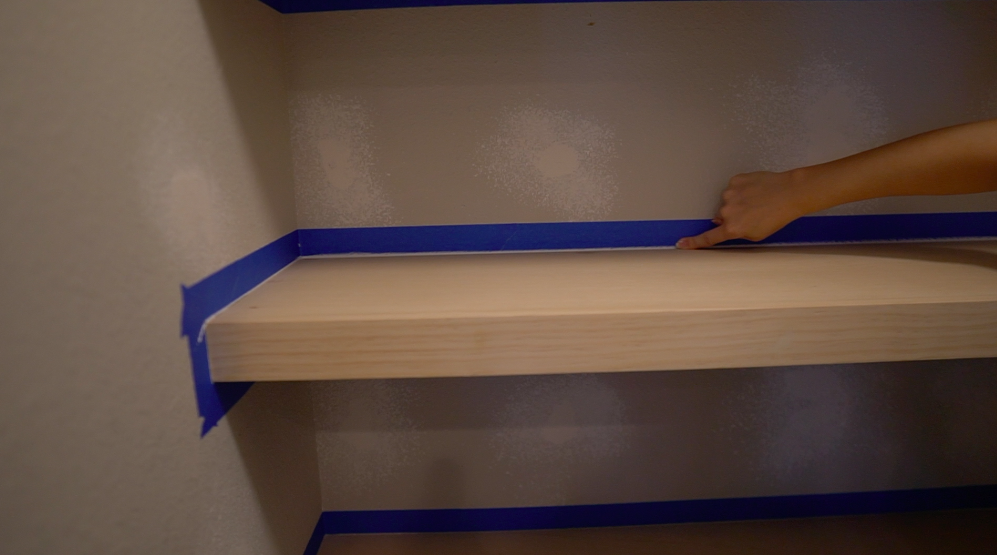
STEP 14: Caulk all seams
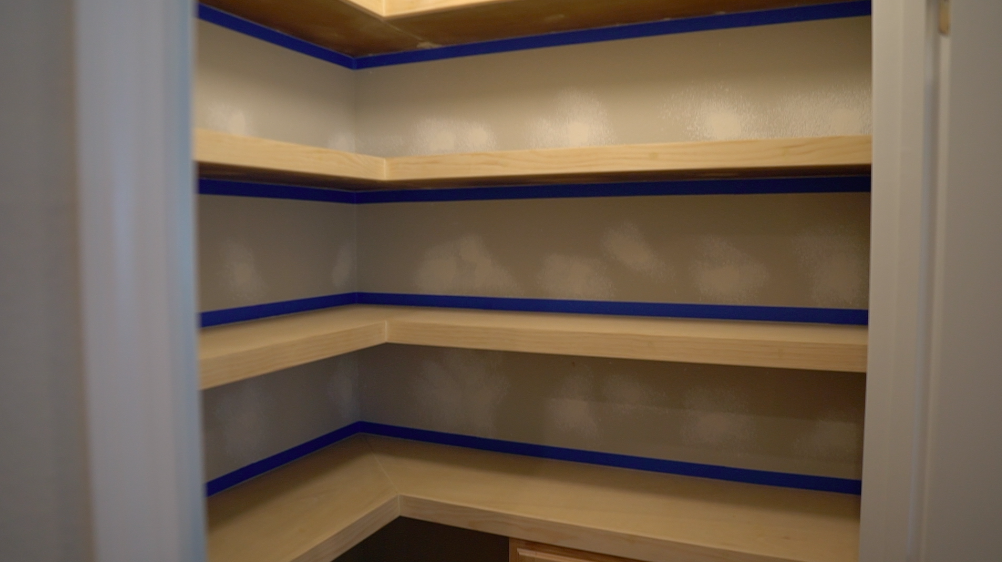
Before you start caulking, clean up all of the dust. I used painters tape to tape off all of my shelves, leaving an 1/8″ gap between my tape and the shelves. Apply a thin bead of caulk then smooth the line with a wet finger.
**Remove your tape before the caulk dries or else you will risk ruining the caulking. (I made this mistake and let the caulk dry before peeling off my tape and I ruined the nice caulk lines.. I had to go back and re-caulk everything)


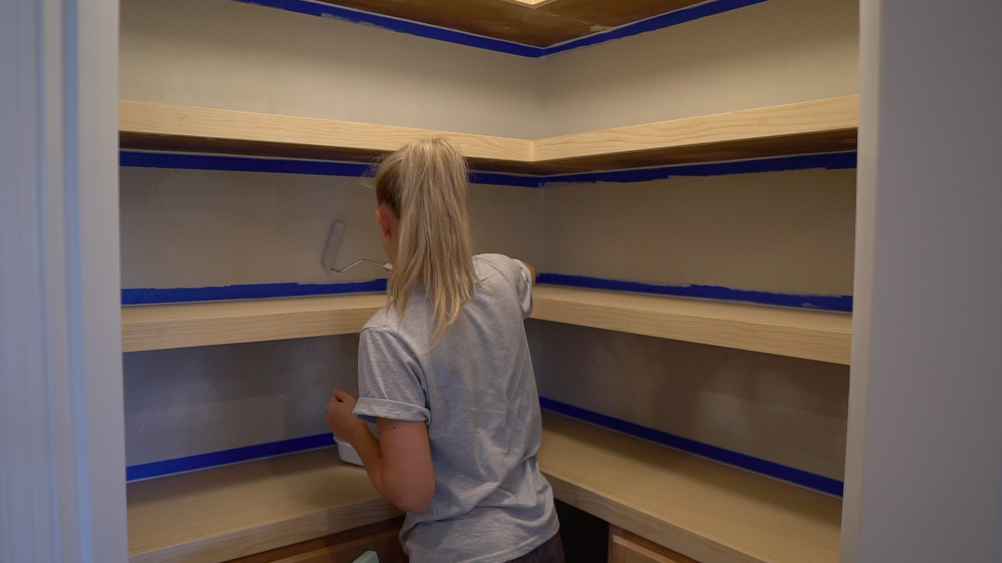
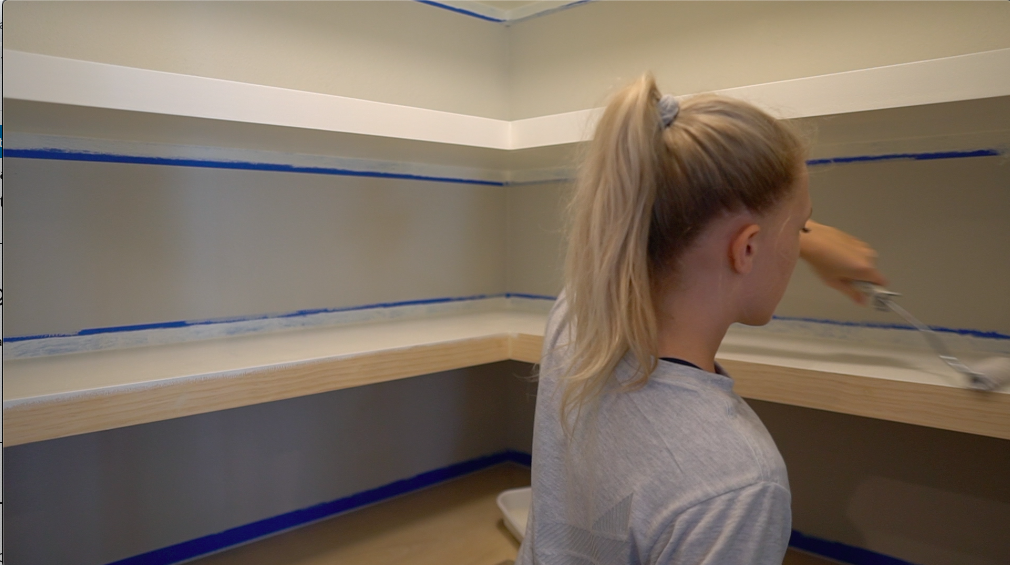
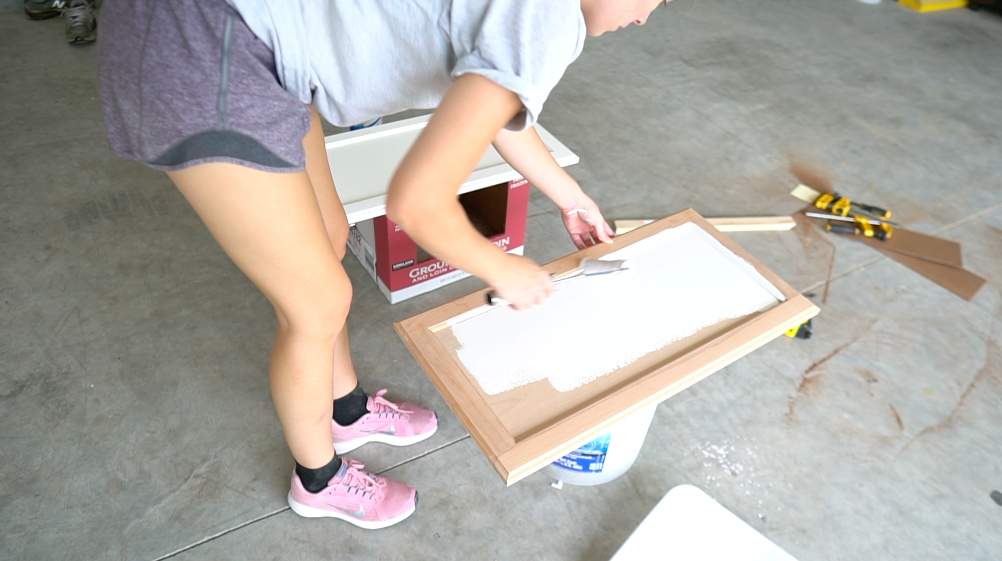
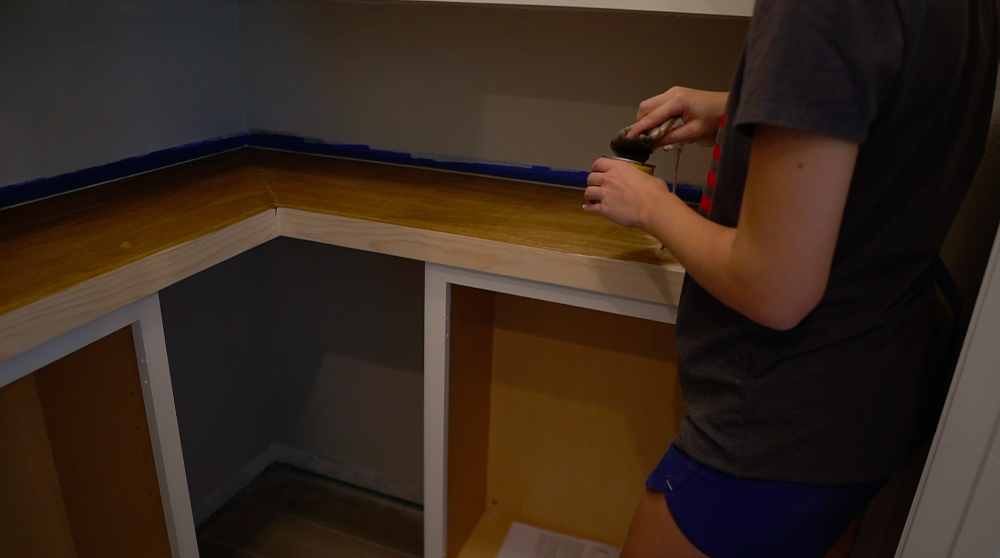
STEP 15: Paint or stain
Paint or stain your shelves and cabinets! I touched up my walls with Agreeable Gray by Sherwin Williams. My shelves are Swiss Coffee by Behr, and the countertop is stained Early American by Varathane.


STEP 16: Install base trim
I used 3 1/4″ base trim and it wasn’t tall enough or wide enough so I added quarter round shoe trim at the bottom as well. Install your trim of choice using brad nails. After your trim is installed, you’ll have to fill the nail holes with wood filler, let that dry, sand down the high spots, caulk the seams and finish with a coat of paint. I used the same Swiss Coffee paint for my base trim!


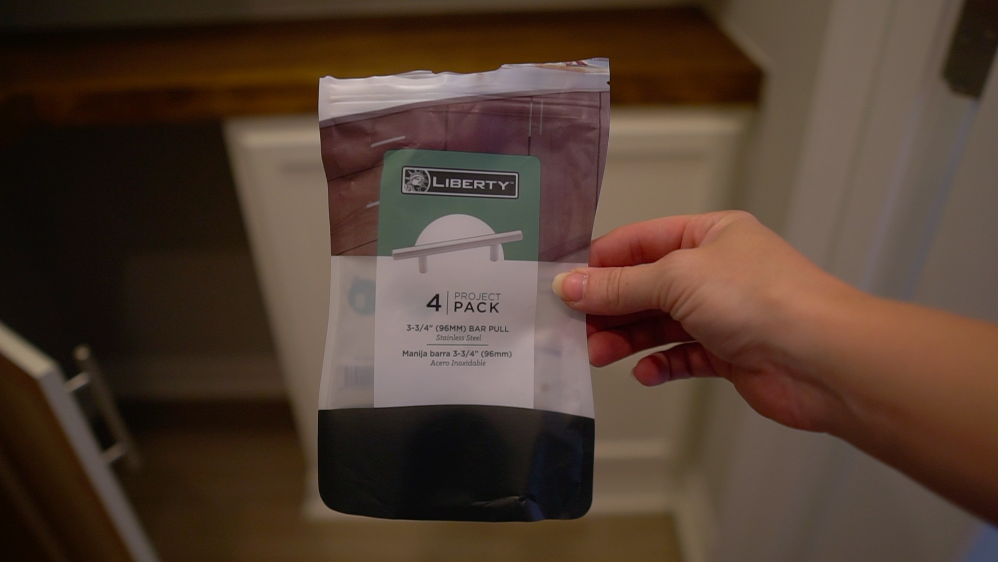
STEP 17: Install cabinet hardware
I bought this cabinet hardware from Home Depot to match the rest of our kitchen cabinet hardware.

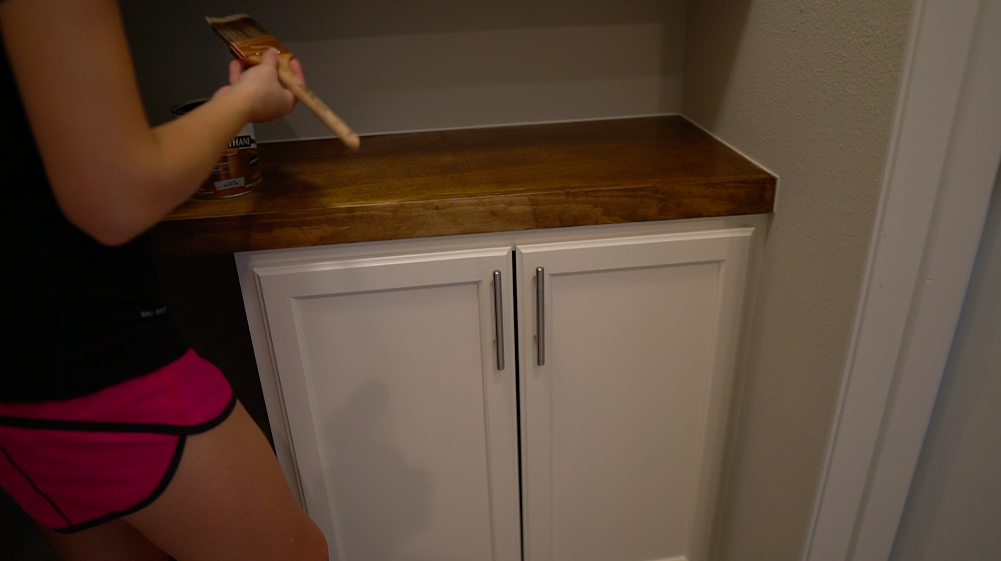
STEP 18: Poly countertop
Last, I finished the countertop off with 3 coats of satin polyurethane. Make sure to follow the instructions on the can for technique and dry times.