
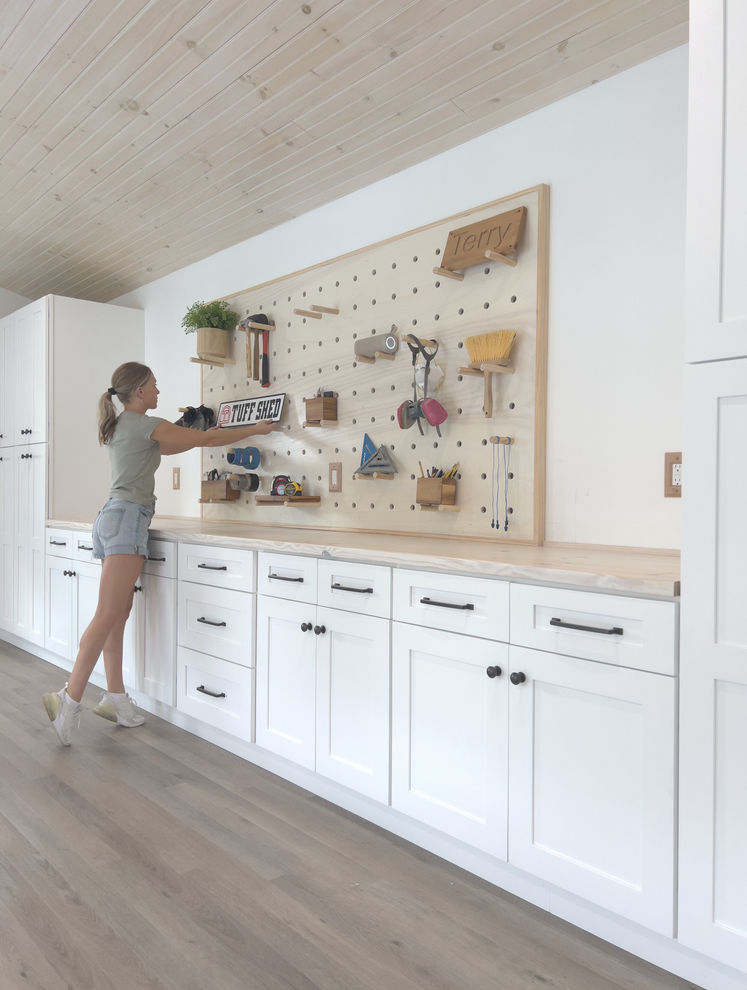
Hi everyone and welcome back to the workshop! The workshop is almost finished!! Here I share how I made this giant custom pegboard!

For this pegboard project I used one 4×8 sheet of sanded plywood, 1” wooden dowels for the pegs, and 1×2 pine boards to trim out the pegboard and to secure it to the wall. You can find the tools and materials linked below.
TOOLS/MATERIAL LIST
| TOOLS/MATERIAL | LINK |
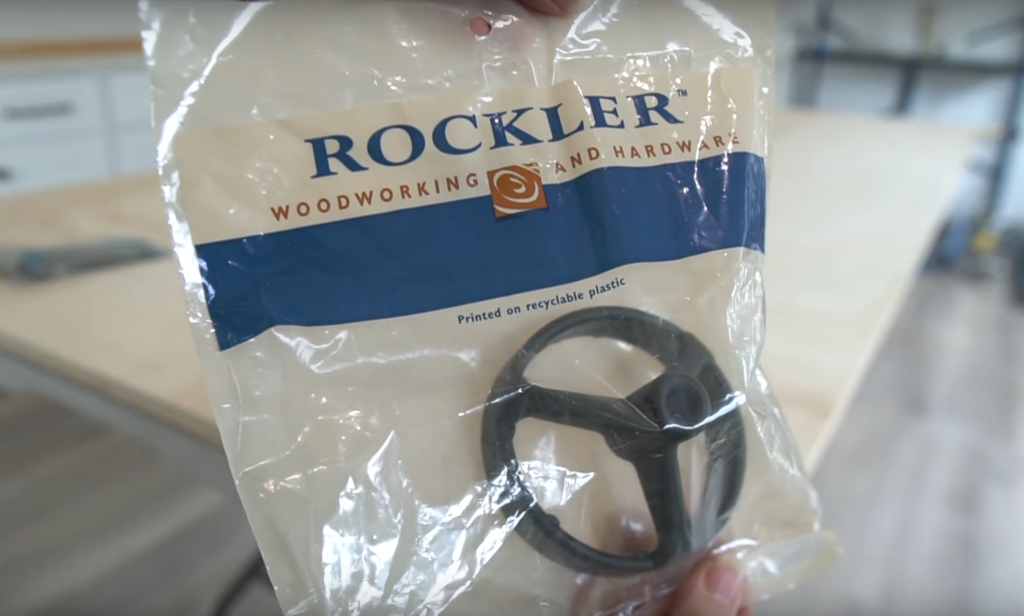
| 1″ Forstner Bit | https://bit.ly/48GTSUX |
| Drill Guide | https://bit.ly/3PKI6jD |
| 1″ Wooden Dowels | https://bit.ly/3PLp50w |
| 4’x8′ Sanded Plywood | https://bit.ly/3ZKtyVI |
| 1″x2″ Pine Boards | https://bit.ly/3RQVNAj |
| Circular Saw | https://bit.ly/46lgYPo |
| Orbital Hand Sander | https://bit.ly/3ljgcuS |
| Miter Saw | https://bit.ly/3QQ1hZJ |
| Jig Saw | https://bit.ly/3MGSC8C |
| Outlet Box Extender | https://bit.ly/47Wed8w |
| Wooden Outlet Cover | https://bit.ly/3F9ZV74 |

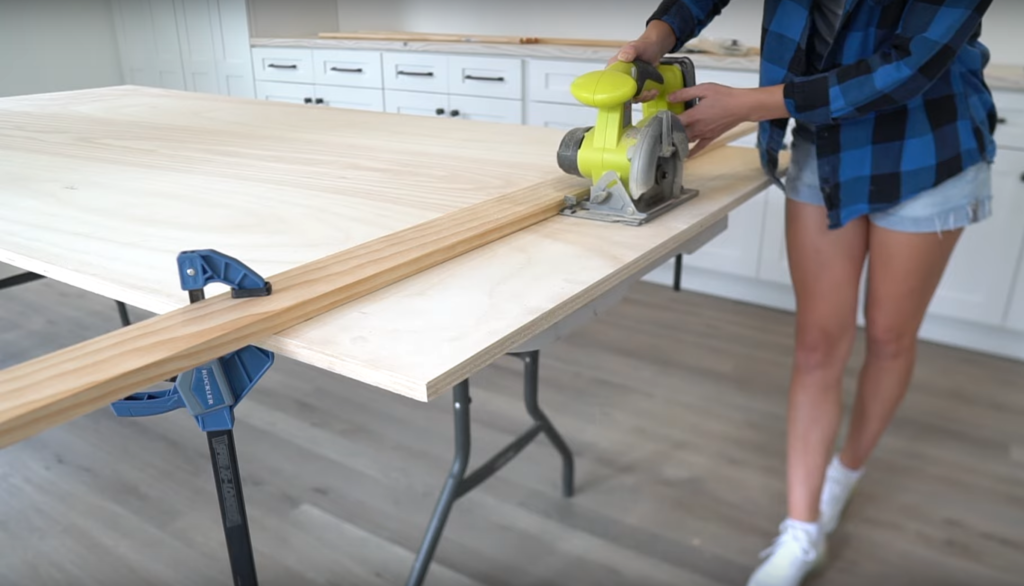
CUT & MEASURE
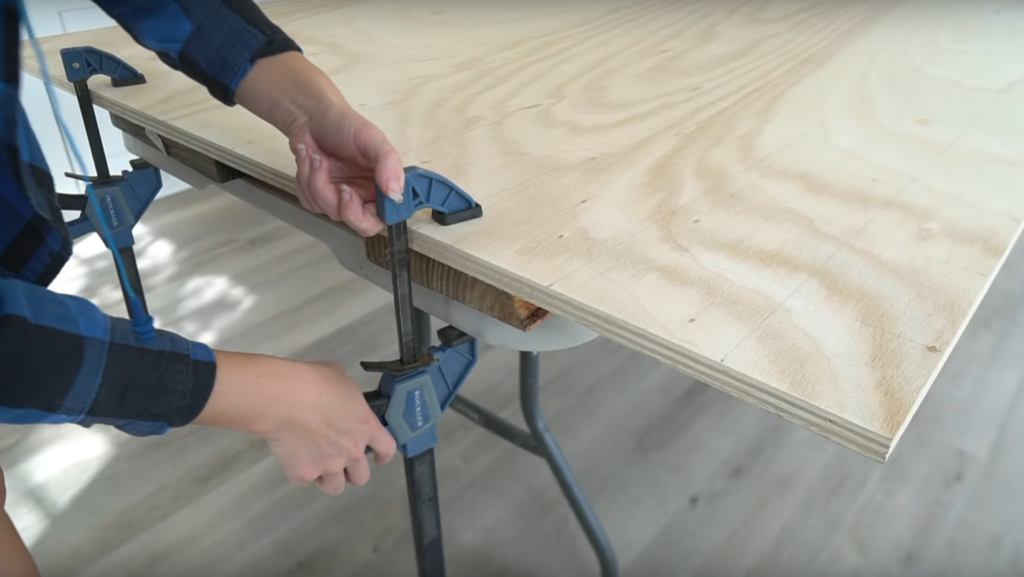
I have 8’ 1×2 boards that will trim out the entire pegboard and in order for it to fit the length of the plywood I had to cut the plywood down a few inches.

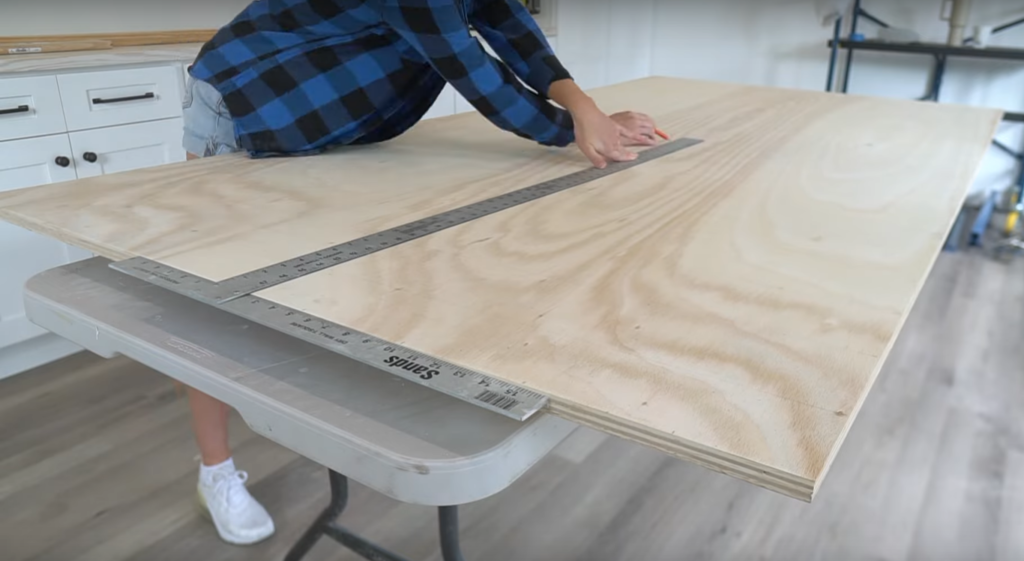
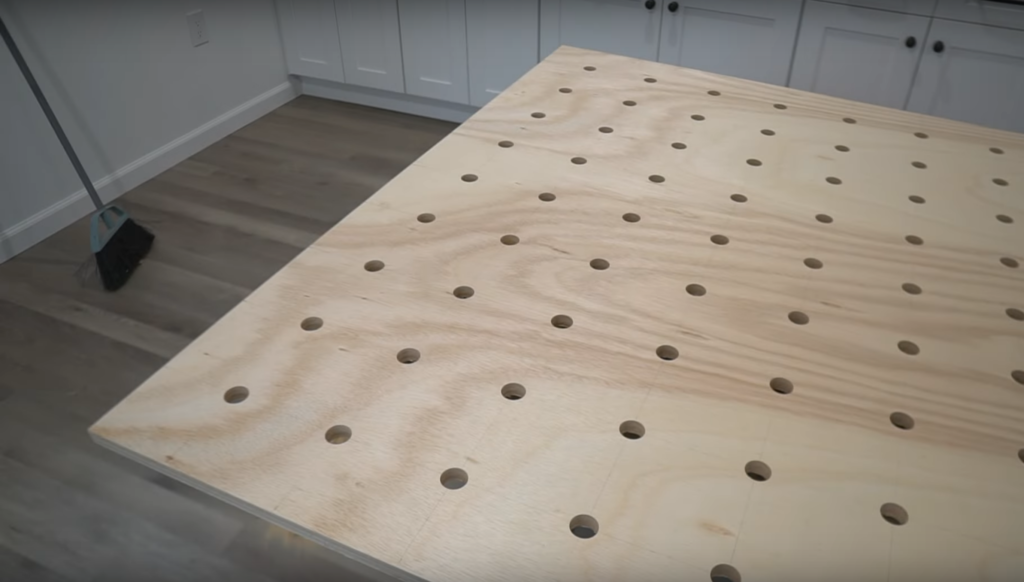
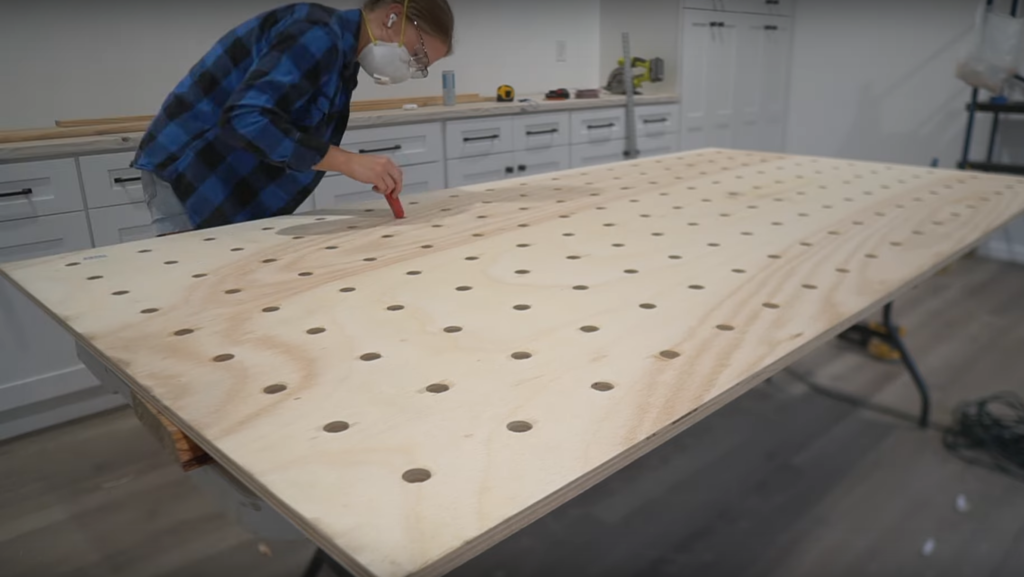
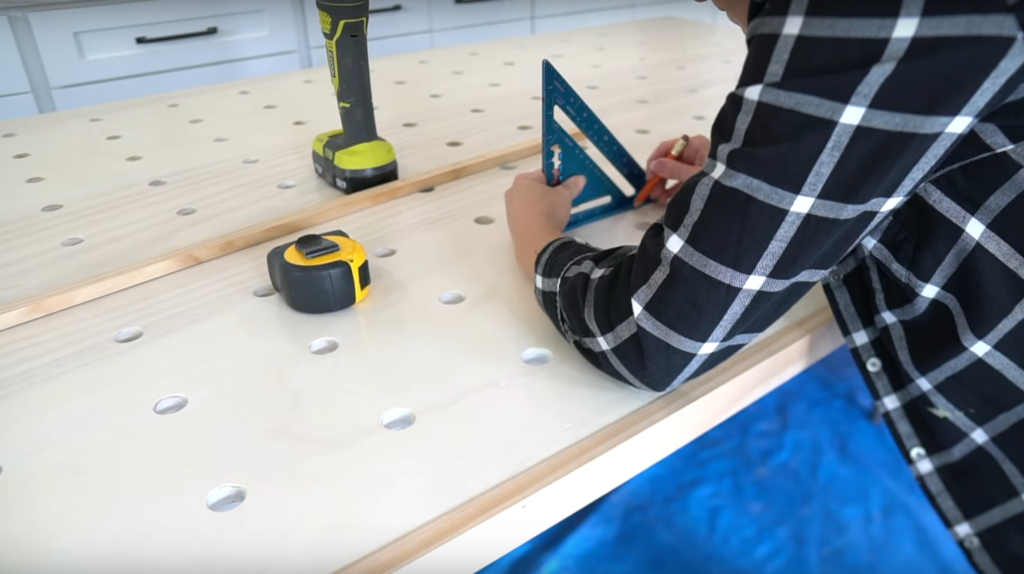
After the plywood was cut down to size I measured out an entire grid to mark where the peg holes need to go. I decided to leave 4 inches around the edges and then the rest I spaced out evenly at 5”.
I used a pencil and drywall square to mark out the grid.

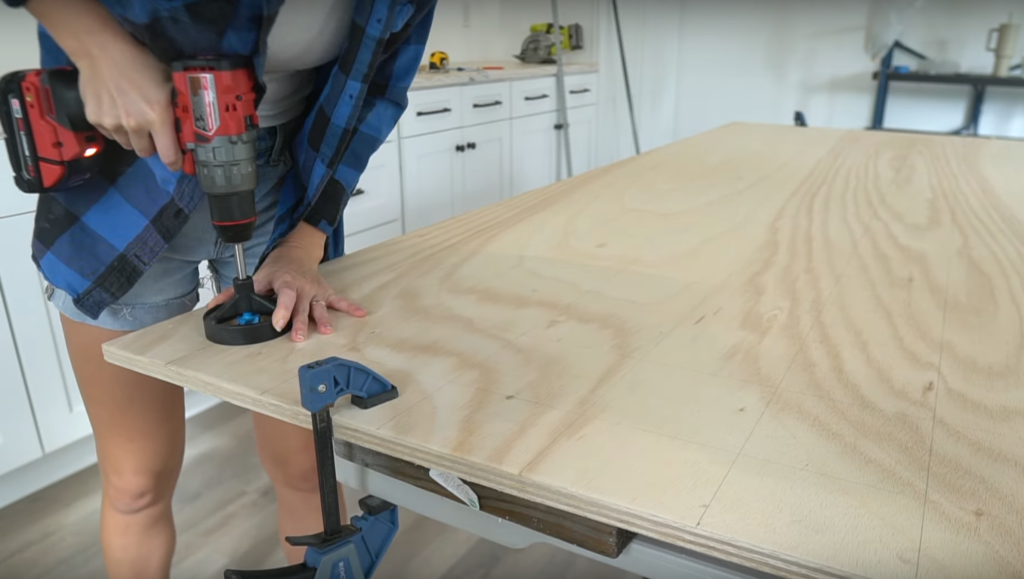
DRILL HOLES
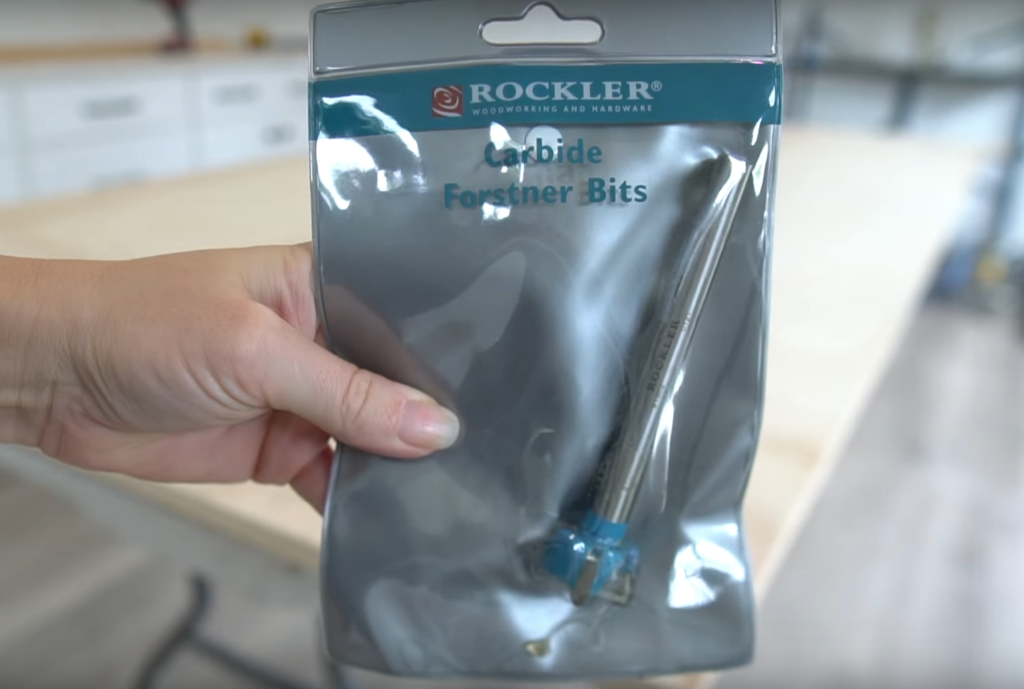
Now it’s time to drill the holes. For this I bought a new 1” forstner bit and a drill guide to help drill each hole nice and straight.
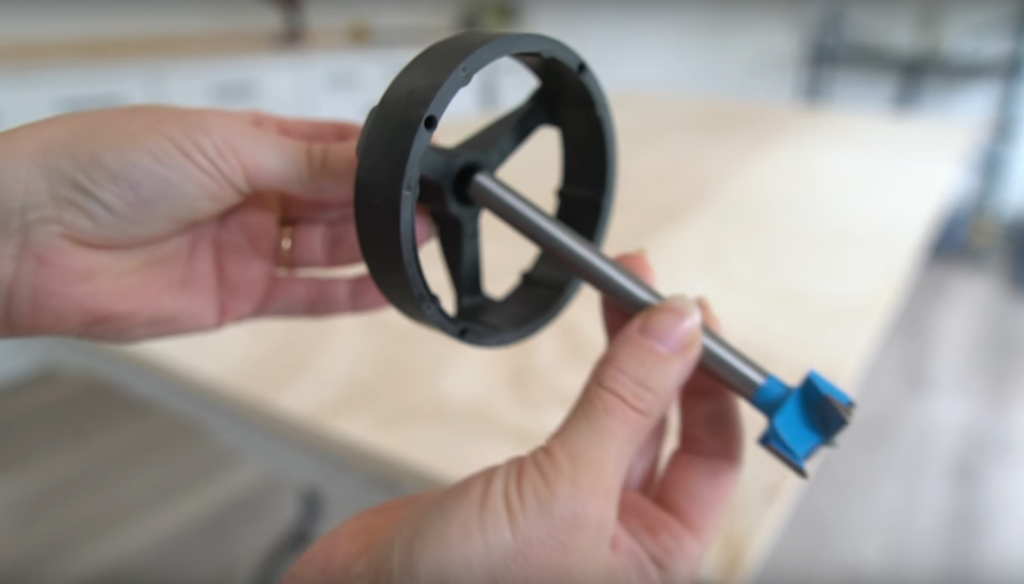
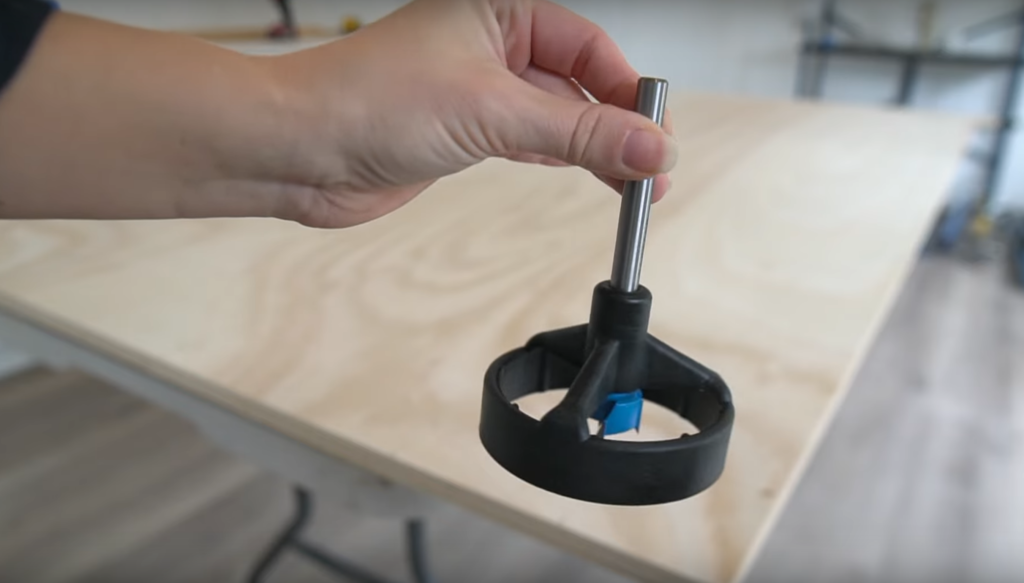
I clamped the board down to the table and then drilled 162 holes.
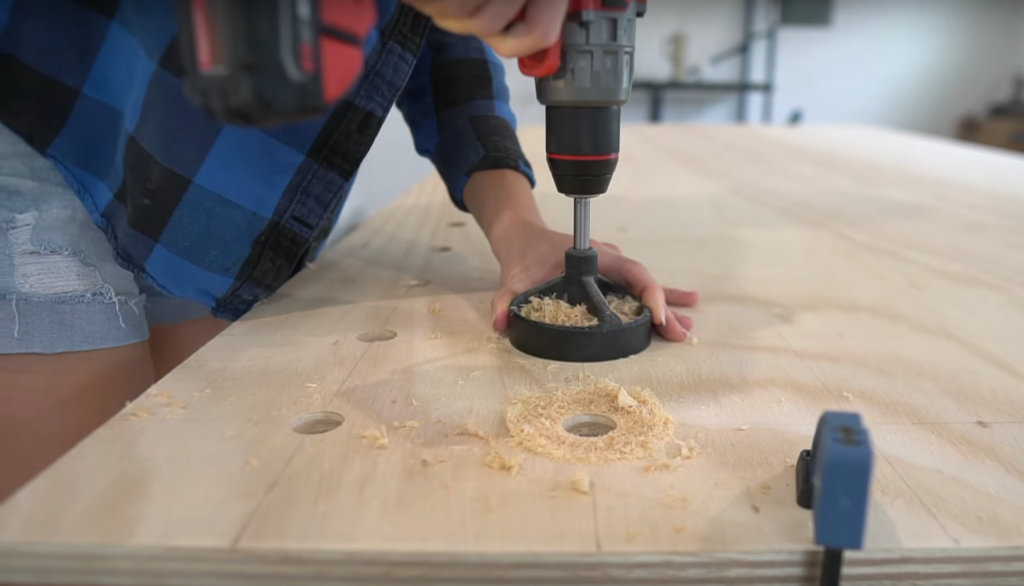
This was definitely the most time consuming step of the project but it will all be worth it in the end!
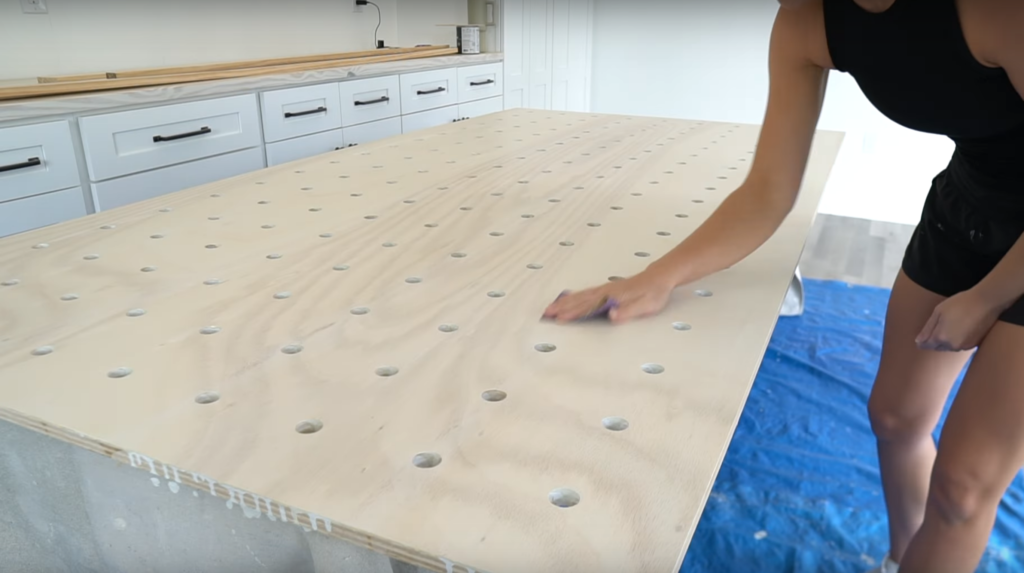
SAND
Every hole is drilled – I flipped the board over and removed any of the splintered wood on the back side. Then on the front side I sanded the pegboard down to 220 grit sandpaper.

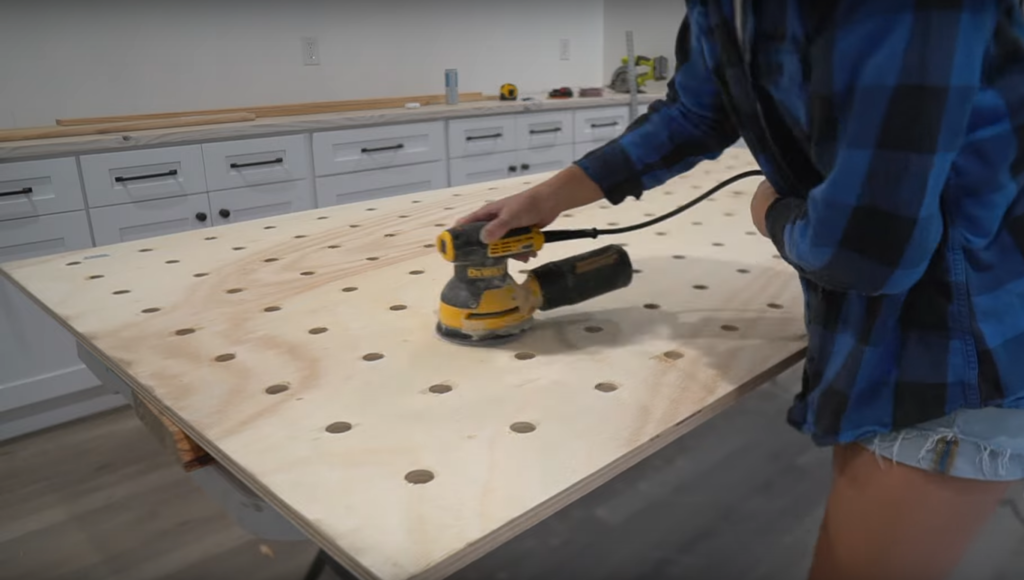
I also rolled up a piece of sandpaper to get in all the holes.

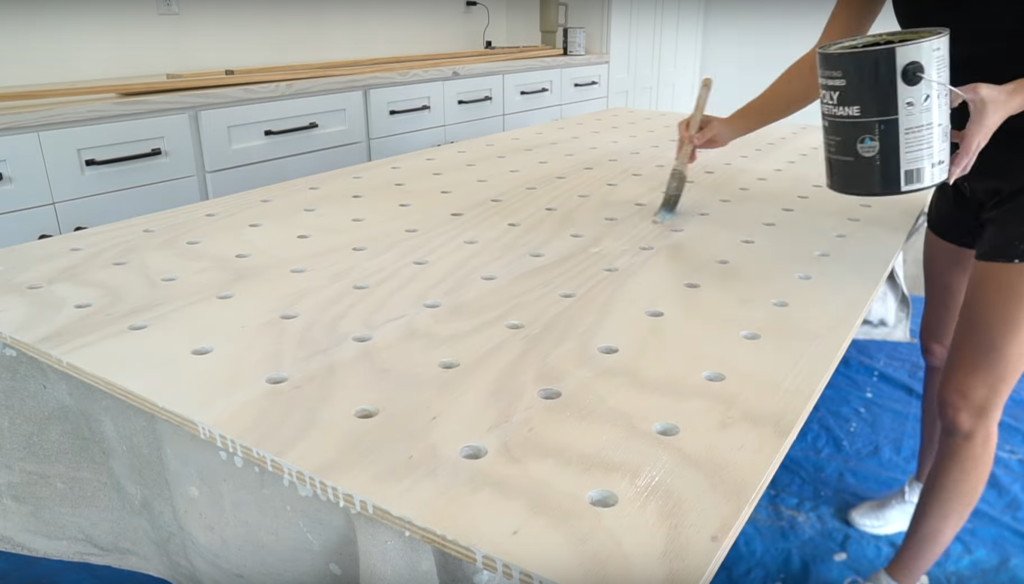
WHITEWASH
In the workshop I went with a whitewashed ceiling and countertops so I am going to stick with the same theme and whitewash the pegboard too.
I used 1 part paint and 1 part water for this mixture.
First, I brushed on the whitewash with a large brush and then wiped it off right away with a clean rag.
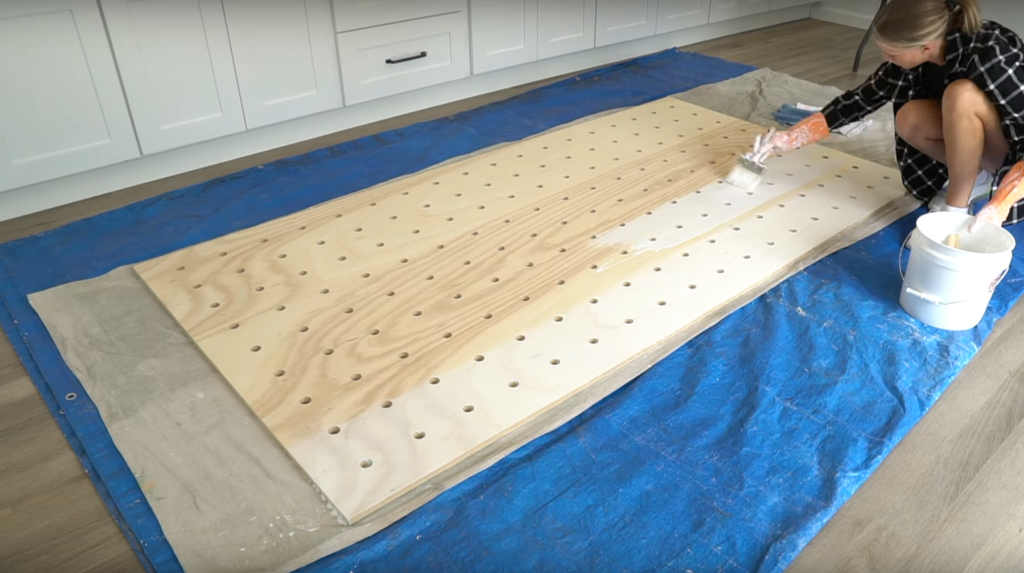
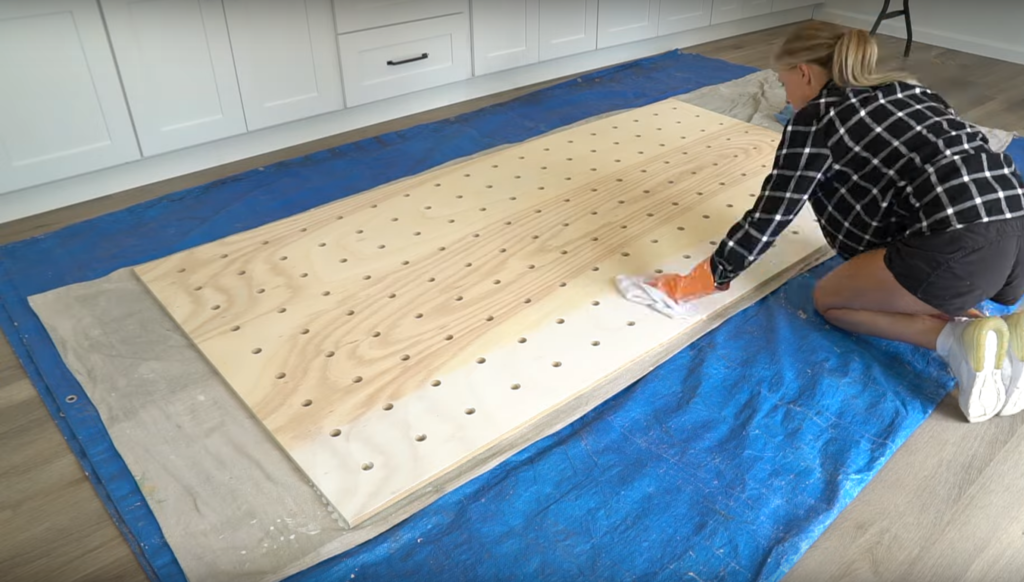
I also took a tiny paint brush and got in all the holes.

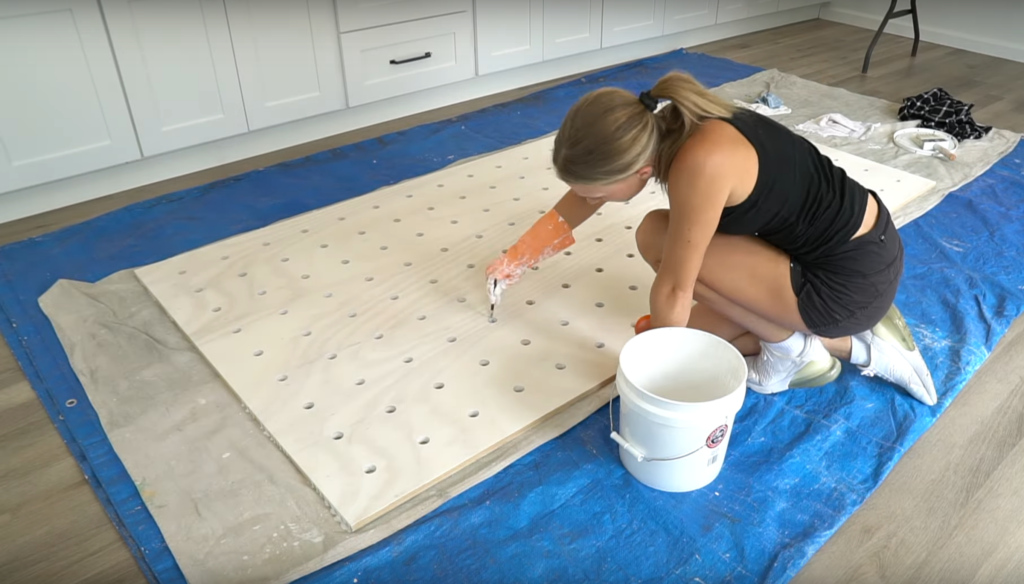
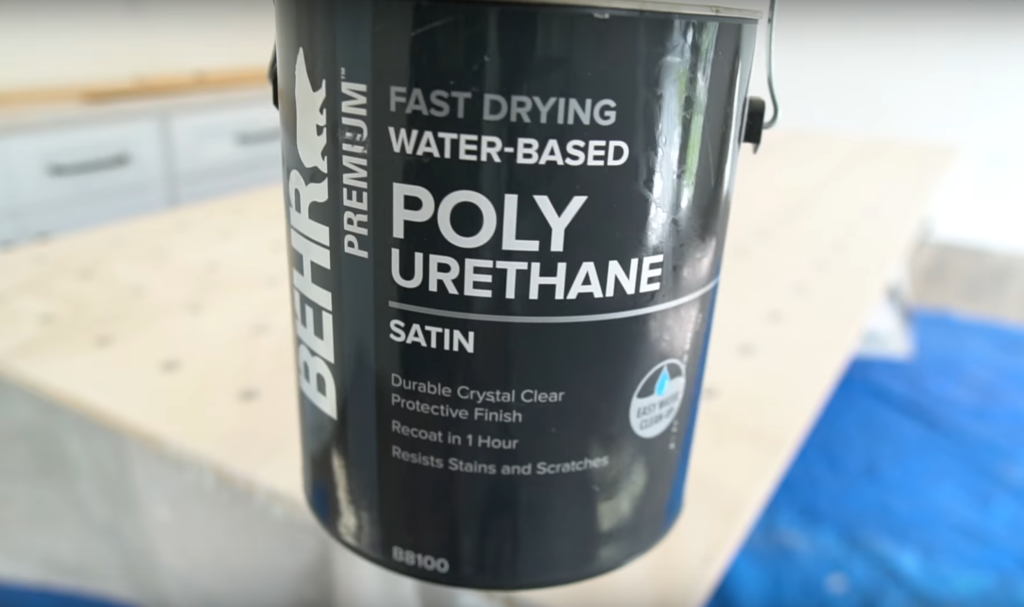
POLYURETHANE
Next step is polyurethane. I did 3 coats of this water-based, satin polyurethane.
I sanded in between each coat with 220 grit sandpaper.

If you’re using polyurethane you may want to re-sand in all of the peg holes because any drips may affect the pegs being able to fit.
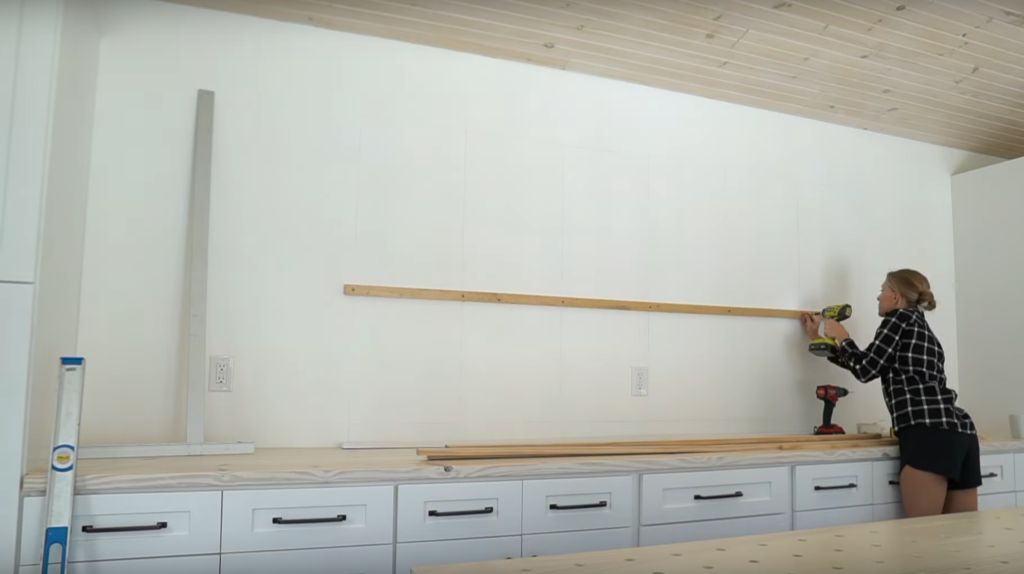
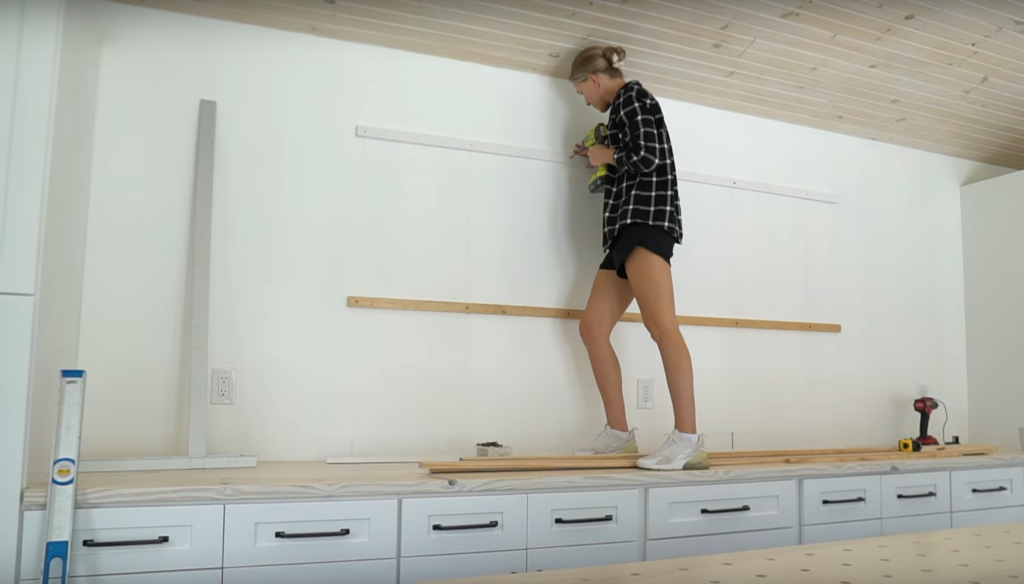
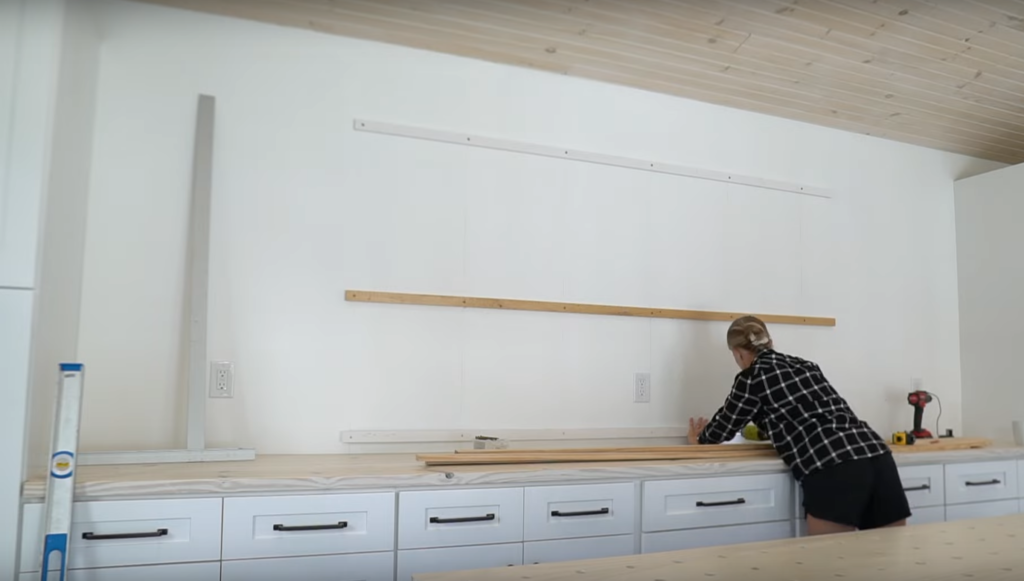
BACKER STRIPS
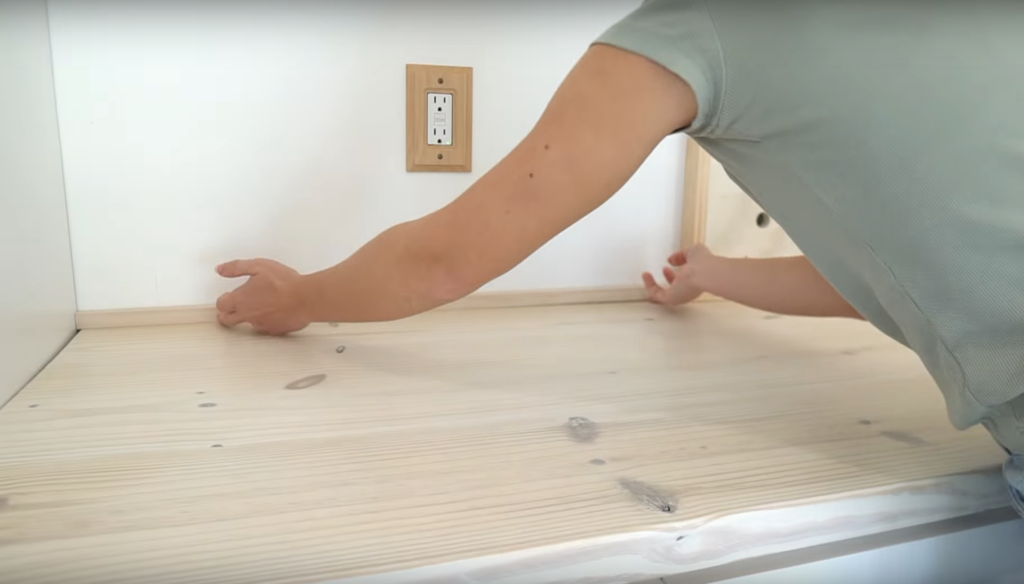
To secure the pegboard to the wall I’m first securing some 1×2 strips to studs in the wall. I marked out all the studs first and secured these 1 x 2 strips to studs in the wall with some long 3” screws. I made sure to install these 1×2 boards so that they don’t sit behind any of the peg holes.

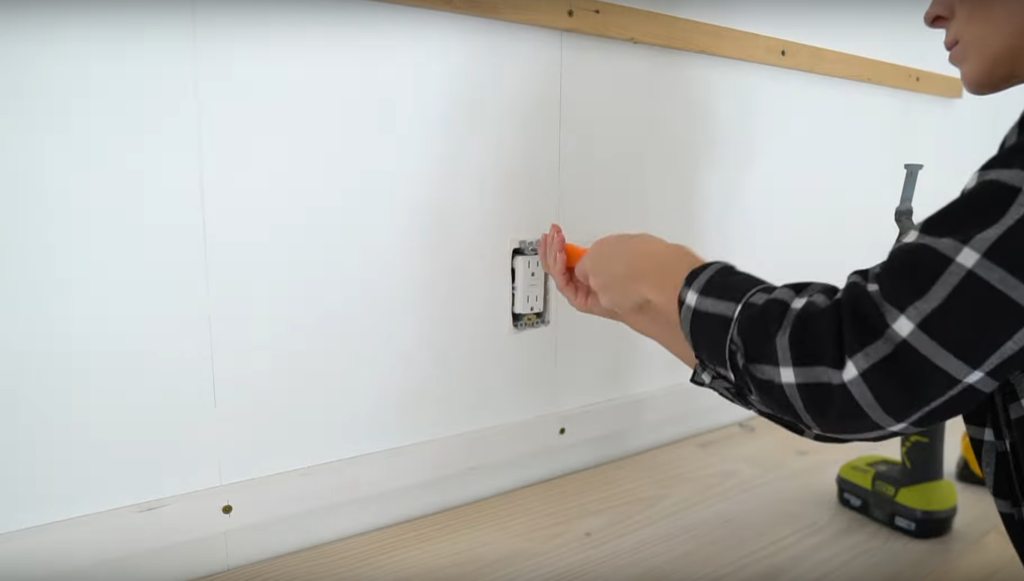
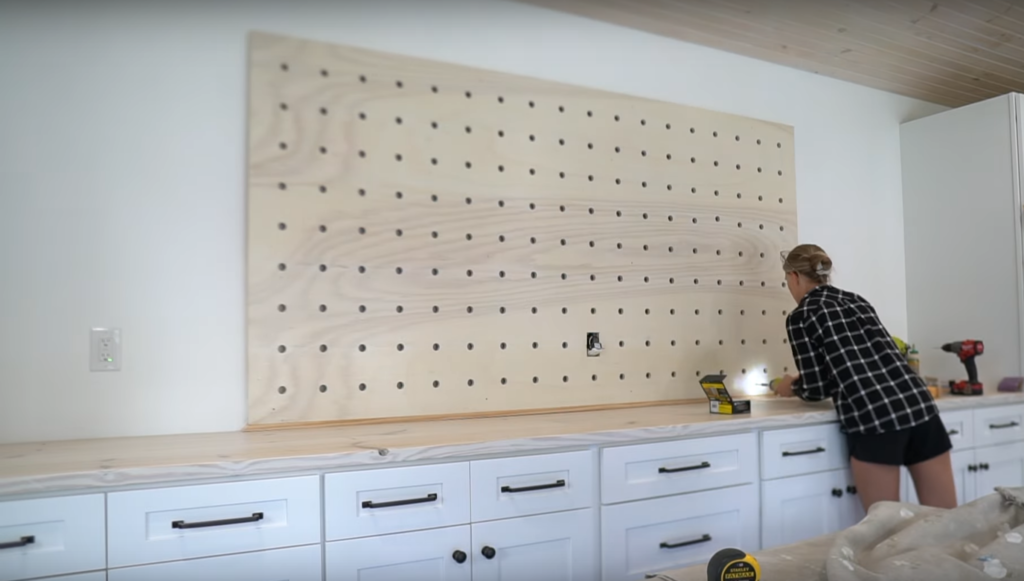
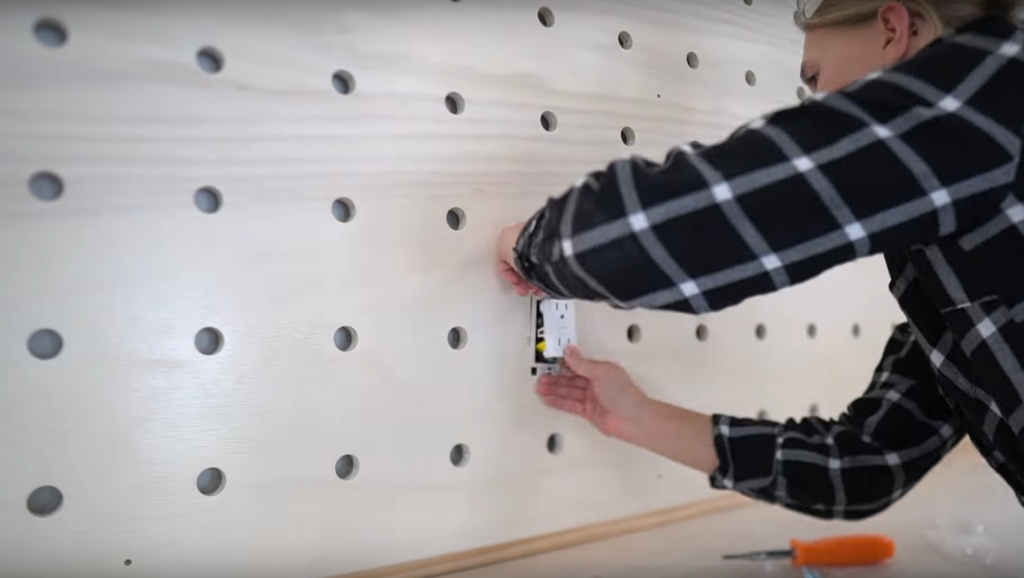
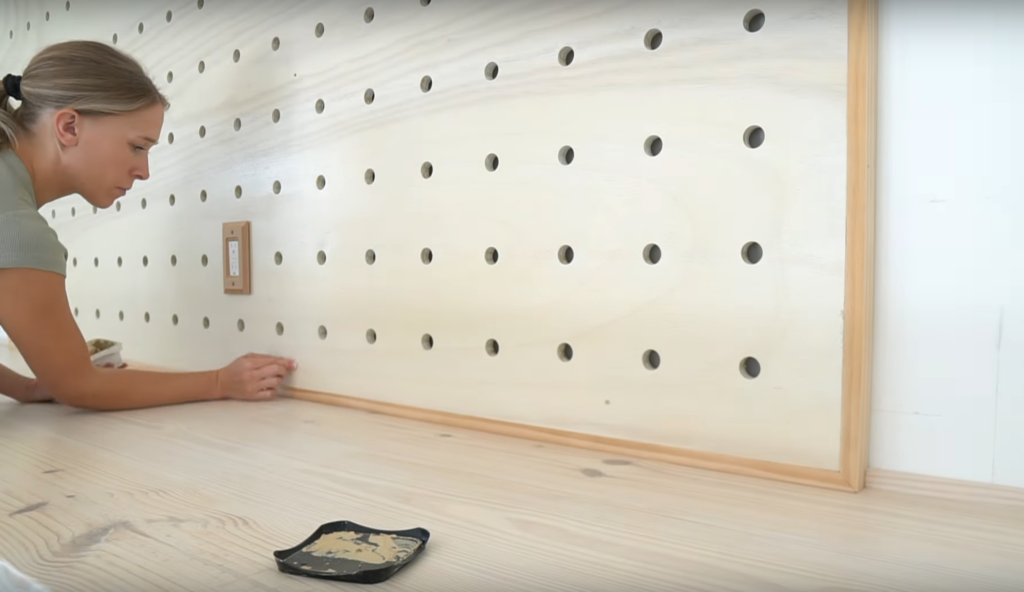
Before securing the pegboard I turned off the power to this outlet, removed the outlet cover, unscrewed the outlet and angled it out so that the pegboard could fit right over it. I’ll be using an outlet extender to extend the outlet past the pegboard.
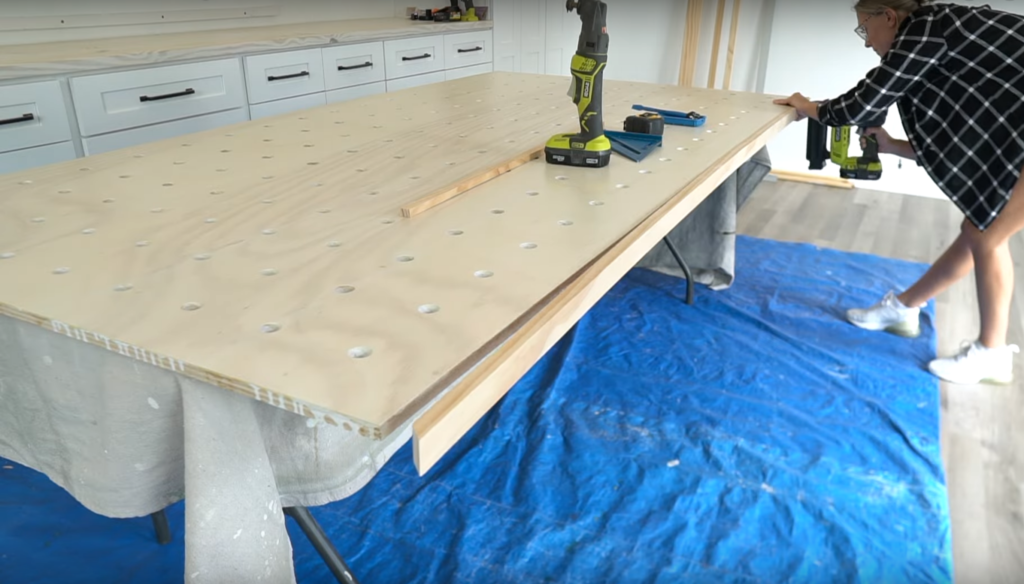
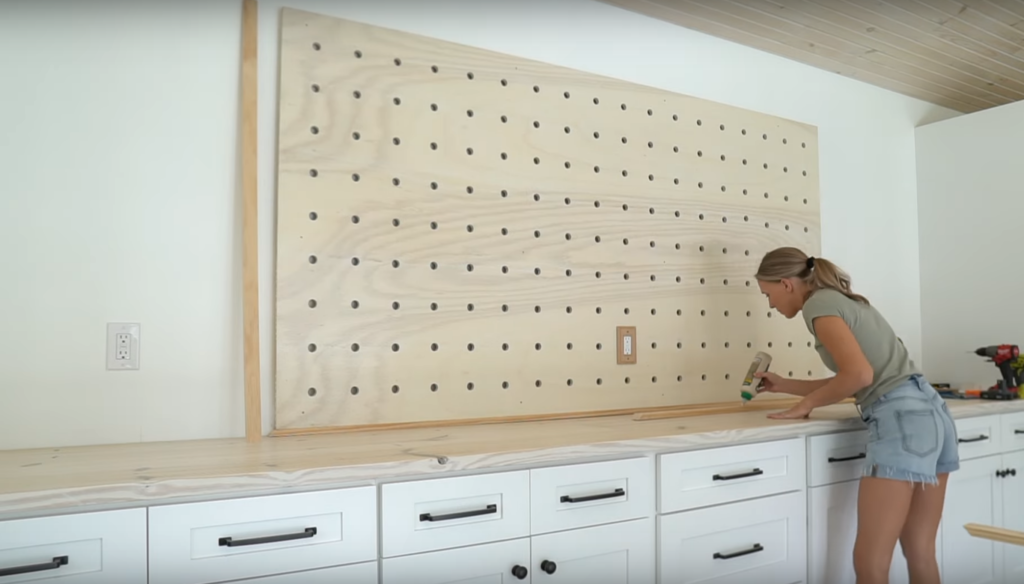
INSTALL BOTTOM TRIM
I am trimming out the entire pegboard with 1×2 boards – I’m installing the bottom board first so that I can get the pegboard in place and then I’ll secure the other 3 sides.
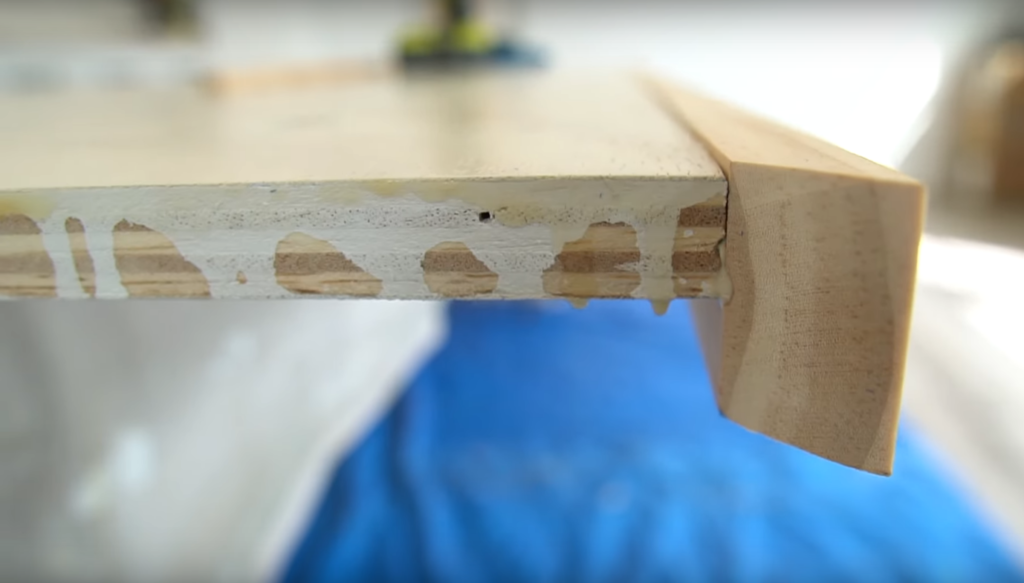
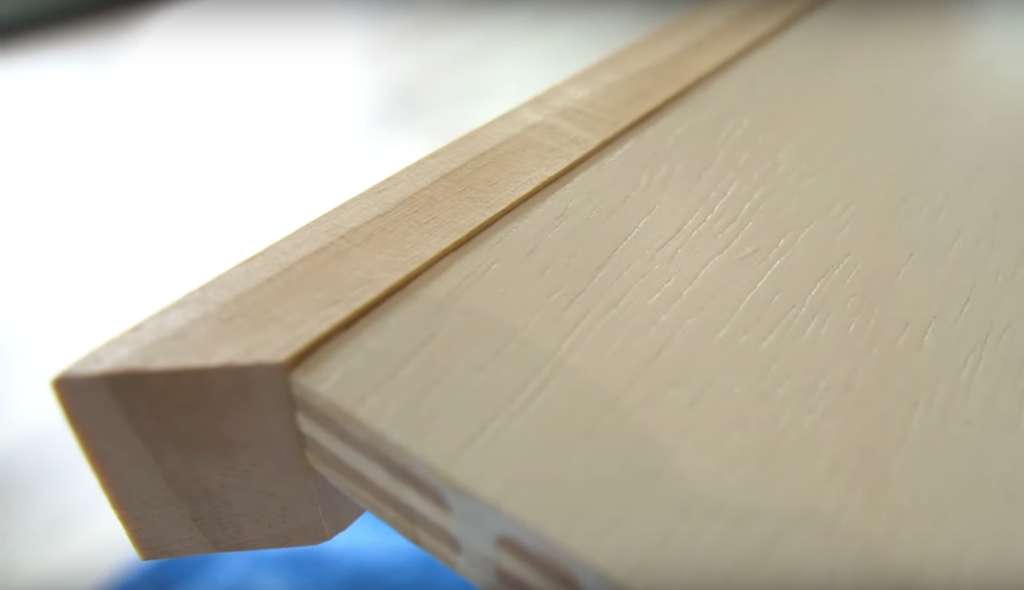
First, I mitered the corners of the 1×2 trim and then secured it to the edge of the pegboard using wood glue and 1 1/2” brad nails.
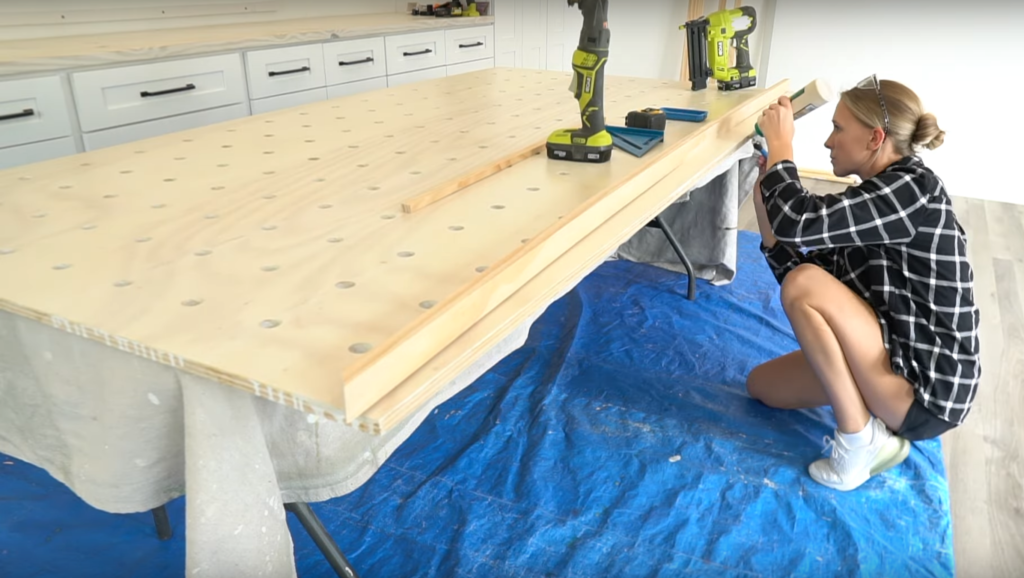
I overhung the trim a tiny bit as you can see here and left about 3/4” on the back side to account for the strips on the wall.
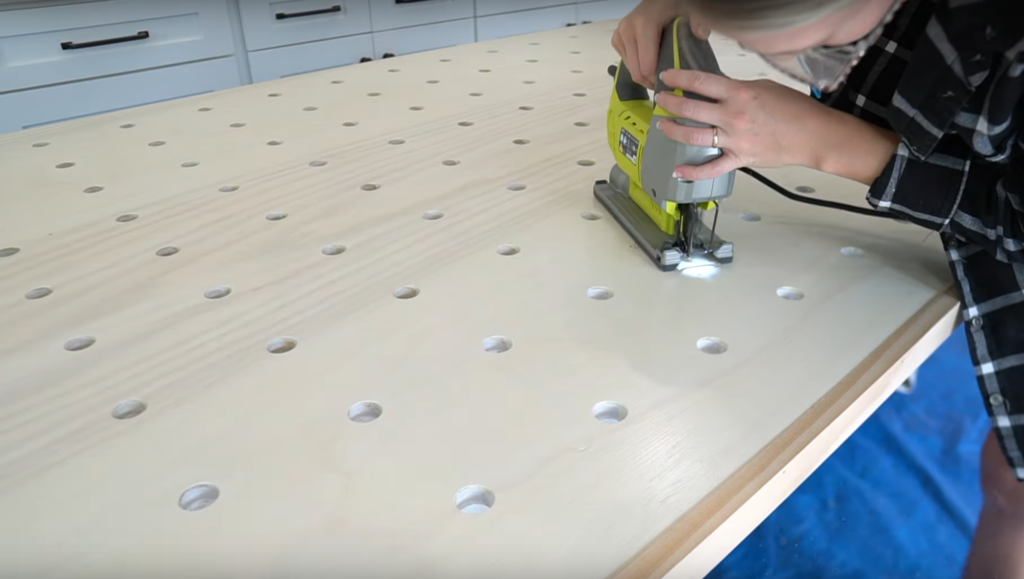
CUT OUTLET
With the bottom trim attached I’m now going cut out the outlet.
I measured and marked out the outlet on the pegboard and then used my jig saw to cut it out.
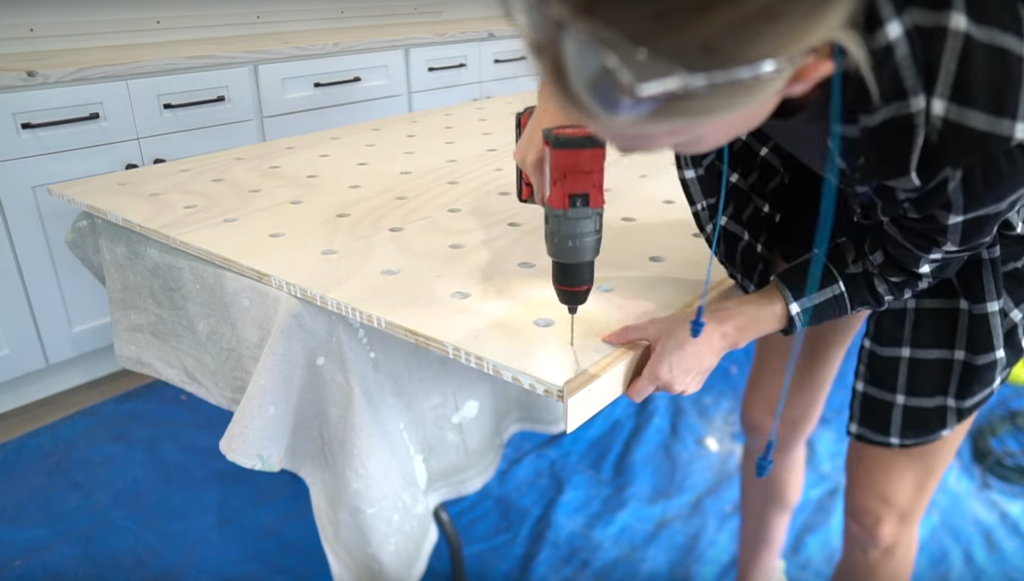
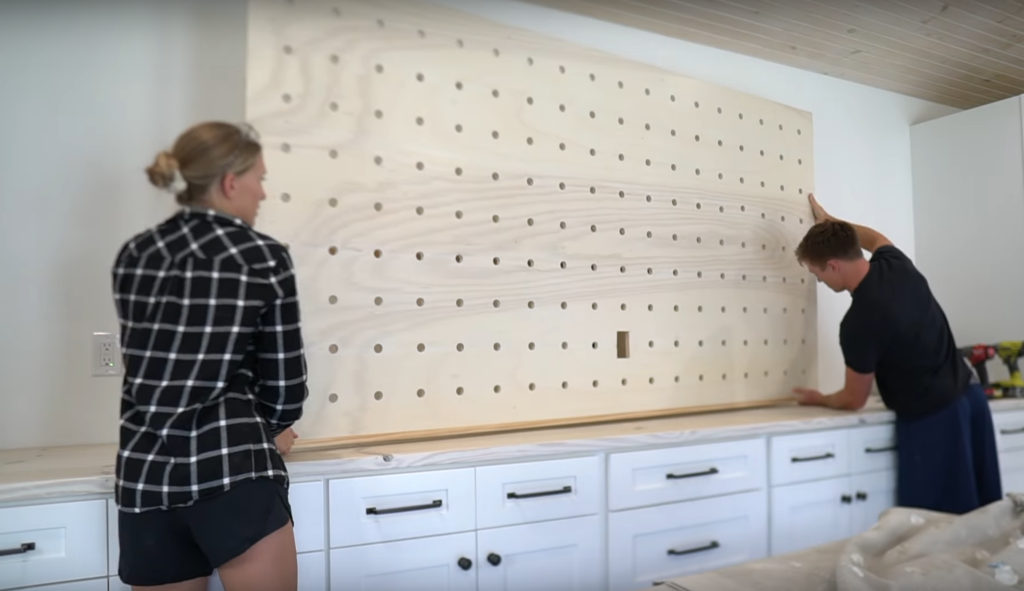
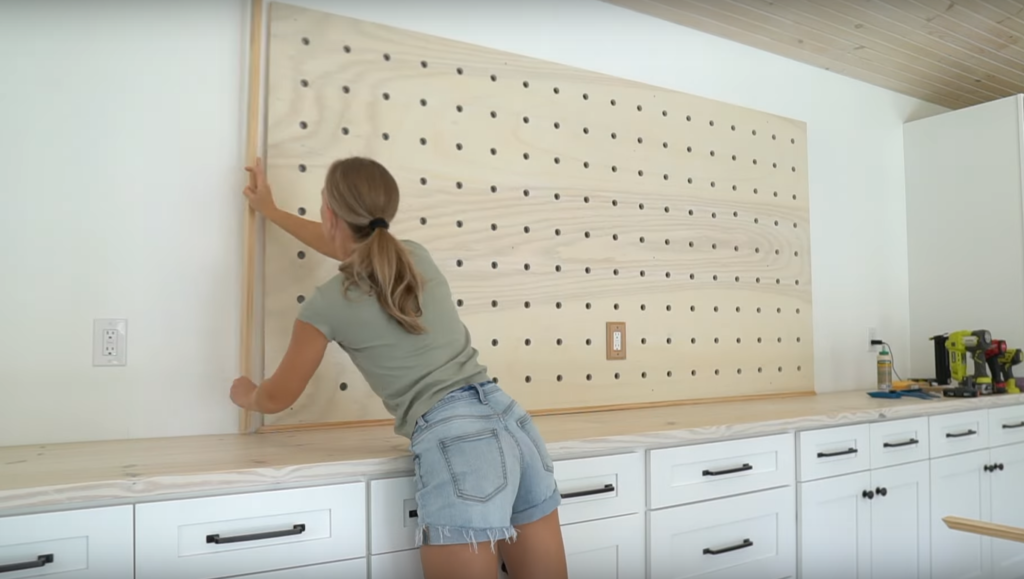
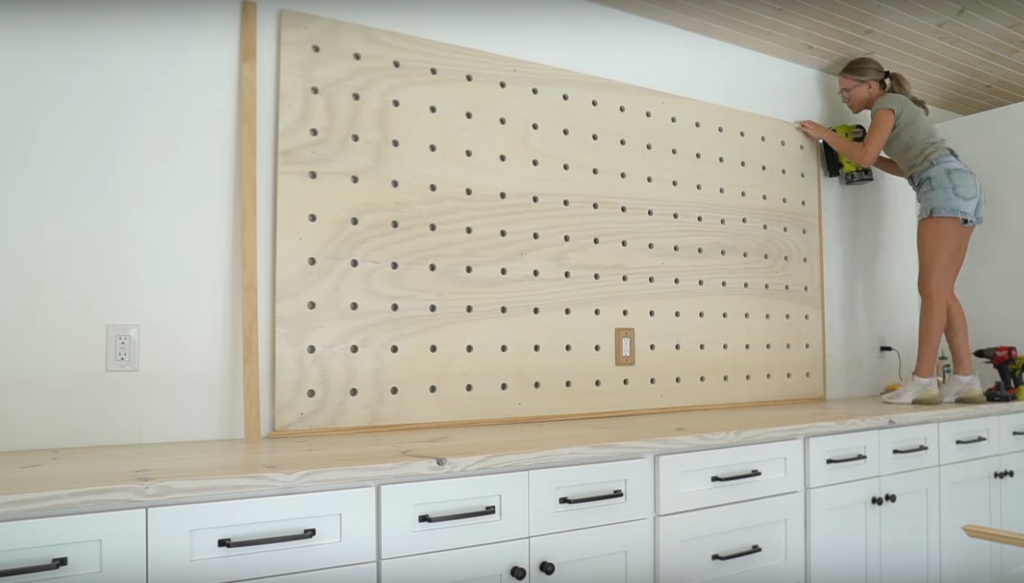
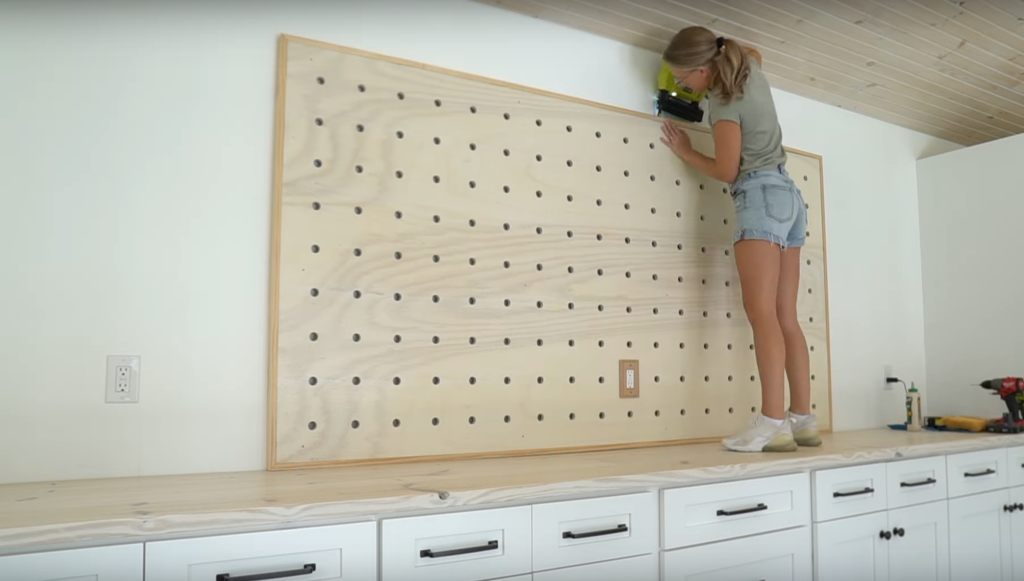
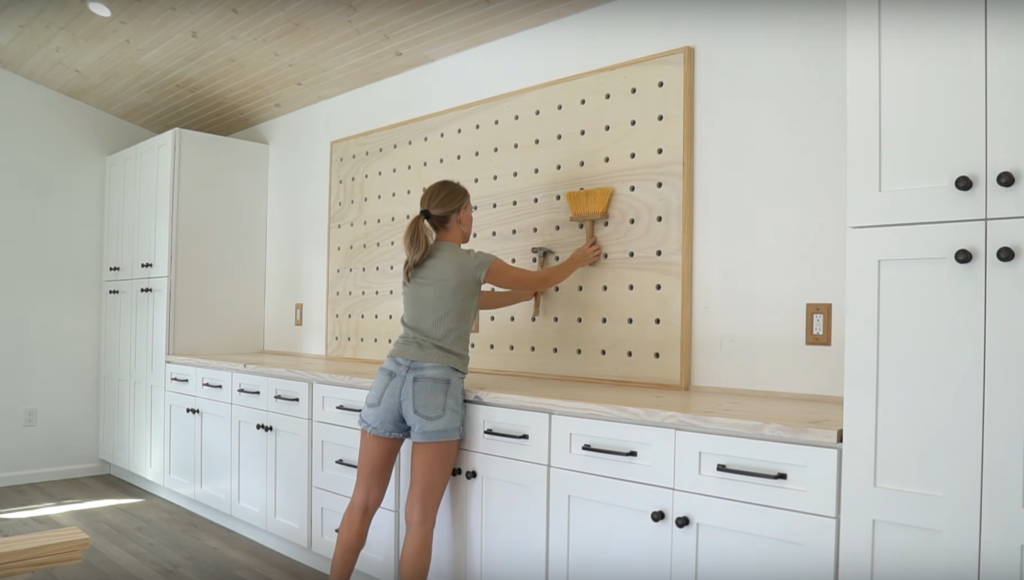
INSTALL PEGBOARD
Before installing the pegboard I pre-drilled holes where the 1×2 strips are. I measured each of the strips from the countertop, transferred that measurement and then pre-drilled the holes.

Now we’re ready to install the pegboard! Devin helped me lift the pegboard in place, I made sure it was centered, and then I secured some small 1 1/2” trim head screws where I had already pre-drilled the holes.

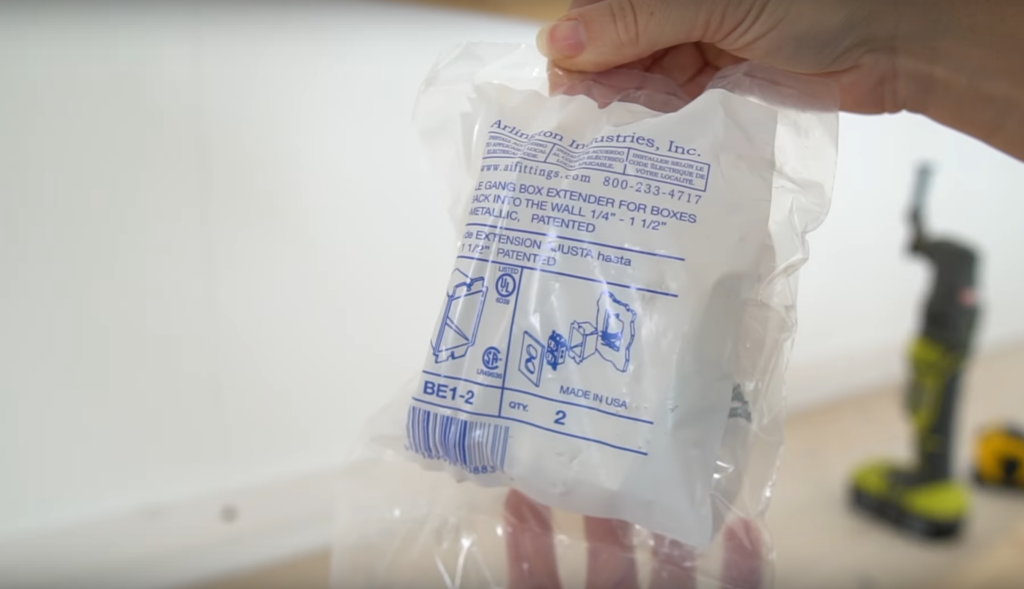
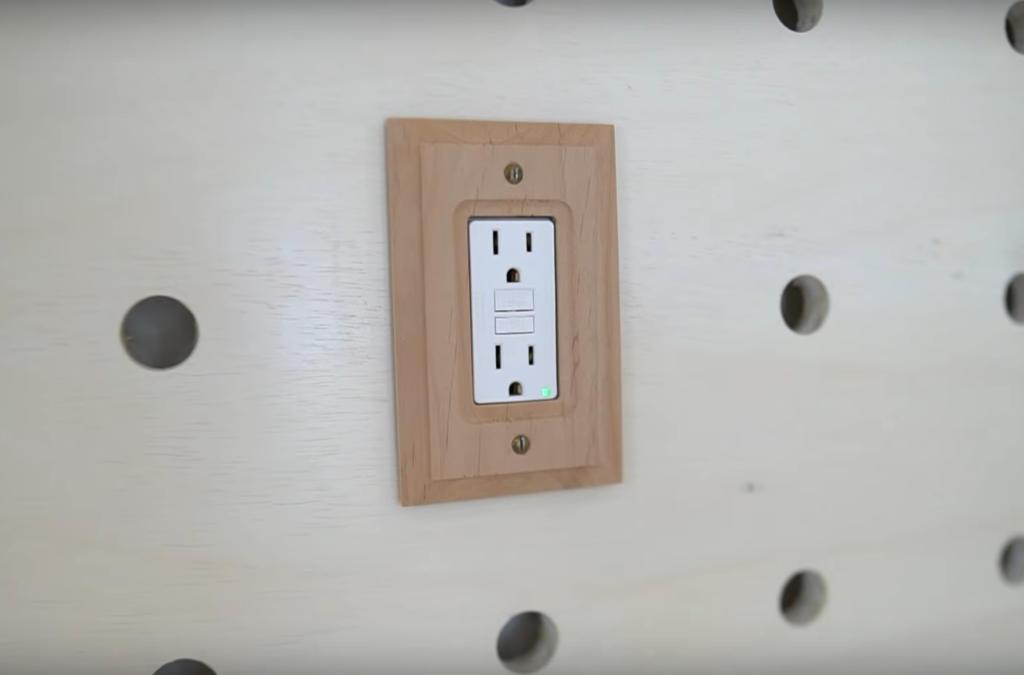
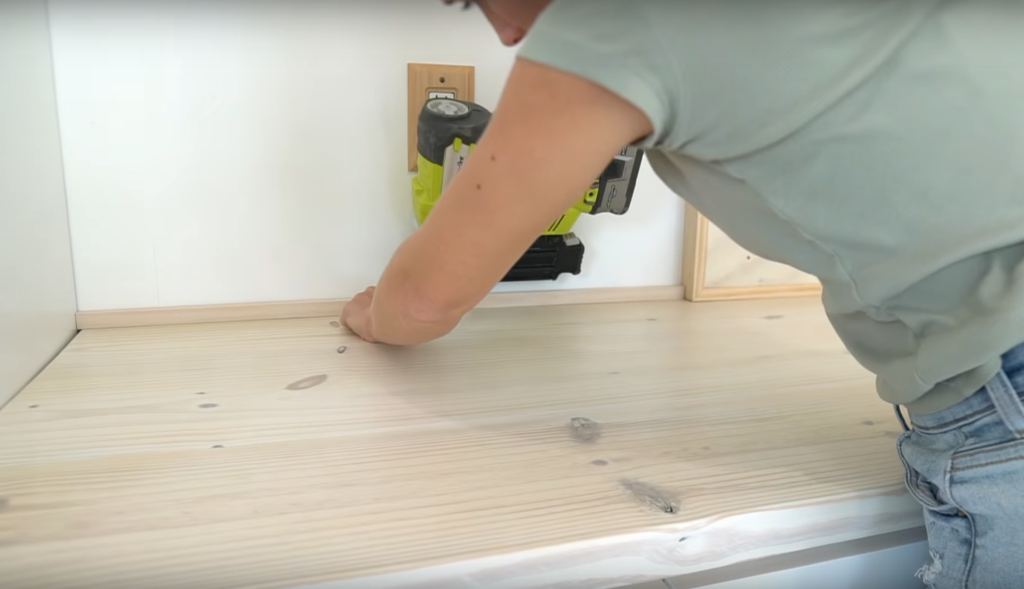
INSTALL OUTLET EXTENDER
The power to this outlet is turned off. I placed my outlet extender over the outlet and then used the long screws provided to secure the outlet. I found these cool wooden outlet covers at home depot – I think they compliment the pegboard really well.


INSTALL BORDER TRIM
Next I measured for the rest of the 1 x 2 trim. I mitered each of the corners of the 1×2 trim and then secured it with wood glue and brad nails.
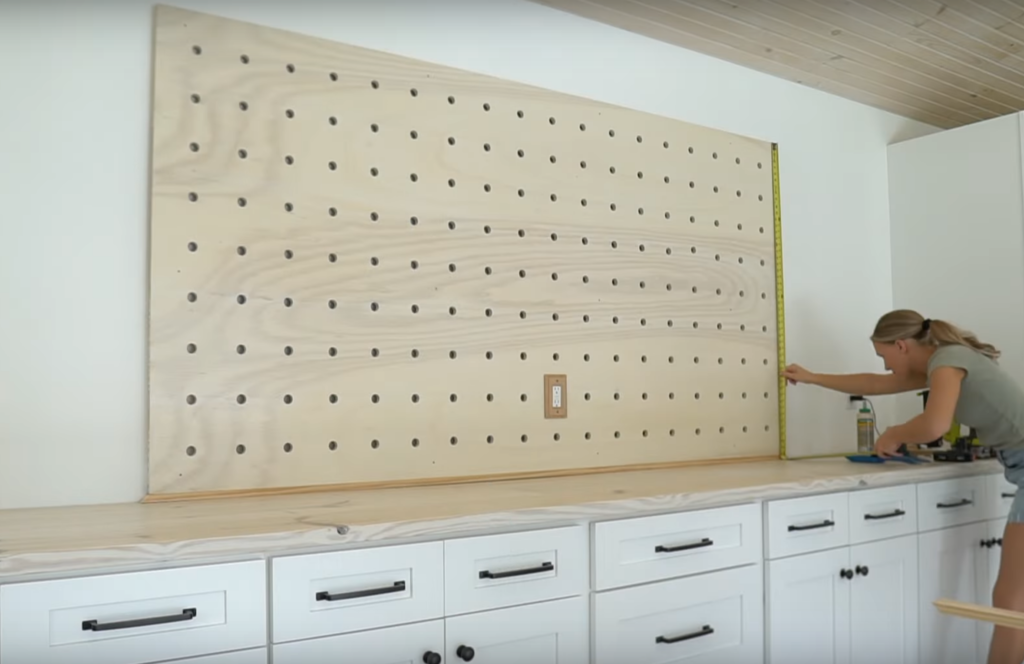
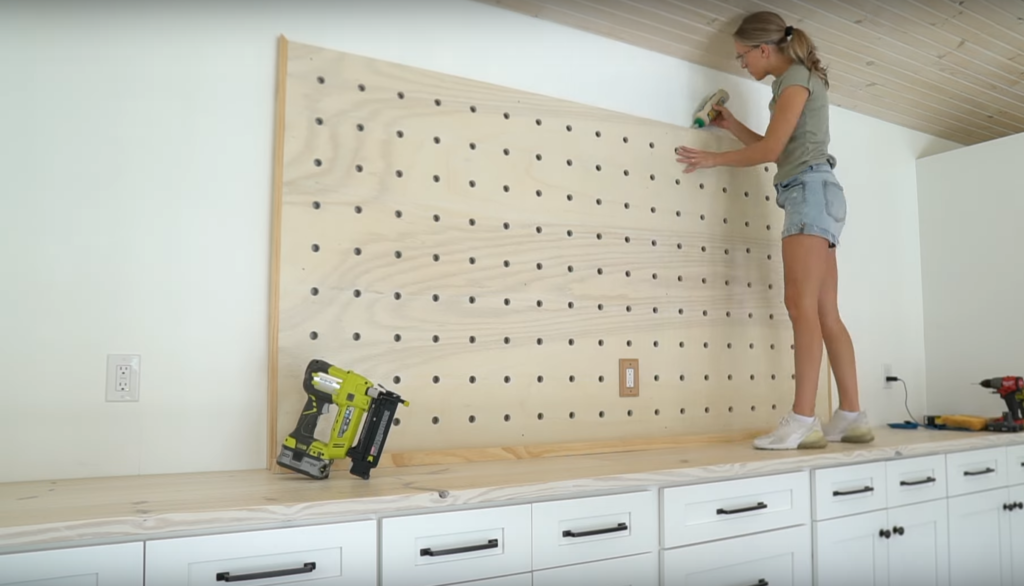
I decided to also add a bit of trim to this back corner of the countertop.
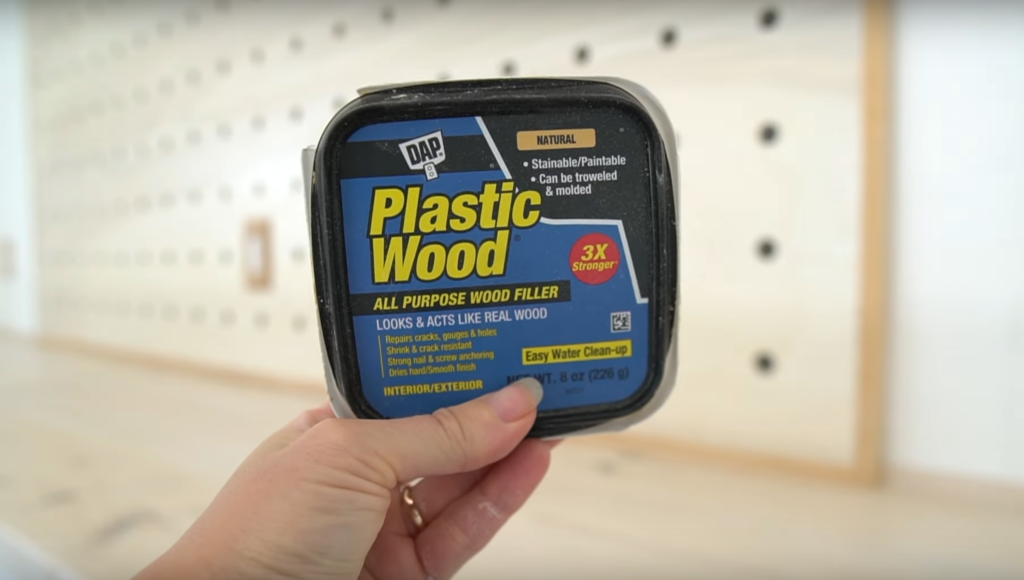
FILL HOLES
I used some wood filler to fill any of the nail holes and holes from the trim head screws. You can barely see the holes from the trim head screws once they’re filled and most of them will be covered with items hanging on the pegboard anyway.
LAYOUT ITEMS
I gathered a bunch of items that I wanted to hang on the pegboard and started to kind of lay things out the way I wanted them.
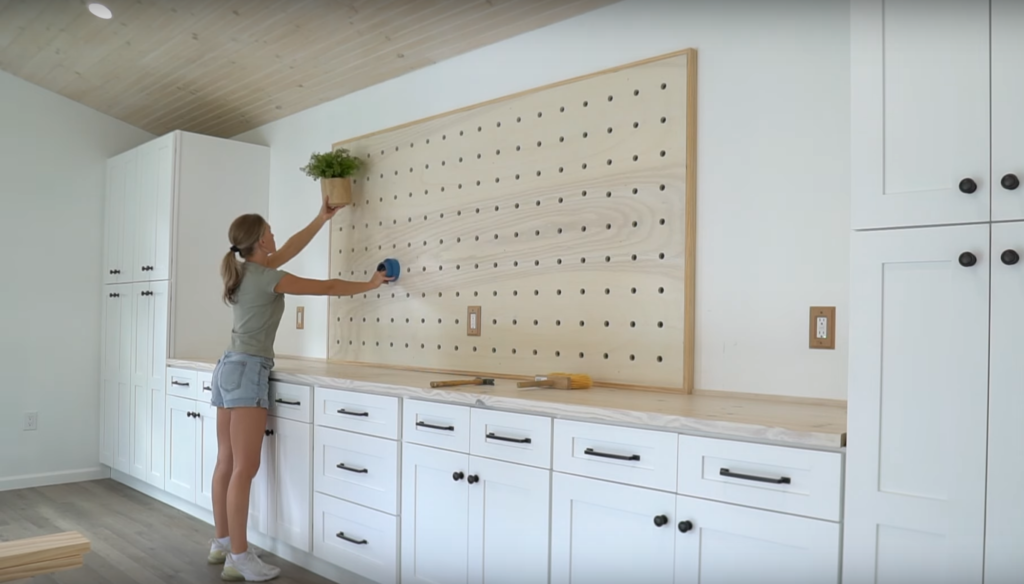
I used 1” dowels for the pegs. These came in 4’ lengths. You may want to size down a tiny bit, these pegs were pretty tough to fit into the holes. I cut the pegs to different lengths depending on what I was hanging. You can leave them all the same length or cut them different – it’s all up to personal preference! I cut my pegs at 4,6, and 8 inches.


After I cut the dowels down I made sure to hand sand any rough edges.
I spent some time hanging all of my items – I tried to keep things I use often on the bottom of the board where it’s easy to reach.
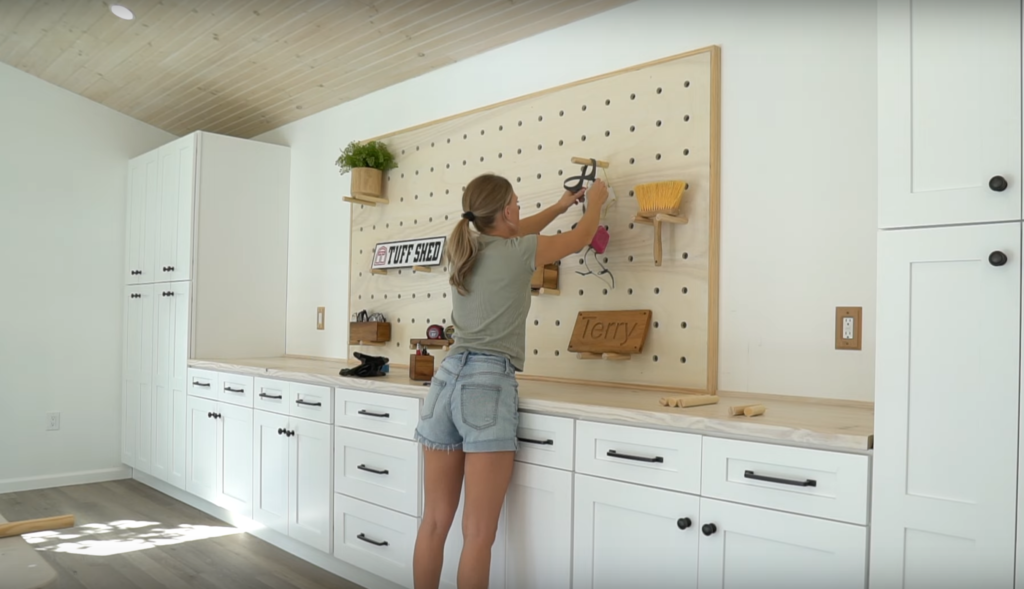
I know I will have more things to add to it later on but that’s what is great about this custom pegboard is that you can customize it any way you want!!
Check out more DIY tutorials HERE!