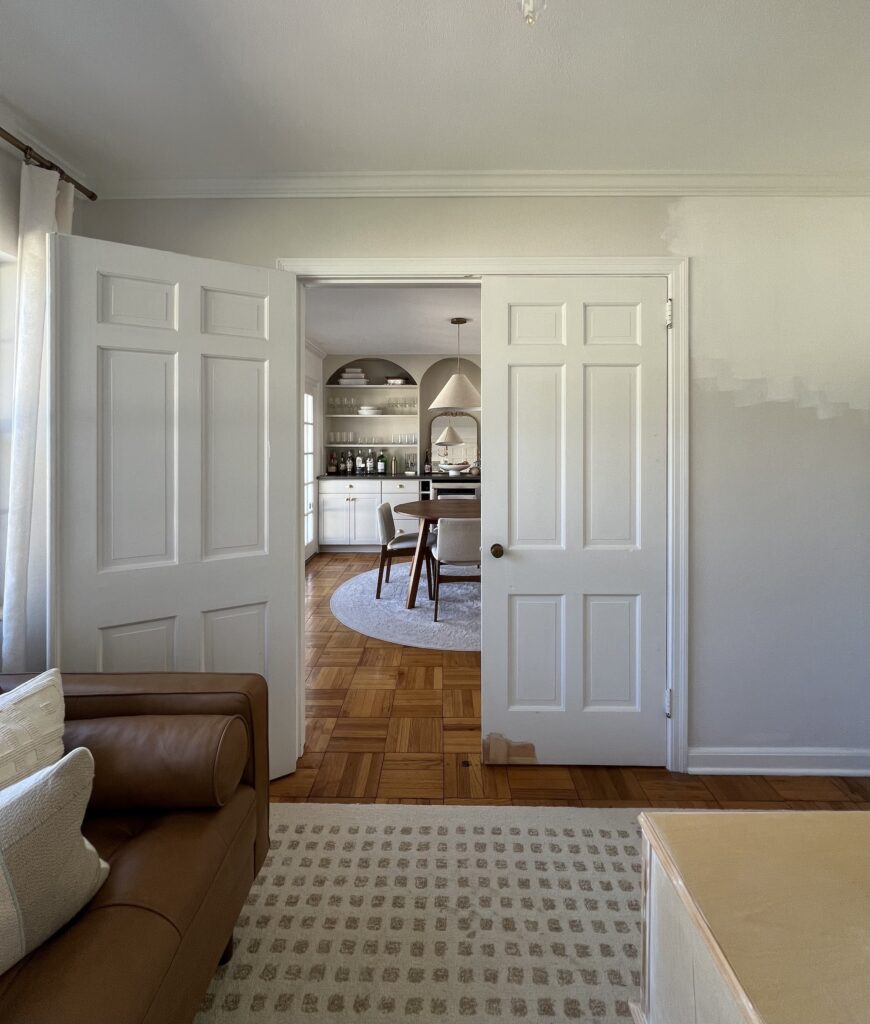
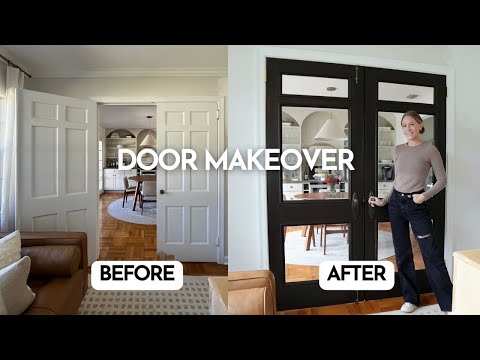
I am in the process of giving our home office a makeover. The first project on the list is to refurbish our French doors! Every single door in our house is white and boring so I thought this would be a great opportunity to add some character.
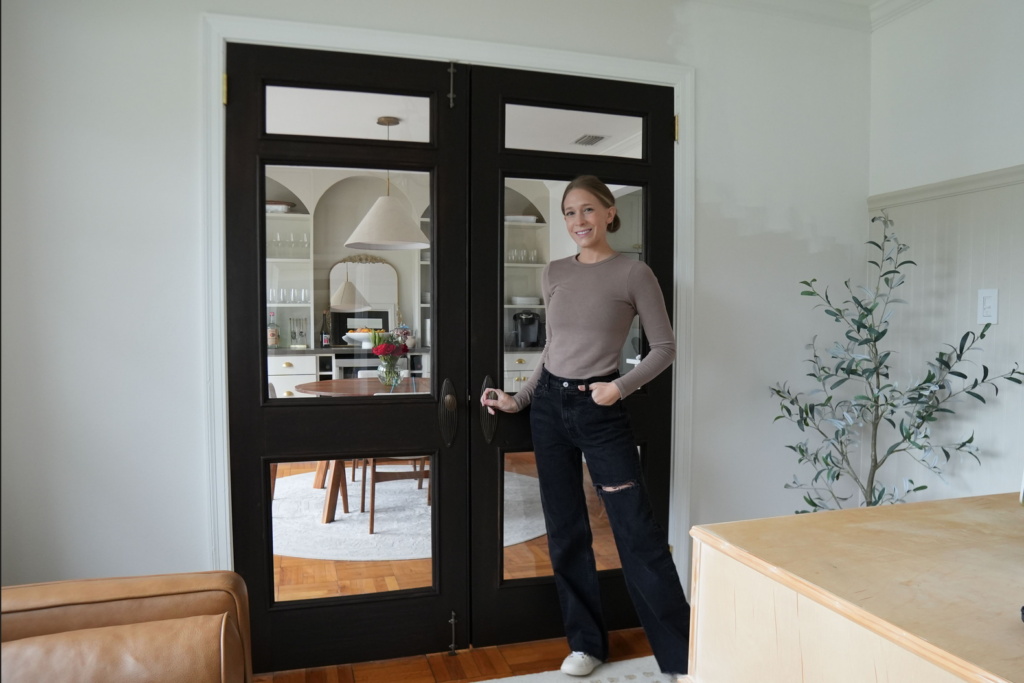
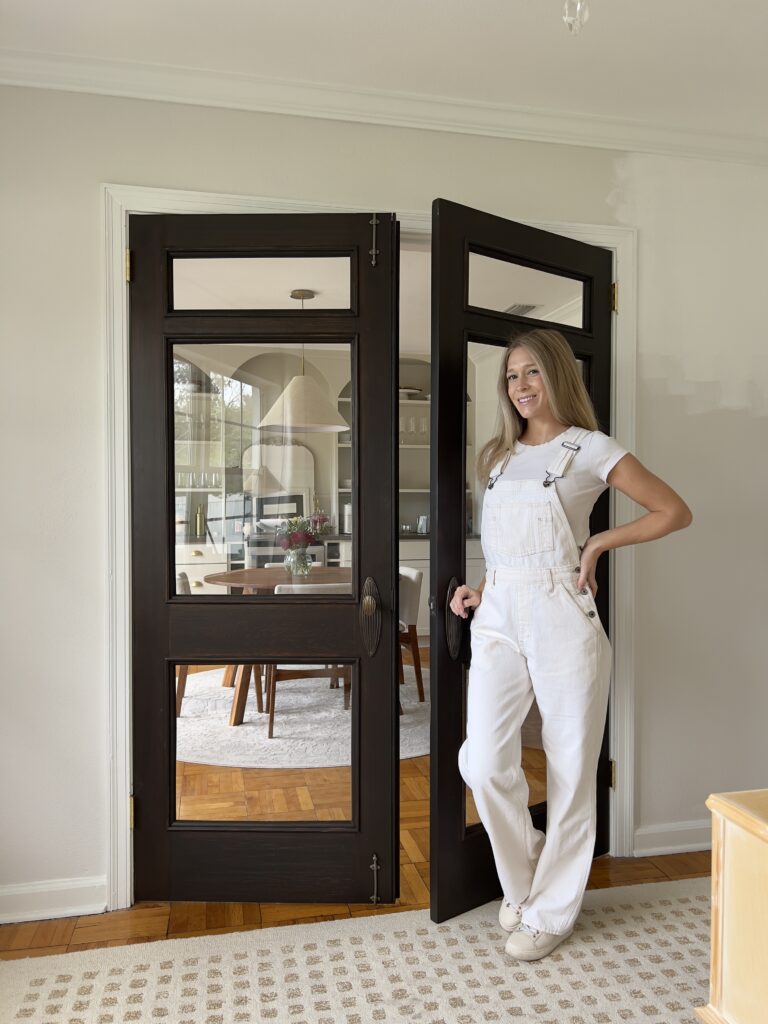
After

Before

TOOLS/MATERIALS
| TOOL | LINK |
| Citristrip | https://bit.ly/4bVeVoz |
| Micro Detail Sander: | https://bit.ly/42O4j6v |
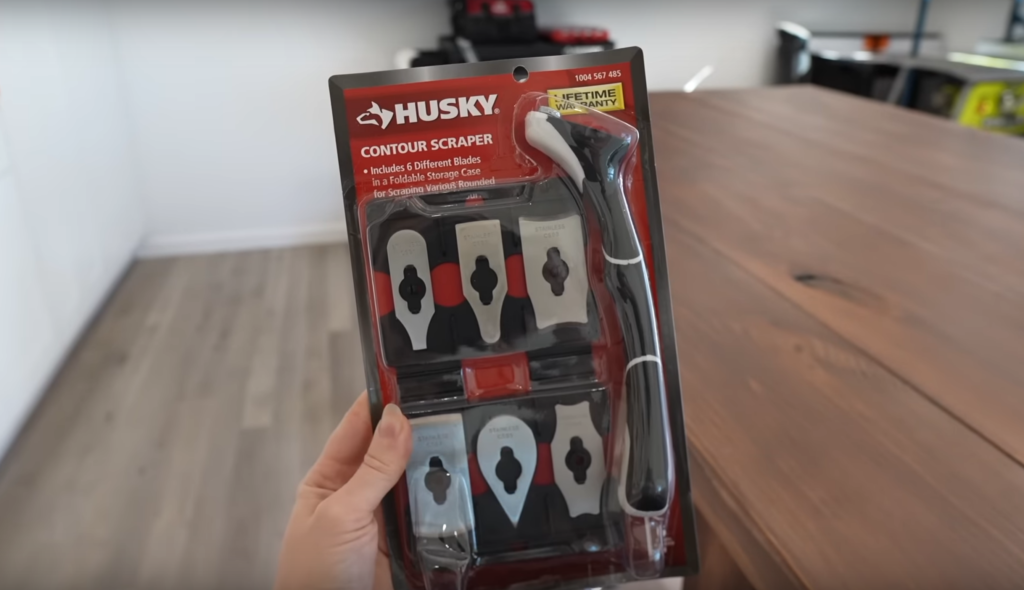
| Contour Scraper | https://amzn.to/3SN5nTJ |
| Putty knife | https://bit.ly/3SMszkO |
| Sandpaper | |
| Detail trim | https://bit.ly/3URwkIi |
| Quarter round trim | https://bit.ly/49lhRsC |
| Wood glue | |
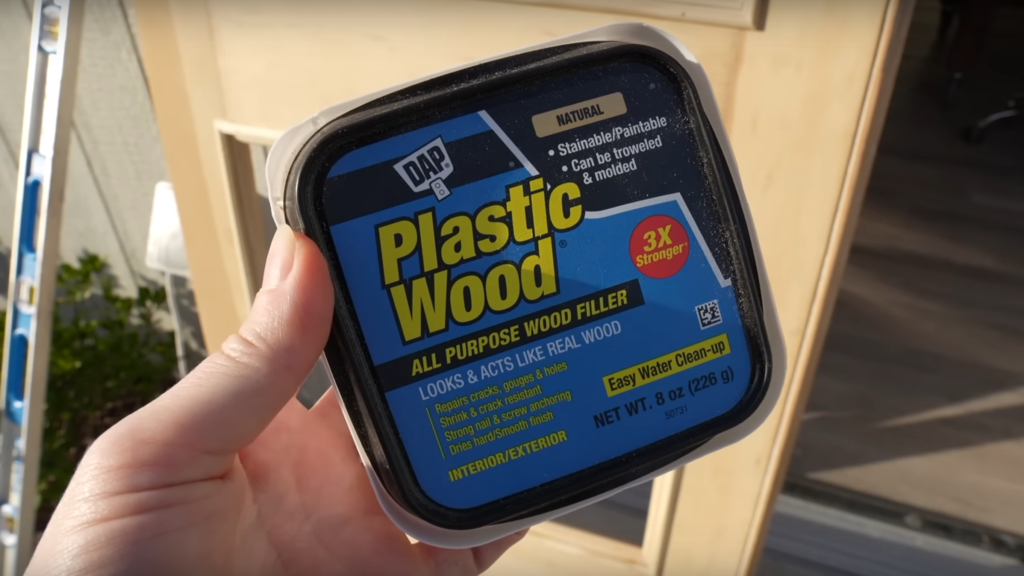
| Wood filler | |
| Kona Gel Stain (varathane) | https://bit.ly/3I0mRXP |
| Polyurethane | |
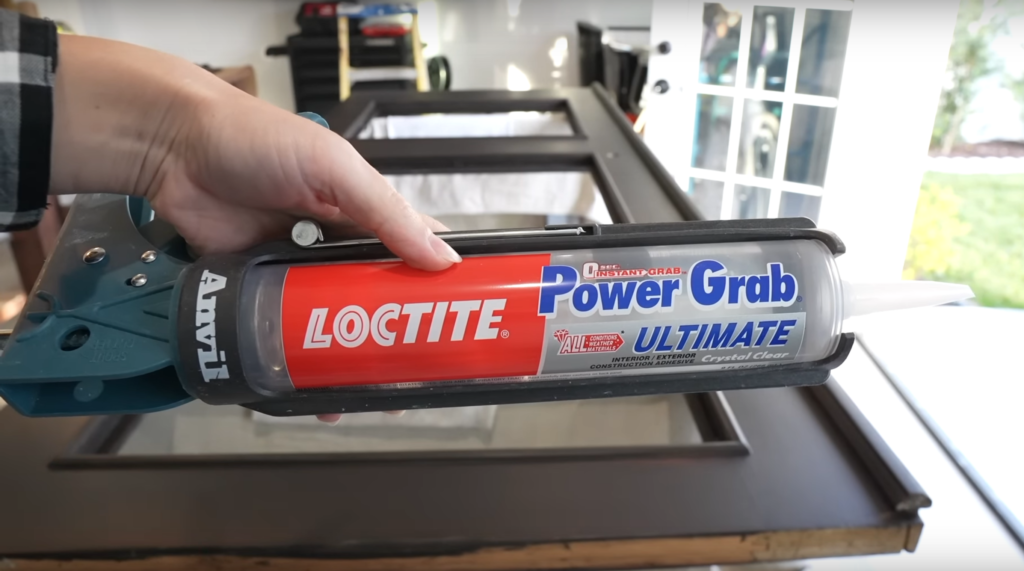
| Loctite power grab ultimate crystal clear | https://bit.ly/49jb6Yt |
| Glass – Lowes | https://bit.ly/3I3vKjb |
| Hinges | https://bit.ly/3T202sZ |
POWER TOOLS
| TOOL | LINK |
| Drill & bit to drill holes for cut-outs | |
| Jig saw | https://bit.ly/3MGSC8C |
| Orbital hand sander | https://bit.ly/3ljgcuS |
| Miter saw | https://bit.ly/3QQ1hZJ |
| Brad nailer | https://bit.ly/3mkyC44 |
| Power washer | https://amzn.to/3UQbqtr |
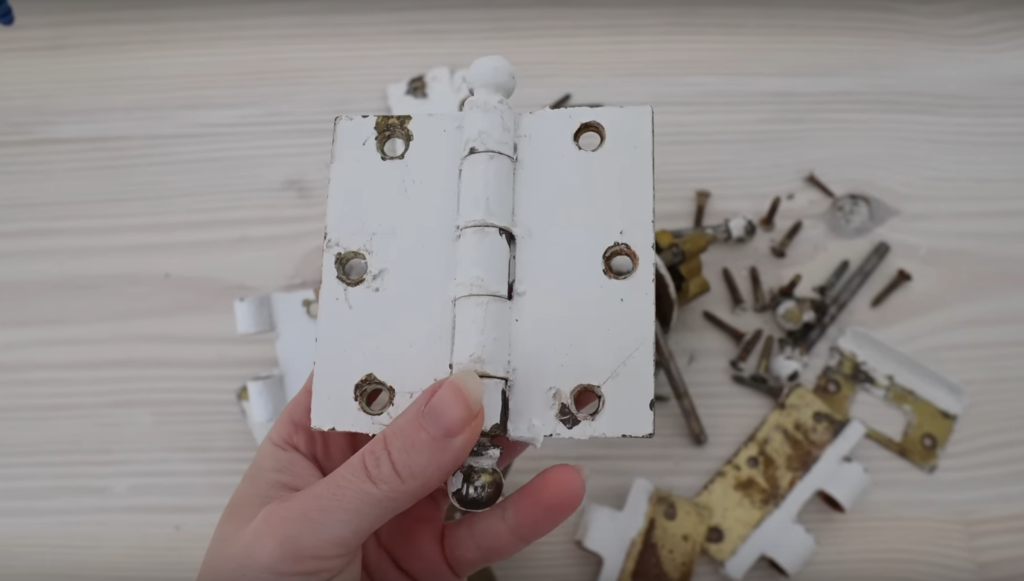
Remove Door & Hardware
First I removed both of the doors and brought them out to the workshop. I also removed all the old hardware that had been painted over a few times. I am going to try and clean up some of this hardware and what I can’t clean I will replace it with new door hardware.

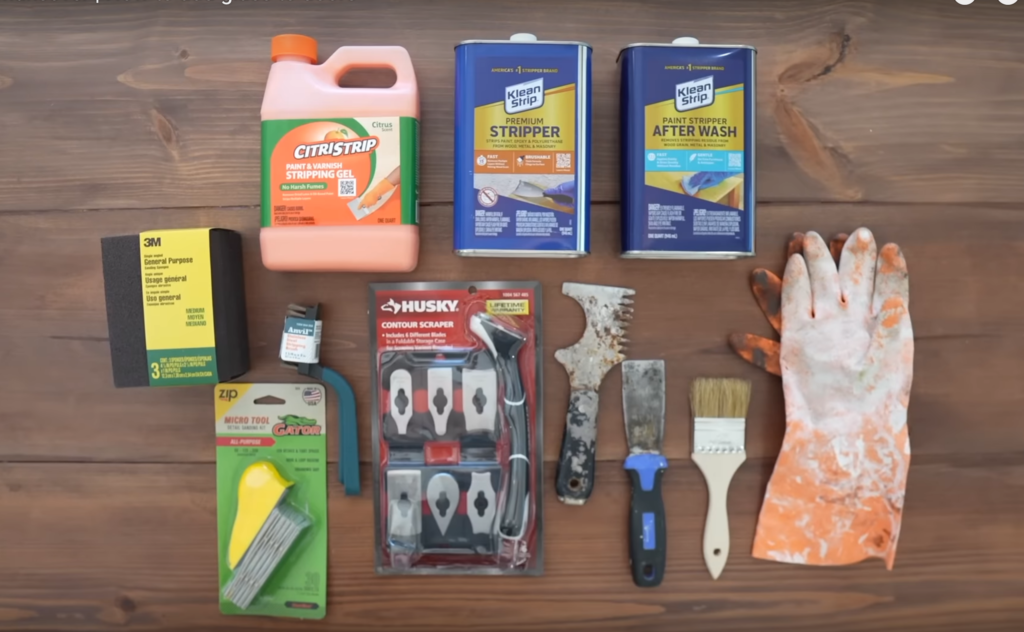
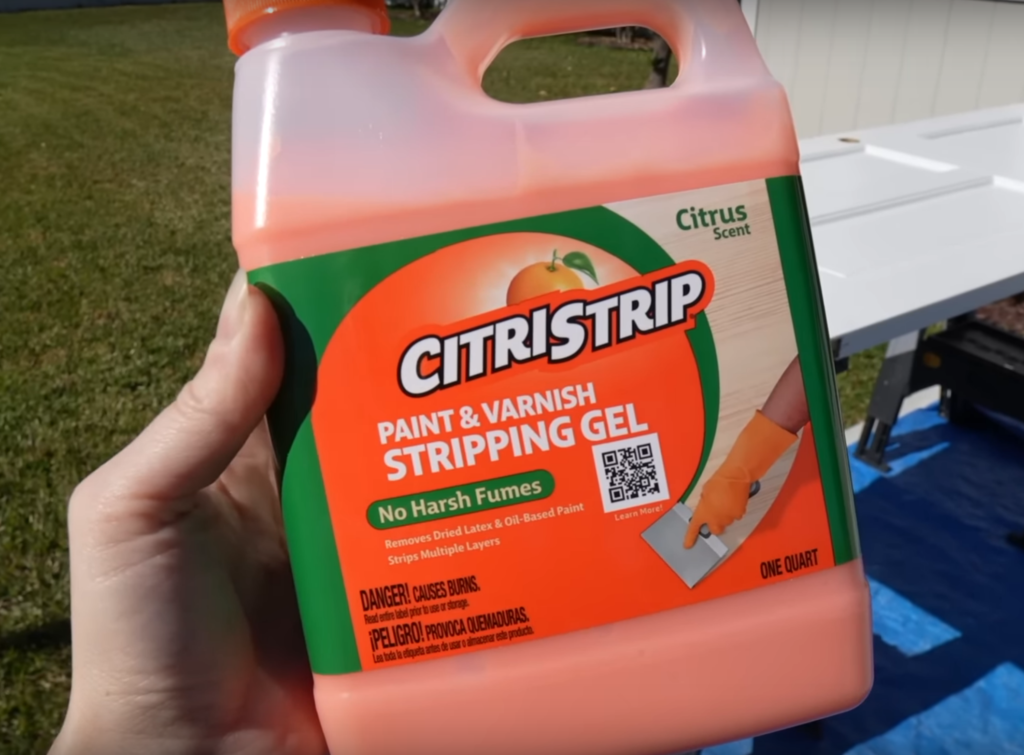
Stripping Tools
Here are the paint-stripping products that I’m going to try out. This is my first paint stripping project so I had to buy a few specialty items.

Apply CitriStrip & Strip Paint
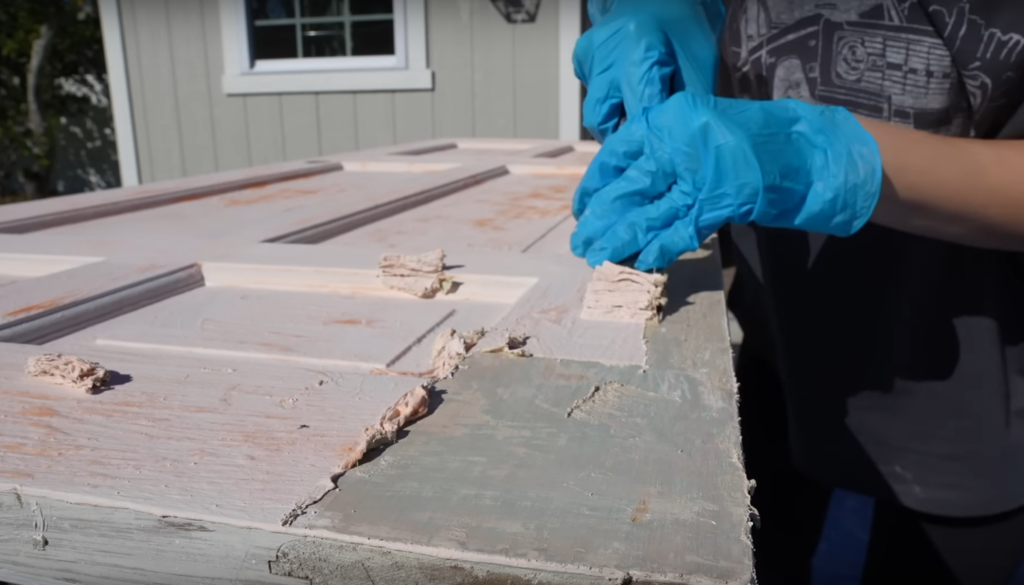
I coated the entire door in citristrip, let it soak in for the recommended time, and then started scraping off the paint little by little.
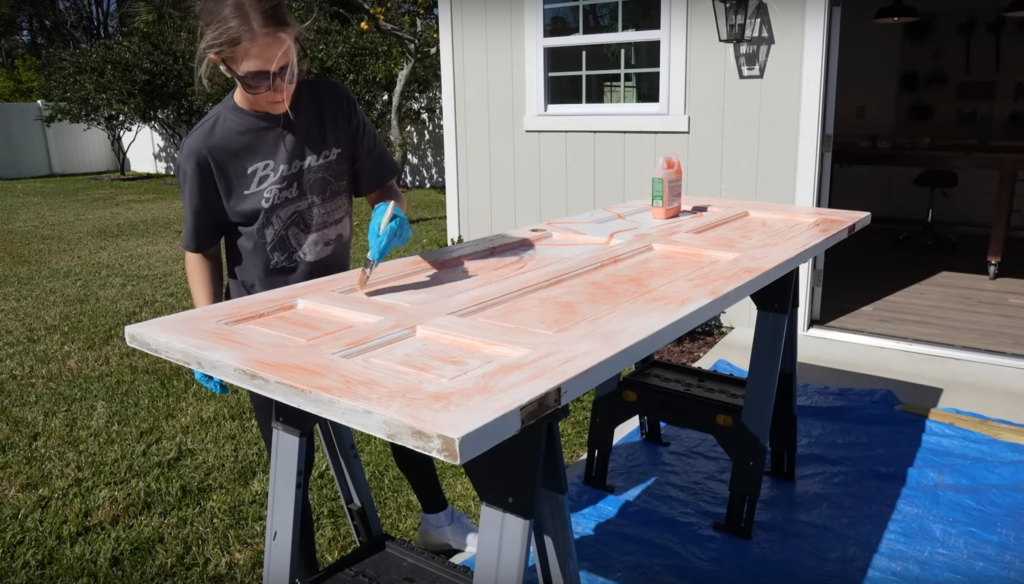
There are at least 3 layers of paint on the doors so I did two rounds of stripper. But the top layer of thick white paint came off super easy.
**I don’t recommend using this out in the sun – the sun will dry up the citristrip pretty fast. Another option is to cover your project with saran wrap while the citristrip sets in allowing it to penetrate the paint better.
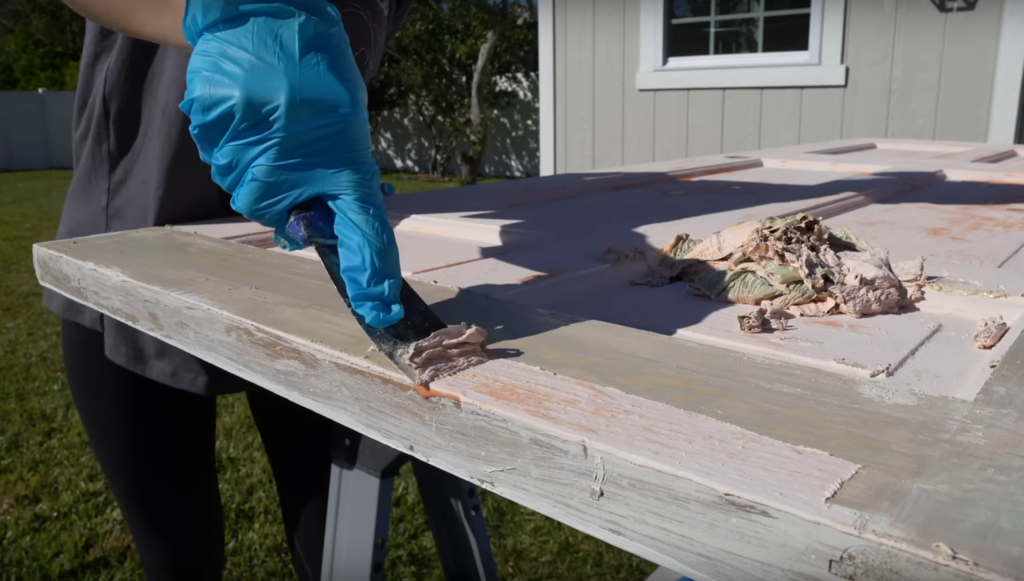
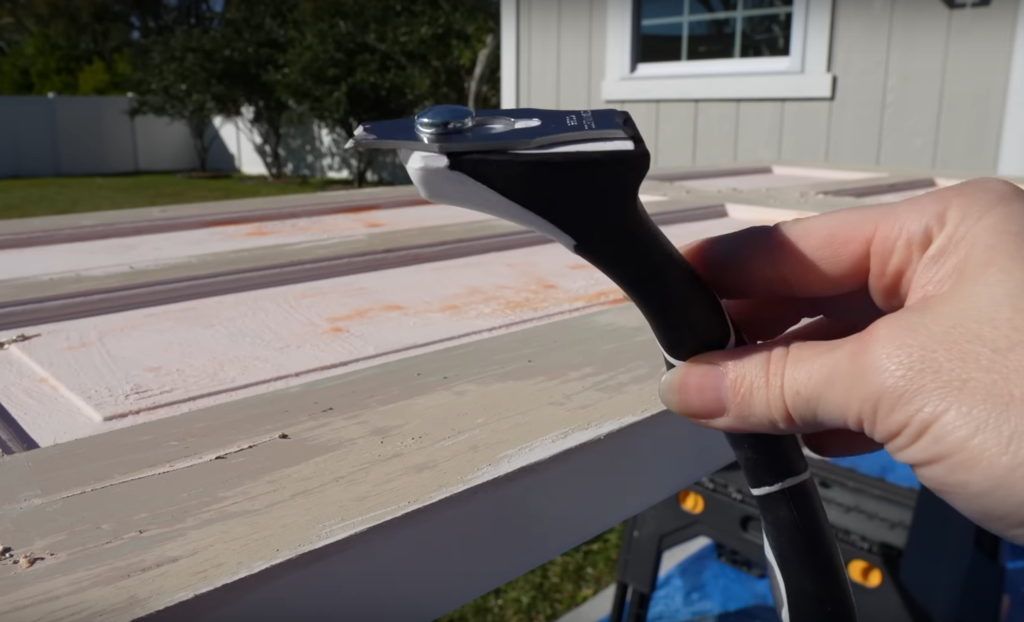
To get into all the small grooves I used this contour scraper that has a ton of different attachments.
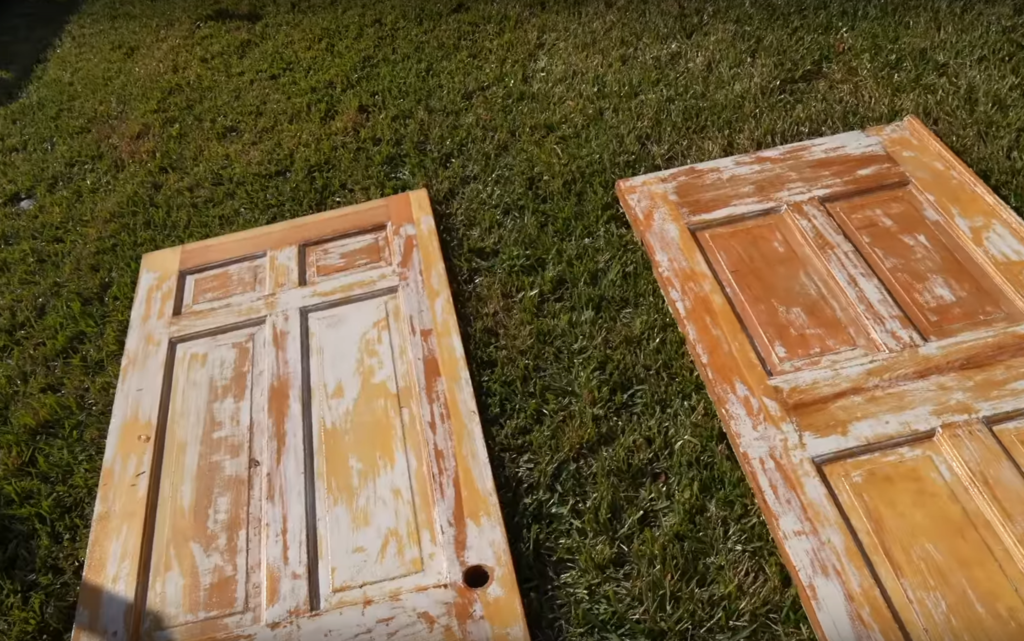
This is what the doors look like after 1 round of citristrip.

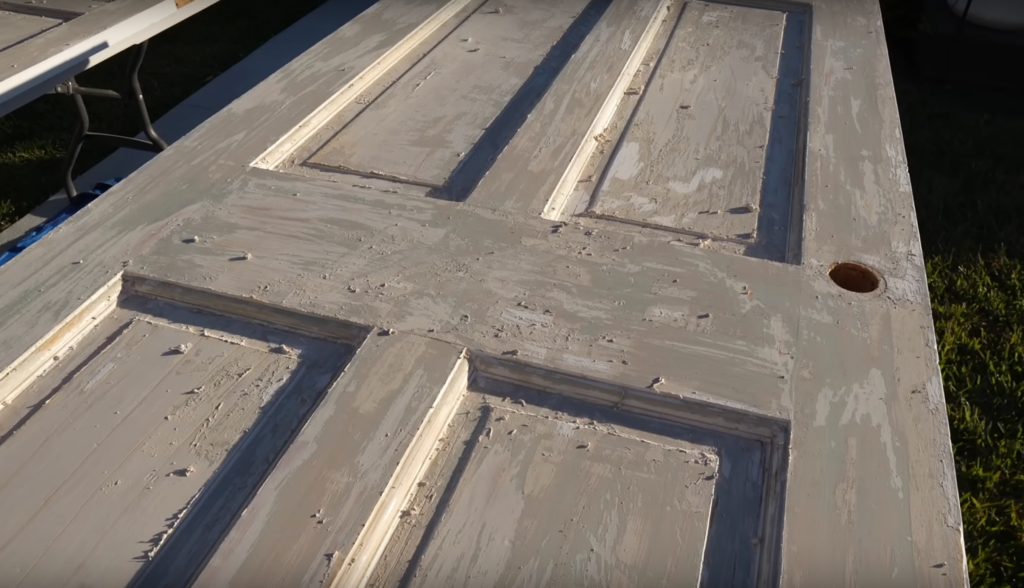
I followed the same steps for the second round of citristrip and we can finally see some wood grain!

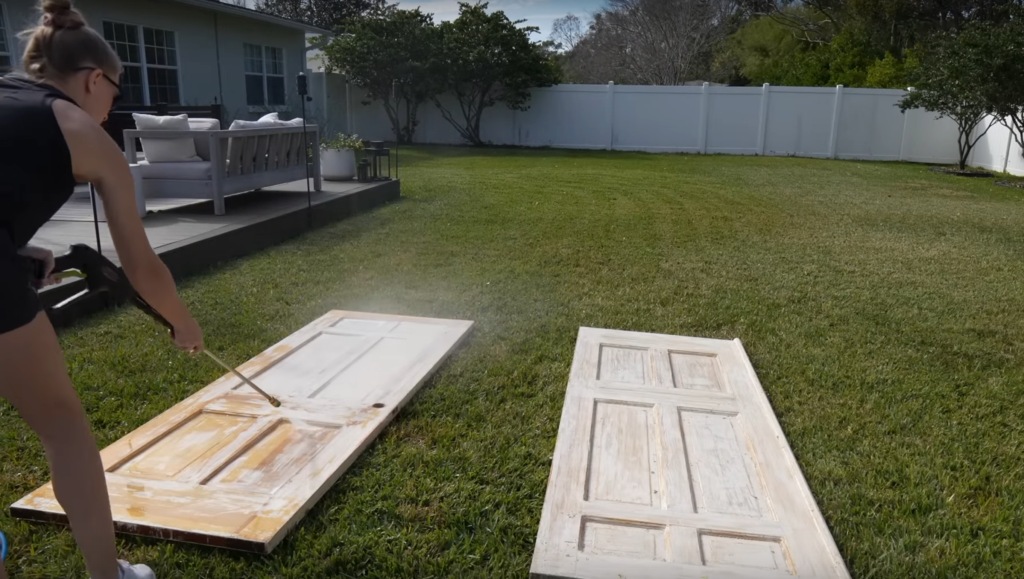
Power Wash (*careful)
We still had quite a bit of paint left over so I got out the pressure washer to remove the rest of the paint and also to get rid of all the gunk from the citristrip.
** I don’t recommend using a pressure washer on a really nice piece of furniture. You risk damaging and warping the wood.
But in this case, it took off so much paint, I didn’t have any damage or warping so this saved a bunch of time. Just be sure not to spray too close to the surface.
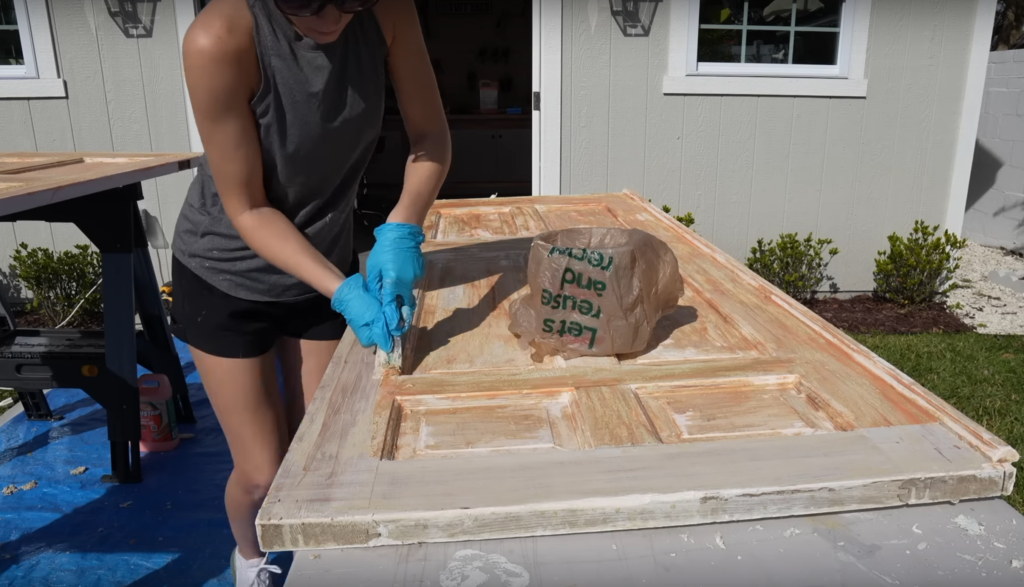
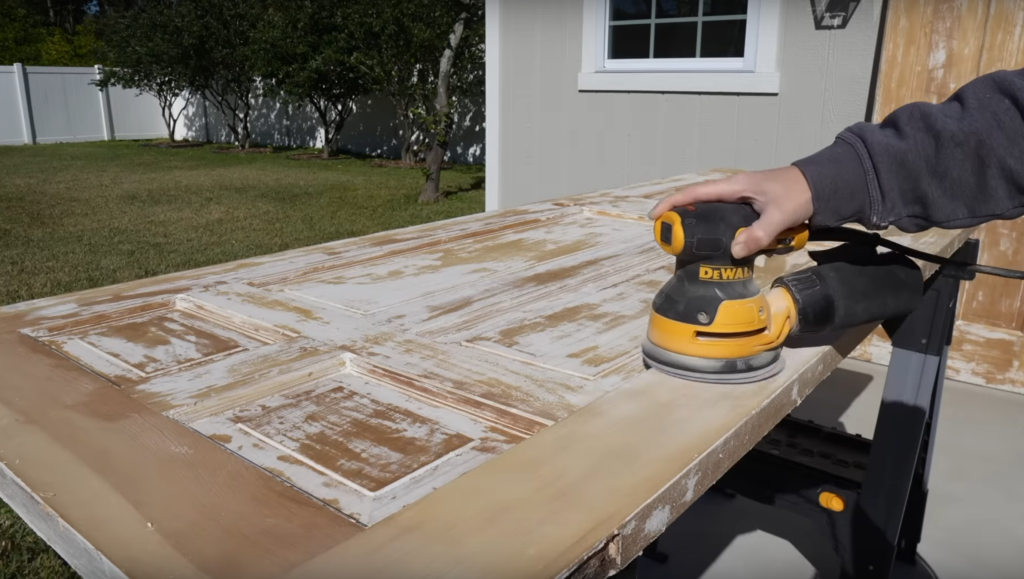
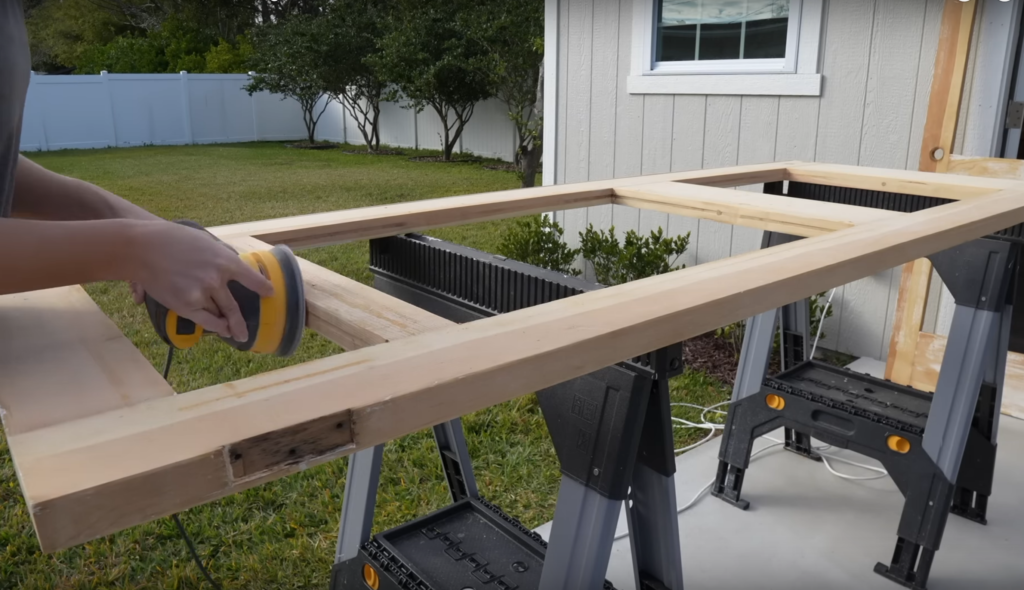
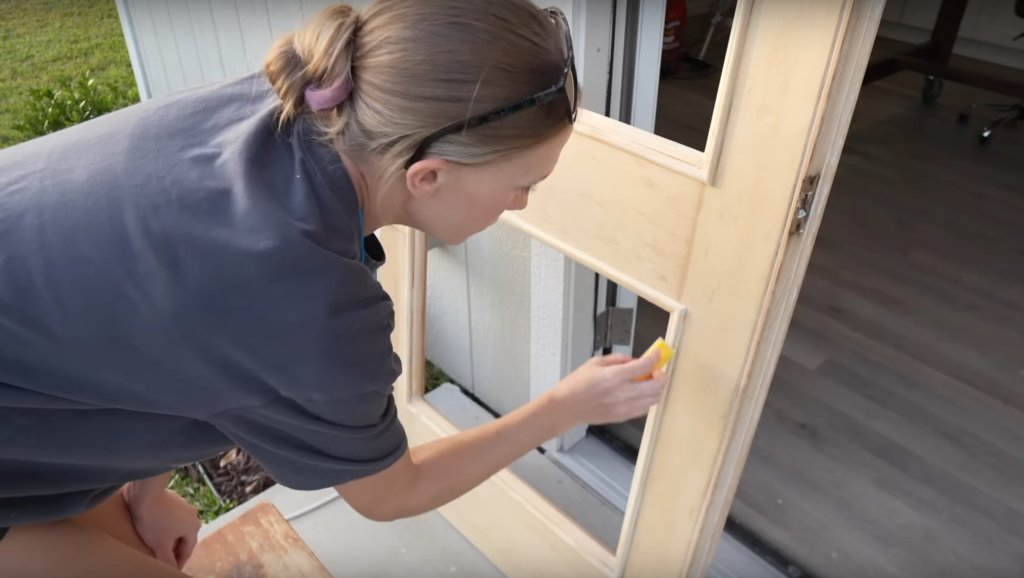
Sand Doors
Next up is sanding. I used my orbital hand sander with 80 grit first on all the flat surfaces.

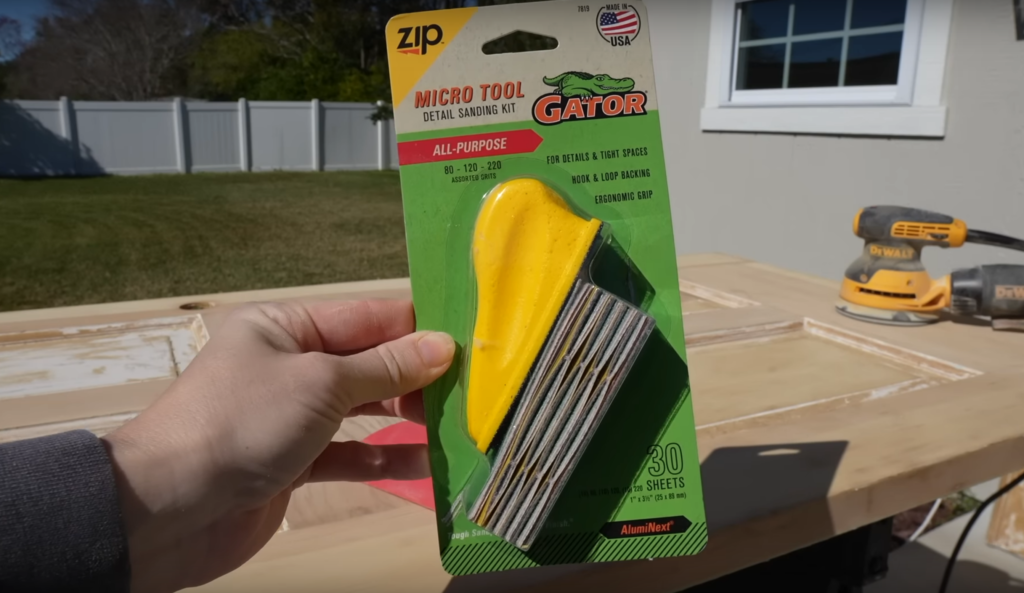
Then I came in with this little detail sanding kit to get in all the small grooves and edges.

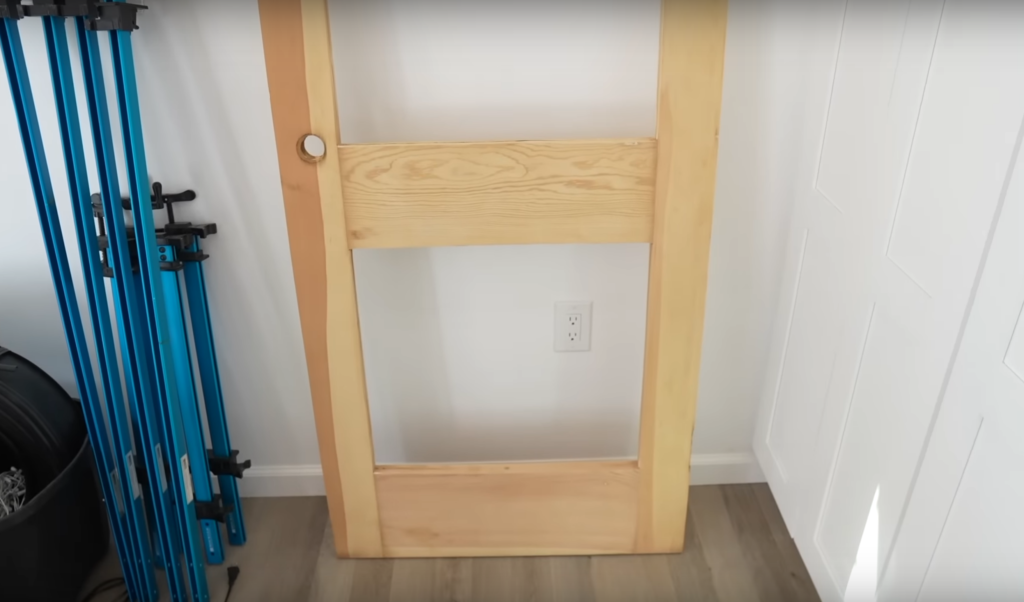
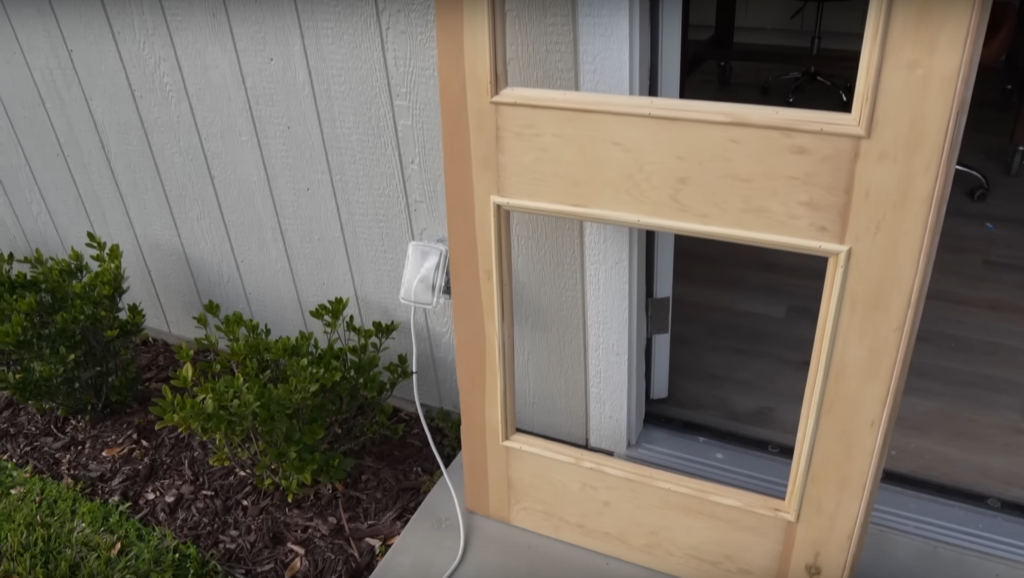
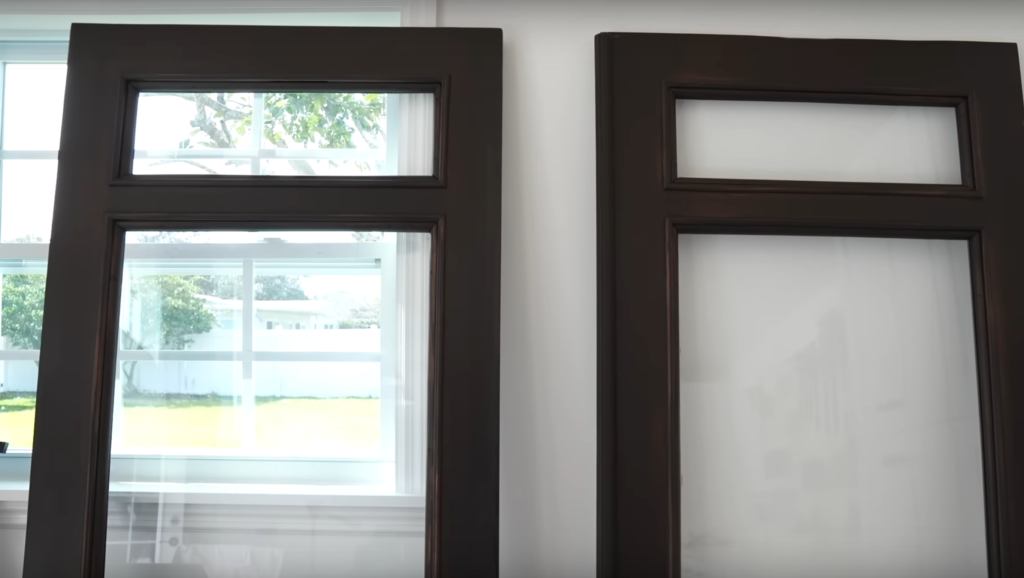
Cut out Panels
I was only going to cut out the top four recessed panels but then I decided last minute to cut out all the panels. Which means I wasted a ton of time trying to strip the paint in all those little grooves of the recessed panels 😅 but that’s okay – I think adding more glass will look better.
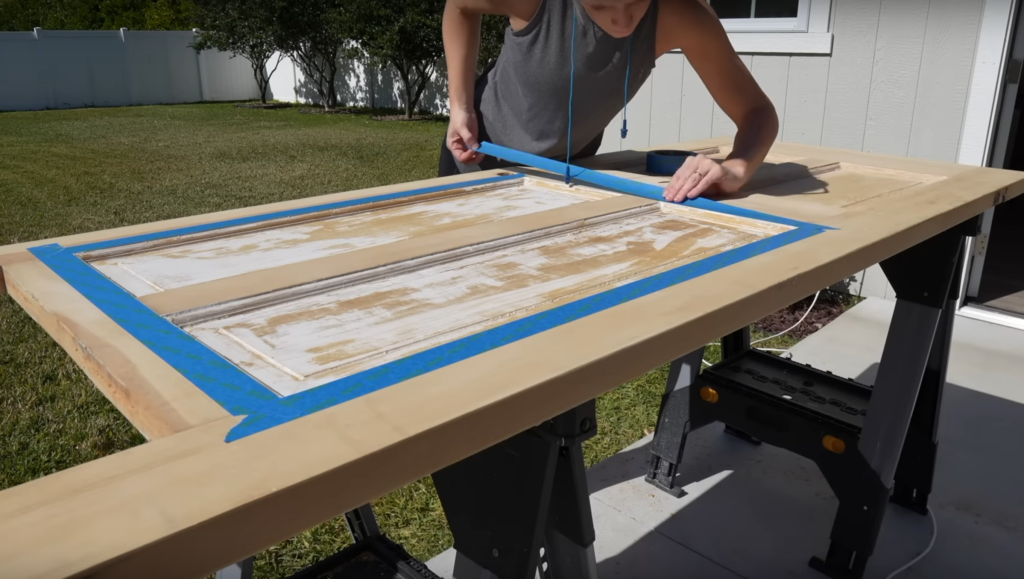
I used tape to outline the panels and to prevent the wood from splintering.
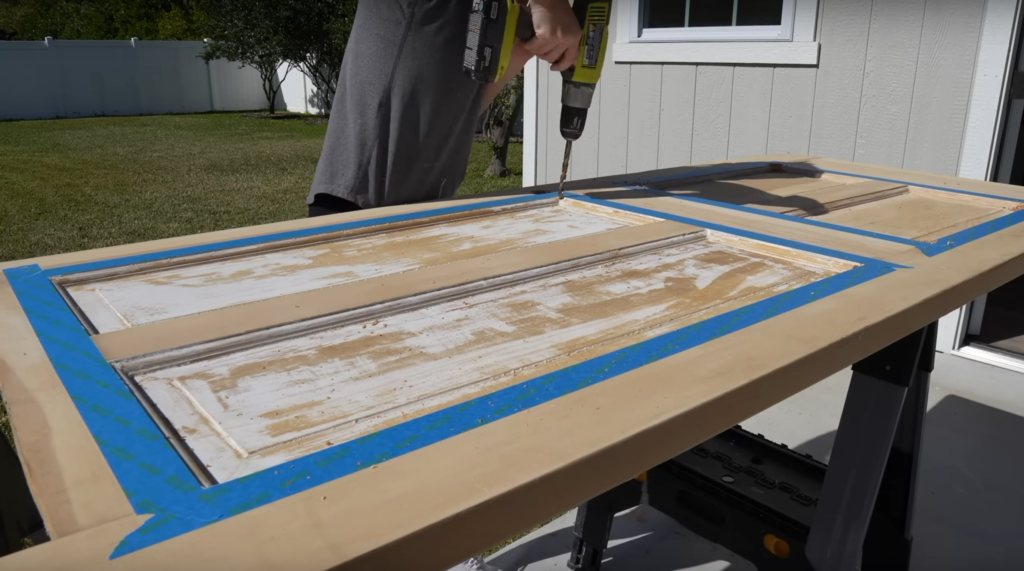
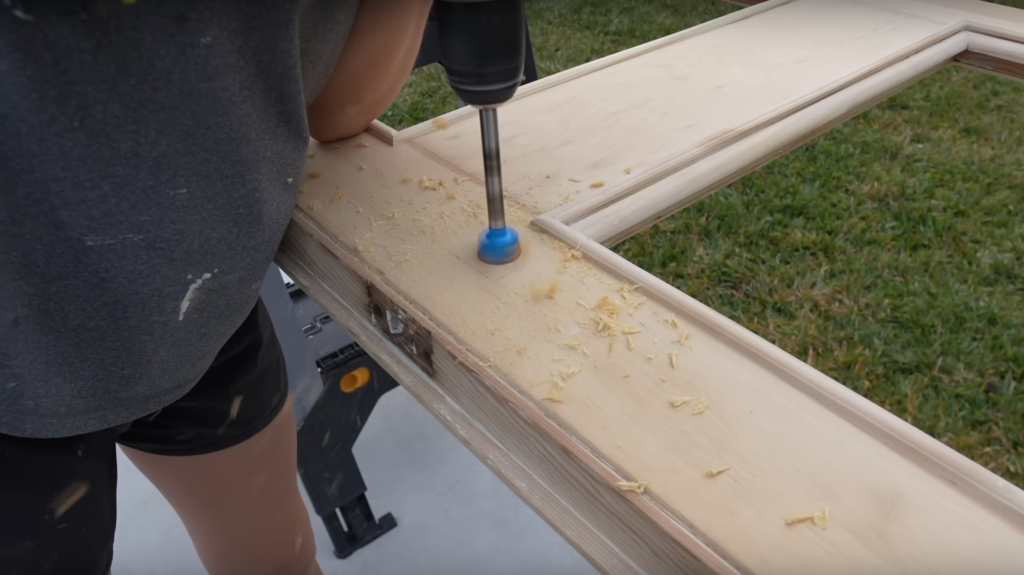
I used my drill to drill holes in each of the corners of the panels so that I could fit my jigsaw in there.

Then I took my jigsaw and cut out all the panels

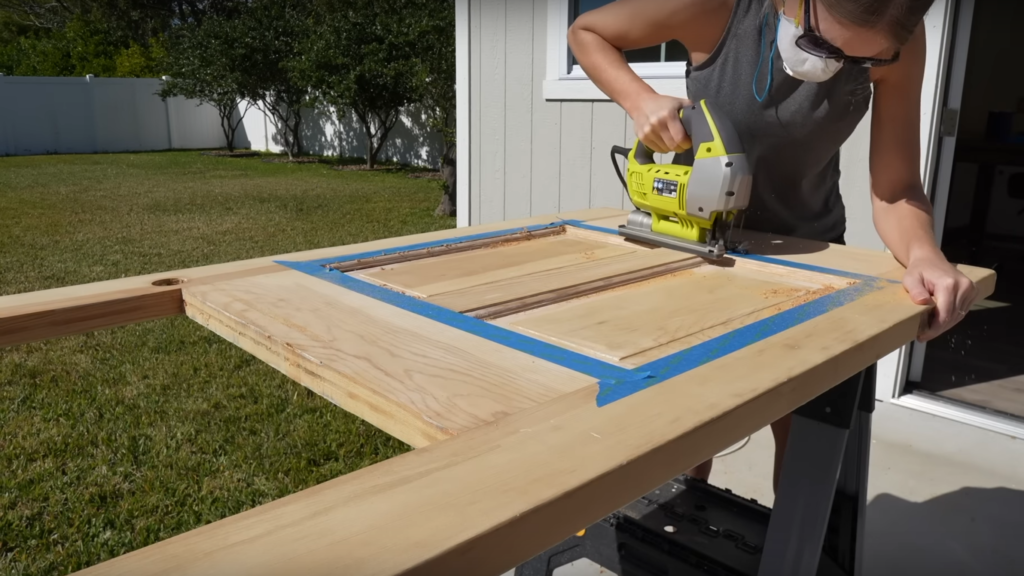
My cuts weren’t perfect but I will be covering them with trim which will make sense in a bit.
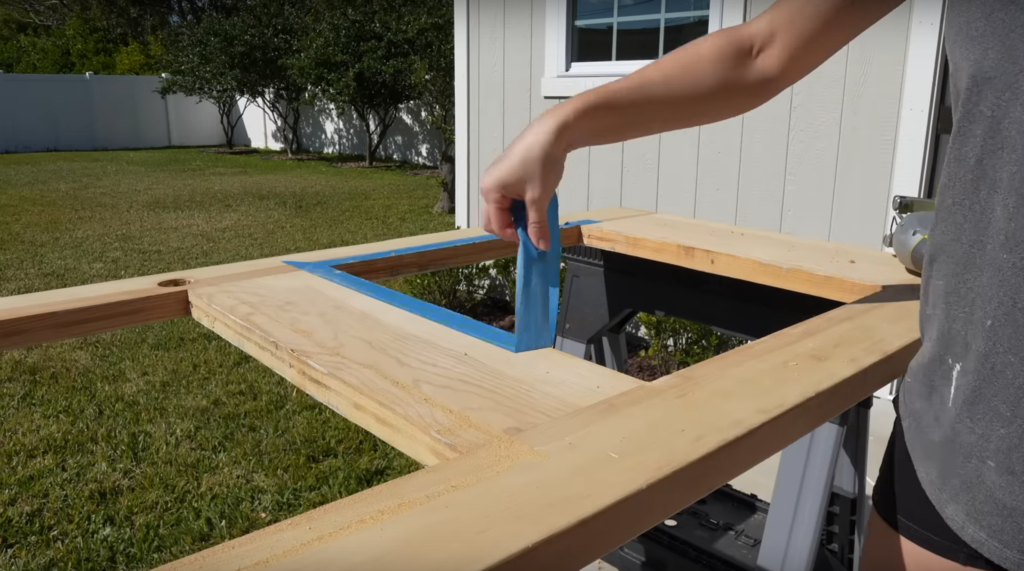
Sand Inside Cut Outs
After all the cuts were made I sanded the inside of all the panels.
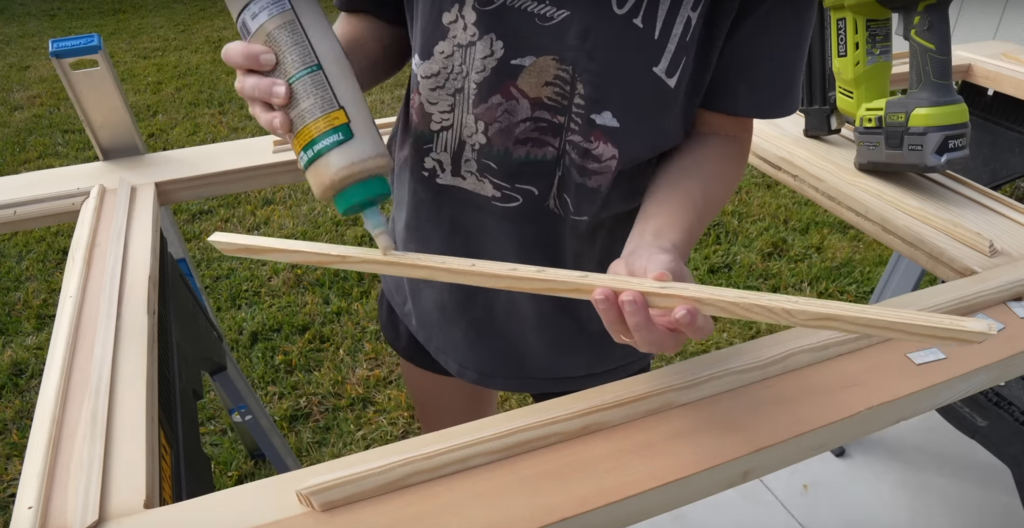
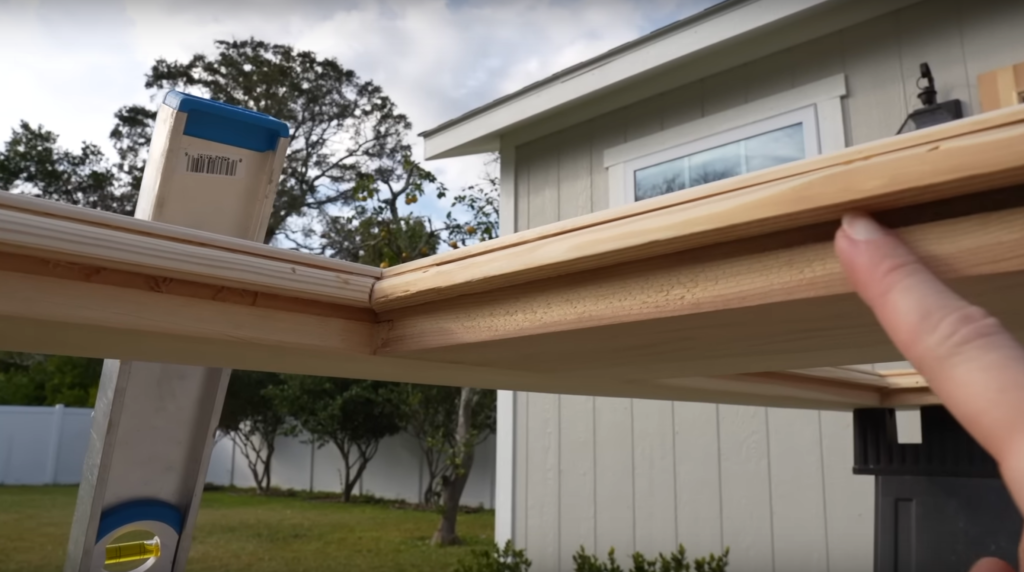
Cut and Install Trim
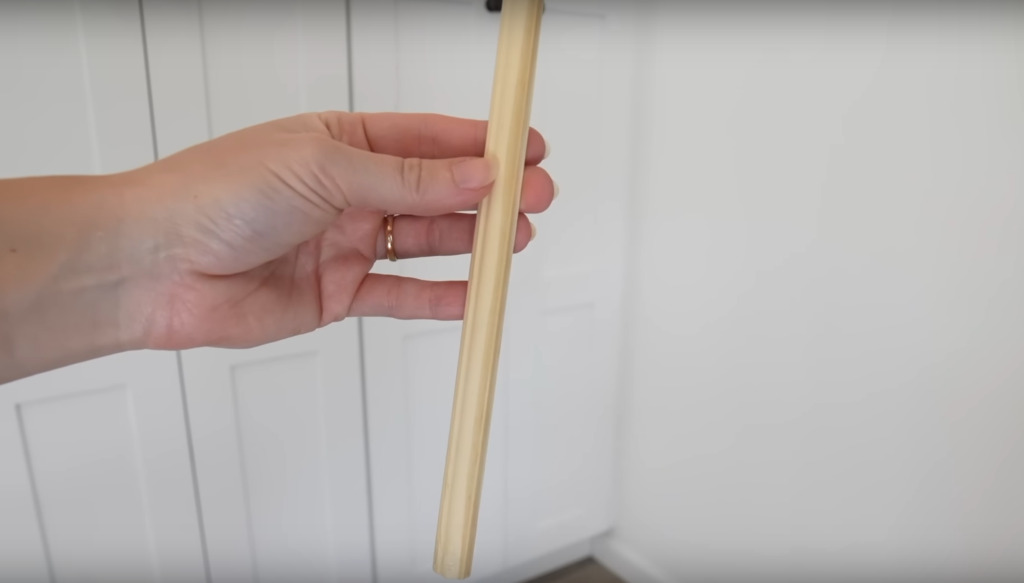
I’m going to use this 1/2” x 1/2” quarter-round trim on the inside of the cutout – sandwiching the glass.
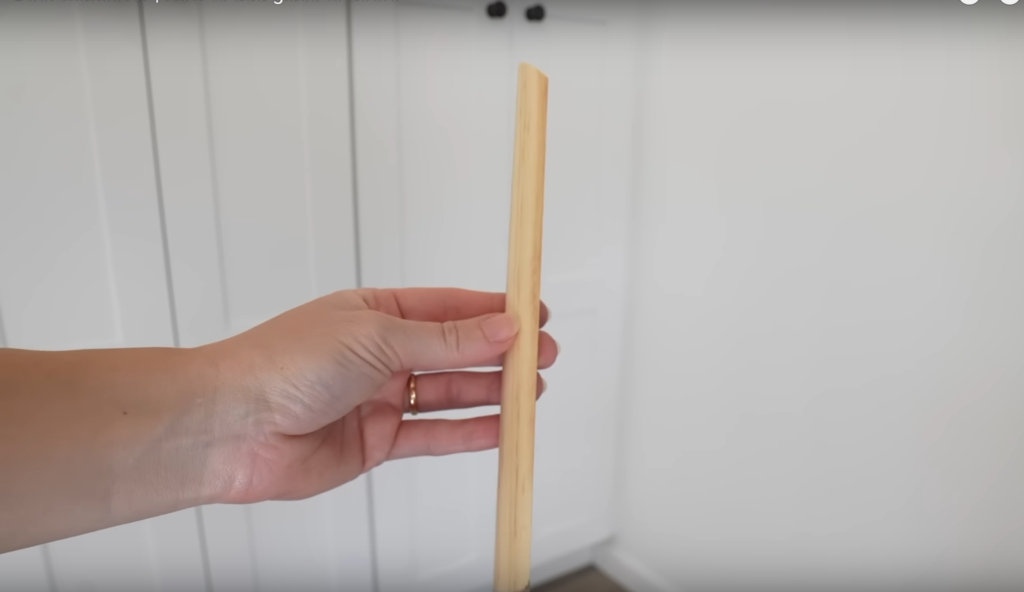
And I’m also using this tiny detail trim to trim out the face of the panels and to hide those ugly cut edges.
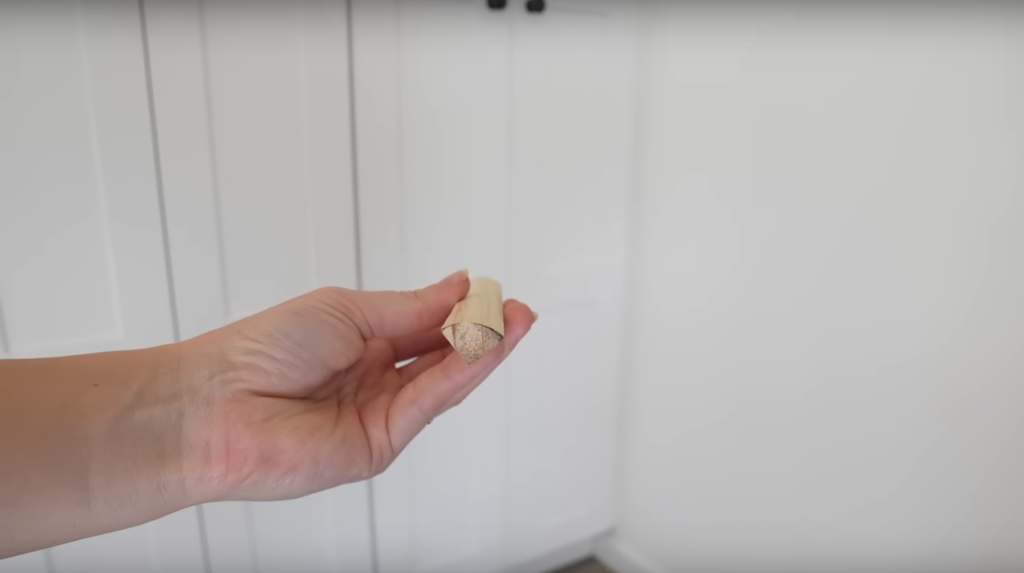
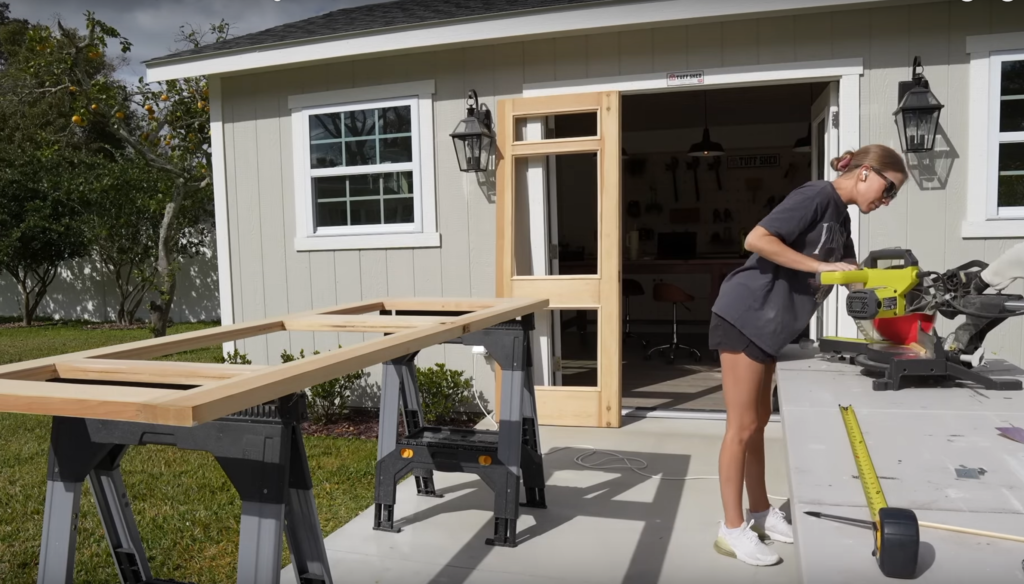
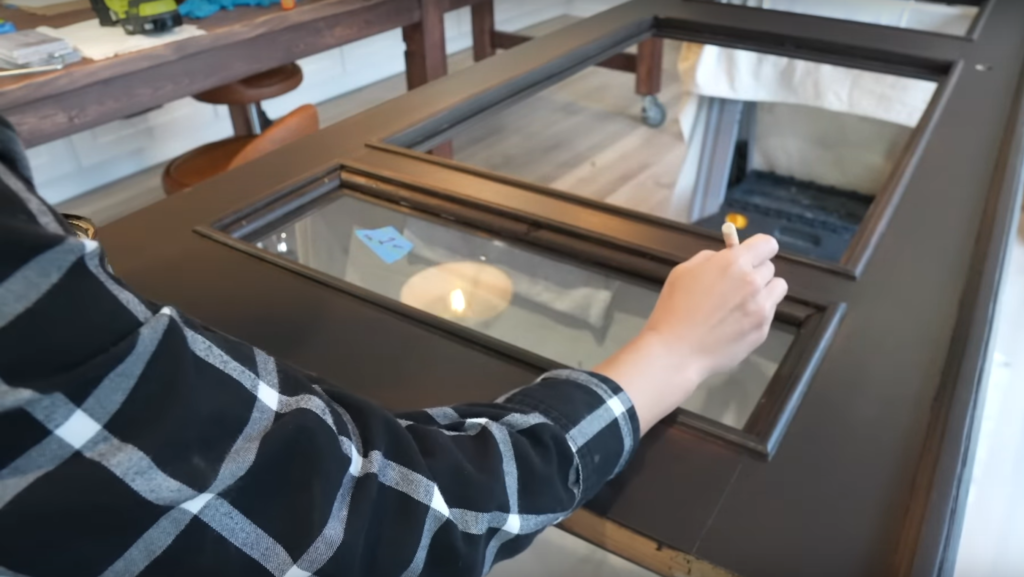
I measured all the openings and cut the trim to size making sure to miter each of the corners.

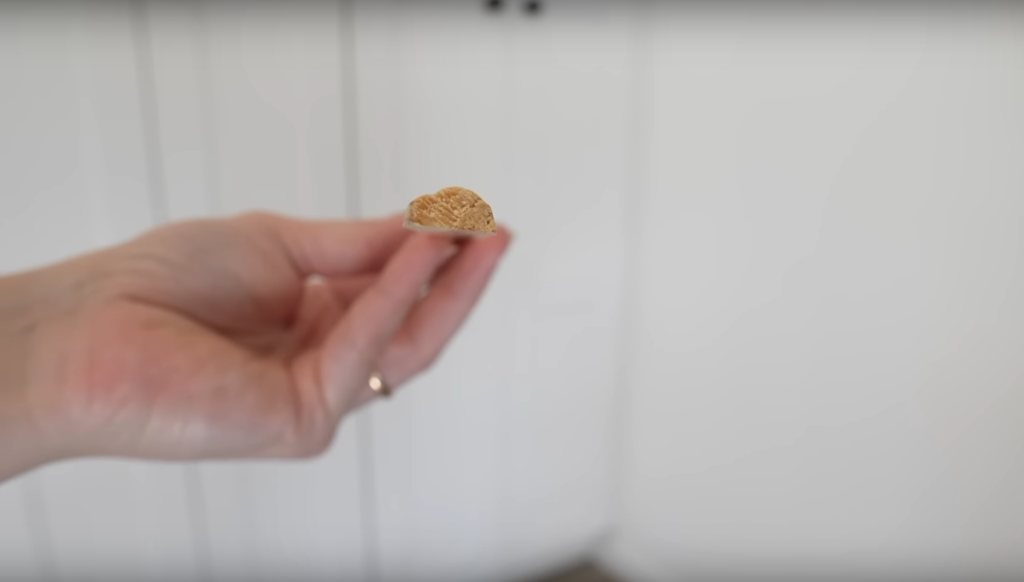
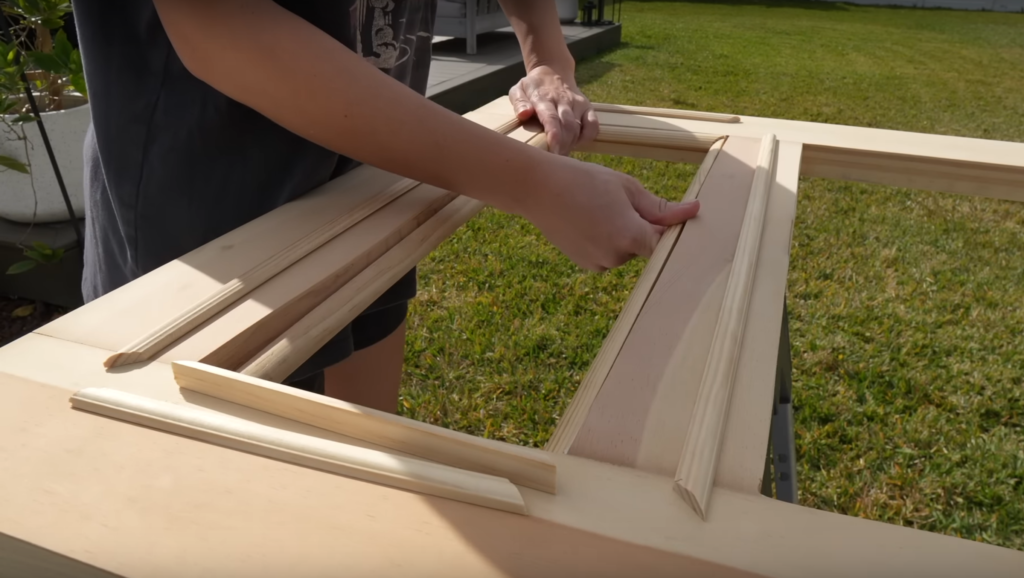
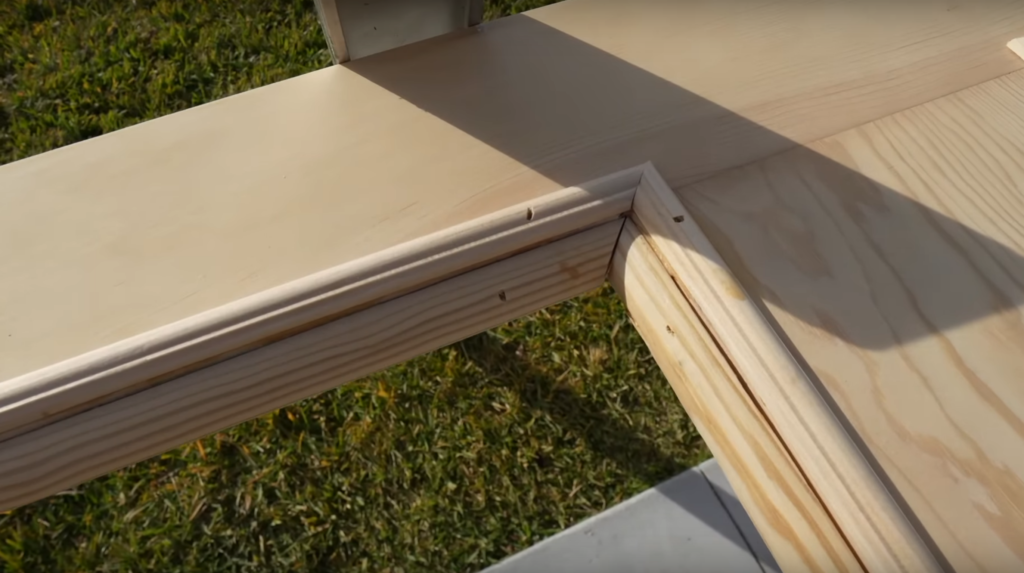
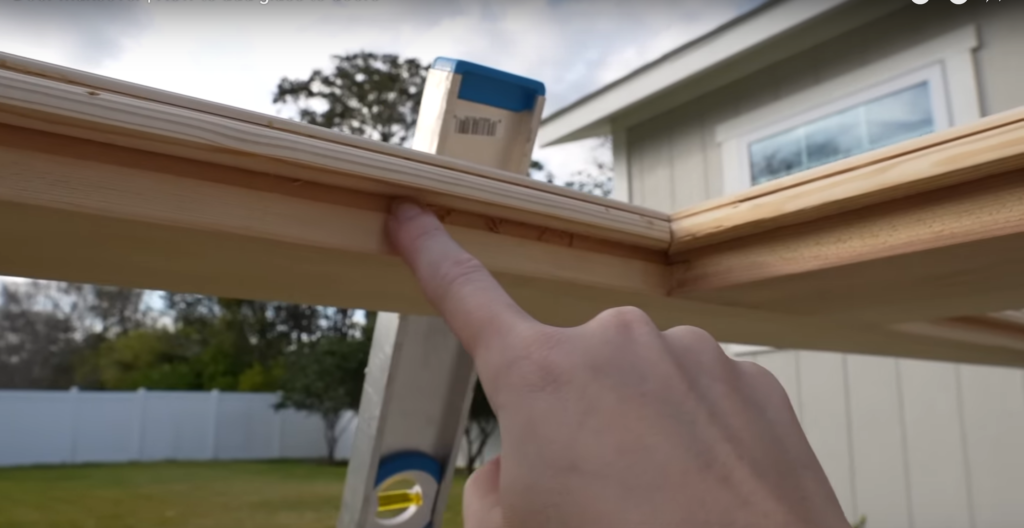
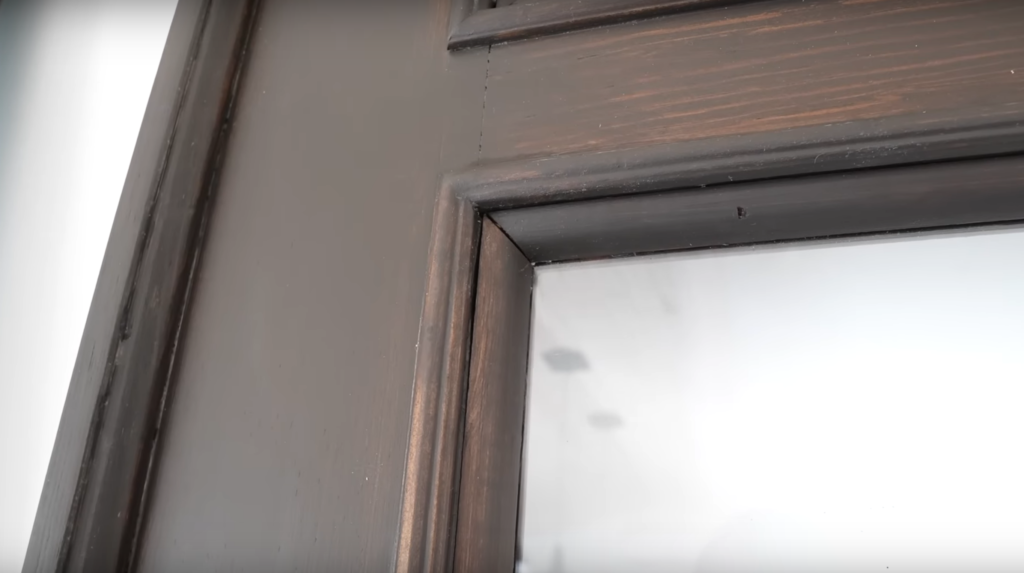
Here’s a close-up of the trim. The quarter round will go inside and then the detail trim will frame the face of the cutout.

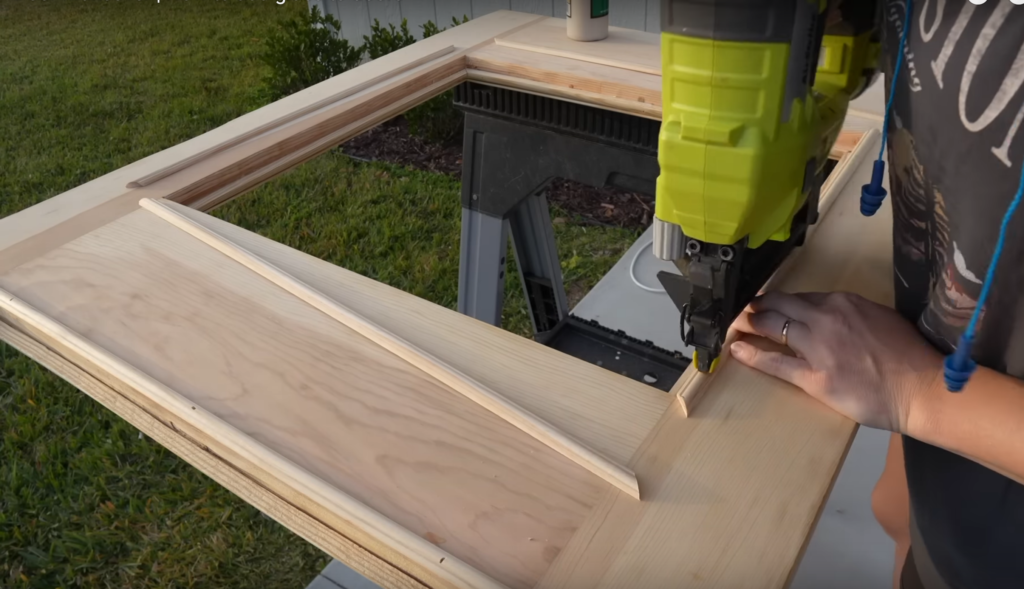
I set the quarter round in about 1/8 of the inch then used wood glue and 1” brad nails to secure it.
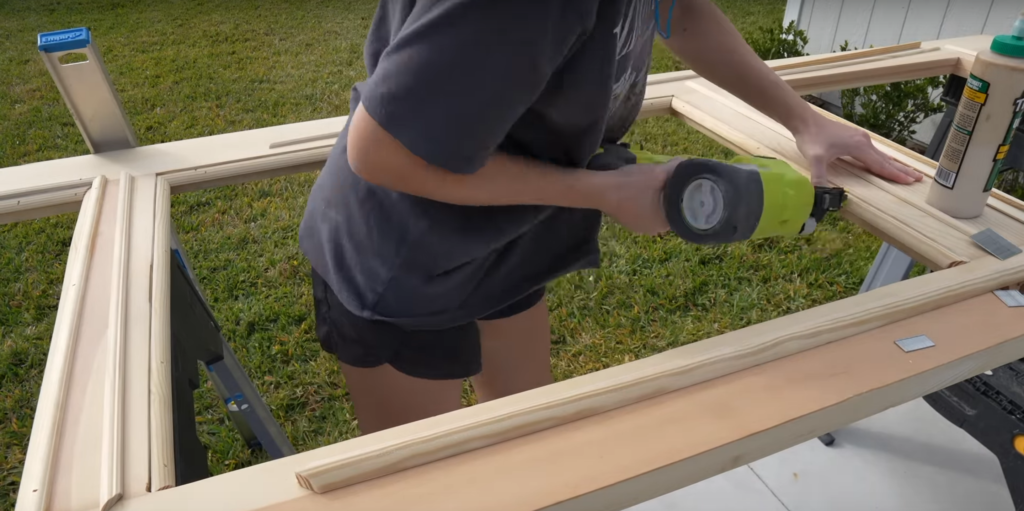
For the detail trim, I used wood glue and 5/8” brad nails to secure it.
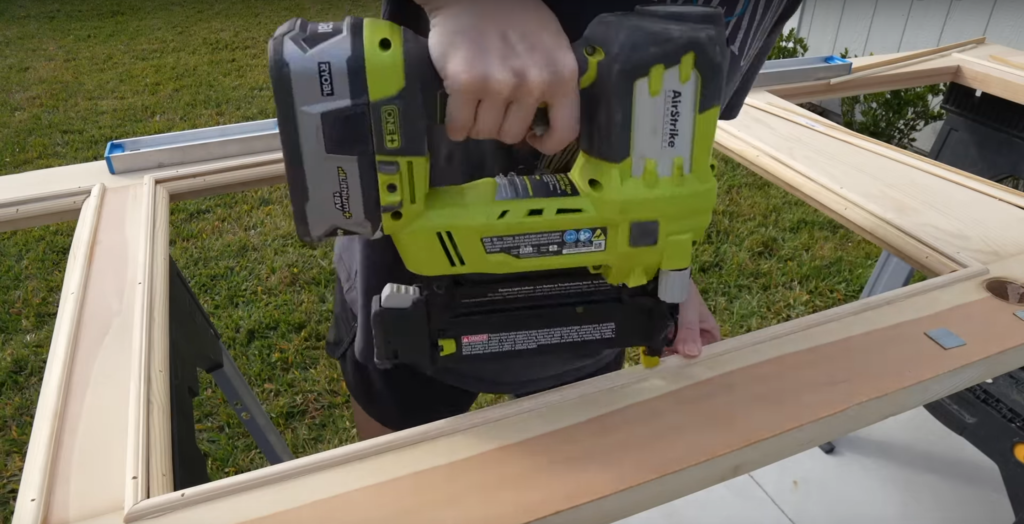
**I’m using an 18 gauge Brad nailer but a 23 gauge Brad nailer would have been better with how small this trim is.
Here’s the side profile of the trim. On the other side of the door I will attach the other quarter round after the glass is installed and this quarter round will hold the glass in place.

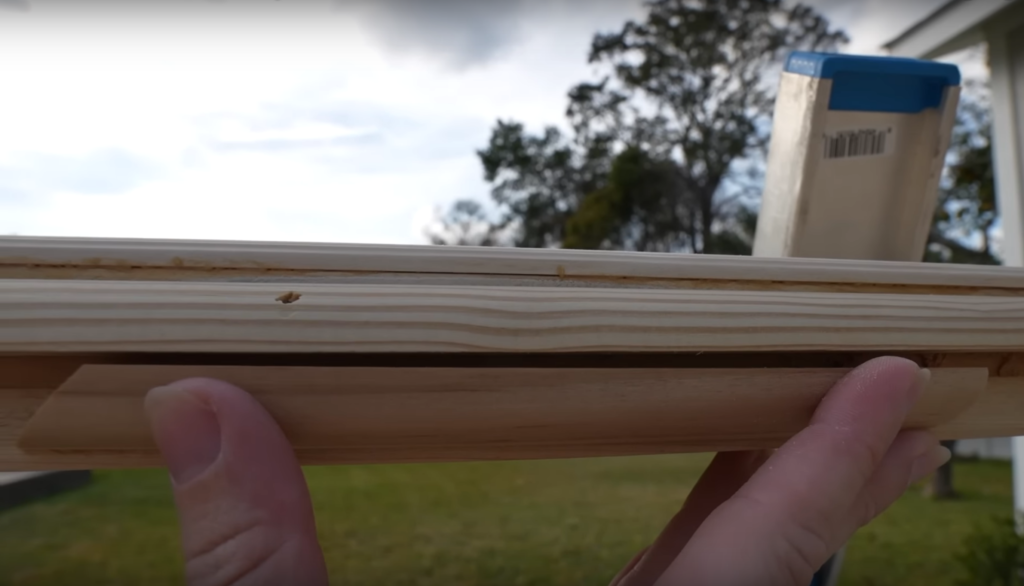
On the other side of the door, I attached the detail trim but I waited to attach the quarter round until the glass was in. But I cut it all down to size and set it off to the side for now.
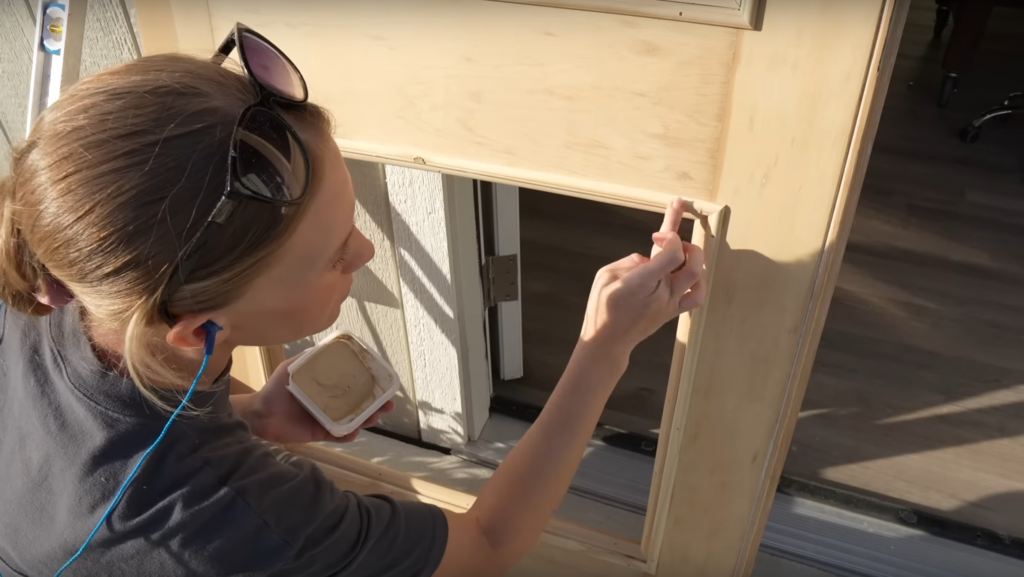
Fill Nail Holes and Sand
With the trim installed, I filled all the nail holes with my detail sander and then sanded the wood filler once it dried.

Cut Out for Hardware
One of my doors already has a cutout for a door knob, but I want to add a knob to the other door as well – but this one won’t function, it’ll just be decorative.

Stain & Poly
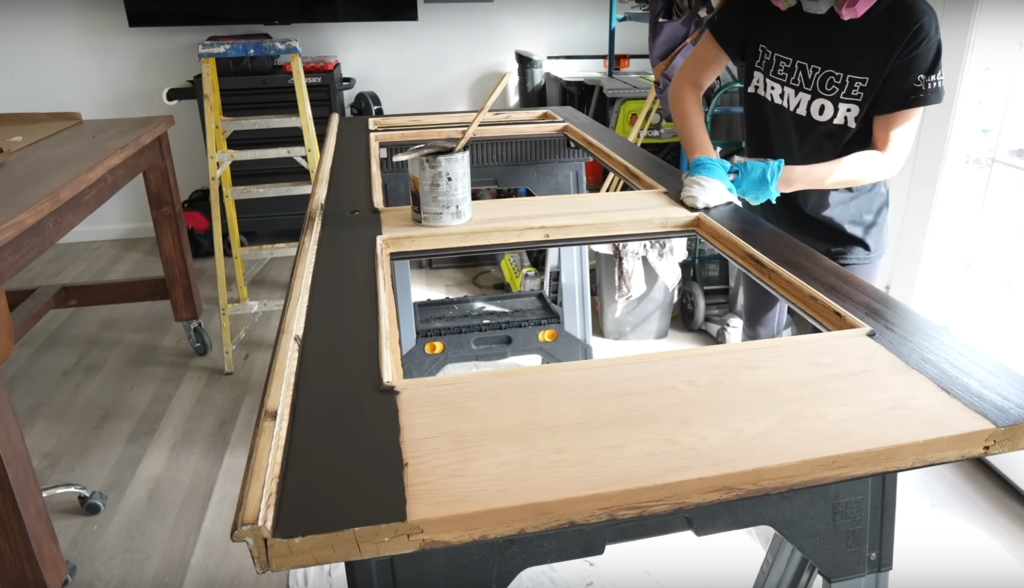
I used this gel stain by Varathane in the color Kona. I have a ton of wood variation going on here so I went with a darker gel stain – it’s super thick so it will reduce the blotchiness and even out the color nicely.


I applied the stain with a brush, let it sit for 5 minutes, and then wiped it off with a rag
I let the gel stain set overnight and then applied polyurethane

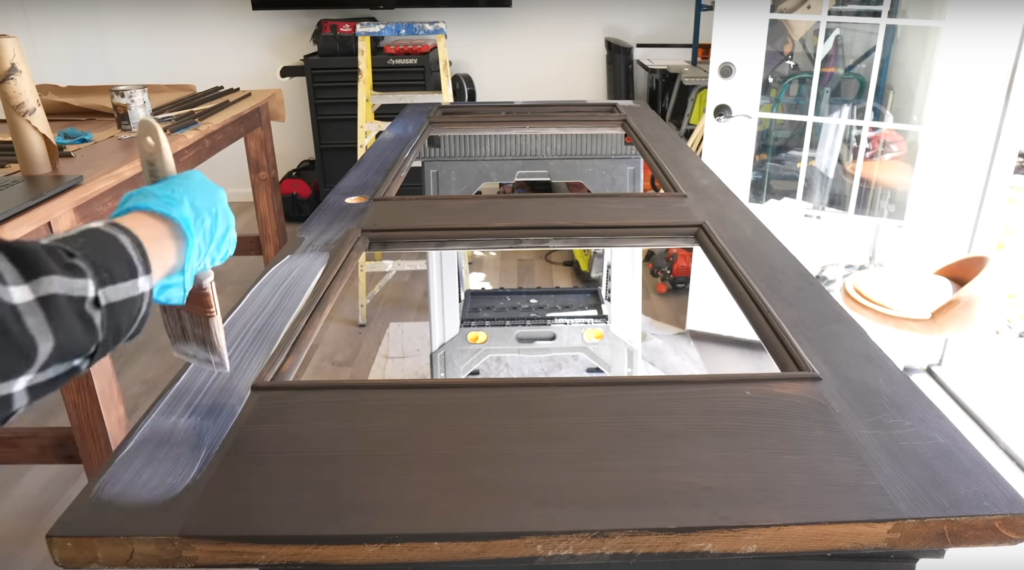
I did two coats of polyurethane, sanding with 320 grit in between coats.
Install Glass & Trim
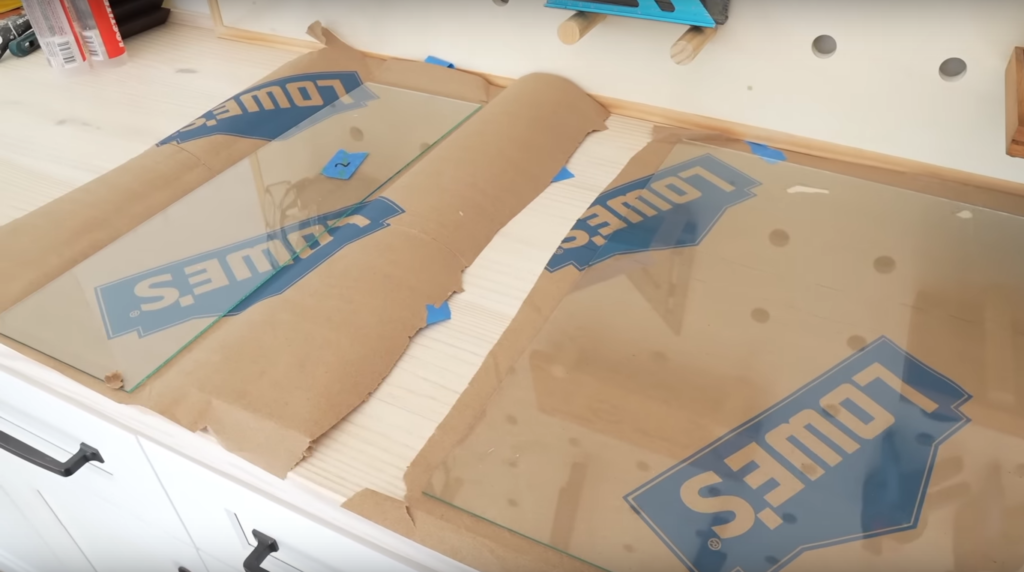
Next, it’s time to install the glass!
Lowe’s will cut glass to your custom dimension – they have a few different sizes of glass in stock to choose from. The largest size is only 30” x 36” so keep that in mind.
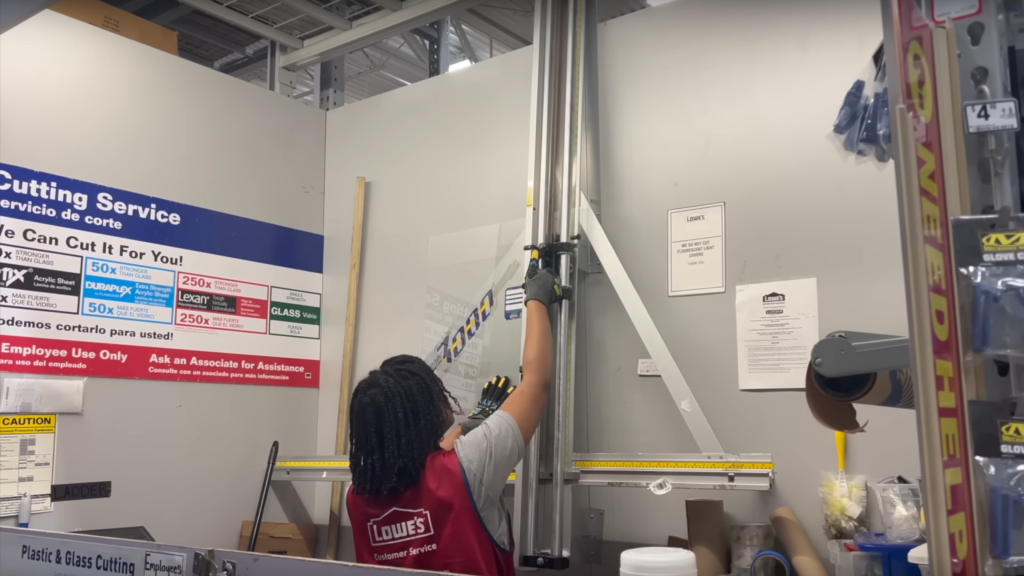
I dry-fit all the glass earlier to make sure my openings were big enough. I made the glass about 1/8” to 1/4” smaller than the opening.

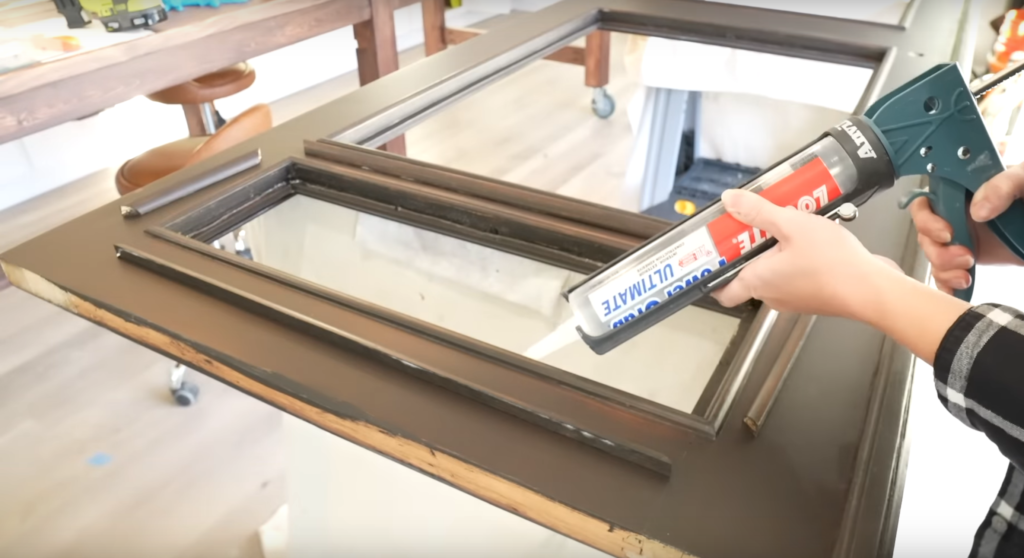
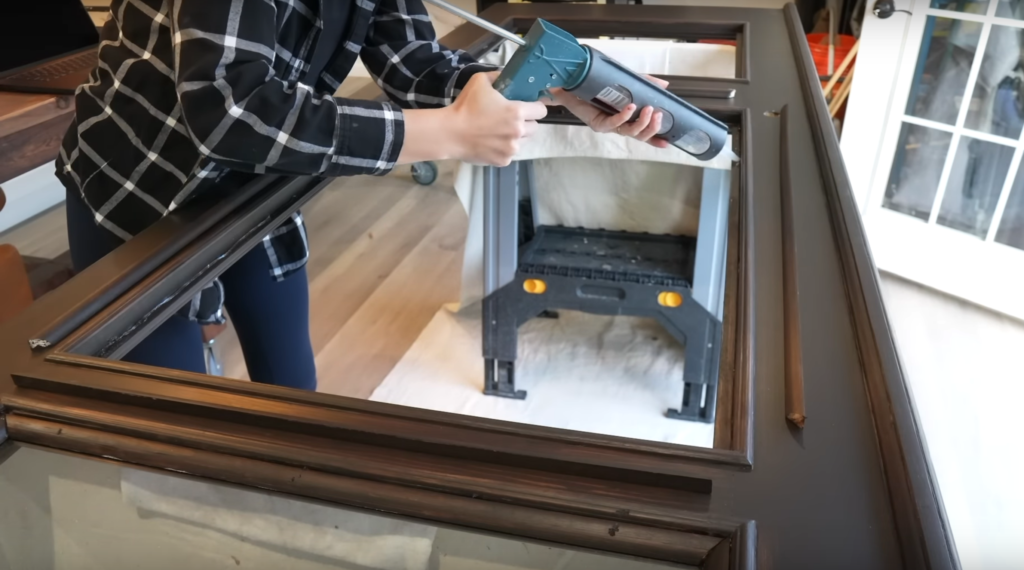
To secure the glass I applied this clear adhesive to the back of the quarter round and set the glass in place.
Then I glued each of the quarter-round trim pieces, set those in place, and secured them with a few brad nails making sure to angle my brad nailer enough so that I don’t shatter the glass.
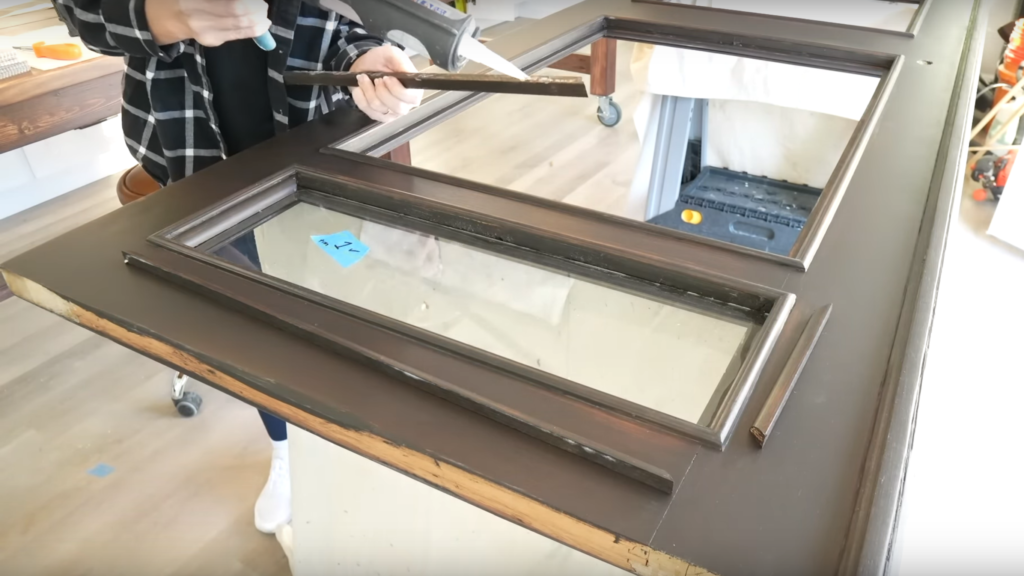

I followed the same steps for each panel
Touch up Stain
I used a small paintbrush to get stain in all the brad nail holes to conceal them.

Install Hardware
With the glass installed now, we can install the door hardware!!
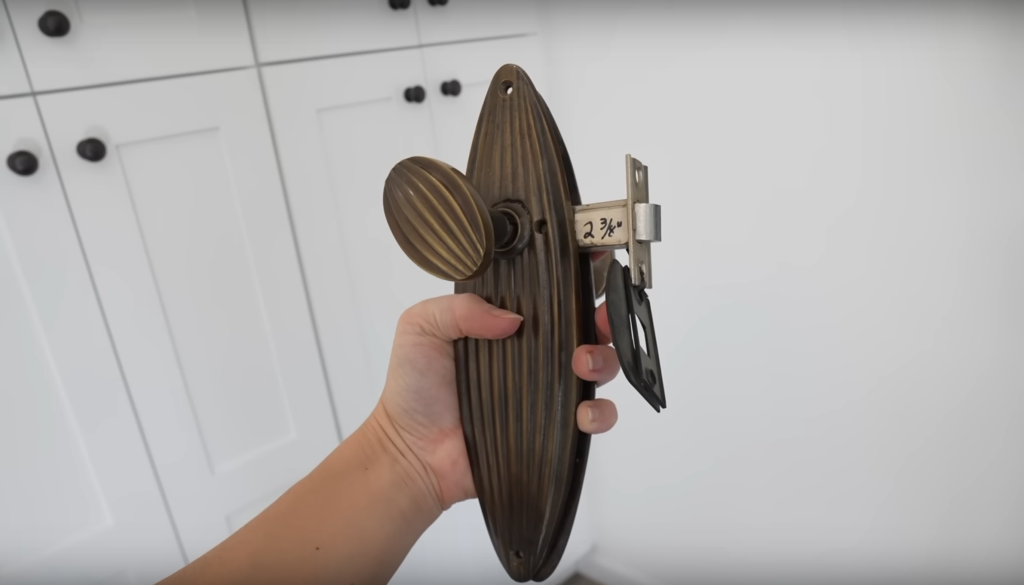
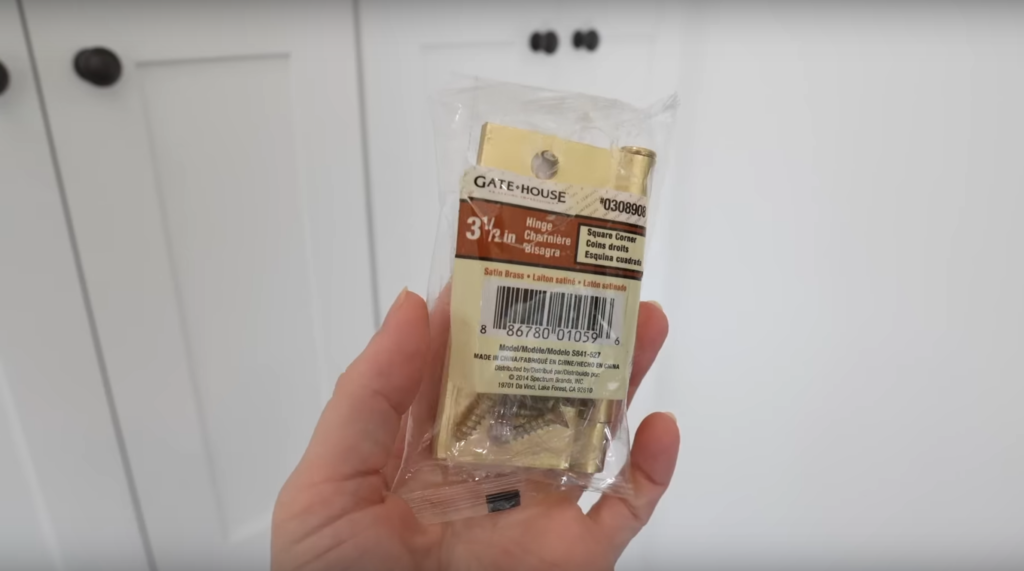
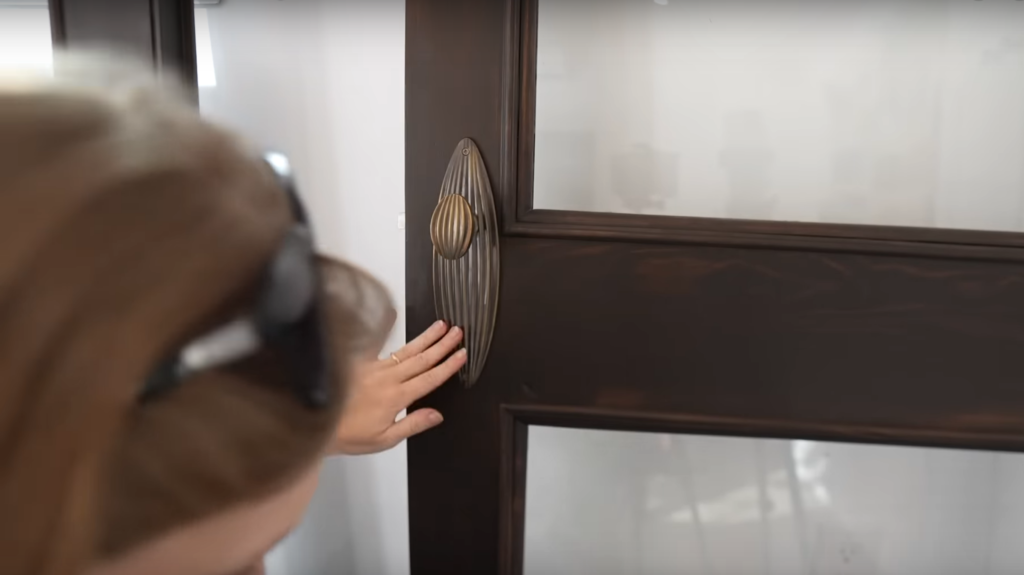
I found this unique hardware at a local antique store. I also bought some new hinges to replace the old ones that were painted over.
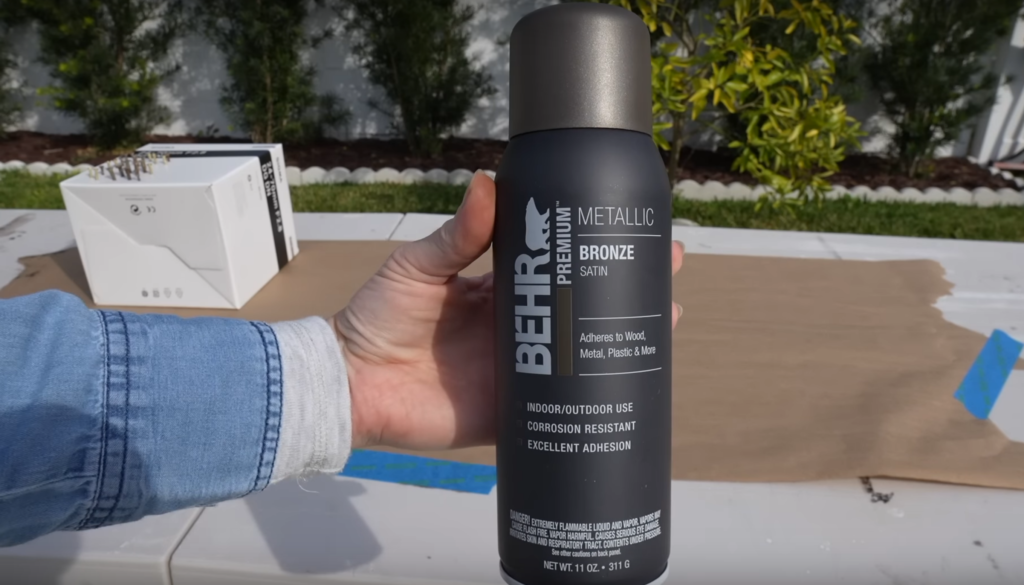
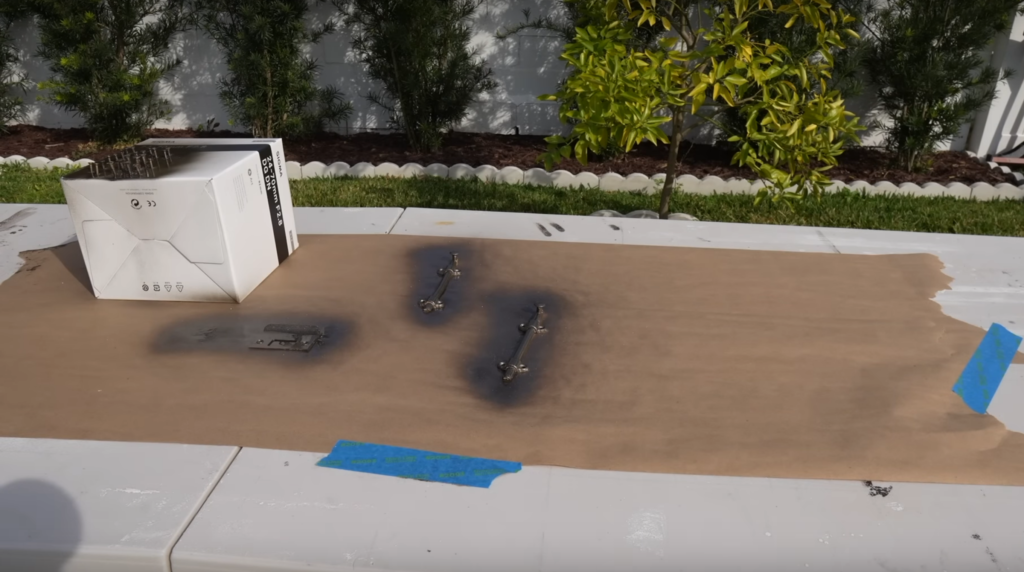
I spray-painted some screws and the door catch to match the new door knob
Then I installed the door hardware.
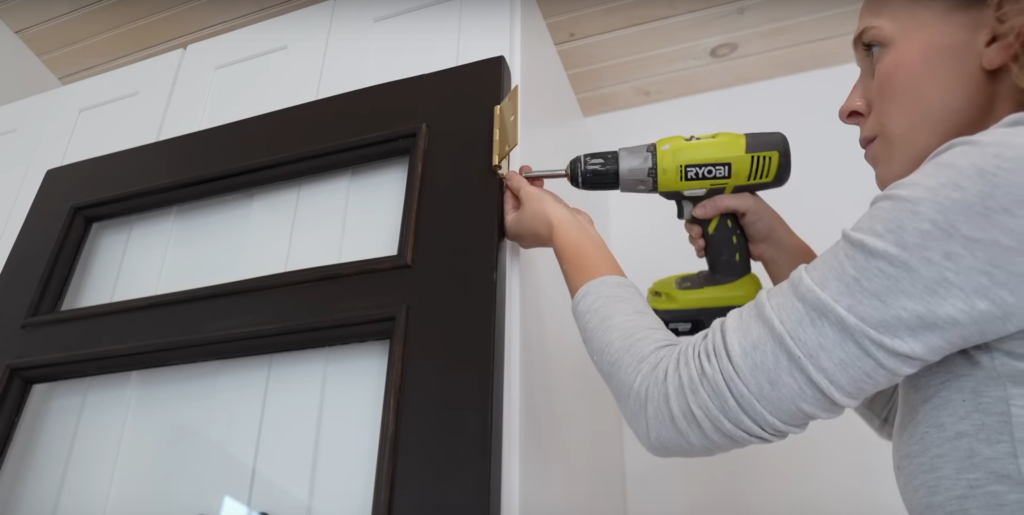
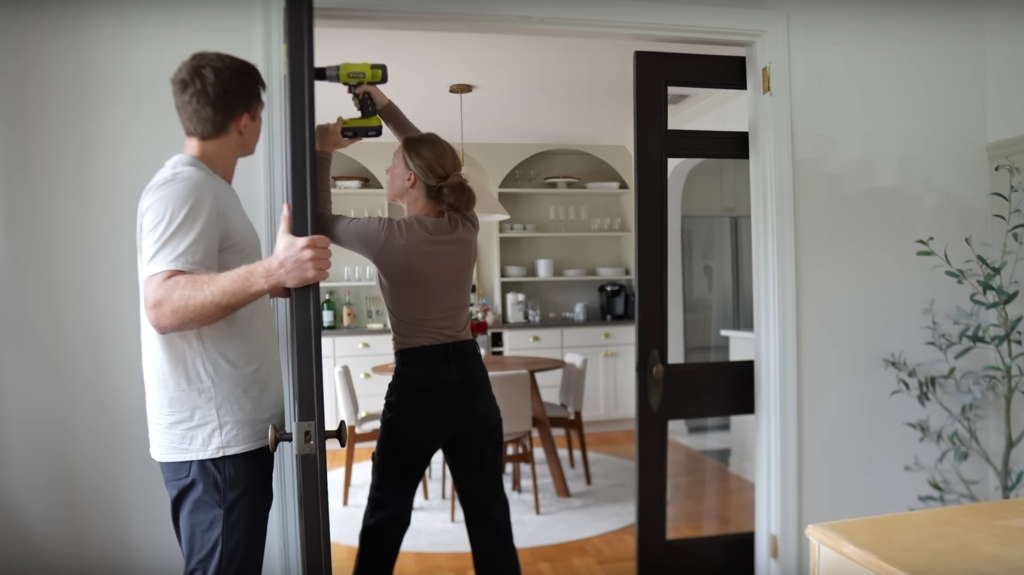
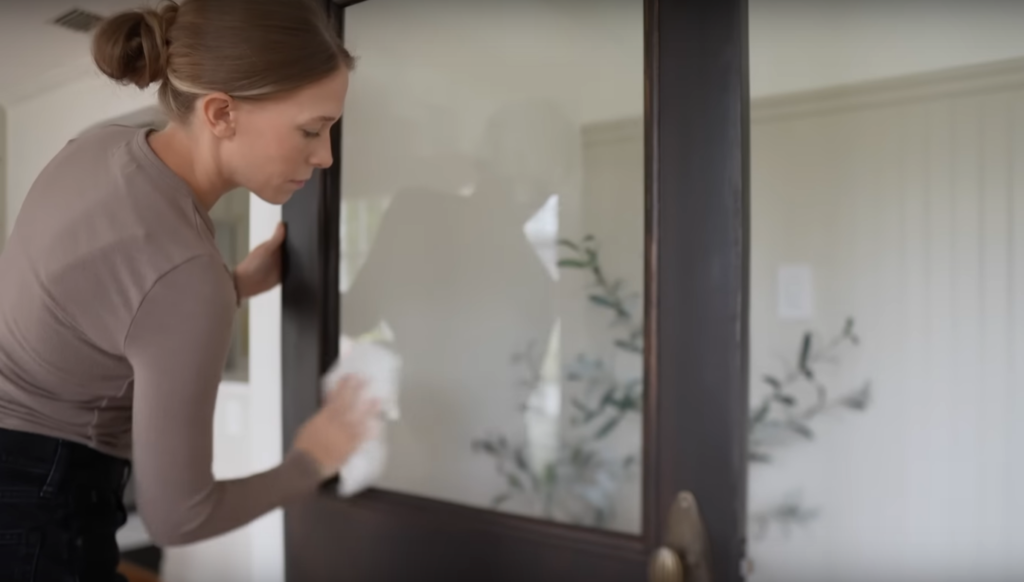
Install Doors
Last but not least, Devin helped me install the doors, I cleaned up the glass nicely, and voila!! We have some beautiful antique-looking French doors. This adds so much nice character to our home office.