The time has come to tackle our garage! When we moved into our fixer upper house I knew that I wanted to tackle the garage right away so I had a nice workshop for all of the house renovation projects coming up.
For the first part of the garage makeover I painted my walls white, epoxy painted the garage floor and replaced some garage door parts. I want to thank DURA-LIFT Door Hardware for sponsoring part 1 of the garage makeover. They provided some garage door parts to enhance the appearance and functionality of my garage door!
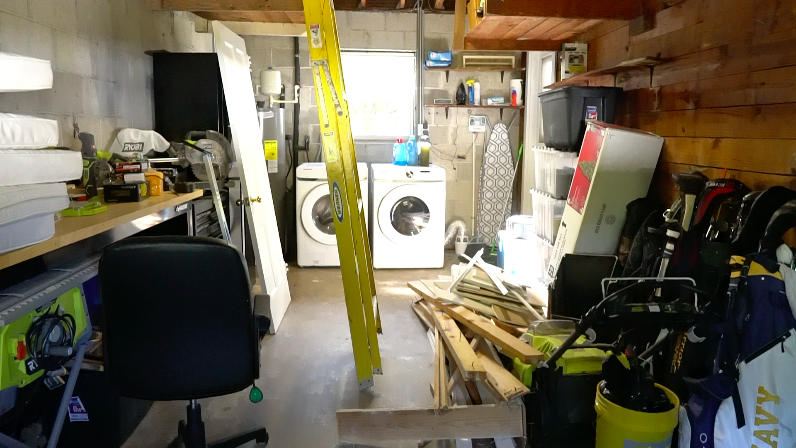
The garage is very small so in the next part of the garage makeover I will be adding some creative storage solutions. Our washer and dryer are also in the garage so I want to make that area look nice. Overall, I want the garage to feel like a finished and organized workshop / laundry room so I feel comfortable working and spending time out here.


GARAGE PRODUCTS
This post contains affiliate links. If you decide to purchase from one of the links, I will receive a small commission at no additional cost to you. Thank you for your support!
STEP 1: Take Everything out of the Garage
I started by taking everything out of the garage except for some of the big stuff. The smaller items I brought into the house so I could go through all of it later. The garbage and scrap wood I left outside under a tarp until I can make it to the dump.

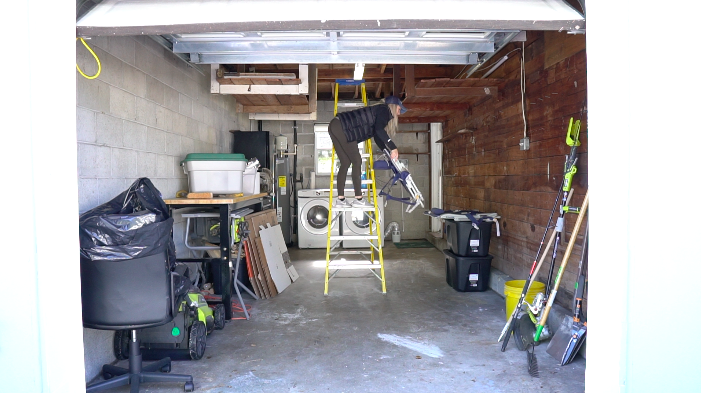
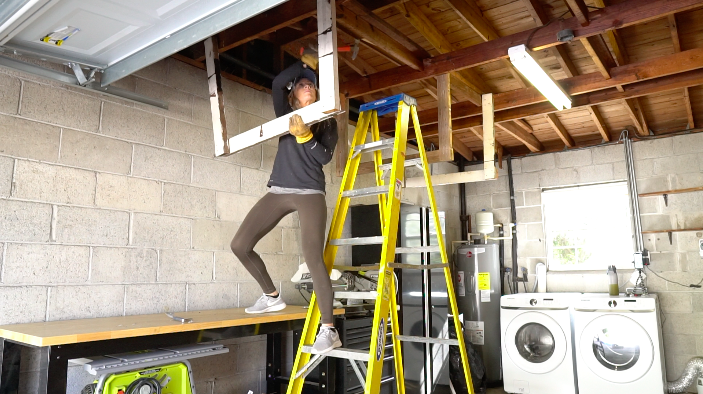
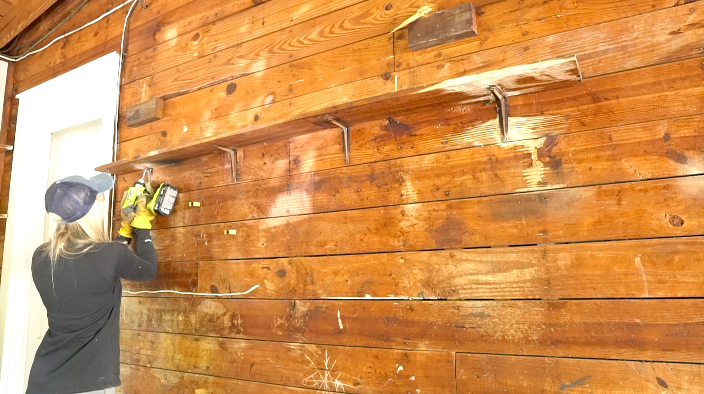
STEP 2: Remove all old Shelving & Nails / Screws
There was a lot of random / old shelving in the garage so I took all of it down to make room for new storage. I went around and pulled up any screws or nails sticking up.


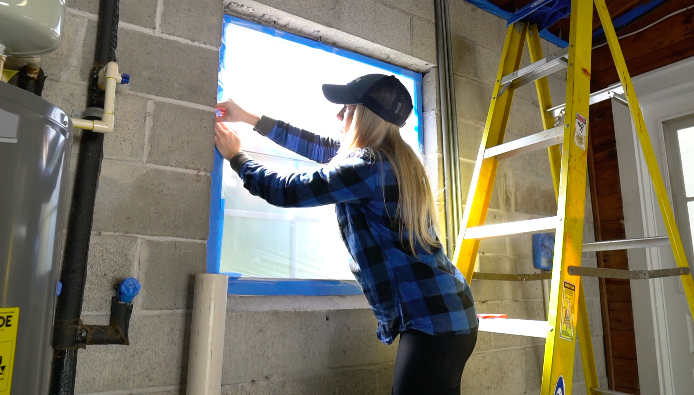
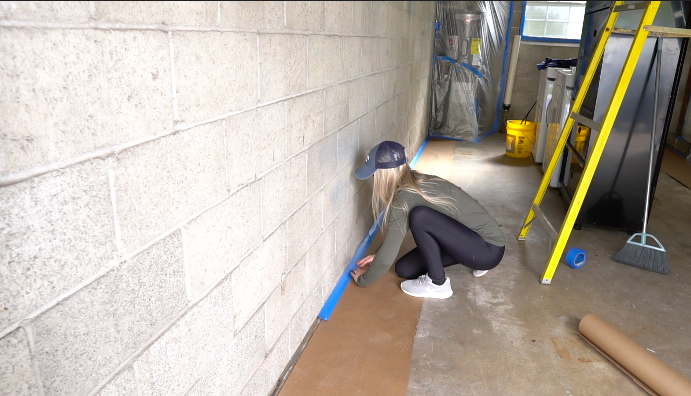
STEP 3: Prep for Paint
I went around and taped off anything that I didn’t want painted. I used painters tape and plastic wrap to cover any windows, doors, outlets, valves, and our water heater.


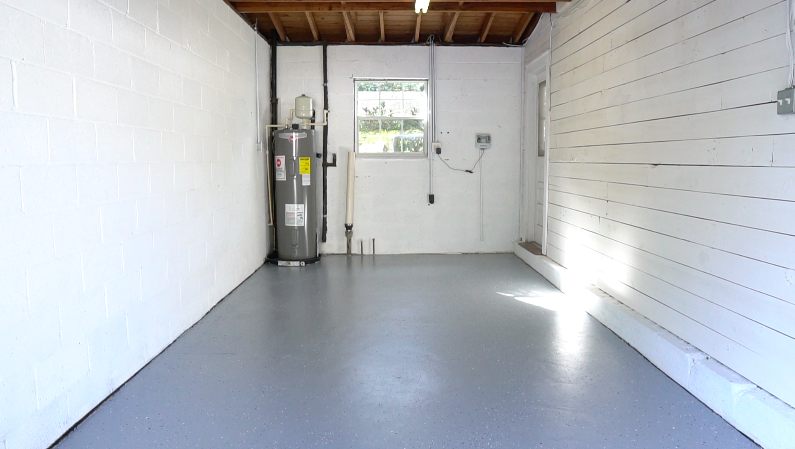
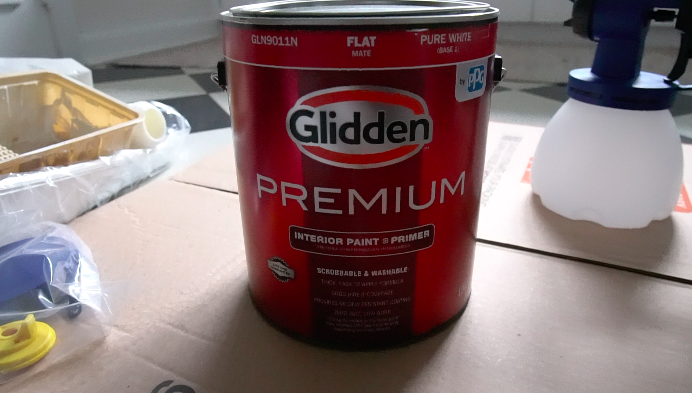
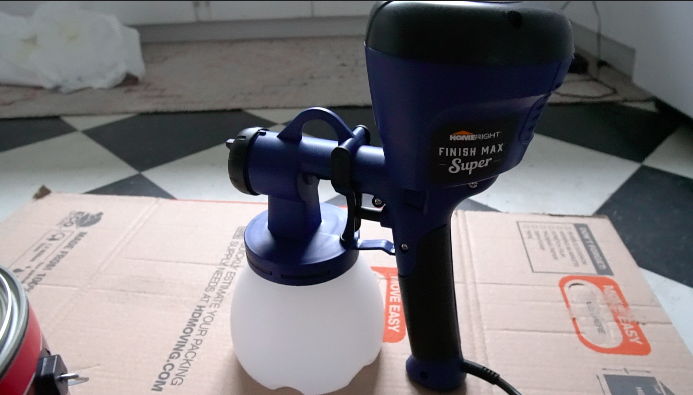
STEP 4: PAINT!
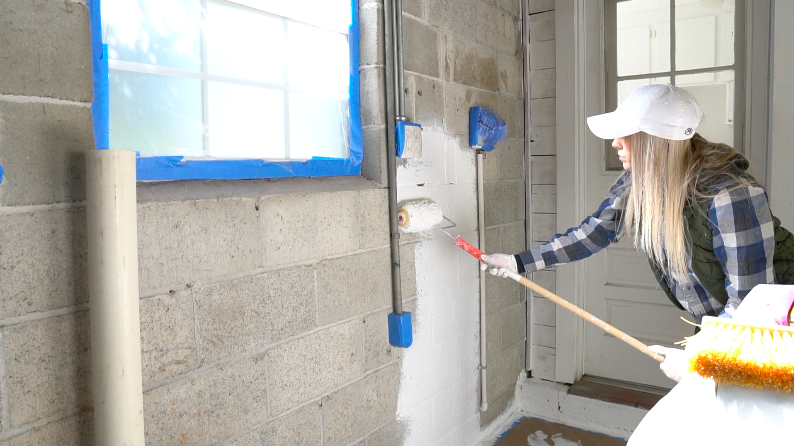
I bought a new paint sprayer and tried it out for the first time in the garage. I followed the directions to a T and couldn’t get it to spray properly. So, I decided to go old school and hand paint the entire garage… I used a 1 1/4″ nap roller on my CMU walls to get into all of the holes and cracks. I used a paint brush to cut in at the bottom and top of my walls and around any outlets.
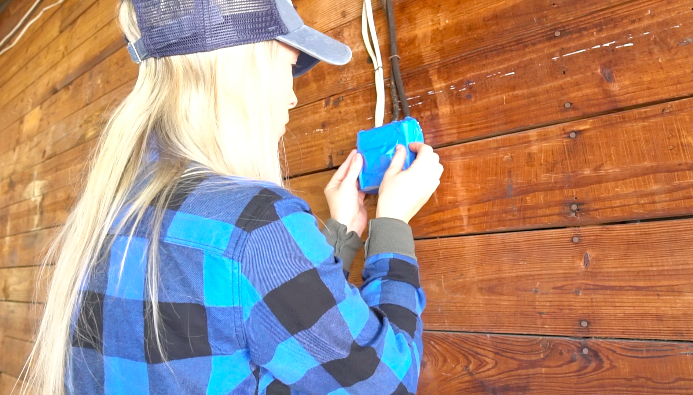
I also bought some white spray paint to spray any conduit or wiring that were on my walls.


STEP 5: Replace Door Hardware (Dura-Lift Door Hardware)
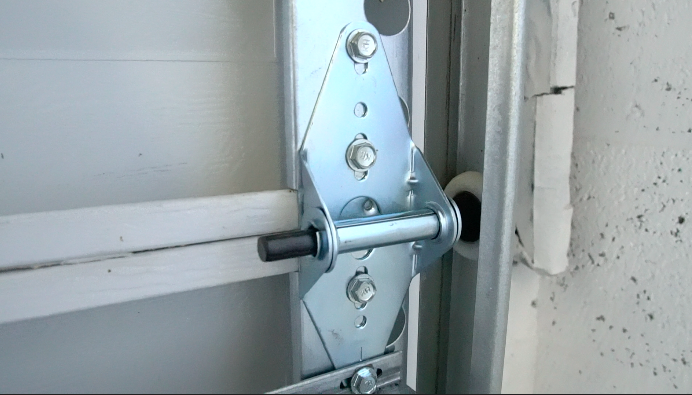
I replaced my garage door rollers and brackets. These nylon wheels will help you garage door roll on metal tracks quieter.
- DURA-LIFT Ultra-Life Max Plus 2-inch Nylon Garage Door Rollers
- https://duralifthardware.com/products/ultra-life-max-plus-roller
- Nylon wheels result in quiet rolling on metal tracks
- Plastic caps protect bearings from dirt and grime
- 6200ZZ bearings are rated for 250k door open / close cycles (25x code requirements)
- Black oxide coated shaft helps prevent corrosion of stem
- DURA-LIFT Ultra-Life High Performance Garage Door Hardware Repair Kit
- https://duralifthardware.com/products/dura-lift-premium-garage-door-tune-up-kit-for-16-x-7-doors
- Heavy duty 14-gauge steel hardware for smooth, lasting door operation
- 5 ounce lubricant for keeping door parts running smoothly year-round
- Recommended to lubricate door every 3 months

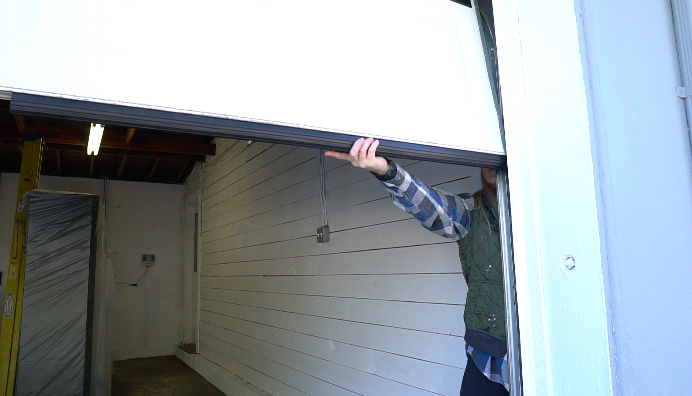
Next I replaced the bottom seal on my garage door. You’ll want to clamp your garage door so that it stays open and and doesn’t shut on you while you’re working on it. My old seal was pretty tricky to take off so I cut down the middle with my scissors and then pulled each half of the seal off from the end of the door. The seal bends and then fits into the little grooves at the bottom of your garage door. This would be easier with 2 people but I just slowly inched it on.
- DURA-LIFT Rubber Garage Door Bottom Seal, Double-T Style
- https://duralifthardware.com/products/double-t-bottom-seal
- 100% rubber seals hold their elasticity, shape, and structure 5x longer than vinyl
- Keeps natural elements out of garage like rain, dust, cold, heat, pests
- Reduces energy costs

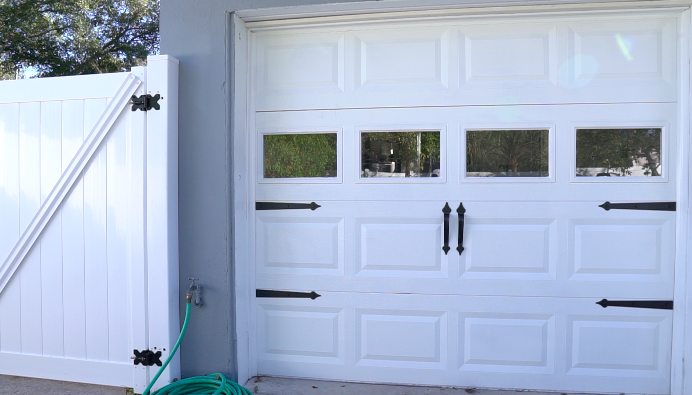
I added this magnetic decorative hardware to my garage door. All you have to do is stick it on your door where you want it, very easy! It’s a quick way to add a bit of character to your door. I like how it matches the same style as our fencing.
- DURA-LIFT Magnetic Decorative Carriage-Style Garage Door Hardware
- https://duralifthardware.com/products/magnetic-carriage-door-hardware
- Quickly improves curb appeal of home
- Simple installation, no screws
- DURA-LIFT Decorative Magnetic Garage Door Faux Nails (Clavos)
- https://duralifthardware.com/products/magnetic-clavos-nails
- Same benefits as above
- Spanish style
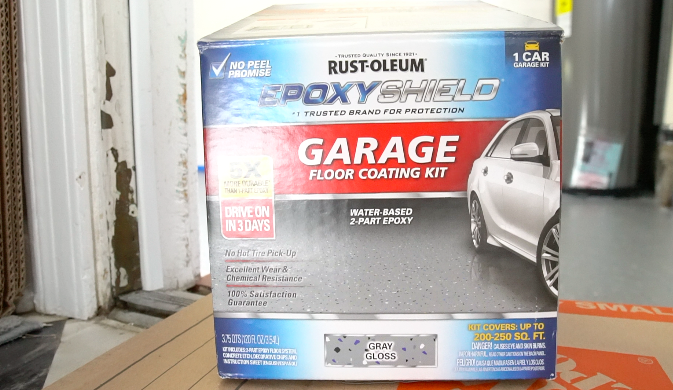
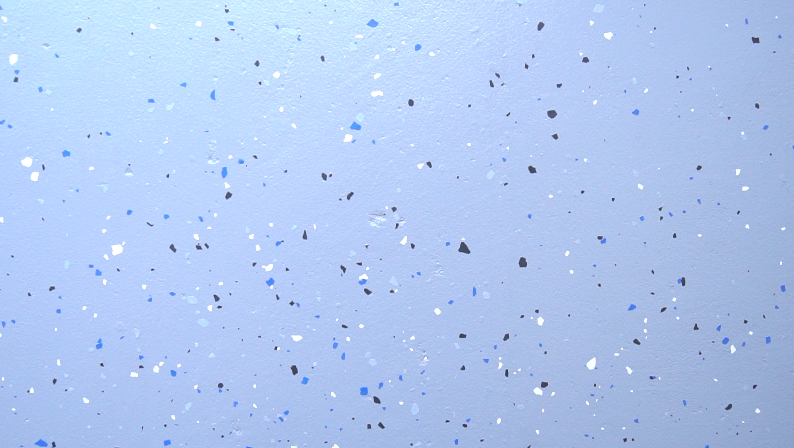
STEP 6: Epoxy Floors
I bought this epoxy paint kit from home Depot. I started by sweeping the floors then I wet down my floors completely. The epoxy kit came with this concrete etch for cleaning the concrete. I mixed the etch with 2 gallons of water, distributed it on my floors and scrubbed any dirt spots. After everything was scrubbed down I used my hose to wash away all the dirt and debris. I swept all the excess water off (a squeegee would’ve been better). Then, after the floors were dry I taped the base of my walls and started trimming the edges with my paint brush and used decorative paint chips around the edges. For the rest of the floor I used a 3/8 nap roller to apply the paint and sprinkled on the decorative paint chips around my entire floor.