


Painting the exterior of your house requires careful planning, preparation, and execution. It can be a daunting task, but with the right tools and techniques, you can achieve a professional-looking paint job that will enhance the curb appeal and value of your home!
Below you will find a step by step guide to painting the exterior of your house with a paint sprayer. You will also find the printable PDF tutorial, a link to the YouTube video tutorial and a list of supplies used for this project. Happy painting!
Download the free PDF tutorial HERE

| Supplies | Link |
| Paint: Revere Pewter Benjamin Moore | |
| Wagner Control Pro 170 Paint Sprayer | https://bit.ly/45xeL3q |
| Cardboard spray shields | https://bit.ly/3CmG1nL |
| Metal spray shield with handle | https://bit.ly/3oZZyHF |
| 4 ft ladder | https://bit.ly/3Crz7xq |
| 5 in one tool | https://bit.ly/3J9f8Yd |
| Drop cloths | |
| Plastic Wrap | |
| Blue Tape & Duct Tape | |
| Paint Brushes & Rollers | |
| Paint Cups & Trays |
This post contains affiliate links. If you decide to purchase from one of the links, I will receive a small commission at no additional cost to you. Thank you for your support!
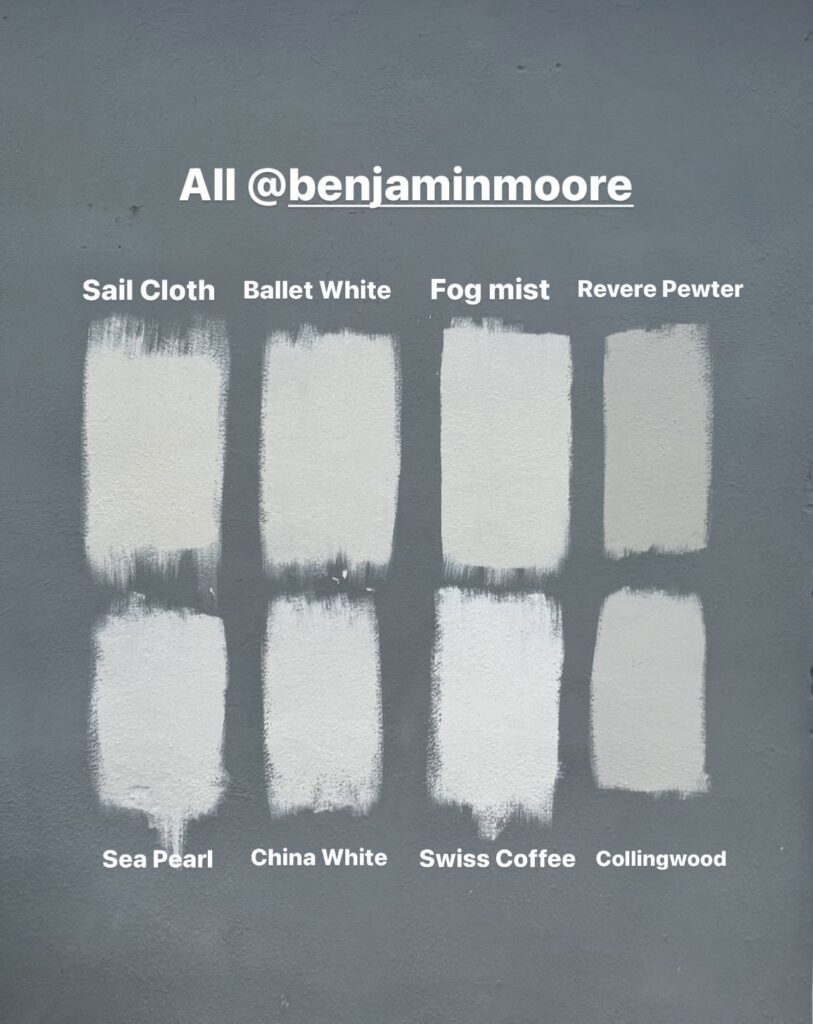
Step 1: Choose the Right Paint!
Before you start painting, it is important to choose the right paint color that complements the style and architecture of your home. Take a drive around your neighborhood and note which colors you like and dislike. Grab some paint samples and test them out on different areas of your home and look during different times of day to see how the light affects the color. You also need to consider the type, brand, and finish of the paint you will use.
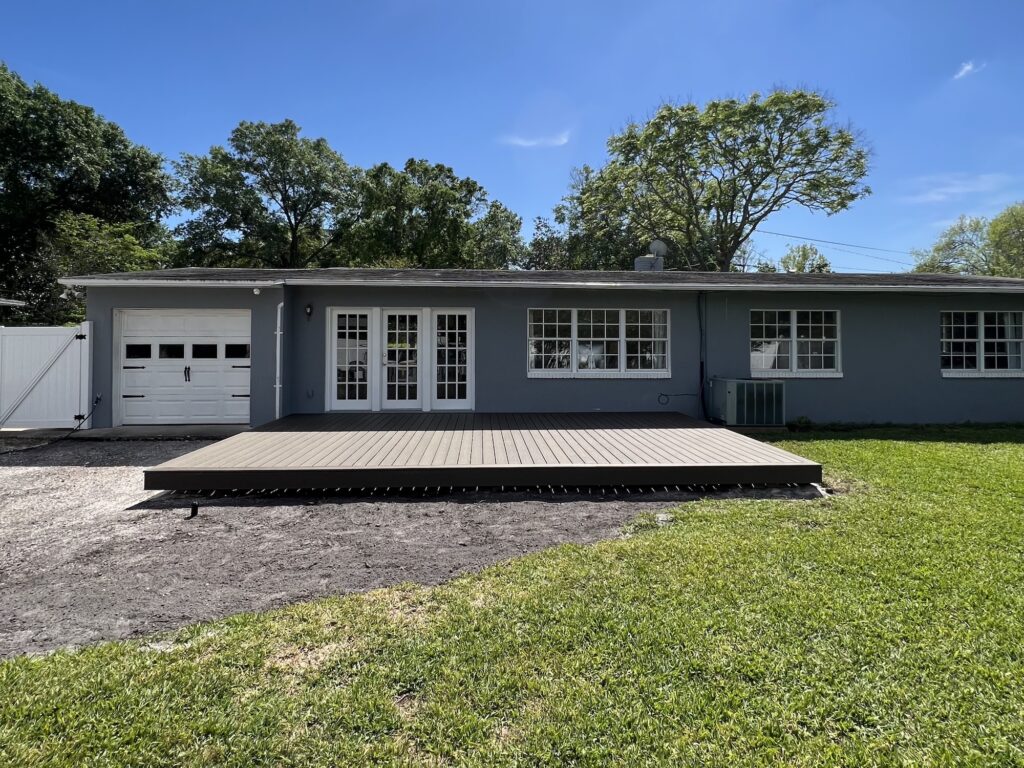
We’re going with the Regal Select Exterior paint from Benjamin Moore in a low luster finish. The color we decided to go with is Revere Pewter!! Our house was previously painted so we didn’t need to use a primer.

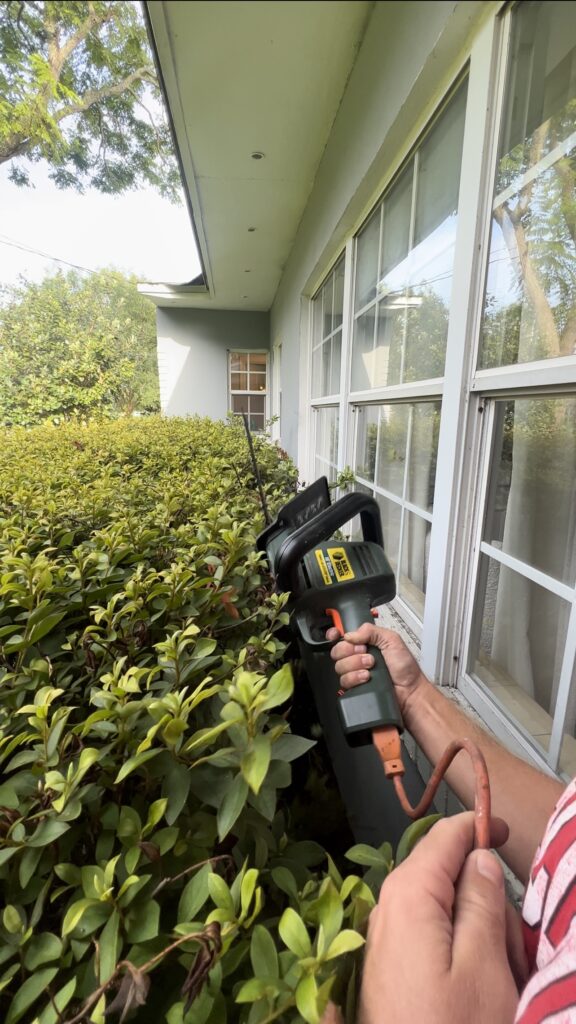
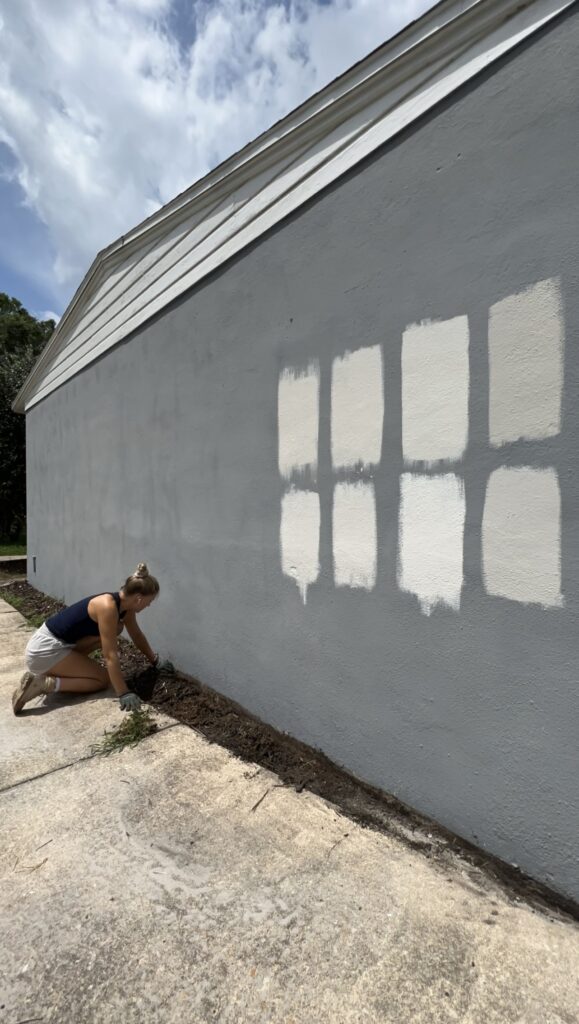
Step 2: Clear Surrounding Area
Take this time to cut back any bushes or vegetation that’s touching the house. It would be great to weed wack any grass or weeds that are up against the house. If you have dirt or wood chips it’s best to pull that away from the house a bit so you can get your paint as far down as possible.


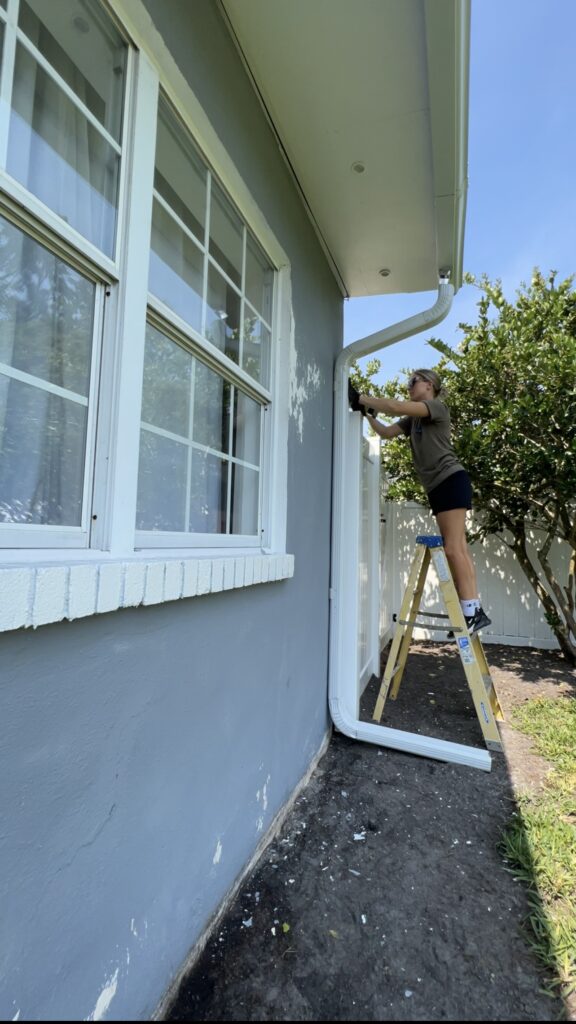
We had a bunch of dead electrical wires around the outside of the house so we checked with an electrician and removed any wires that were dead and an eye sore. Clear away any vehicles, furniture, anything that could be affected by overspray. I also decided to remove the downspouts instead of painting over them or trying to paint around them.

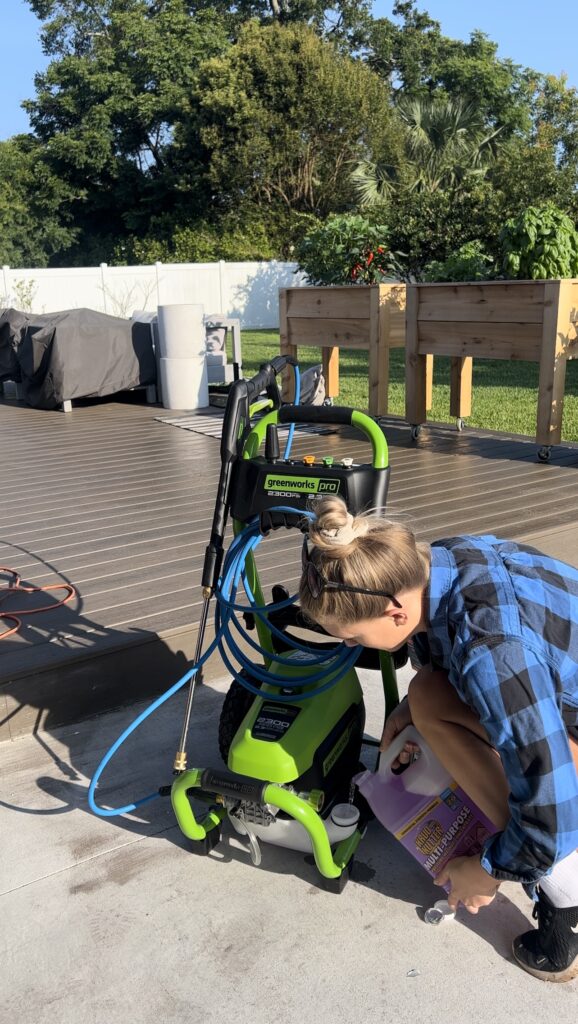
Step 3: Clean the Surface
Now that the surroundings are clear you’ll need to clean the surface. I first used a cleaning solution in my pressure washer to apply it to the entire house.

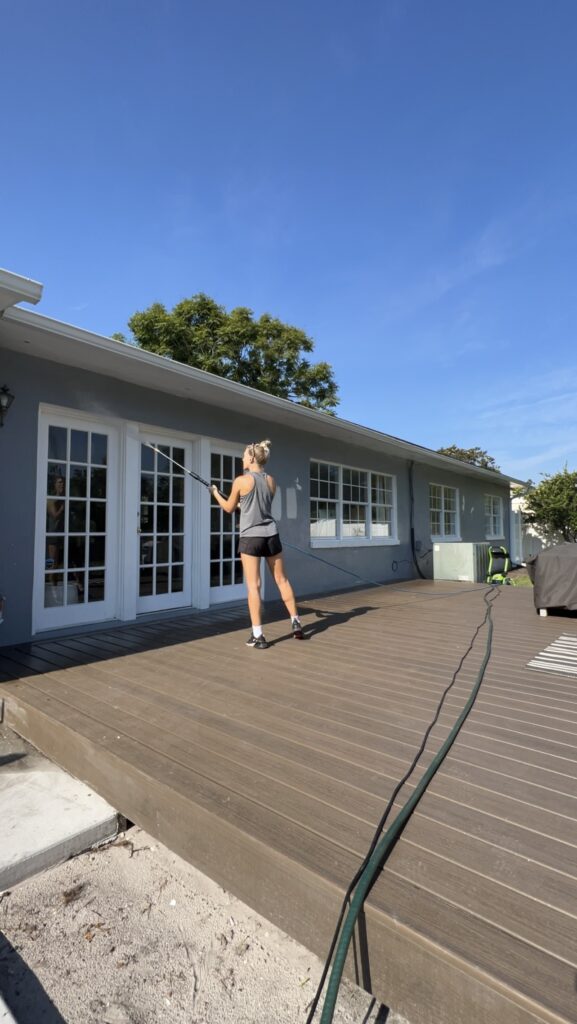
After that, I went around with plain water and pressure washed the entire house, making sure to get in all the corners. I carefully washed the windows as well and paid close attention to any paint that was peeling.
Step 4: Repair any Damaged Areas or Imperfections
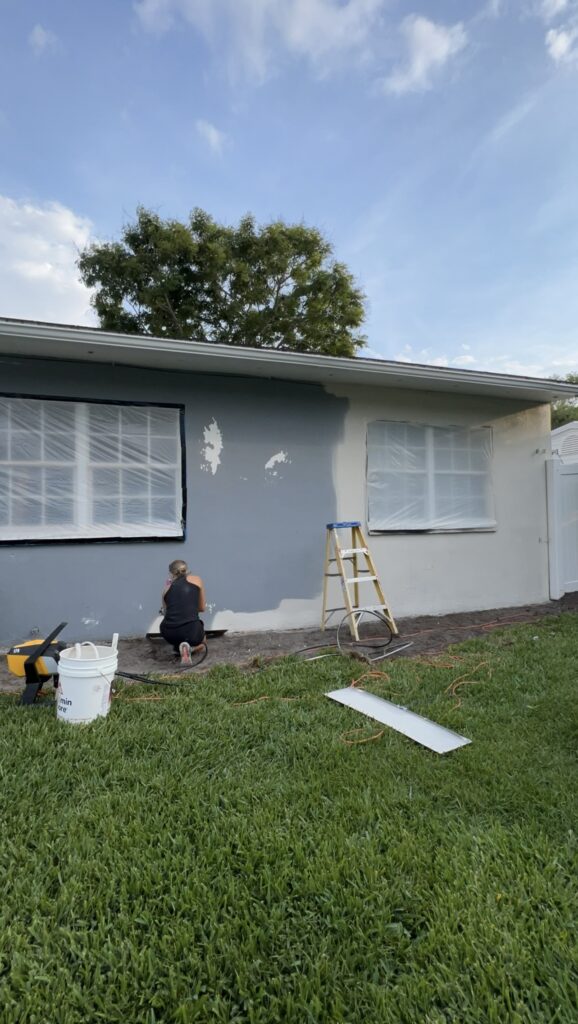
While pressure washing I came across tons of peeling paint.. We have stucco siding and it’s not in great shape. Devin and I went around the entire house and scraped up any areas that were peeling with a 5 in 1 tool.
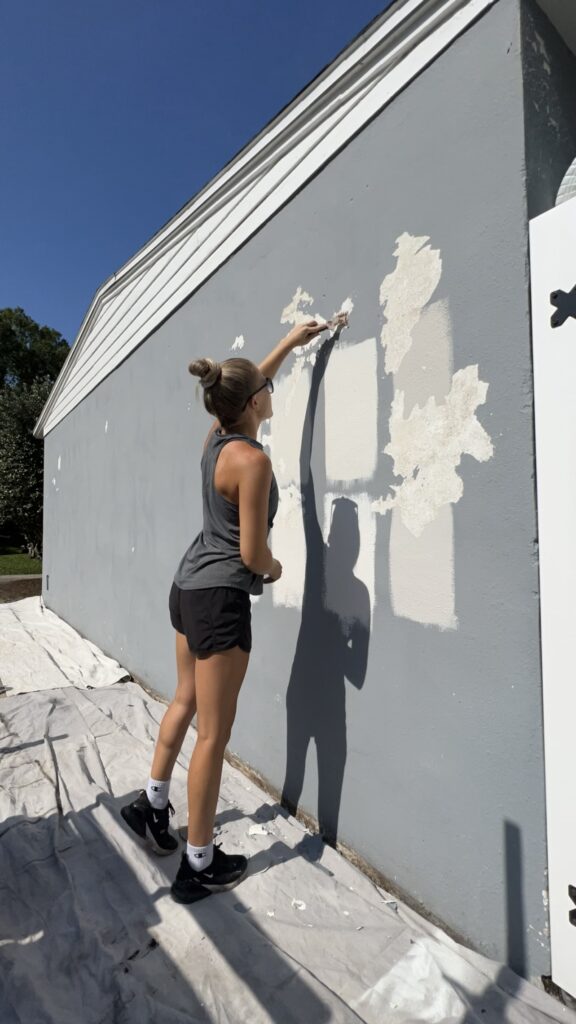
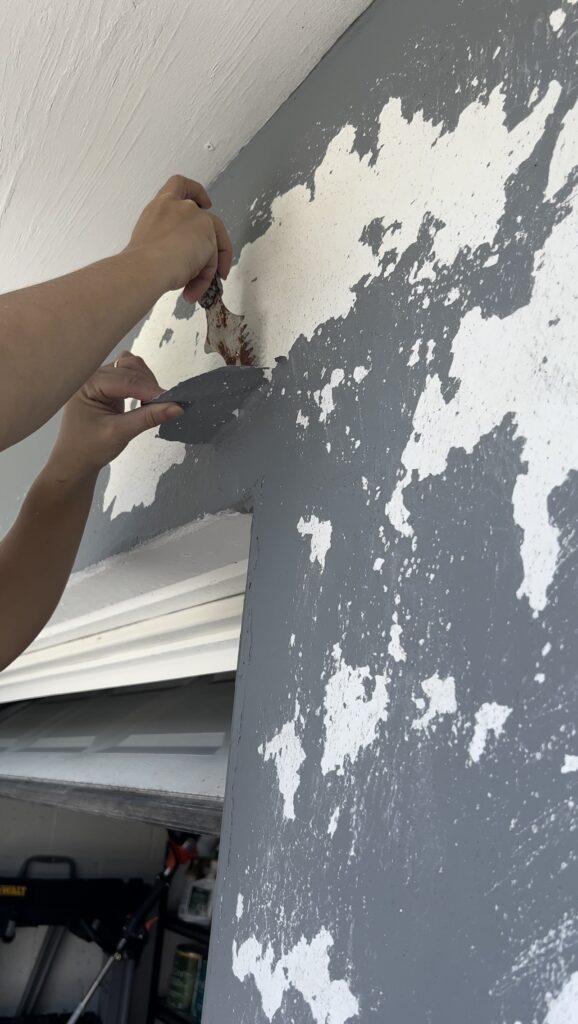
Lay some drop cloths down and take this time to scrape any old chipping paint and fill holes where needed.
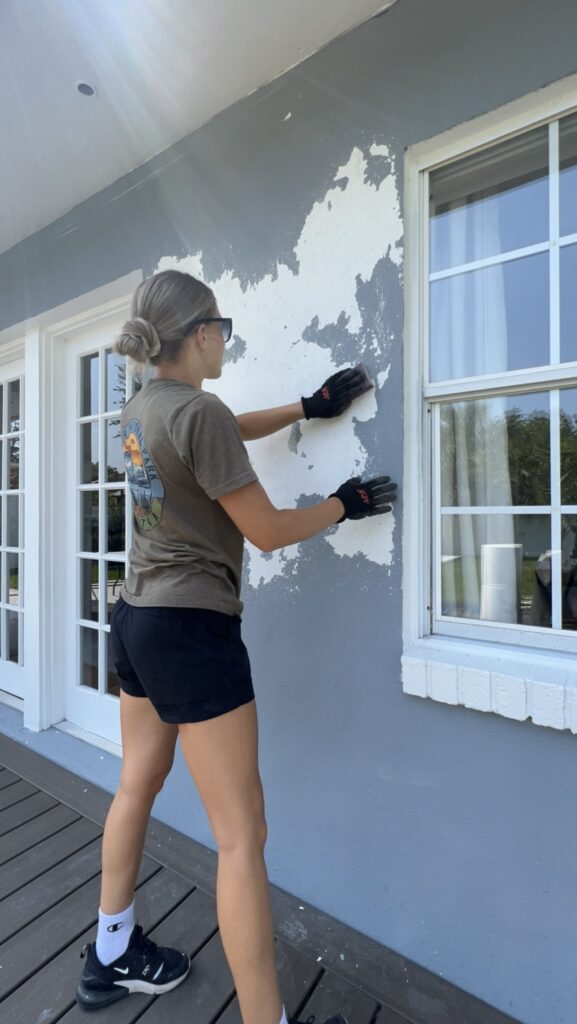
After everything was scraped down we used sanding blocks to sand over all the areas that we scraped. This will soften the edges of the peeled areas a bit and allow for better adhesion of the paint.
Step 5: Clean off Dust
After all that scraping and sanding there was lots of dust and debris around the house so we cleaned off all the drop cloths and cleaned off the house one last time to get all the dust off.
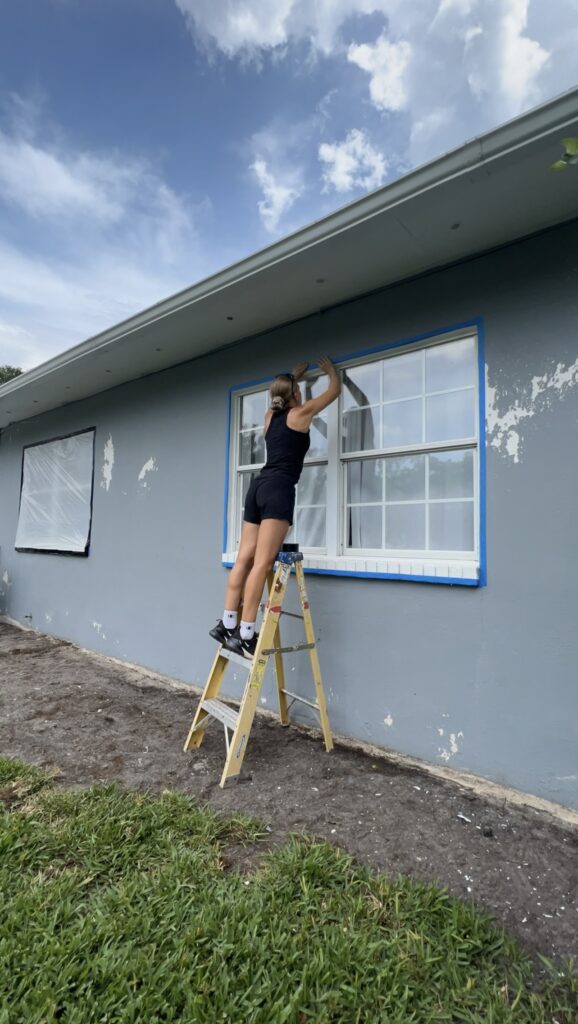
Step 6: Tape off Windows, Doors & Fixtures
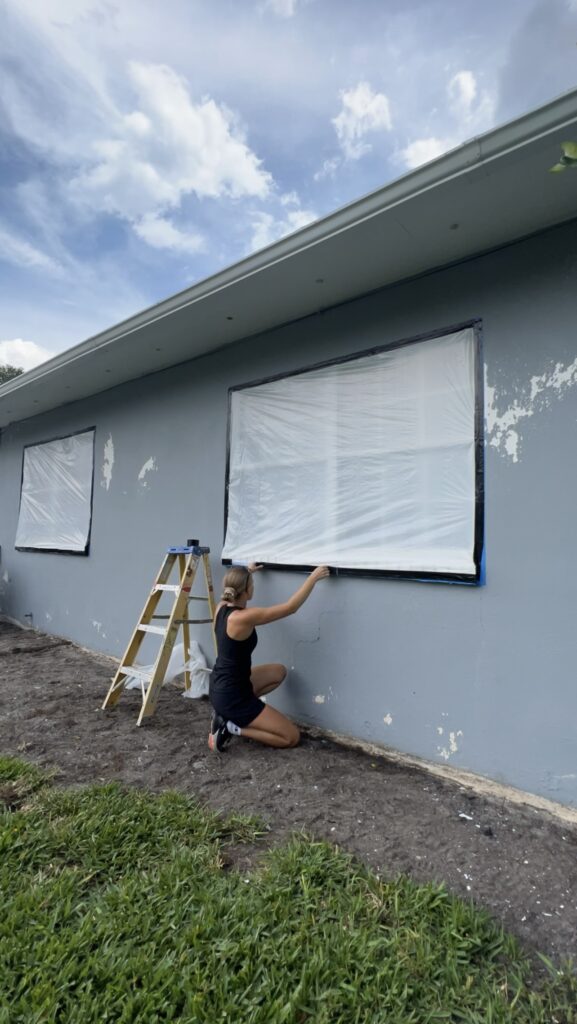
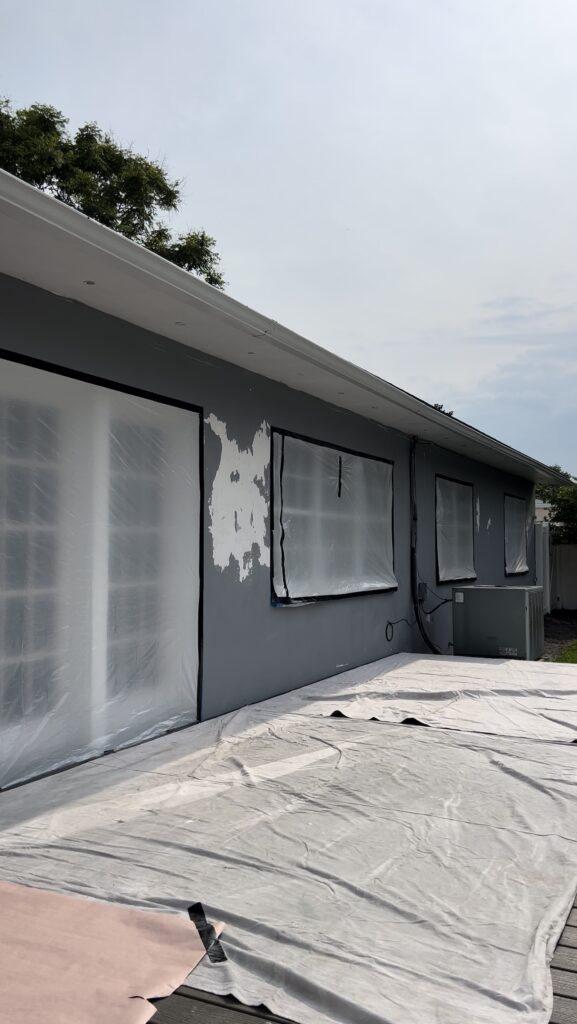
Cover anything you don’t want to get paint on with drop cloths, plastic wrap or masking paper. Since I’m spraying the house I covered all the windows and doors with plastic.
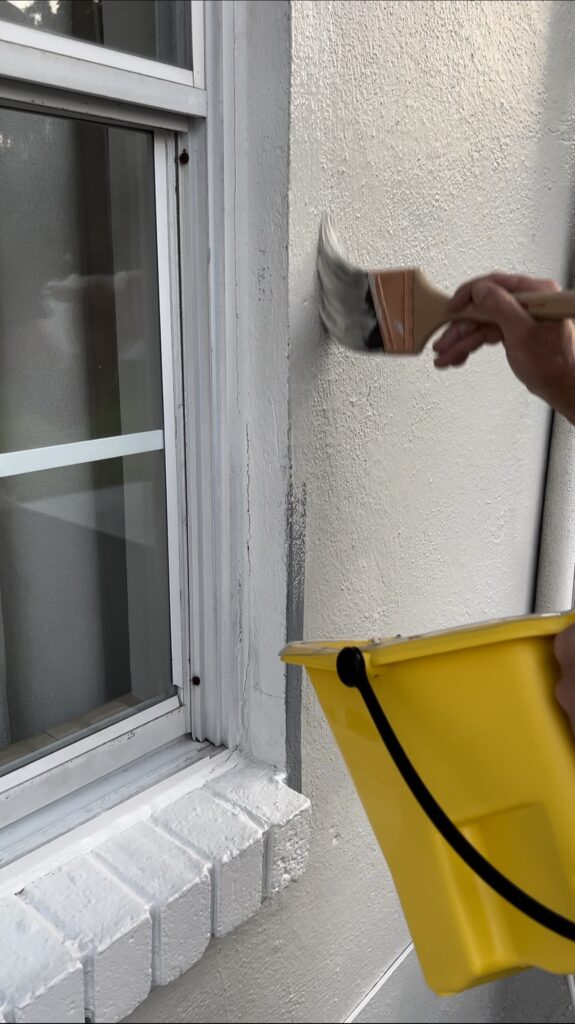
We are leaving the white paint around the window and door jambs. It would’ve been best to place the tape right over the door jamb. But my tape wasn’t sticking and I was worried the paint sprayer would blow the tape right off. Instead, I applied a border of tape right to the face of the wall. Then used the duct taped the plastic wrap right to the blue tape. We’ll go back around with a paint brush and cut in around the windows and doors once everything is sprayed.
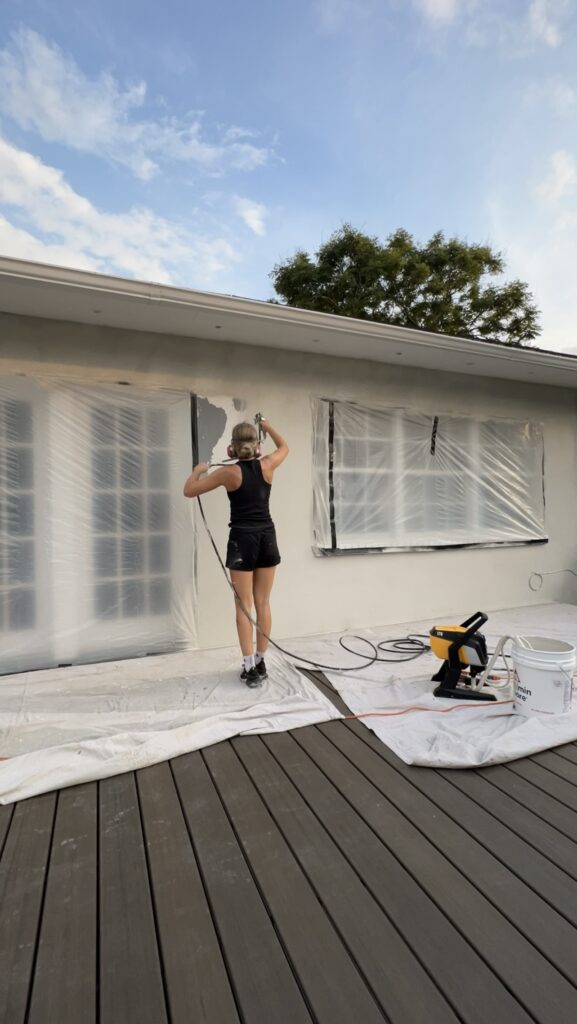
Cover or plastic off your deck, furniture, light fixtures, bushes / landscaping, grass, etc. Anything that’s close to the house and can be affected by overspray. One thing we should have done was cover the AC unit.
Step 7: Prep Painting Supplies
For this project I’m using the Wagner Control Pro 170. Check out my blog post HERE on my go to paint sprayers. This Control Pro 170 applies a consistent, high quality finish on large home improvement projects such as decks, fences, exterior house siding, interior walls, and more! I’ve used this sprayer to stain the slat fence and to paint the entire exterior of my parents vacation rental. And I’m excited to use it again here!

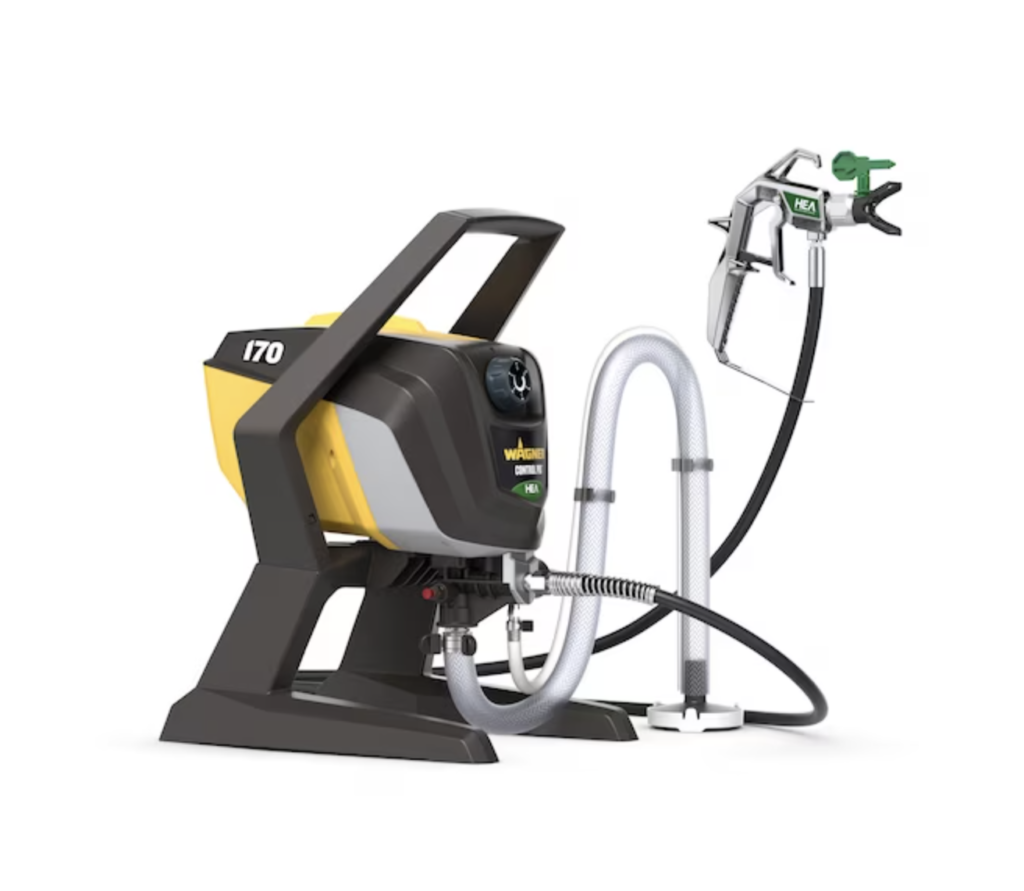
This sprayer pulls paint directly out of a 1 or 5 gallon container, which means less annoying refills. The control pro also cuts overspray up to 55% compared to other airless paint sprayers. One of my favorite features is the incredibly light spray gun which saves my wrists. You can find the link to this Wagner paint sprayer in the description below.
We have the paint sprayer all set up, now take this time to get any other painting supplies out and accessible. Be sure you have your protective equipment ready: Gloves, safety glasses, ear pro, respirator mask.
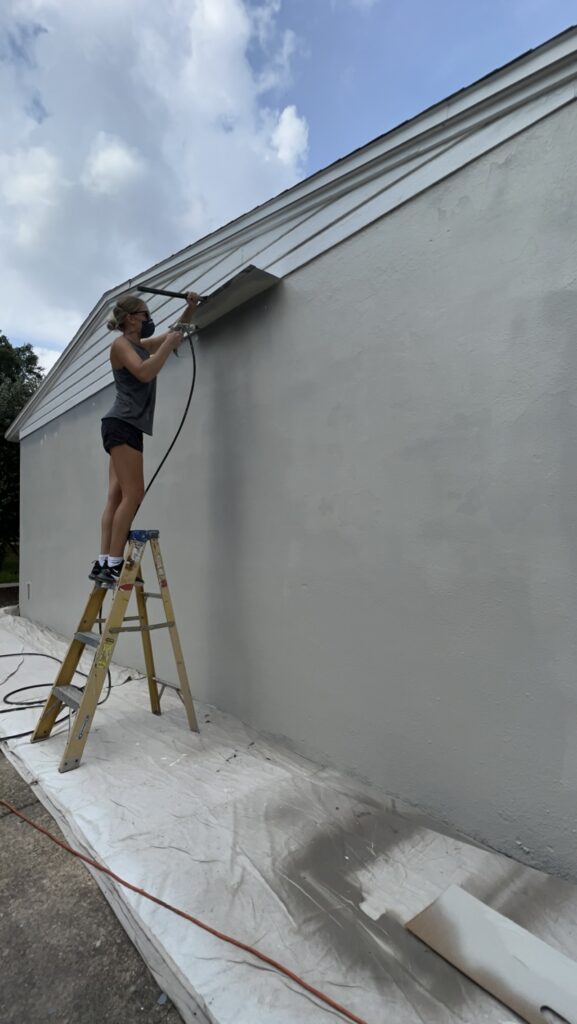
In addition to the paint sprayer I used a 4 ft ladder, some cardboard shields to spray close to the ground and then used a metal shield with a handle that I could use for the sides and top of the walls. Have some rags handy in case of any spills or to wipe up any accidental overspray.
Step 8: Paint!!
Make sure you’re in the clear of rain on the forecast. I’ve had to delay this painting project many times due to the rains down here in Florida. So be sure to give yourself a big enough window of time
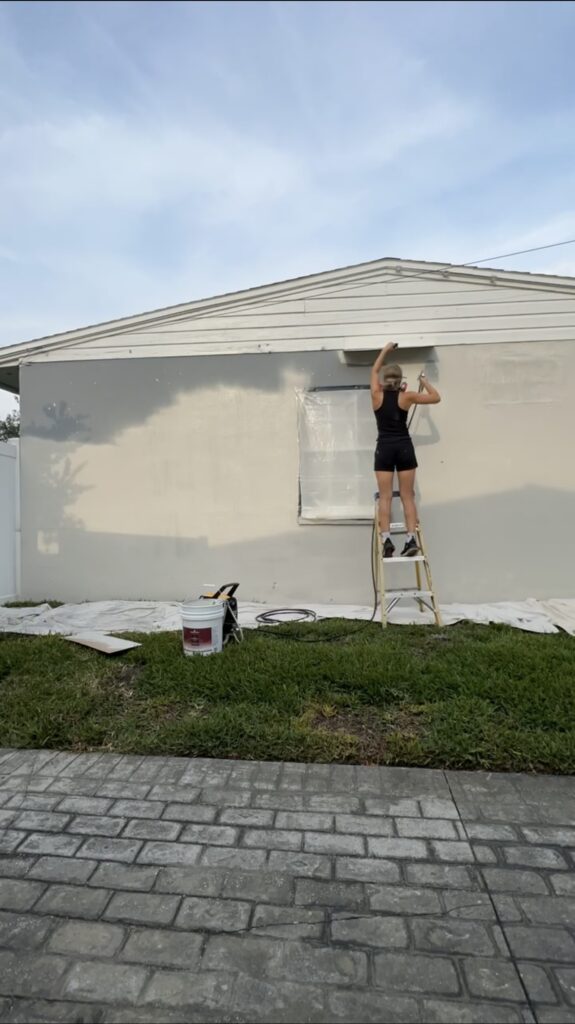
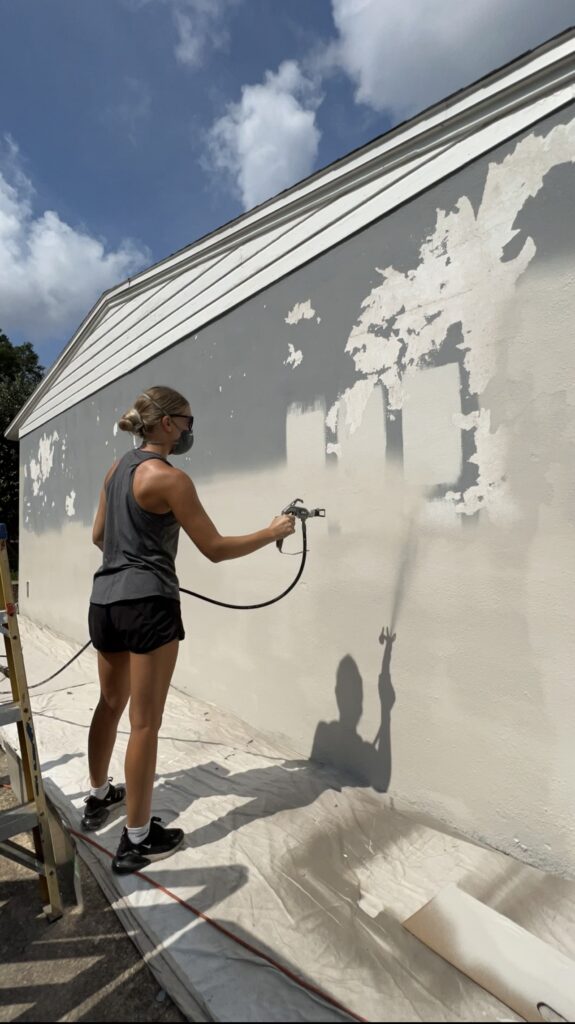
When using a paint sprayer here are a few tips:
Overlap each stroke by about 50%. This will ensure an even coating.
Flex your wrist as you move as the gun should always remain perpendicular to the wall
The distance from the spray gun to the spray object should not exceed 18 inches. Between 10-12” is ideal.
Overlap the pattern about 50 percent. Release the trigger at the end of each pass. Start the gun in motion before pulling the trigger.


If you’re using ladders – be safe, especially being around power cords and hoses.


Step 9: Remove Tape & Make any Touch ups
After spraying be sure to remove tape right away and make any necessary touch ups.
Step 10: Cleanup
Cleaning up and disposing of waste is also an important part of the process. This includes cleaning your paint sprayer, any brushes and rollers, disposing of leftover paint, and recycling or discarding any used materials.
Let the paint cure according to instructions.
To keep your paint job looking fresh and new, you should regularly check for damage or wear and repaint as necessary. Depending on the type of paint, type of siding and the climate in your area, you may need to repaint every 5-10 years.
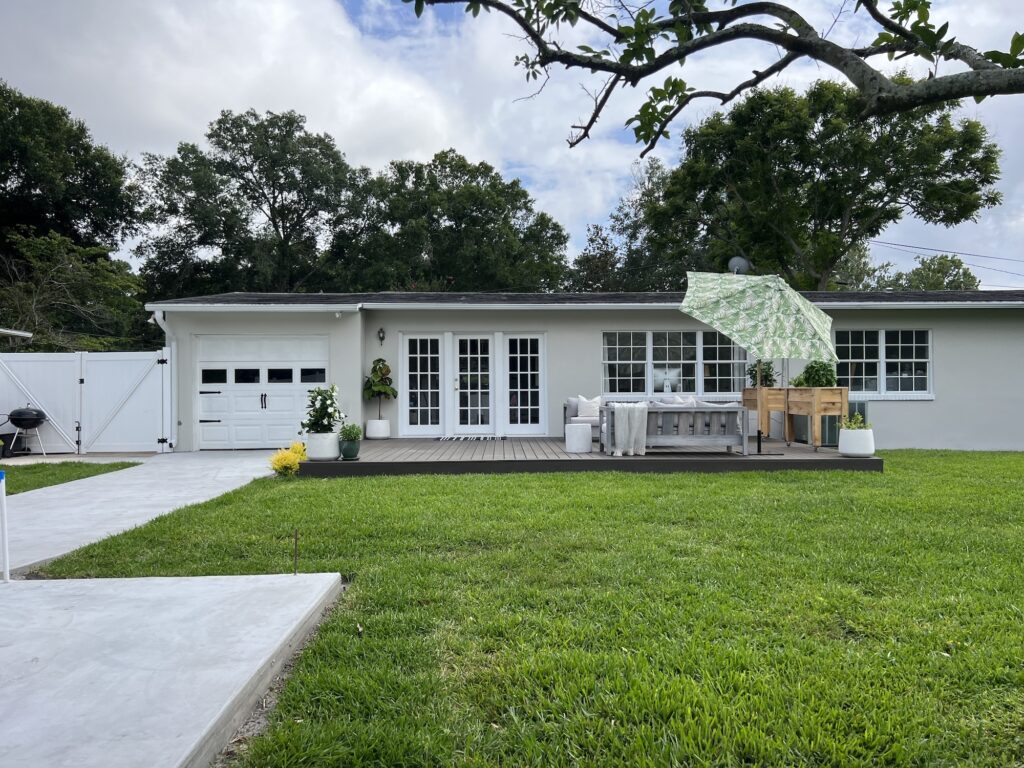
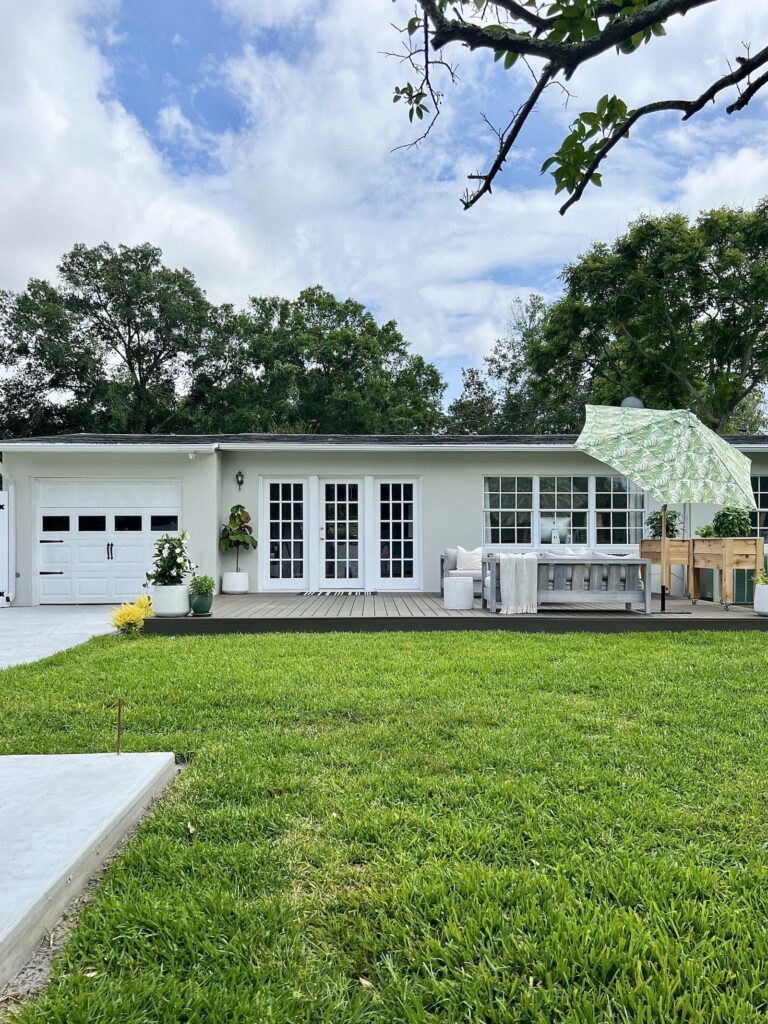
I am in love with the new paint color. I plan to add some stained wood shutters to our windows and replace the wood siding at the peaks of the roof with some cedar shakes to soften the exterior a bit so stay tuned for those projects coming soon.

That is all on painting your house! I hope you learned some helpful tips. If you’re painting your home anytime soon, good luck!