I’m in the process of turning my Tuff Shed into my dream workshop!! I previously installed tongue and groove board on the ceiling (check out the video tutorial here). Now, I am going to walk you through how to whitewash the wood and different techniques that I used to achieve this beautiful finish!

TOOLS
| Whitewash brush | https://bit.ly/3QGmW8G |
| Portable Scaffold | https://bit.ly/3DK7SPz |
| Painters Rags | https://bit.ly/45gde1e |
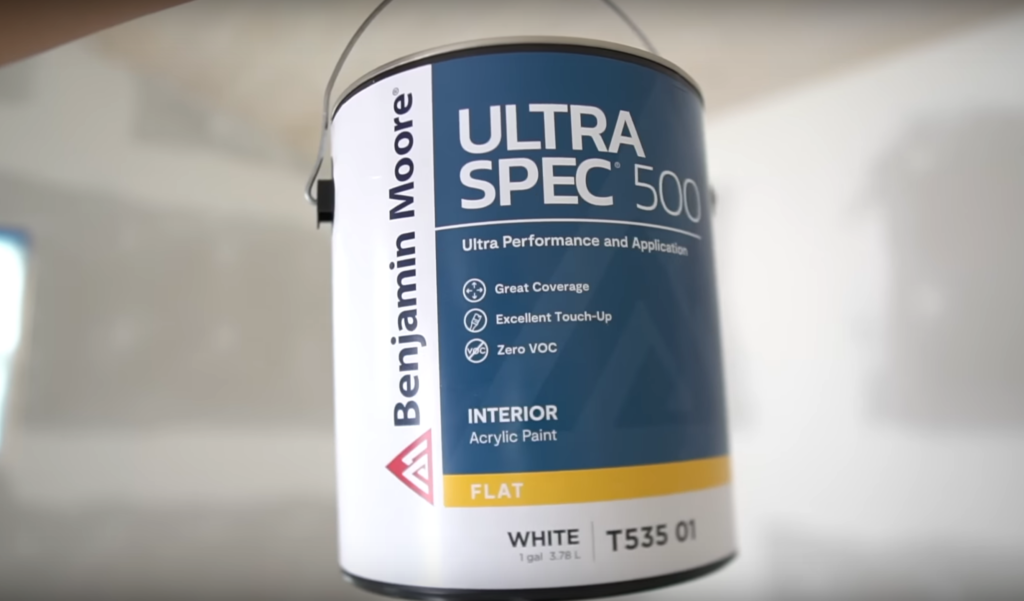
| Benjamin Moore Ultra Spec 500 flat white paint |

Testing Stain
Before I decided to whitewash, I tested out a ton of different stains. I’ve never had great luck staining pine. Even going through all the proper sanding and using a pre stain wood conditioner – darker colors tend to still be blotchy so I decided to keep things nice and light and stick to a whitewash. I did test a whitewash stain called Antique White by Varathane and it looked great – but they only sold the small quart sized cans so I decided to make my own whitewash with white paint!
Ratio & Application Plan
The paint that I’m using is just a flat white paint from Benjamin Moore – they recommended this Ultra Spec 500.

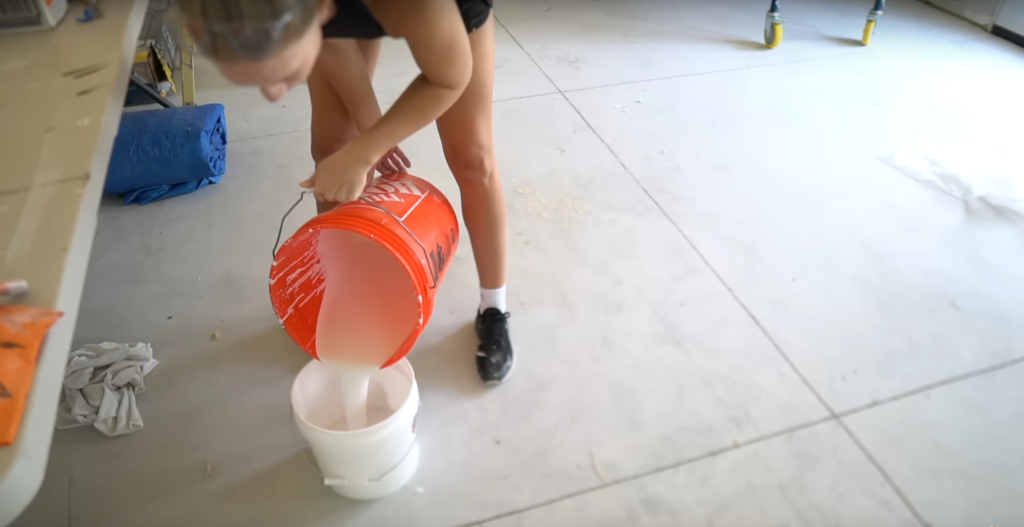
I’m using a ratio of 1 part paint and 1 part water.
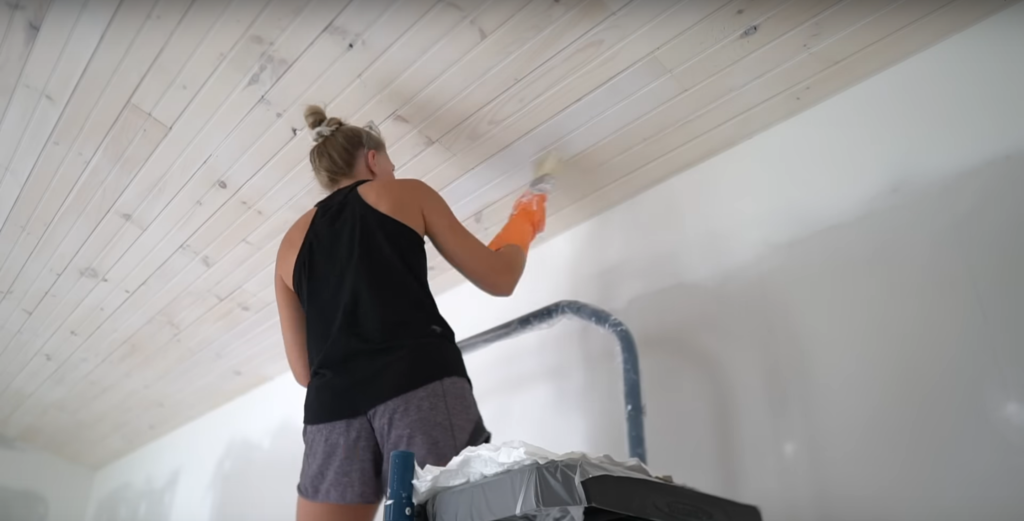
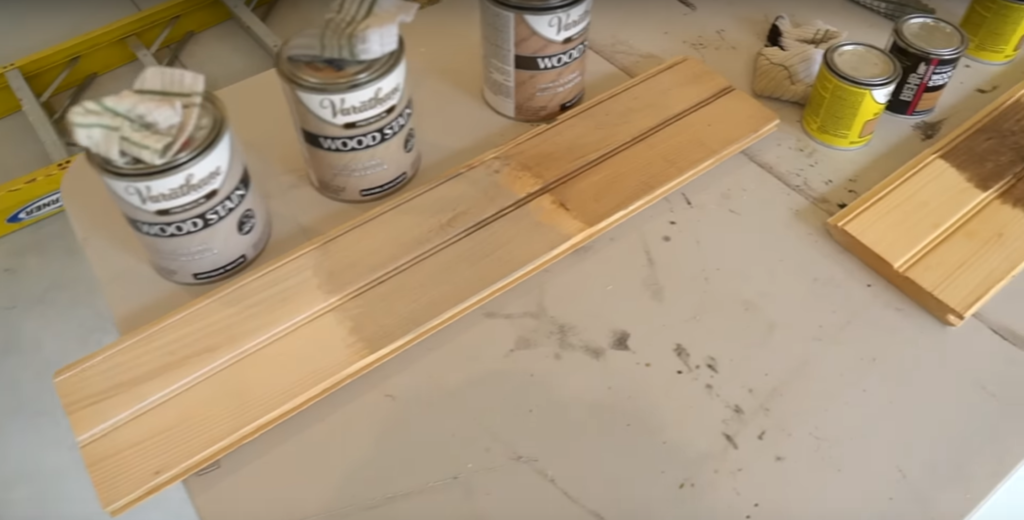
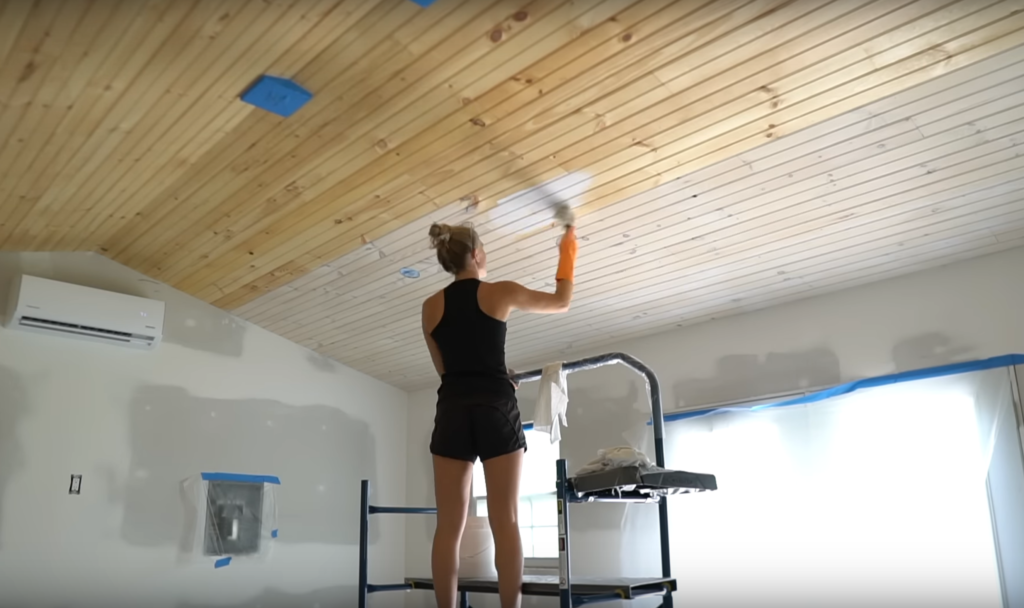
I tried out a few different techniques on the same un-sanded tongue and groove board that’s on the ceiling. To apply the whitewash I used a large whitewash brush.
For these first 2 boards here, I applied the whitewash with the brush until the board was fully covered and then wiped it off right away with a clean rag.

For the next board I applied the whitewash with the brush, let it sit for a bit and then wiped it off.
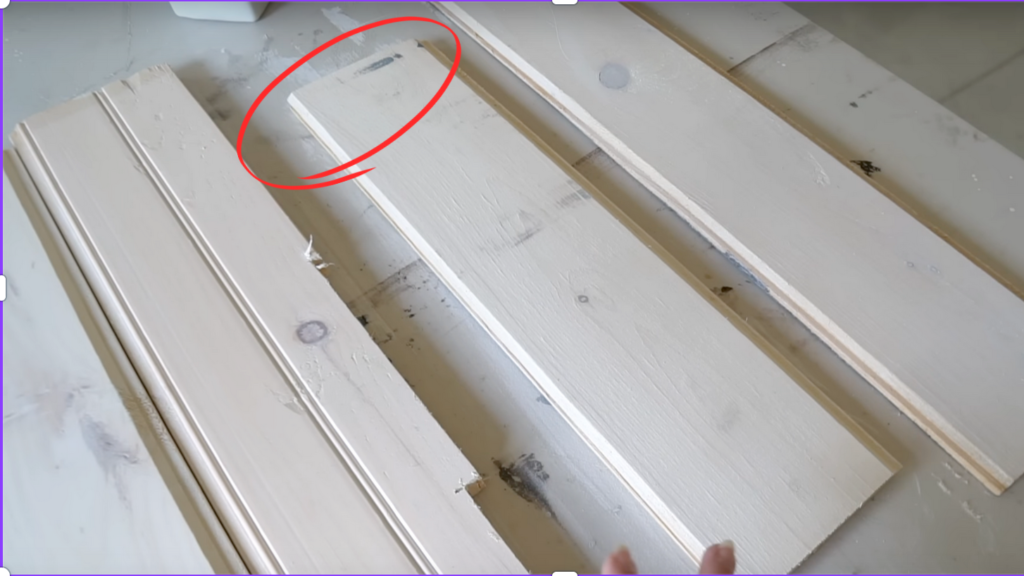
And the last board I applied the whitewash with the brush and left it – I didn’t wipe it off at all.

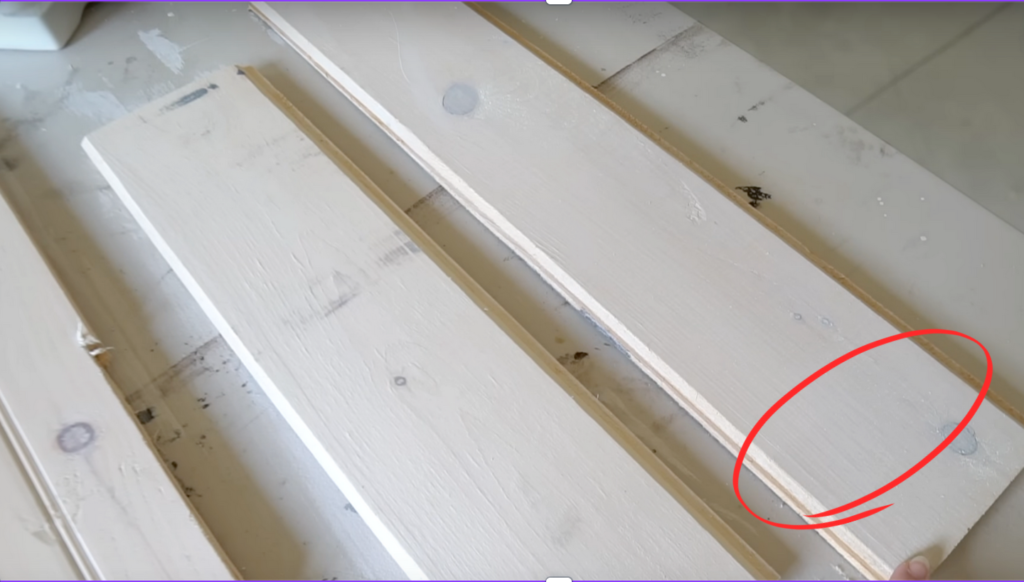
I recommend the first technique of brushing it on and then wiping it off right away. This leaves a nice soft finish without any harsh brush strokes
The next board where I waited to wipe off the whitewash looked good too but it did leave the wood looking a little more white and lost some of that transparency.
The last technique I don’t recommend of brushing it on and not wiping it off. You can see all the brush marks and it just doesn’t finish as nice.
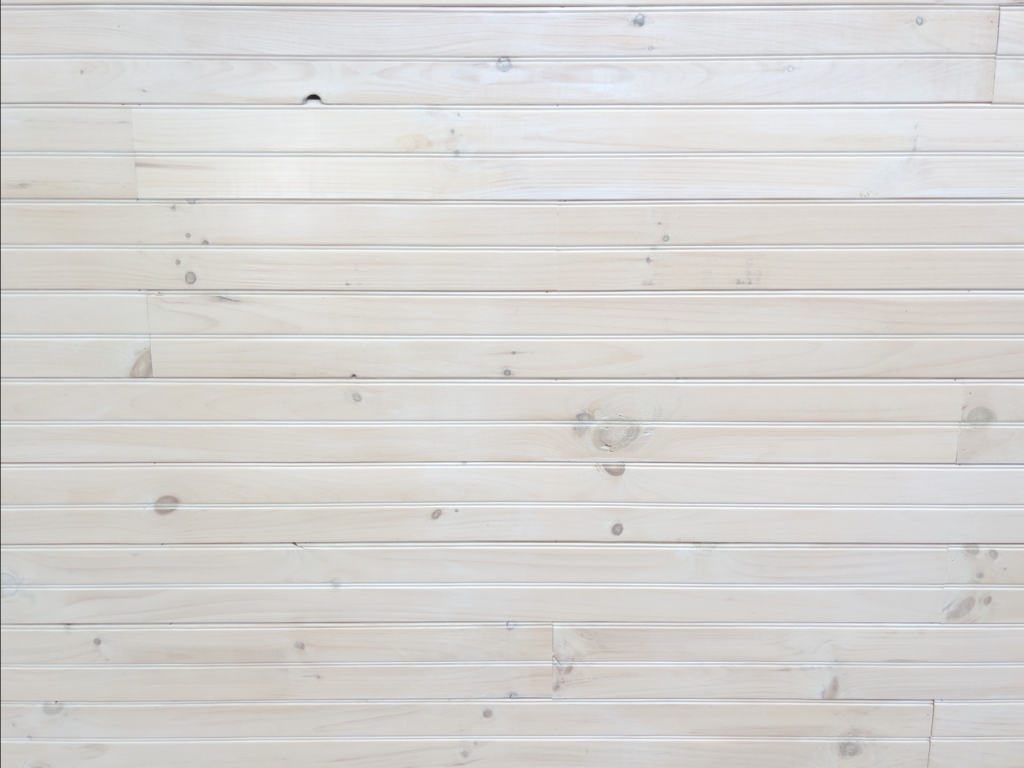
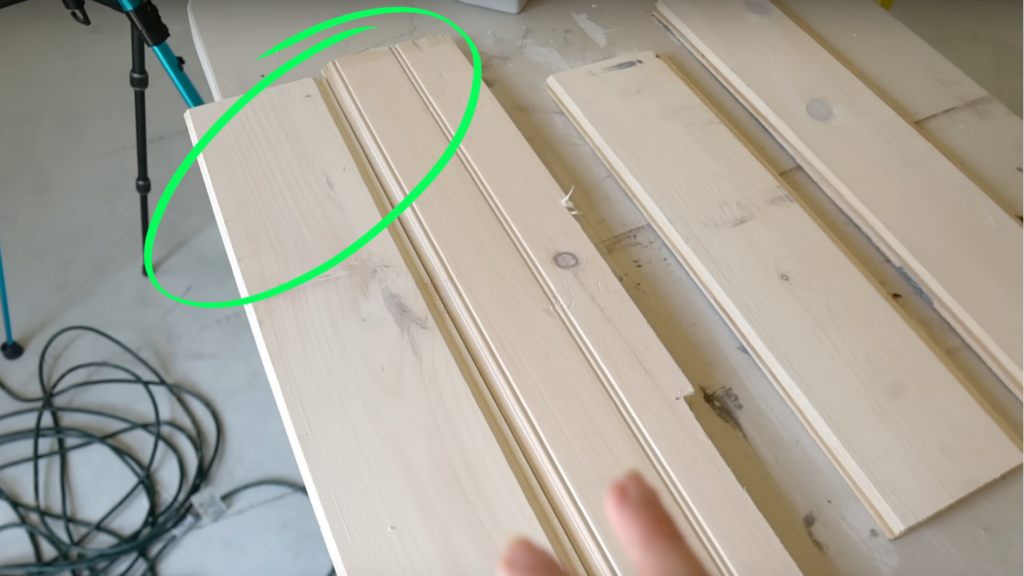
Here is a piece of unfinished pine next to it for reference.

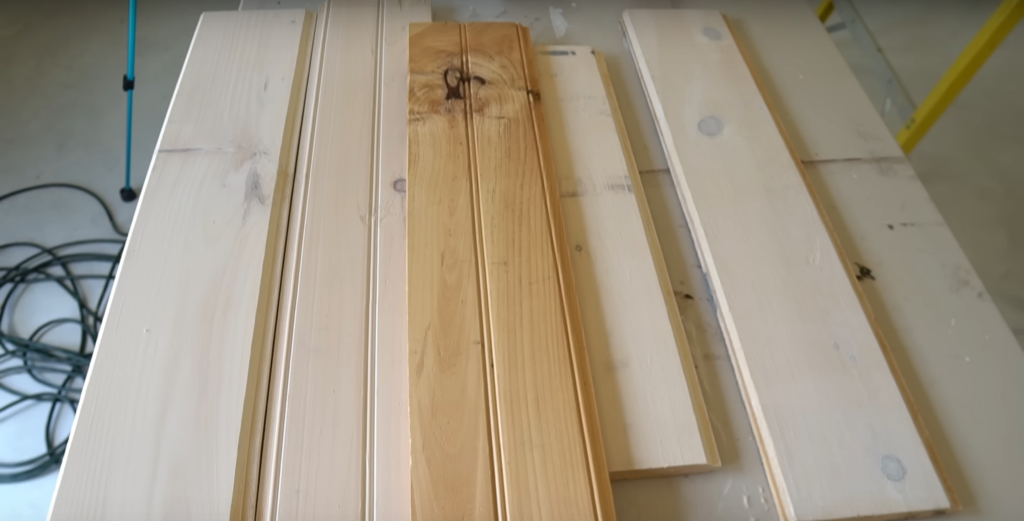
With this ratio and application technique, there’s just enough white to take out the yellowness of the pine but it’s still transparent enough where you can see the character of the wood grain and knots.
** Spend some time playing around with the ratio until you achieve the look that you want. I’ve also seen people use paint thinner instead of water so that’s an option too. Whatever you decide to go with just make sure you’re mixing the same ratio every time.
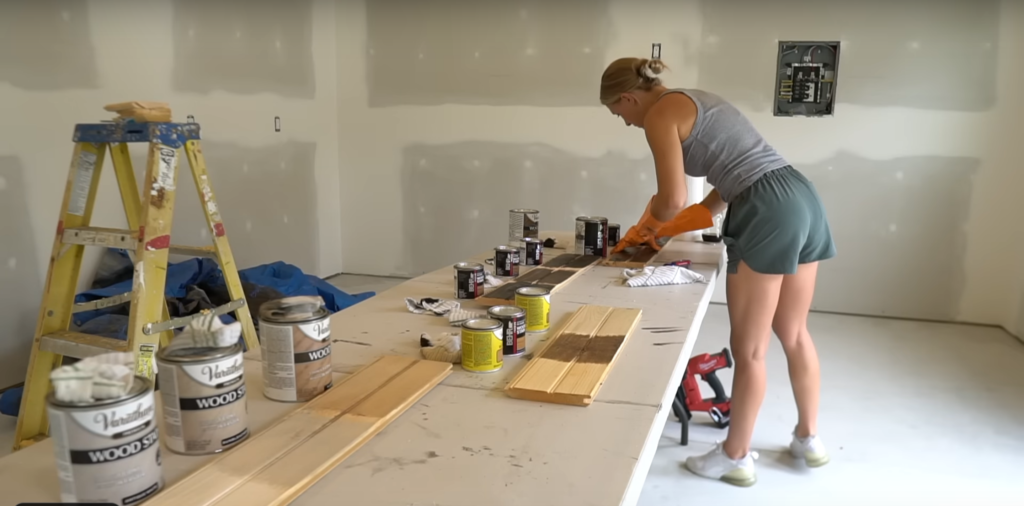
Prep
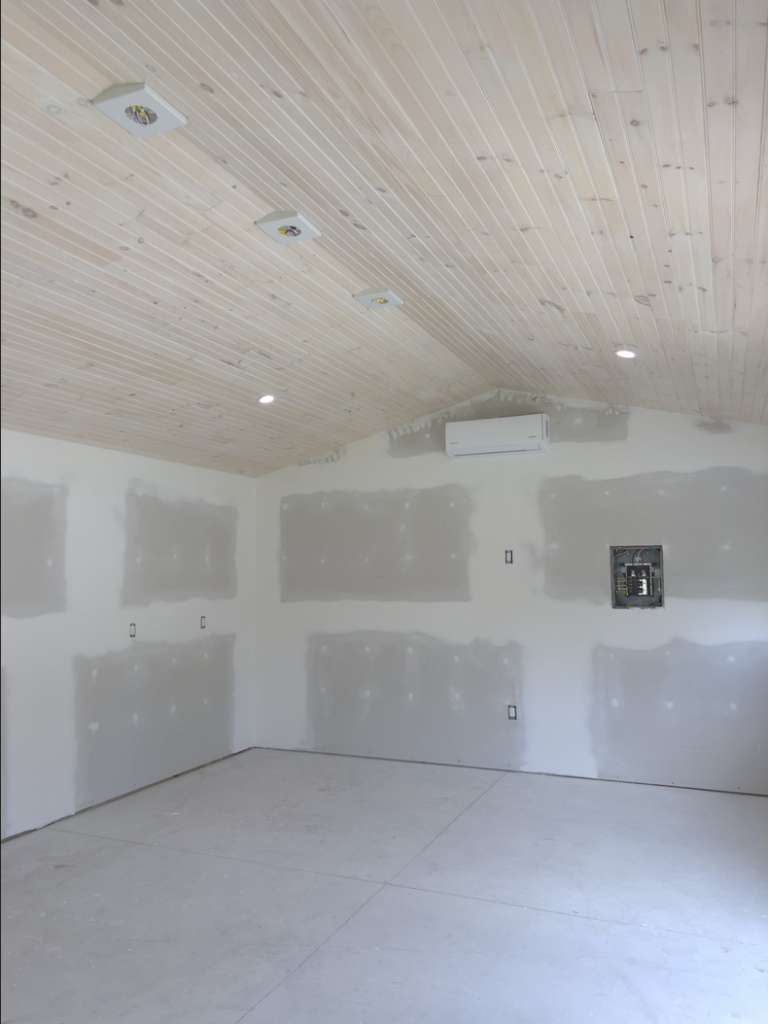
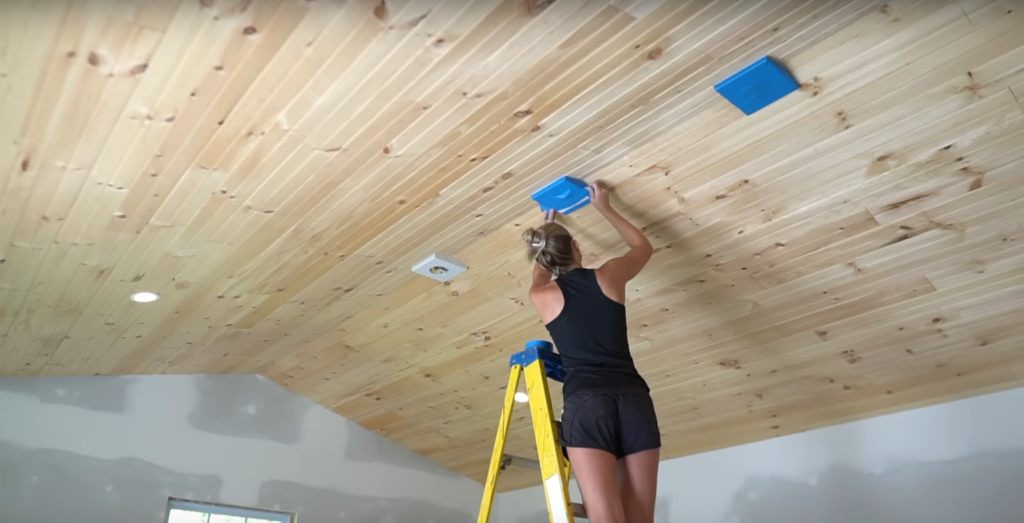
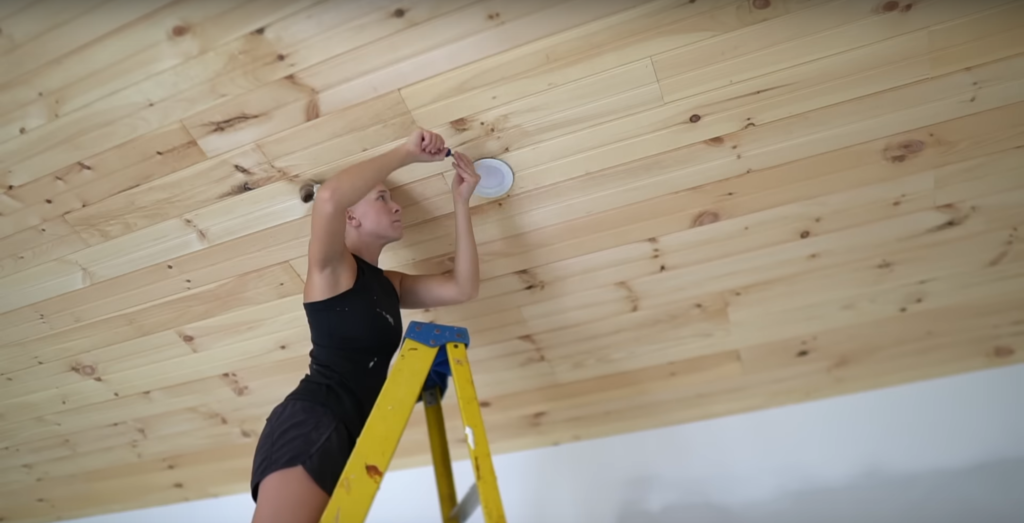
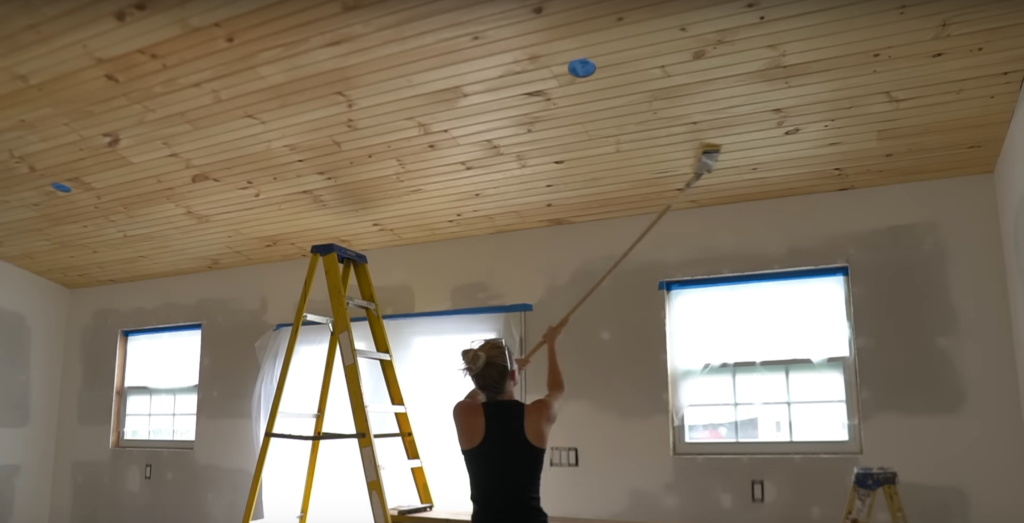
If you’re whitewashing directly on your walls or ceiling like me you’ll want to tape off fixtures and plastic off anything you don’t want to get paint on. If you’re working on a ceiling like me you’re going to have a lot of drips so be prepared for that.

** It would have been A LOT easier to whitewash the boards before installing them, but if you’re going to do this you need to have enough space to store all of the boards while they dry. (We were hanging drywall and doing other things in the workshop so we just didn’t have the space for it. Applying whitewash directly on the ceiling just made sense for our situation. It may be a bit more inconvenient working up high but to be honest I think it saves time applying it this way)
Whitewash Tips
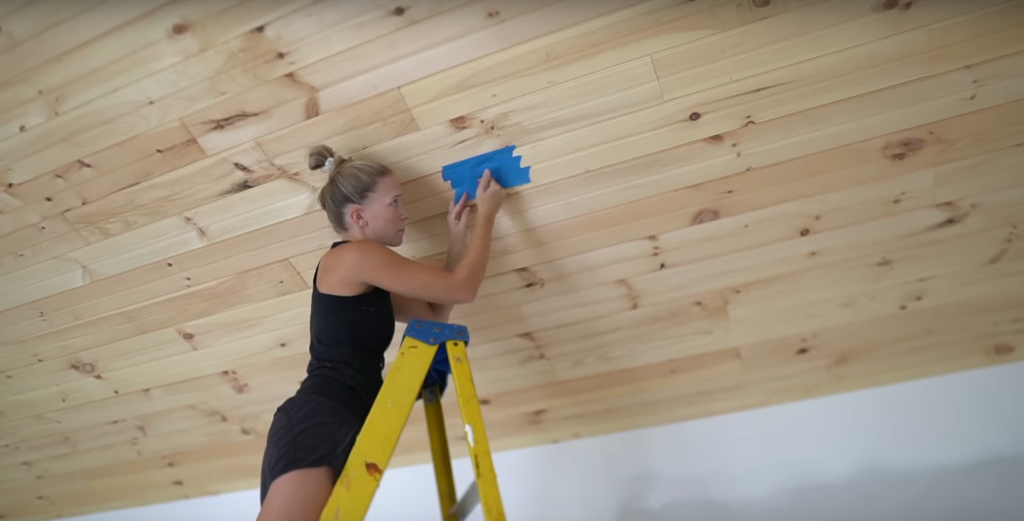
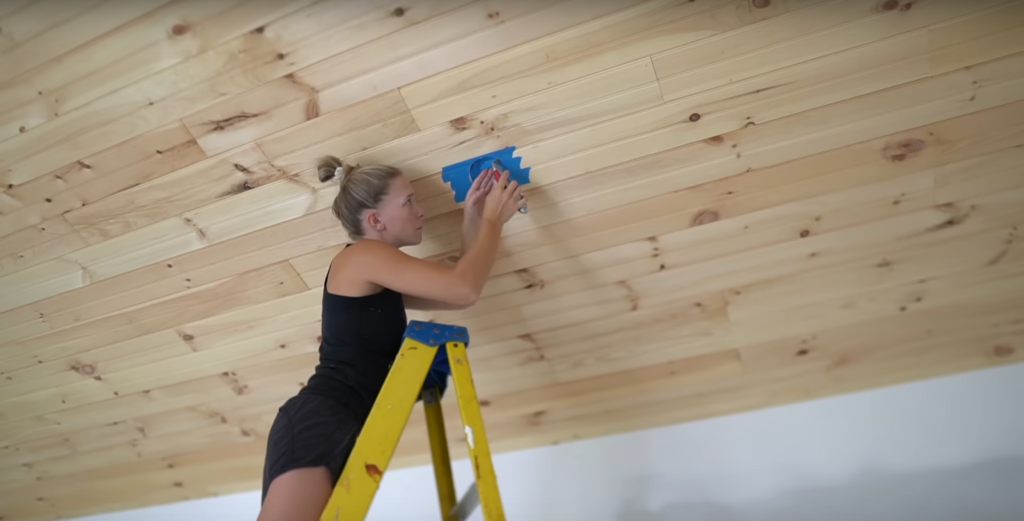
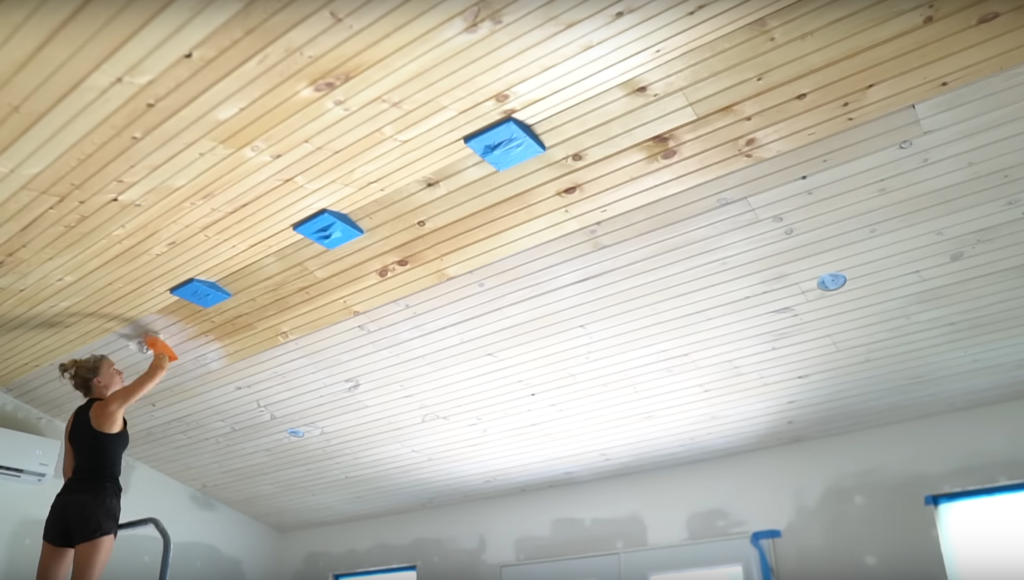
I mixed half a gallon of paint with half a gallon of water into a small bucket. As I mentioned before, I’m applying the whitewash with a large brush and then wiping it off right away with a clean rag. I bought a big bag of painter’s rags and made sure to have plenty of rags nearby. You’ll want to switch out your rags often to wipe off the excess whitewash.
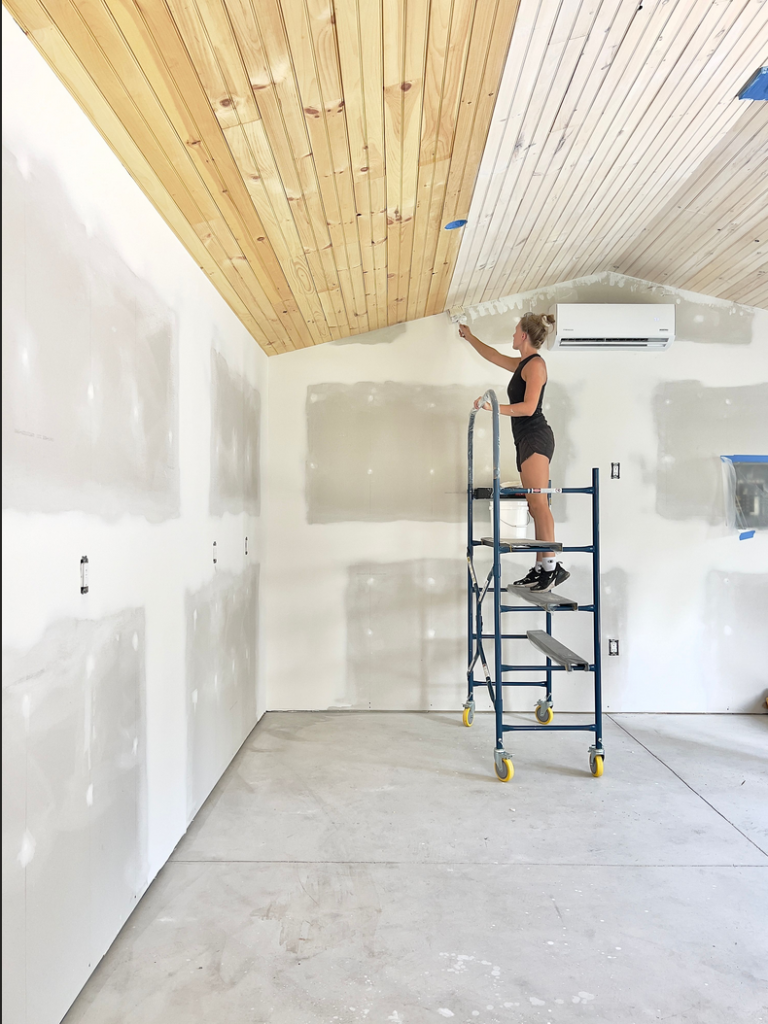
I recently bought this portable scaffold and I love it. We found ourselves renting a scaffold too often from our home improvement store so we decided to just buy a small one. It folds down nice and compact and I love that it has a safety rail so I feel secure working up high.
I’m actually just planning to just use it as a storage shelf once the workshop is finished.

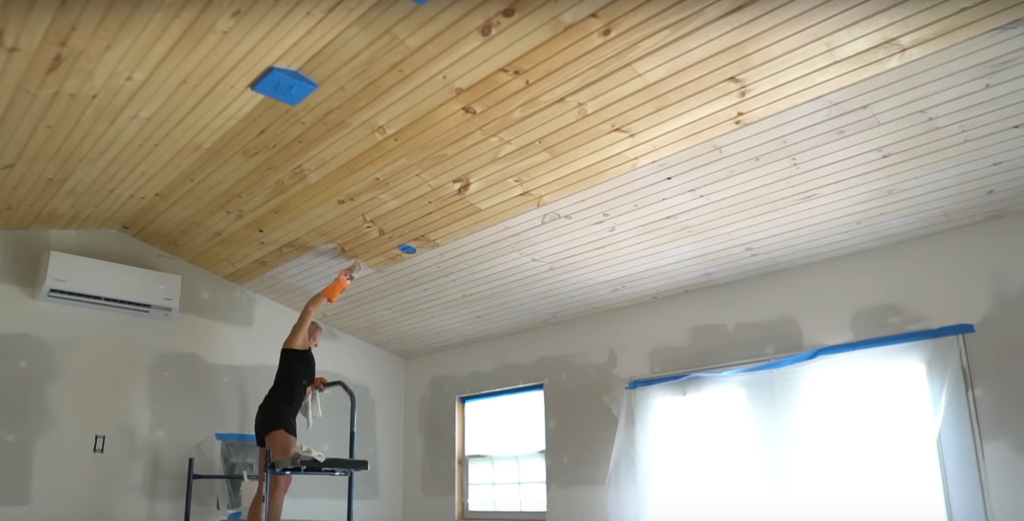
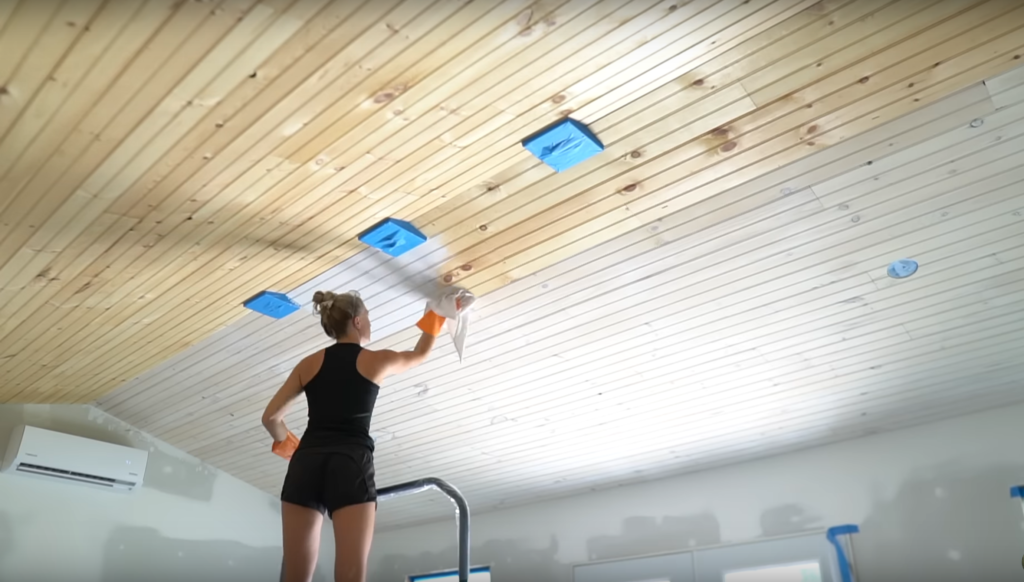
I found it worked best to work in about 5 or 6-foot sections only doing about 3 boards at a time.
- I didn’t want the whitewash to sit for too long before wiping it off so working in smaller sections like this worked the best.
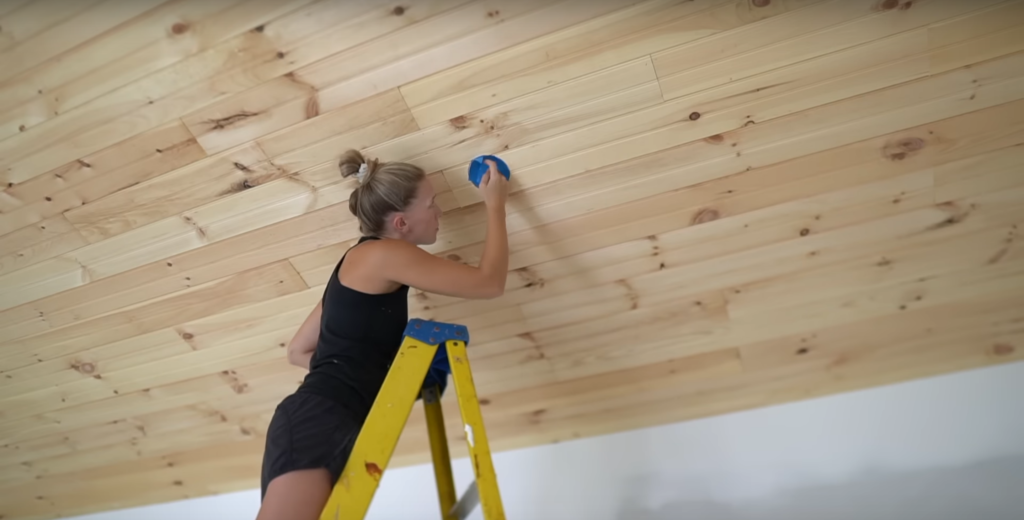
- I also found that it worked best to only work within the same 3 or 4 boards going all the way down. If I overlapped any dried whitewash then you could see white lap marks. To prevent lap marks I only did a few boards at a time and worked fast through each row to maintain a wet edge.
Touch-ups
I went back and did some touch-ups on any seams that I may have missed. I also went over some of the more yellow boards one more time.