

Holy moly the office built-ins are finally done! This has been a long and tedious project but it was well worth it and I’m so happy with how they turned out. I have always dreamt of having a beautiful home office where I could spend hours on end in while feeling creative, motivated and inspired. At last, I’m happy to show you my little slice of heaven and every step that I took to make it happen. If you missed Part 1 or Part 2 of this project go check out those posts! Thank you for following along 🙂


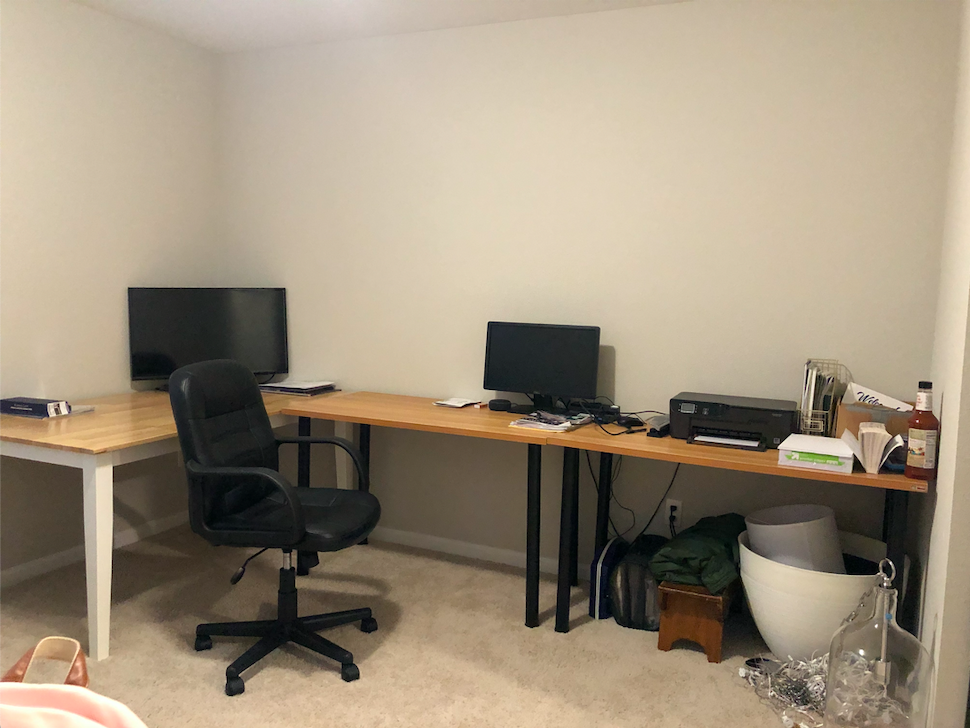
Here’s what we started with. While we did have a lot of desk space, we had no real way to organize our things.

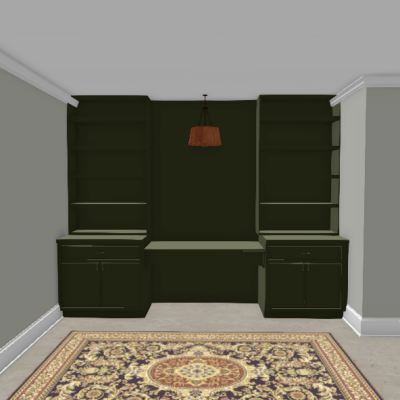
Here’s the design I drafted for our space. We wanted to do a full wall with built-ins for storage and to display our books and fun decor pieces!

![Home Office Makeover [Built-In Reveal] | HomeWithStefani](https://i.ytimg.com/vi/k6lZaSv9_Ik/hqdefault.jpg)
This post contains affiliate links. If you decide to purchase from one of the links, I will receive a small commission at no additional cost to you. Thank you for your support!
Part 1
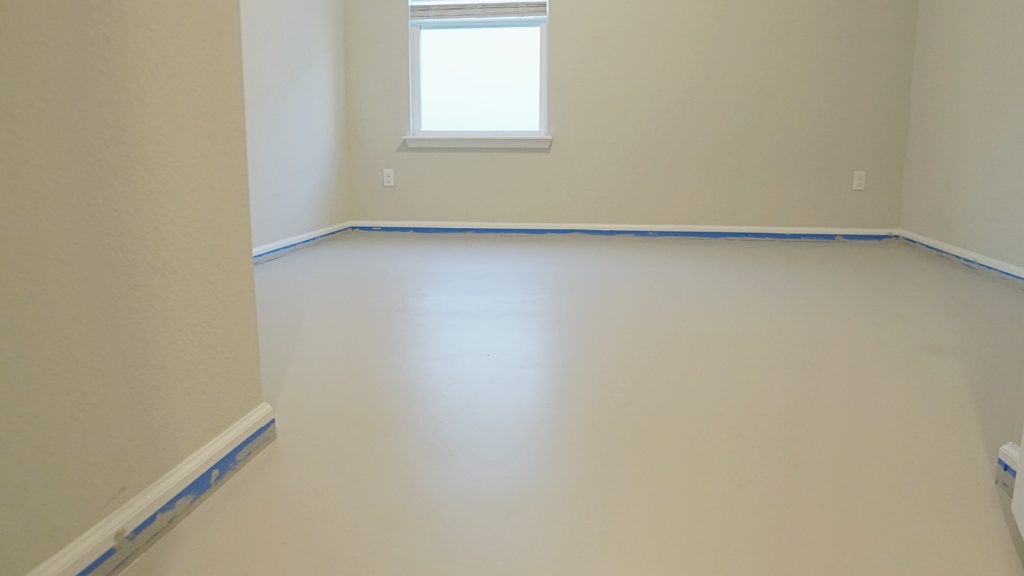
Take out carpet & paint concrete floors
Yes, you read that right. I ripped out our perfectly good carpeting and painted the concrete floors a beautiful soft gray color. Here’s how you can paint your own concrete floors.

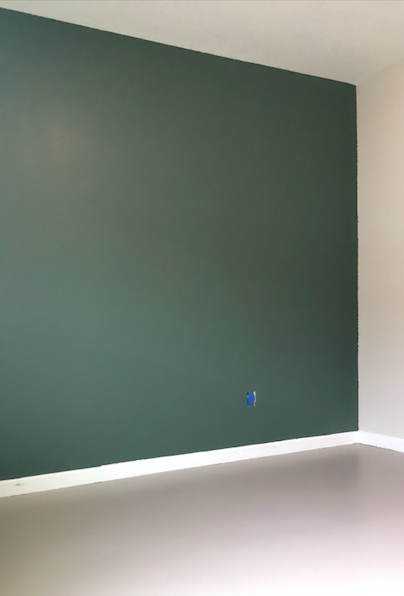
Paint accent wall
I used Benjamin Moore Pinecone Hill (shown below). I ended up painting the cabinets and repainting the back wall a lighter shade to get more of a sage green (shown in final reveal). To get the sage green color I mixed one cup of Pinecone Hill and 1 tablespoon of ultra pure white paint.

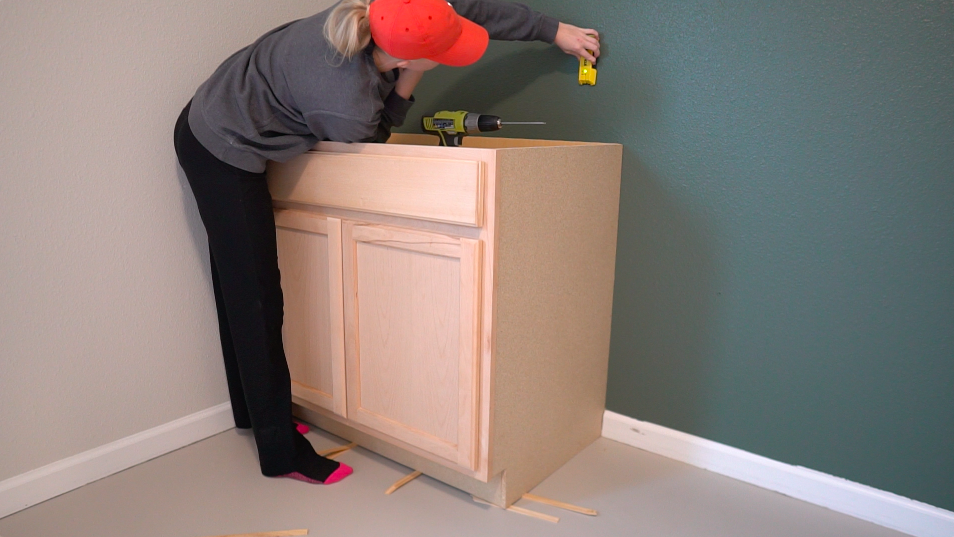
Install base cabinets
I bought these kitchen base cabinets from home depot for $139 each. There is a nice big drawer for office supplies and a deep cabinet with shelf for our printer, files, misc.

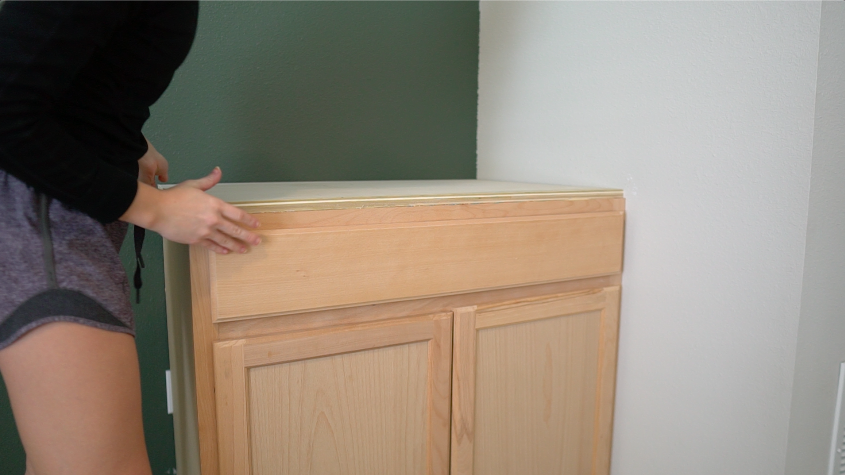
Install countertops
I used poplar plywood for the countertops and later trimmed it out with poplar boards to give the edges a nice clean look!

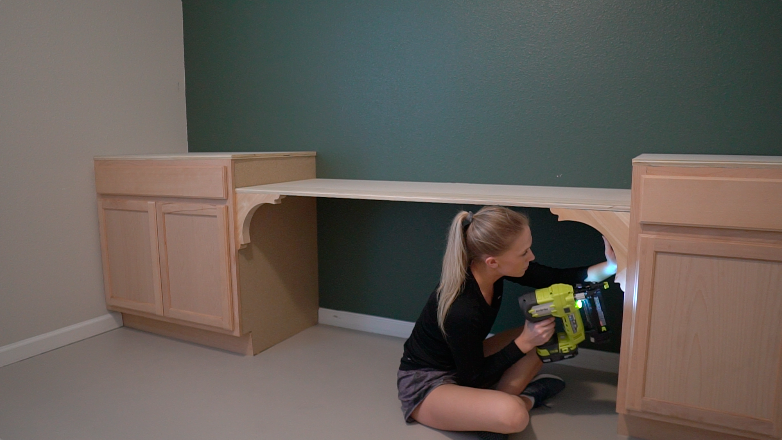
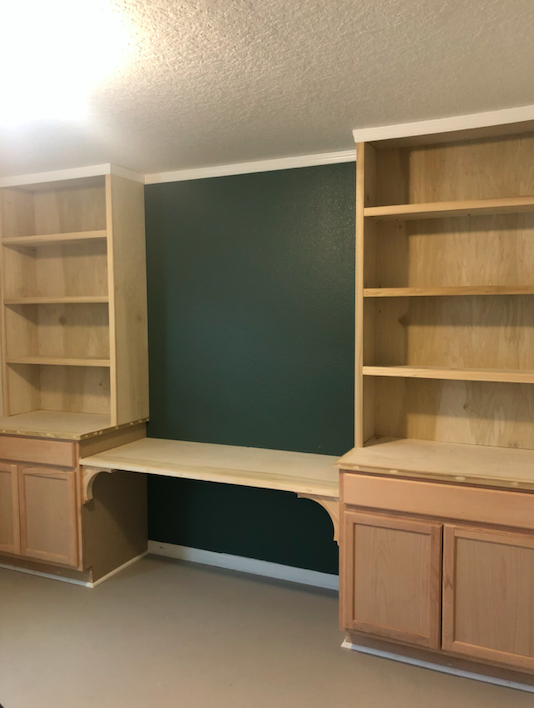
Install desktop & corbels
The desktop is also made with poplar plywood. I bought these corbels from Home Depot to add a decorative element and to break up all the boxy corners!

For more details on part 1 click here: Office Makeover [Part 1]
Part 2
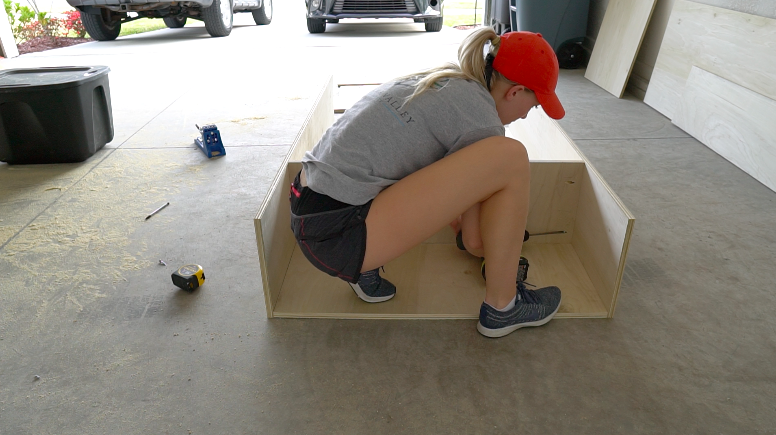
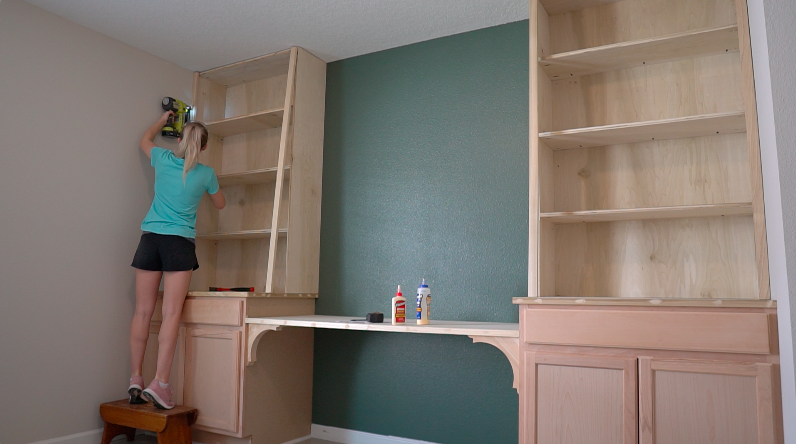
Build & install bookshelves
I built two bookshelves out of poplar plywood. Check out how to make these bookshelves! After placing the bookshelves on top of the base cabinets I screwed them into the wall so they are secure.


Trim out bookshelves
I used 1 1/2″ poplar boards to trim out the entire bookshelf. This gives the bookshelves a higher end look and adds a little bulk to the shelving!


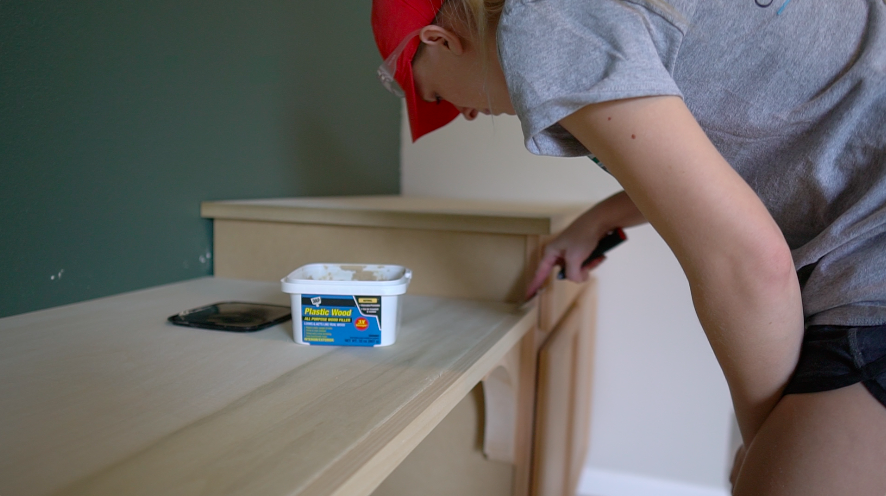
Fill nail holes
I went around and filled in all of the tiny nail holes and gaps along the whole bookshelf and trim pieces.

Sand
I used my handy dandy orbital hand sander and sanded every surface of the wood until it was nice and smooth. As always when you’re sanding in your house make sure to wear safety glasses, a mask and cover any vents in the room so you don’t get dust all over your house.


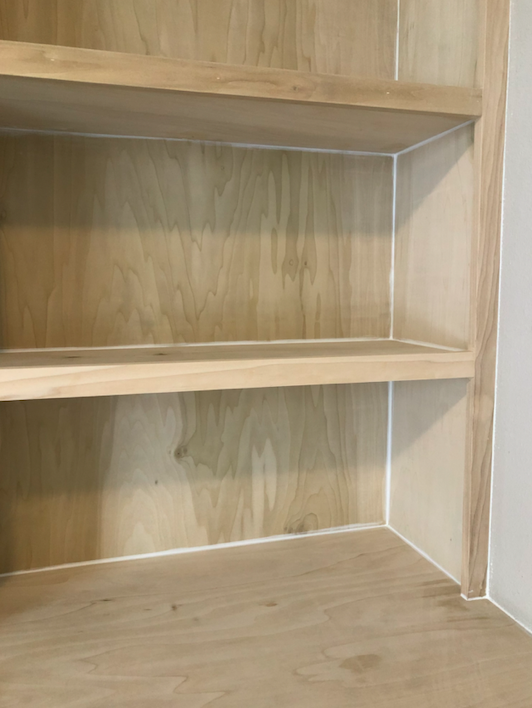
Caulk & prep for paint
I went around and caulked every single seam. This was very tedious but is necessary if you want the finished product to be clean and seamless. I used paintable white caulk that dries super fast.

For more details on part 2 click here: Office Makeover [Part 2]
Final touches
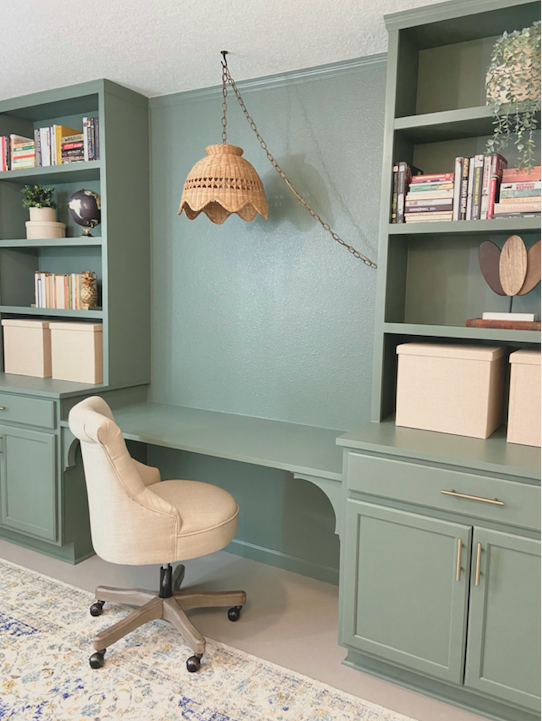
Paint
I painted the entire built-in wall green! (even the trim). To get the sage green color I mixed one cup of Benjamin Moore Pinecone Hill and 1 tablespoon of Benjamin Moore Ultra Pure White paint.


Install cabinet doors & drawers

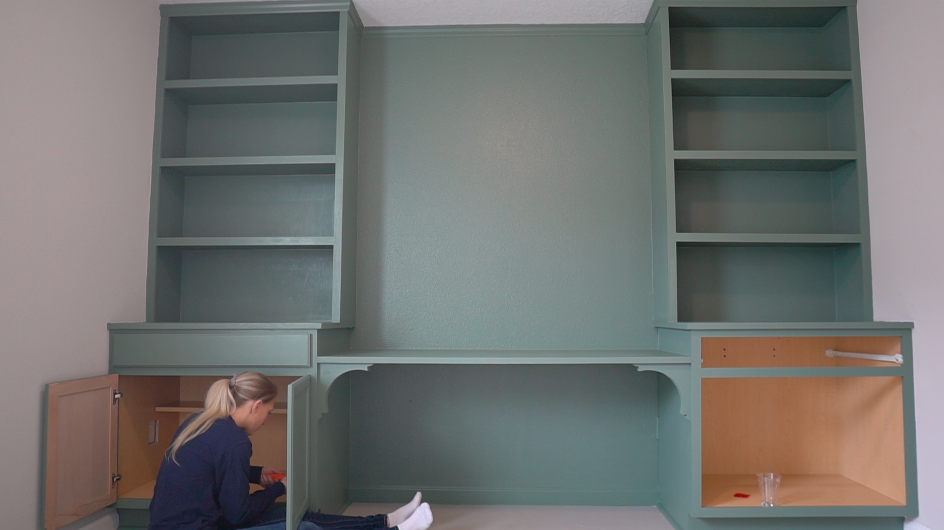
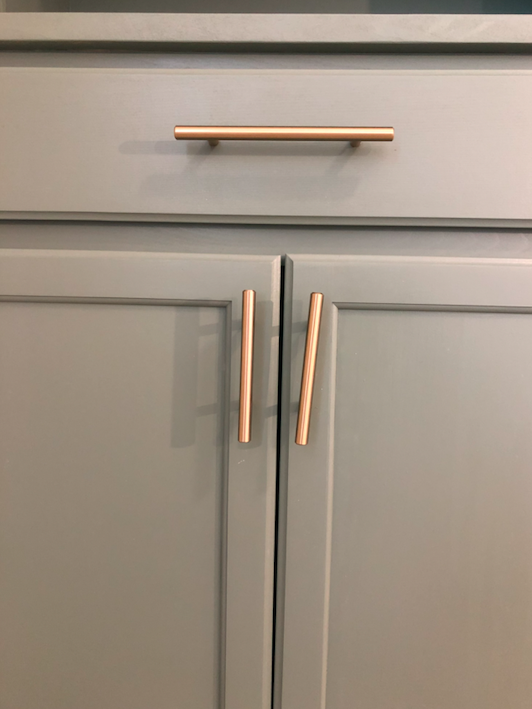
Install hardware
I love my fiancé, but I’m never leaving him in charge of installing cabinet hardware again haha…

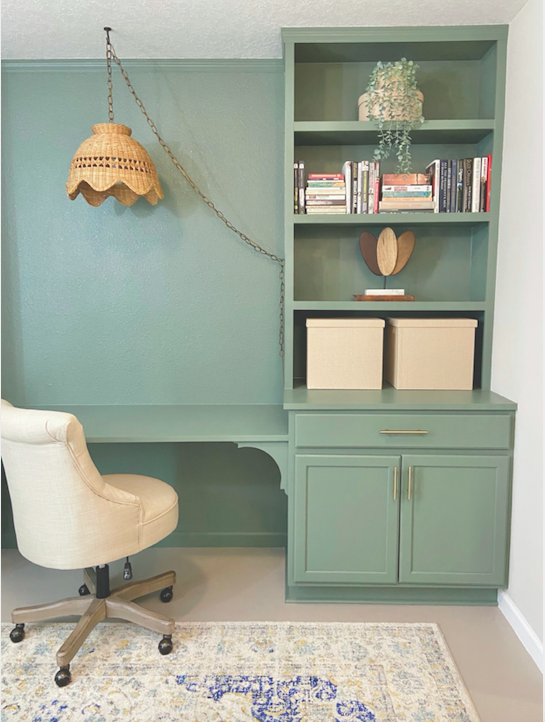
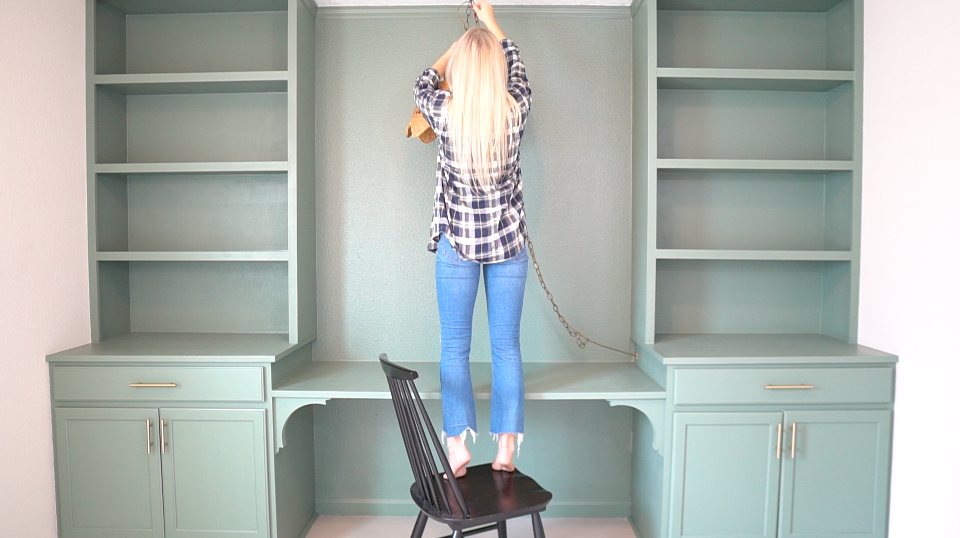
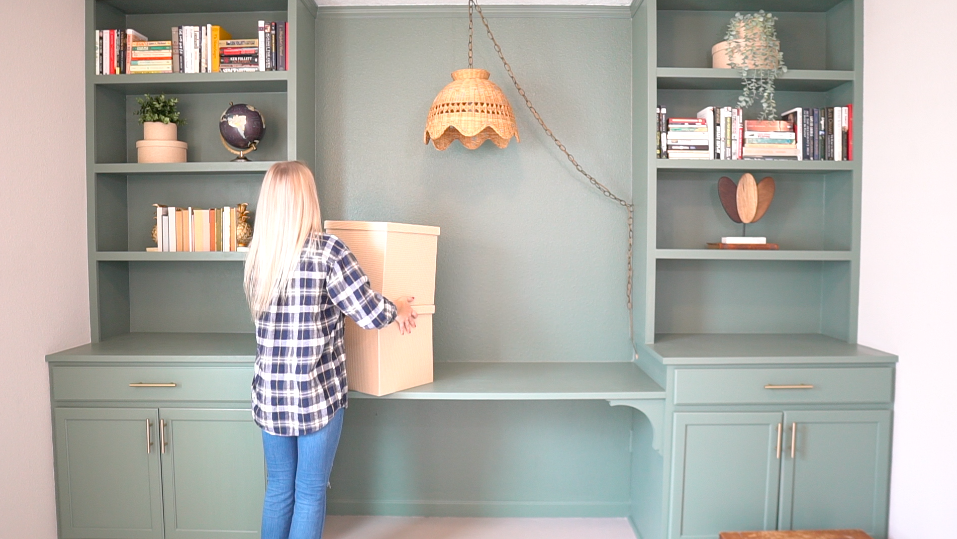
Style shelves
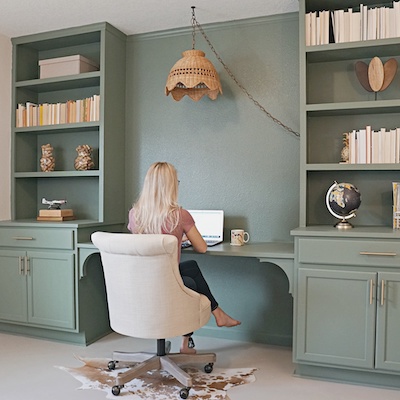
MY FAVORITE PART!! I had to wait a little over a week to let the paint cure until I could style the shelves. It took everything I had to not immediately put things on these shelves, but I managed to hold off.


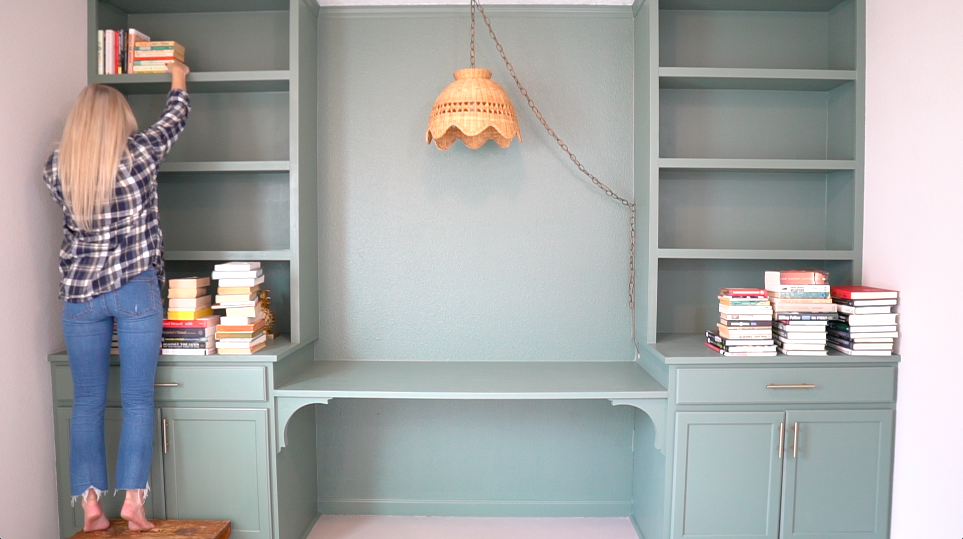


I hope to add another small functional desk in the office so Devin and I can both work in here at the same time if we need to. So stay tuned for the DIY desk project!

