
The office makeover project is underway!! Our main goal for this space is to add a wall of built-ins for extra storage and to display books/etc. We’re also planning on doing a desk in the middle of the built-ins where we can set up our computers and workspace! We considered having custom cabinetry put in but the cost to have someone else do it was RIDICULOUS!! Good thing I have an ambitious DIY attitude, because doing this project myself will save us tons of $$. I’m going to break down this project step by step so you can follow along.
Here is our vision for the office space. I designed this office in my home designer program to give us a better idea of what it will look like. Let’s see if we can get it close!

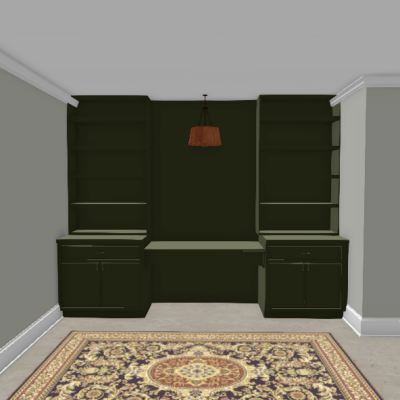
FYI: For this project, I used standard kitchen base cabinets measuring 36″W x 24″D x 34.5″H. The center desktop is 5′ but you can customize the desk to fit any size wall you want your built-ins to be on. The length of the overall wall is 11′.
This post contains affiliate links. If you decide to purchase from one of the links, I will receive a small commission at no additional cost to you. Thank you for your support!
![Home Office Makeover [Part 1] | HomeWithStefani](https://i.ytimg.com/vi/ssR6ls4NY28/hqdefault.jpg)
Step 1: Tear out carpeting & paint concrete floors
I decided to tear out the carpeting in the office. Am I crazy for tearing out perfectly good carpeting and painting the concrete floors? Maybe… but the painted concrete floors are so inexpensive and ended up looking so sleek and beautiful!! This also allows us to put a fun rug and rolly chair in the office.
If you’re crazy like me and want to tear out your carpet & paint your concrete floors check out this step by step blog post: How to Paint Concrete Floors . You won’t regret it 😉


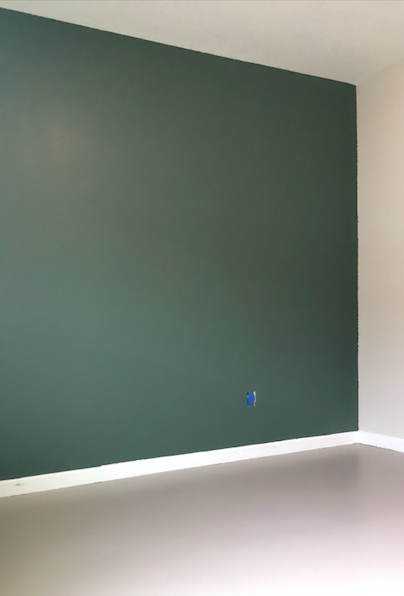
Step 2: Tape & paint accent wall
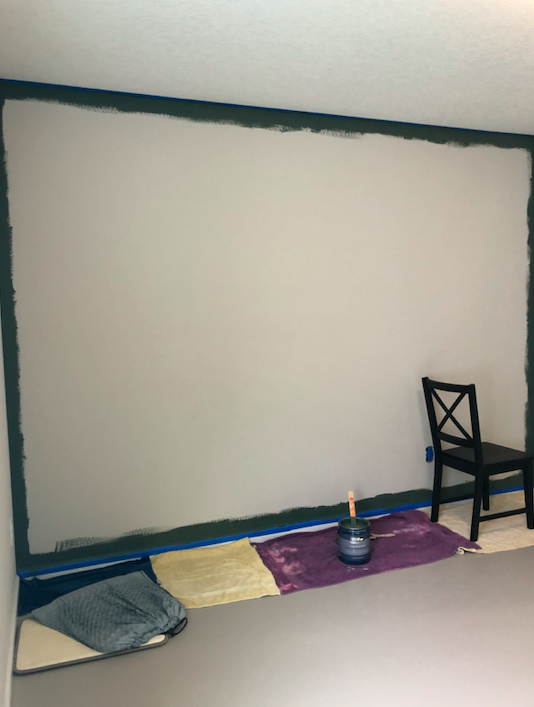
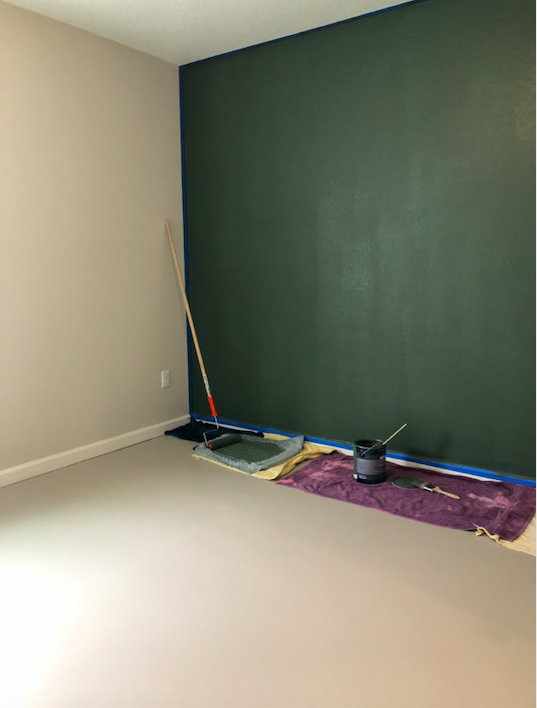
I decided to paint the entire wall and built-ins the same color. I started by painting the entire back wall so that I don’t have paint around my cabinets and bookshelves later on.
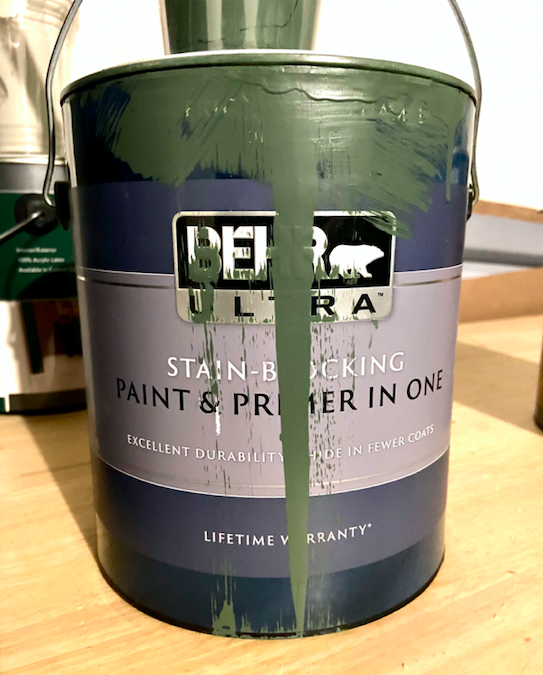
For this accent wall I used the color Pinecone Hill from Behr (paint & primer). After a few days I thought that this color looked too dark and I ended up lightening it with white paint. For every cup of green paint, I added a tablespoon of pure white paint.
Tape the edges of the wall and unscrew any outlet plates. Cover any outlets with tape. Cut in around each edge of the wall, if you’re really good at cutting in you can skip the taping part. Be careful if you have textured walls, paint can still get behind your tape.


TOOLS / SUPPLIES
| Painters tape |
| Paint brush |
| Roller W/ extension pole |
| Microfiber roller cover |
| Paint tray |
| Drop cloth |
| Screw driver |
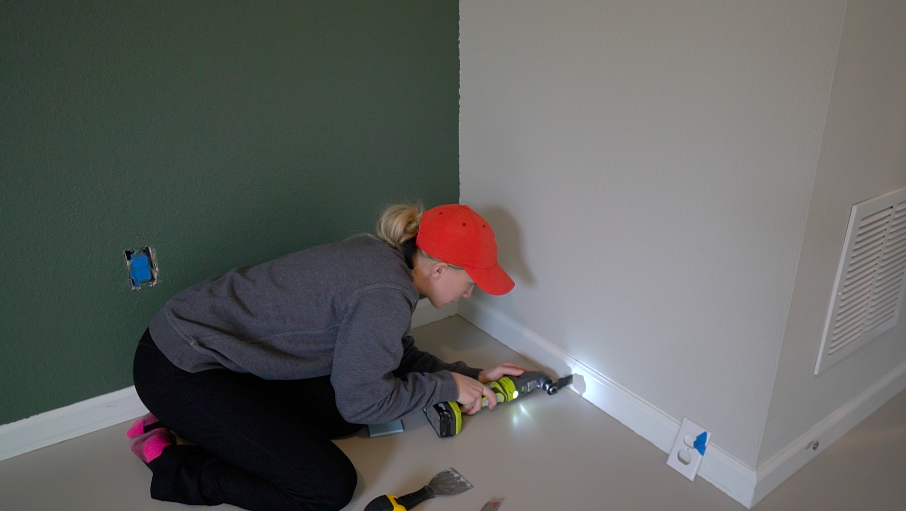
Step 3: Cut out trim where cabinets will be
Measure the length and width of your base cabinets then transfer these measurements to the base trim. Give at lease 1/8″ on each measurement to allow for some wiggle room so you can fit the cabinets in. Be sure to start your measurement on the wall and not on the trim. Make the cuts to your trim using a multi-tool. Then score the caulk on your baseboard trim with a utility knife. Pry the trim off the wall using a hammer or pry bar.


TOOLS / SUPPLIES
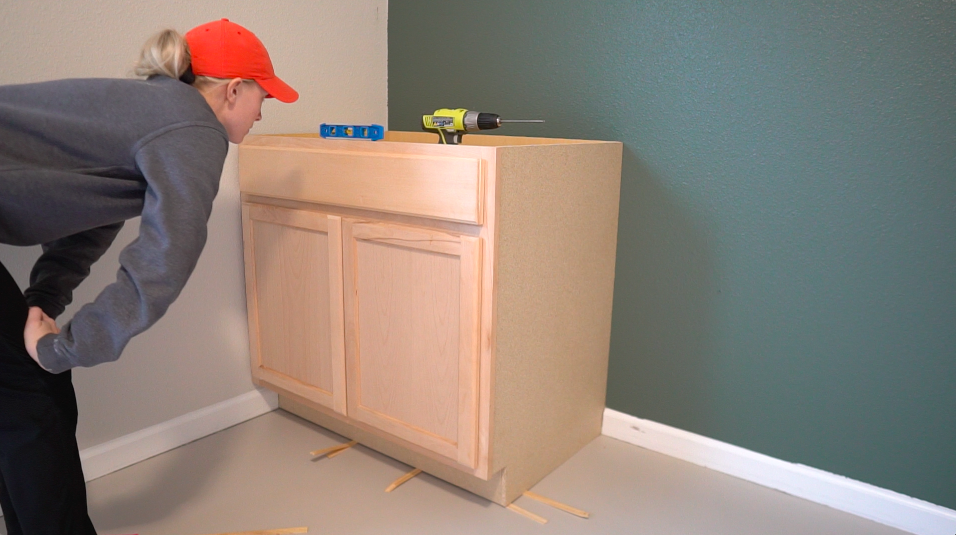
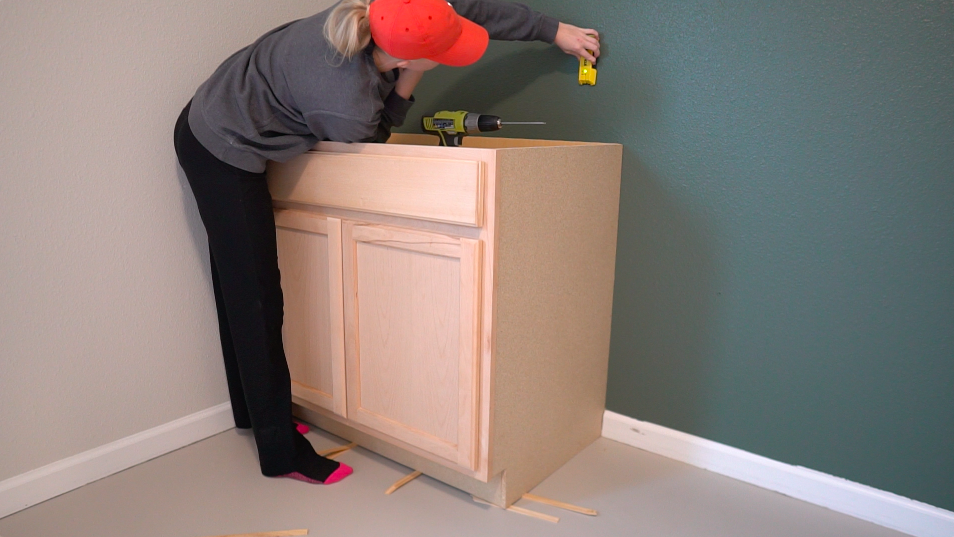
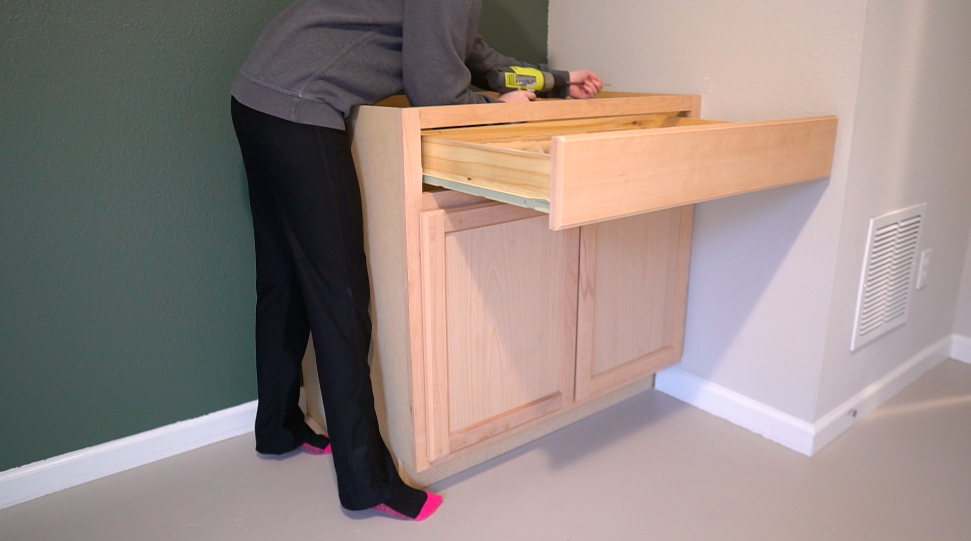
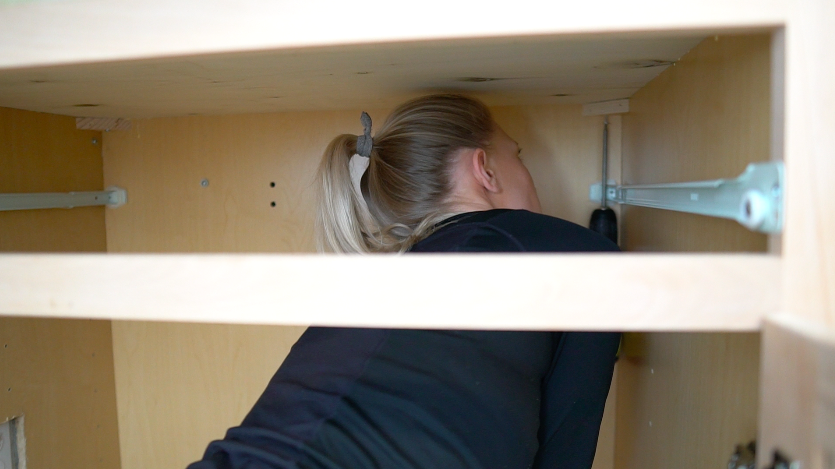
Step 4: Install base cabinets (Shim to level, screw in cabinets to wall)
If you have any outlets that will sit behind the cabinets, measure where the outlets are and transfer these dimensions to your cabinet!! Cut out a small rectangle with your multi tool before installing your base cabinets!! (I tried cutting the outlets out once the cabinets were installed. I ended up having the wrong measurement and cut right into the wall outlet… BIG NO NO!)
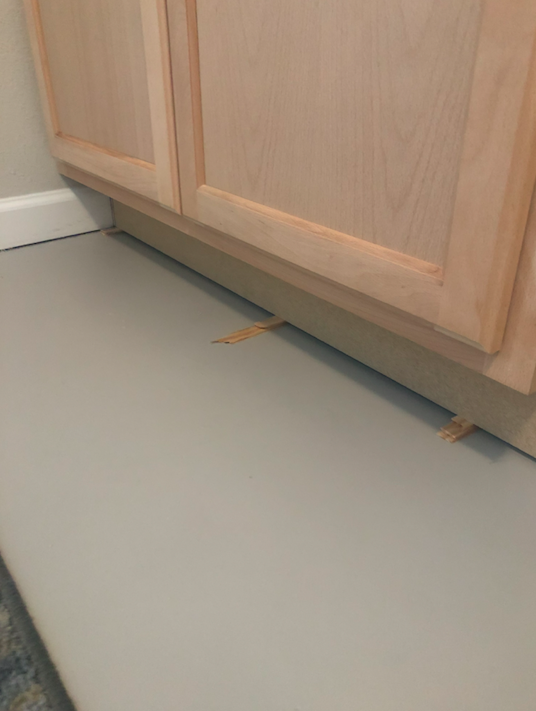
Put your base cabinets in place and use a level to make sure the cabinets are level. If they aren’t level, use some wood shims to get them level. Once the cabinet is level, use some shims to fill in any gaps along the back and side wall. Cut the excess wood shim off using a utility knife.
Use a stud finder to find the studs and use 2″ screws w/ a washer to secure your cabinet into the studs.


TOOLS / SUPPLIES
| Wood shims |
| Utility knife |
| 2″ Screws w/ washers |
| Stud finder |
| Cordless Drill |
| Level |
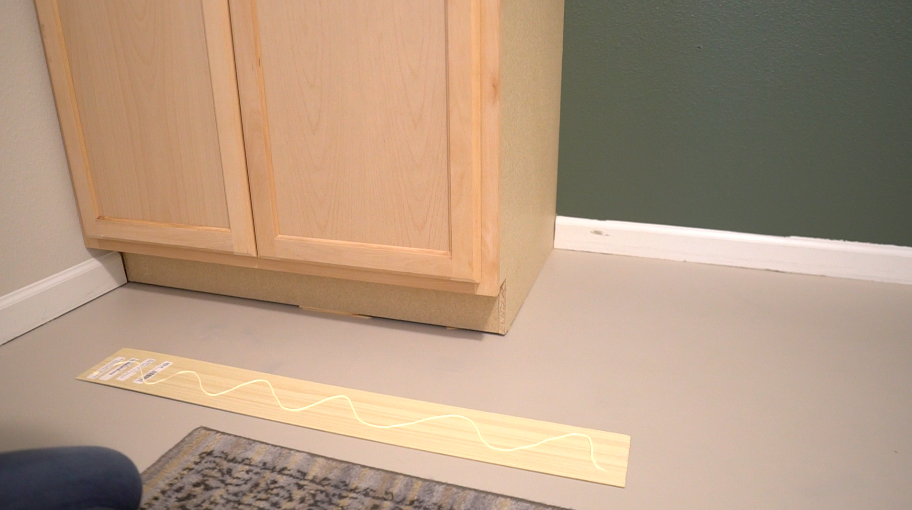
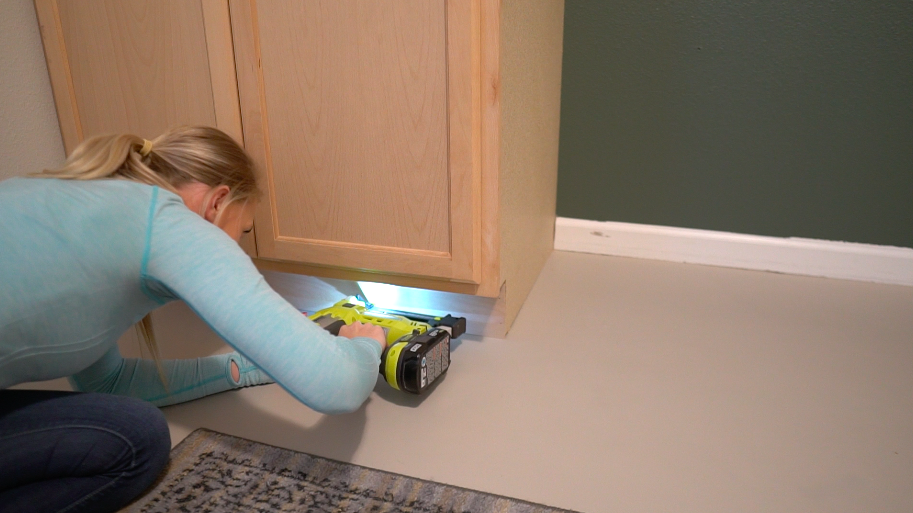
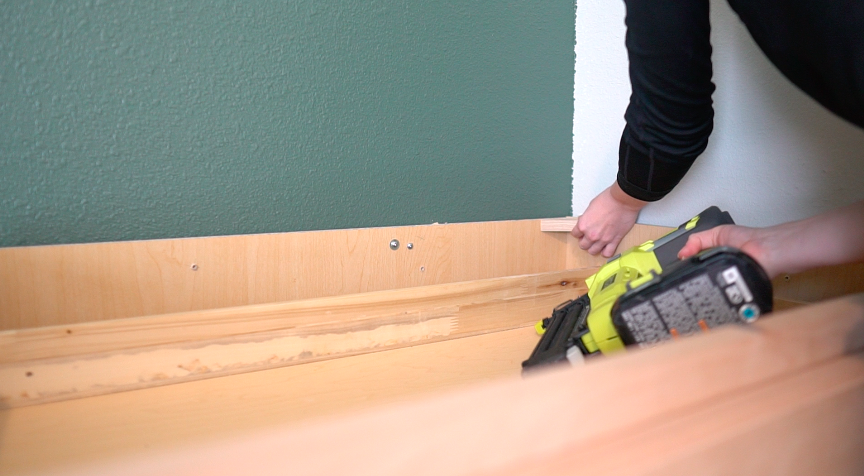
Step 5: Cut and install toe kicks
I bought these toe kicks at home depot. All you’ll need to do is cut them down to fit the front length of your cabinet, put wood glue on the back and attach using a few brad nails.


TOOLS / SUPPLIES
| Toe kick (2) |
| Wood glue |
| 3/4″ Brad nails |
| Brad nailer |
| Pencil |
| Measuring Tape |
| Circle or miter saw |
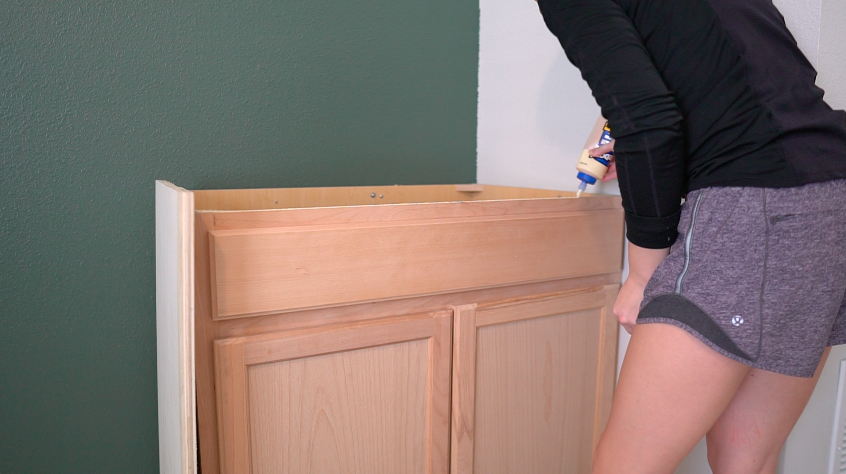
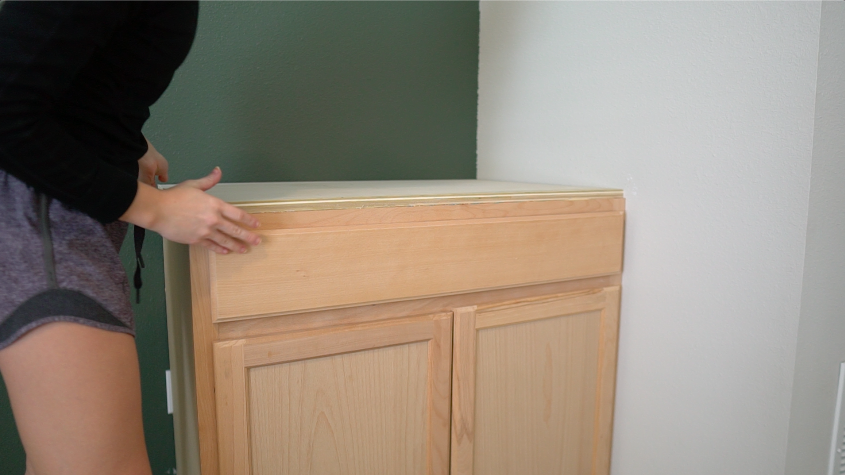
Step 6: Install countertops (Add corner shims)
I used 3/4″ poplar plywood for my countertops, as well as 1 1/2″ poplar trim to make the edges look nice. With the 36″x24″ base cabinets, I cut my countertop exactly at 36″x24″. You will add the poplar trim to the countertop in a later step.
In order to secure the countertop to the cabinet I cut out some triangle shims out of scrap wood and nailed them into the corners of my cabinets. The triangle shims give you something to screw the countertop up into. Secure your shims in each corner of the base cabinet using 1″ brad nails.
Put wood glue along the top of the cabinet and put the countertop in place. Attach some clamps or place some heavy items on the countertop to allow your wood glue to set.
Pre drill a hole in the corner shim going up into the countertop. Use 1 1/2″ screws to secure the countertop to each of the corner shims.


TOOLS / SUPPLIES
| Miter saw or circle saw |
| Wood glue |
| Scrap wood for corner shims |
| 3/4″ poplar plywood sheet |
| Drill bit |
| Cordless drill |
| 1 1/2″ screws |
| 1″ brad nails |
| Brad nailer |
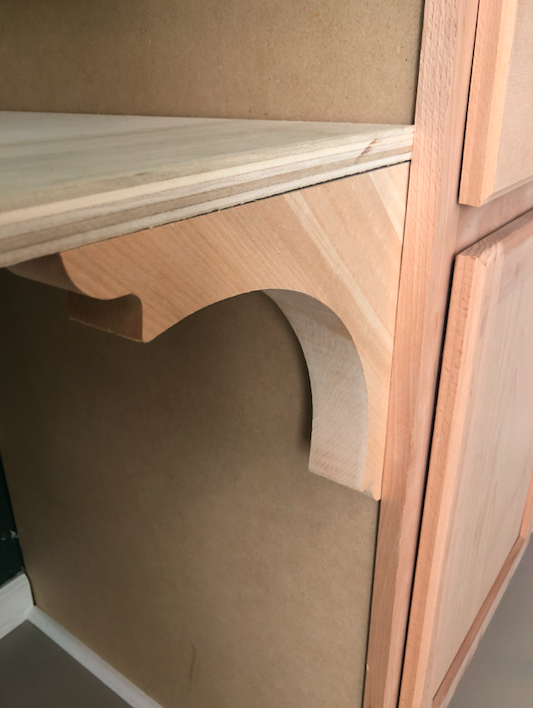
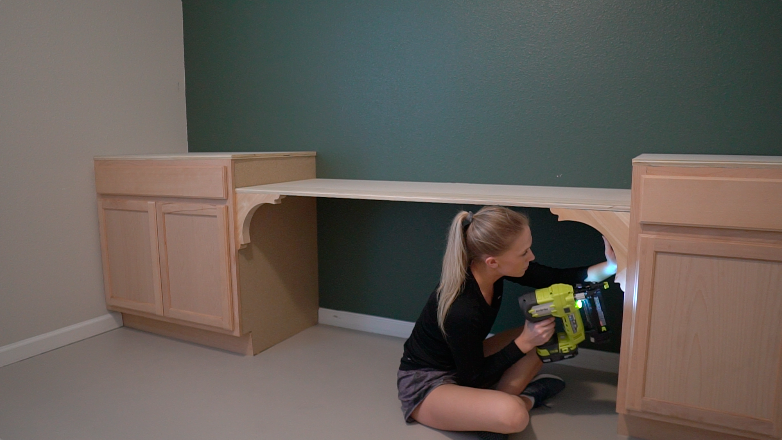
Step 7: Install middle desk & corbels
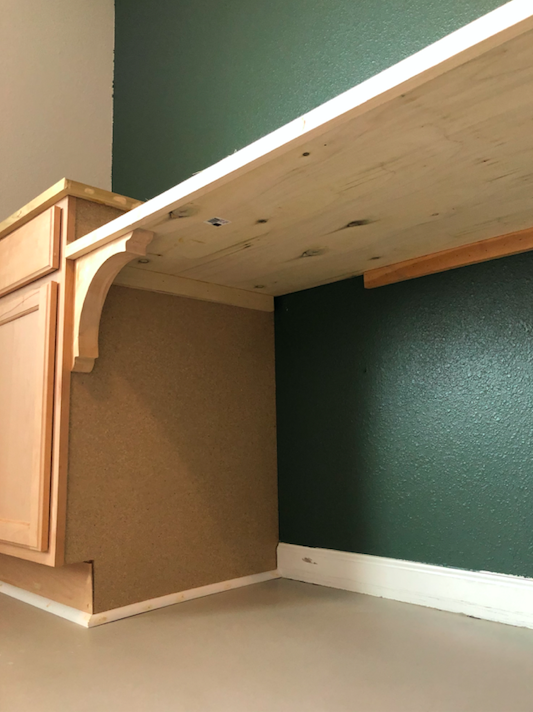
I used 3/4″ poplar plywood for the desk in the middle. I cut my desk to 5’W x 23 1/2″D. To hold the desk up I nailed some wood strips to the side cabinets with 1″ nails. Then, I screwed a wood strip into the studs on the back wall. My desk height is 30″ (average desk height).
After the support strips are secured, place some glue along the strips and install your desk. Your desktop should fit right behind the lip of the cabinet like the picture below. We will add a trim piece later. Secure your desktop to the support strips by putting a few brad nails along the edges into your support strips.
Next- install the corbels. These are more for decoration so I just nailed the corbels to my cabinets and desktop with a brad nailer.


TOOLS / SUPPLIES
| 3/4″ Poplar plywood |
| Circle saw or miter saw |
| Corbels (2) |
| Wood glue |
| Brad nailer |
| 1″ Brad nails |
| Cordless drill |
| 2″ Screws |

