

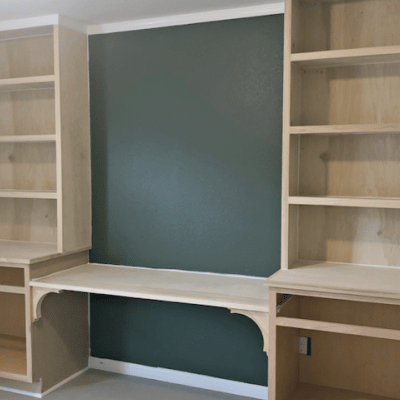
Part two of the office makeover is underway and I’m excited to tackle the bookshelves! I’m already a little overwhelmed with how long this project is taking but there’s no turning back now! I’ve been dreaming of a home office like this for so long and that’s motivation to keep going!

This post contains affiliate links. If you decide to purchase from one of the links, I will receive a small commission at no additional cost to you. Thank you for your support! 🙂
![Home Office Makeover [Part 2] | HomeWithStefani](https://i.ytimg.com/vi/VH1EHy738Ro/hqdefault.jpg)
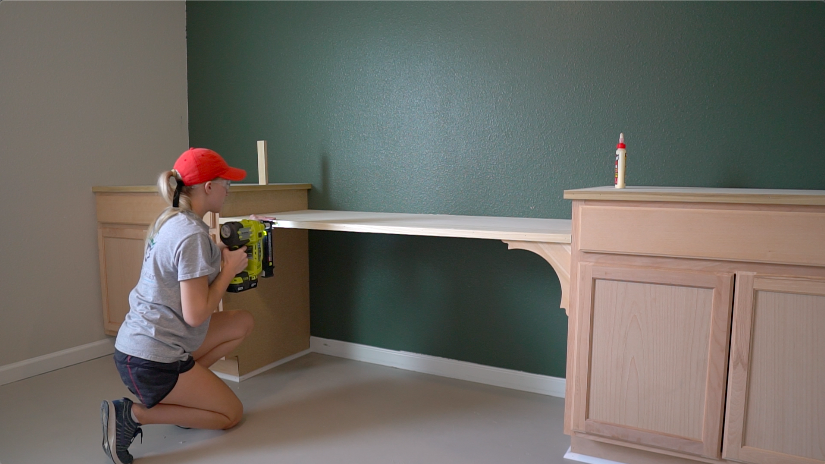
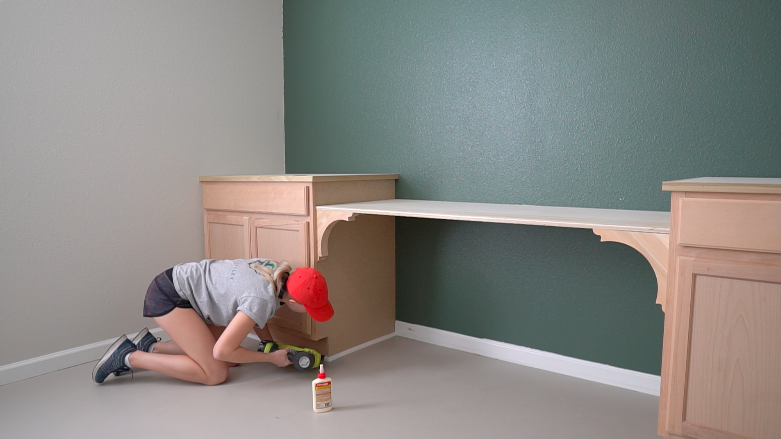
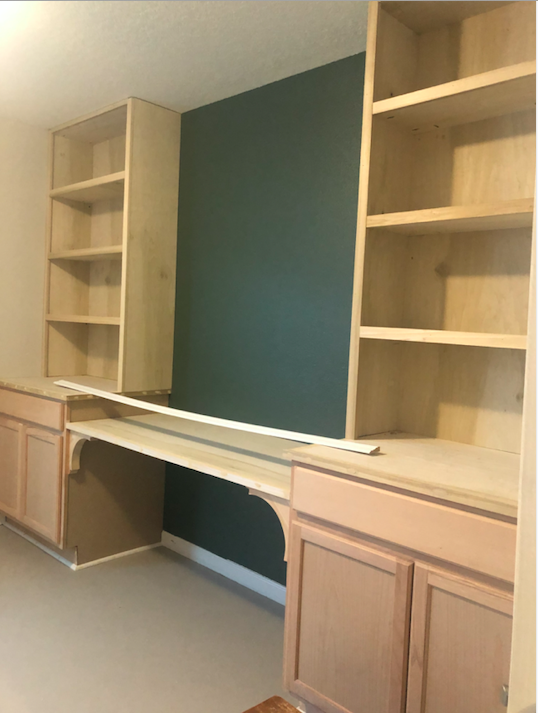
Step 1: Install trim on countertop and middle desk
To trim out the 3/4″ plywood countertop and desktop I used 1 1/2″ x 3/4″ poplar boards. I cut the boards down to 1″ x 3/4″ so my trim wasn’t as thick.
For the cabinet countertop trim I cut the corners at 45 degrees. Then attached the trim using wood glue and 1 1/2″ brad nails.

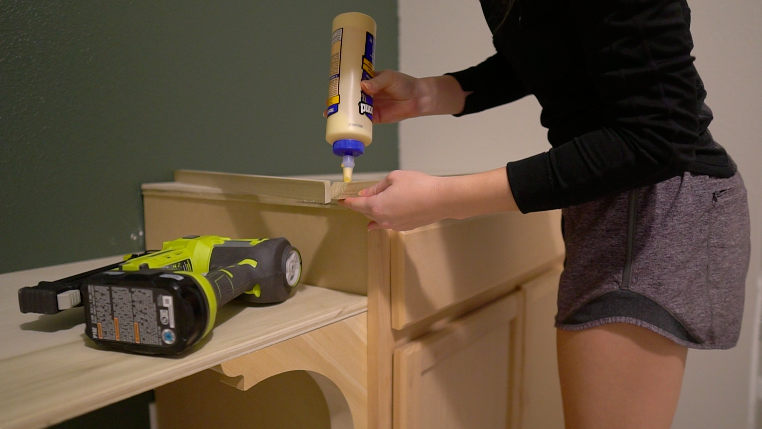

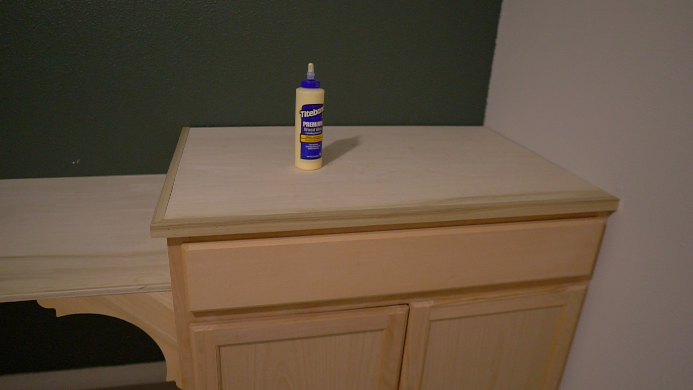
Measure and cut a straight trim piece for the desktop. Attach using wood glue and brad nails.

TOOLS / SUPPLIES
| Miter saw or circle saw |
| 1 1/2″x 3/4″ poplar board |
| Wood glue |
| Brad nailer |
| 1 1/2″ Brad nails |
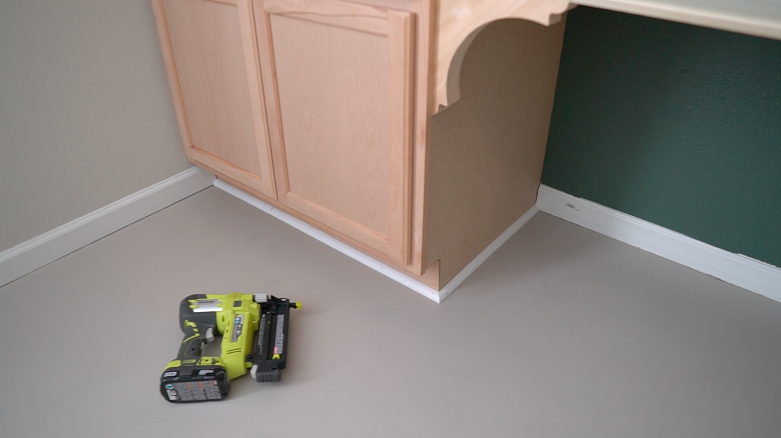
Step 2: Install shoe trim
Measure the bottom of your cabinets and install shoe trim on each side. Cut the trim at a 45 degree angle so the corners meet perfectly. Secure the shoe trim using wood glue and 1″ brad nails.


TOOLS / SUPPLIES
| Shoe trim |
| Brad nailer |
| 1″ Brad nails |
| Wood glue |
| Miter saw or circle saw |
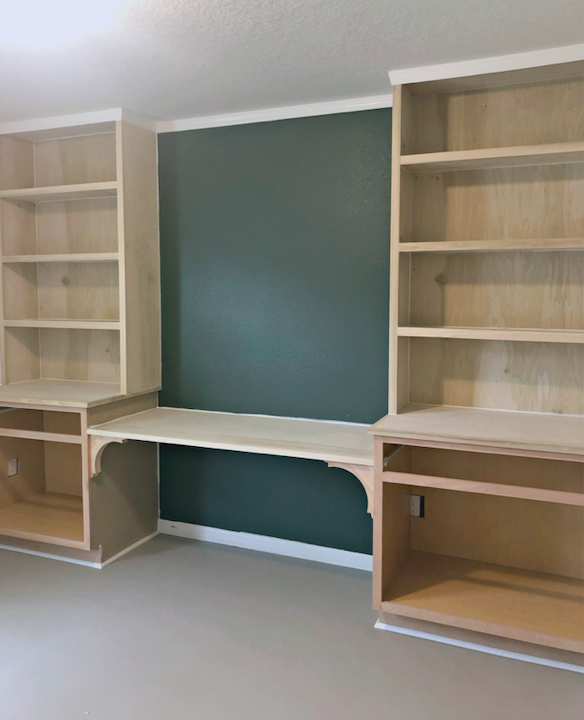
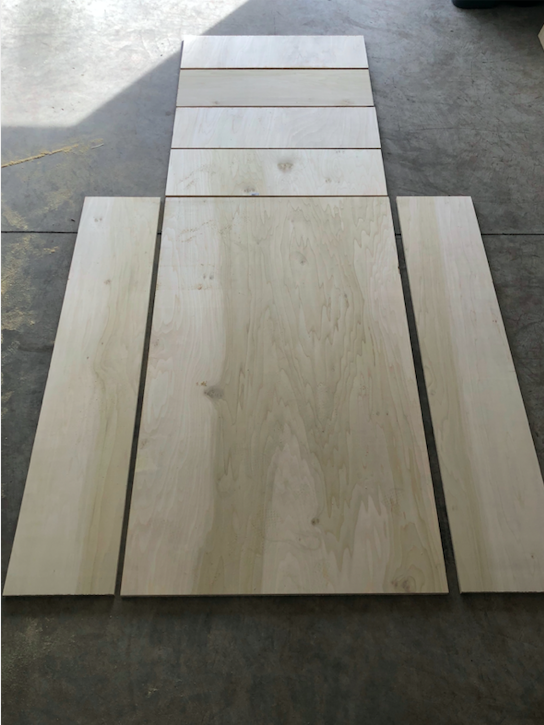
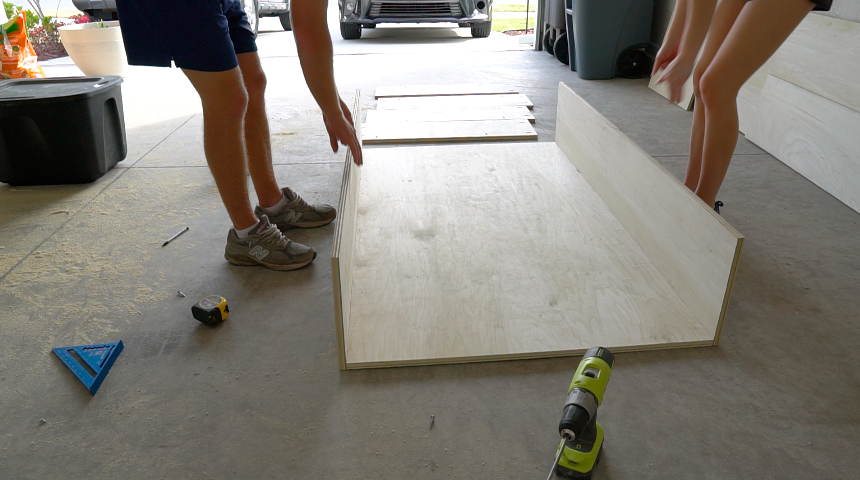
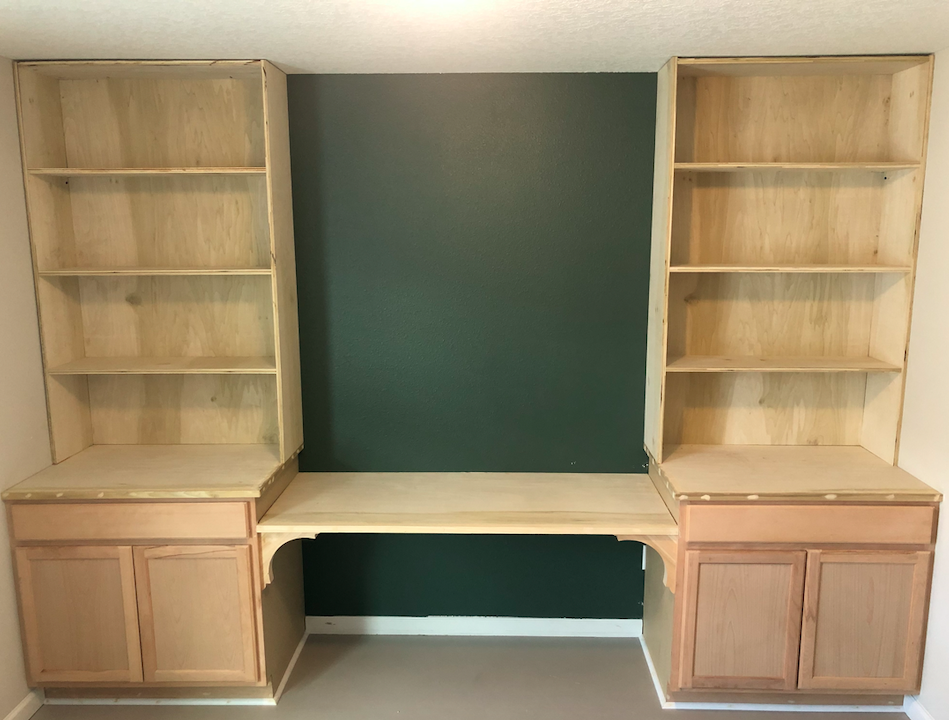
Step 3: Build / install bookshelves
Time for the fun part!! I bought all the lumber at home depot for these bookshelves and I had them cut all the big pieces for me so it could fit into my SUV. The smaller shelf pieces I cut at home with a circle saw. I ended up needing 4 sheets of poplar 3/4″ plywood. If you want your bookshelves to be the same size as mine to fit exactly on the base cabinet, use the cut list I provide below. Bookshelf total dimension 37″ x 12″ (without trim).

Layout your lumber and mark where all the pocket holes need to be. For each of the shelves and top piece you’ll need to drill 2 pocket holes in each side, and two pocket holes along the back

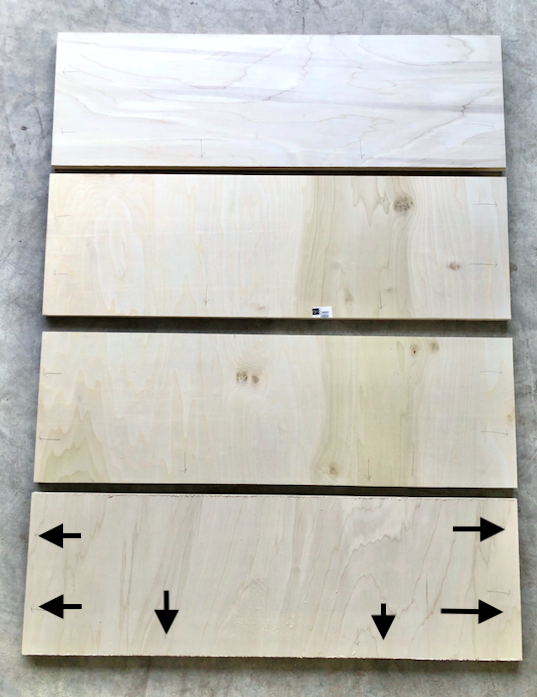


You will need pocket holes in the backside of your back bookshelf piece. Put 4-5 pocket holes in each side of your back piece.

On your back piece, measure where you want each of the shelves to be and mark a 3/4″ gap with your pencil and speed square. Make sure they’re evenly spaced!


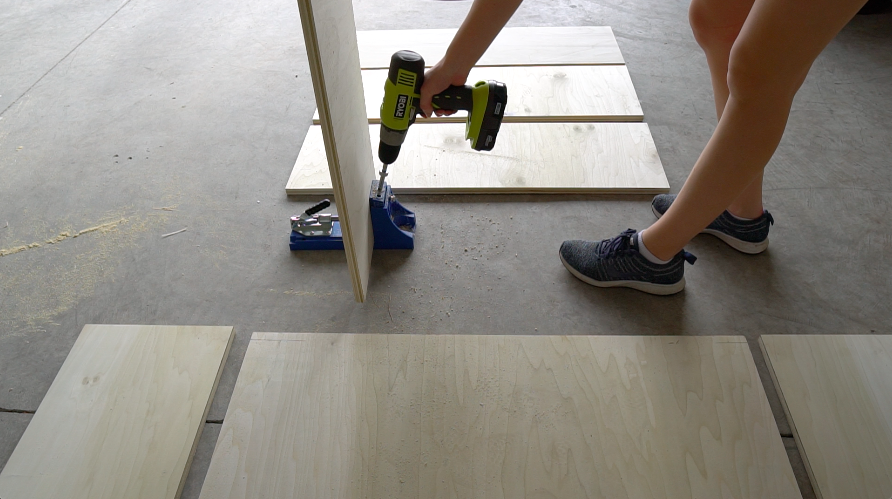
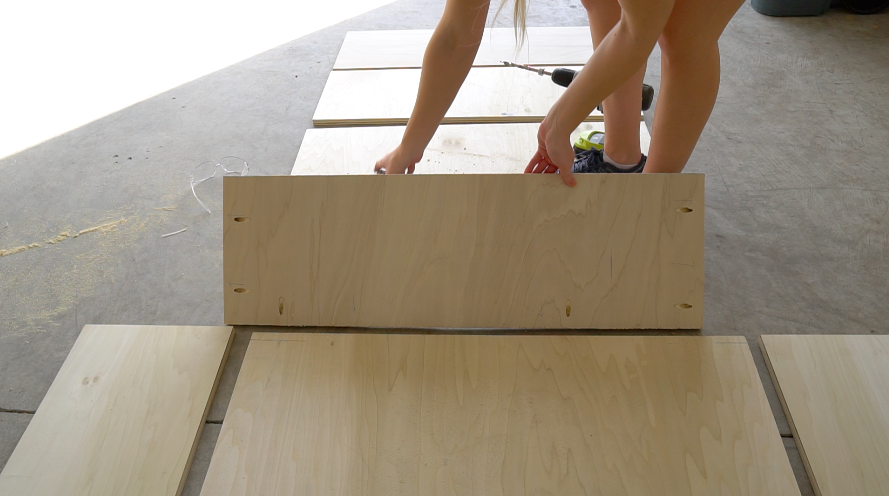
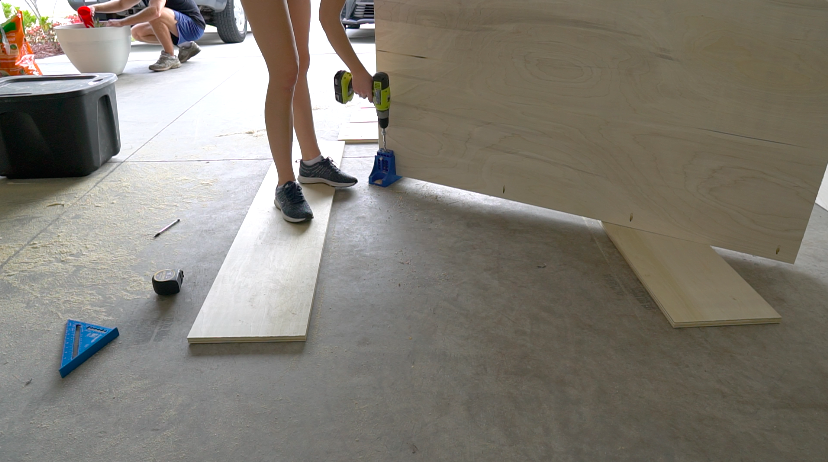
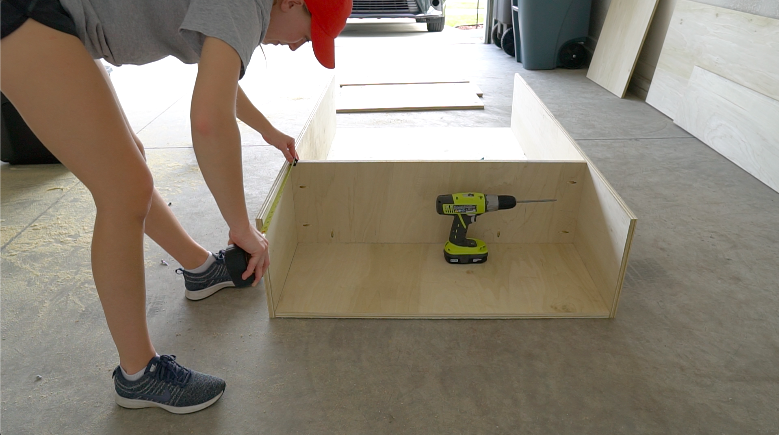
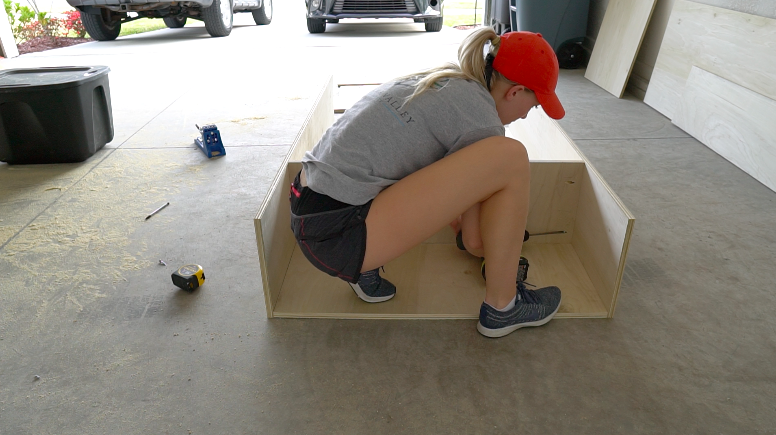
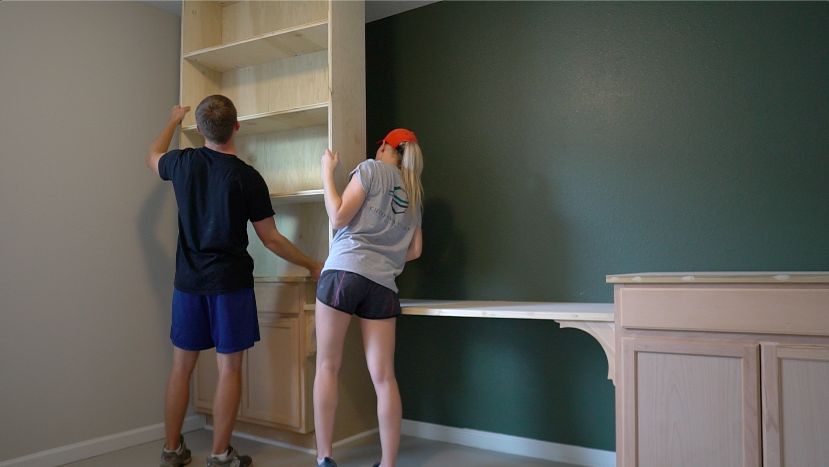
First, assemble the side pieces with 1 1/4″ pocket screws and wood glue. It’s best to have someone help you hold the large back piece up.

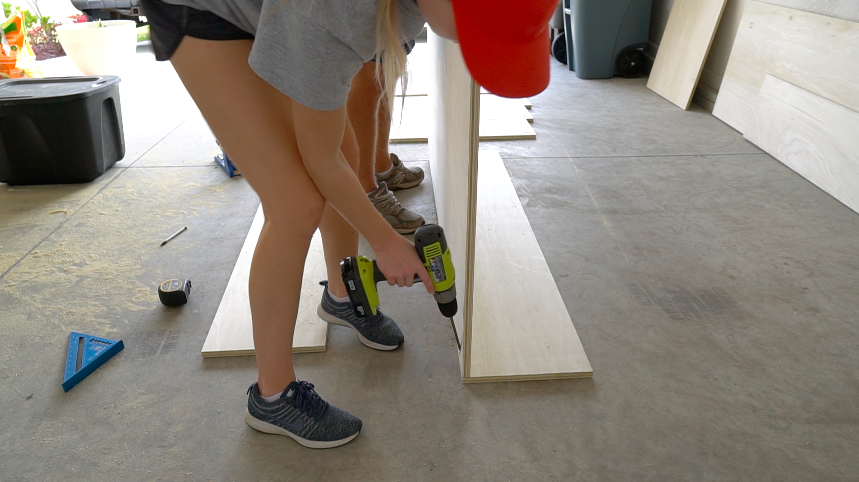

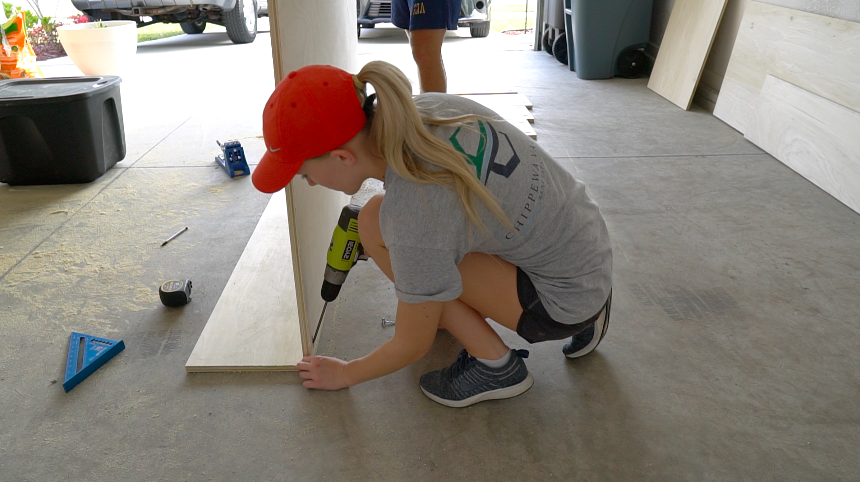

Assemble the shelves with 1 1/4″ pocket screws and wood glue. Make sure your shelf measurement is the same at the bottom and top so your shelves are straight and level.


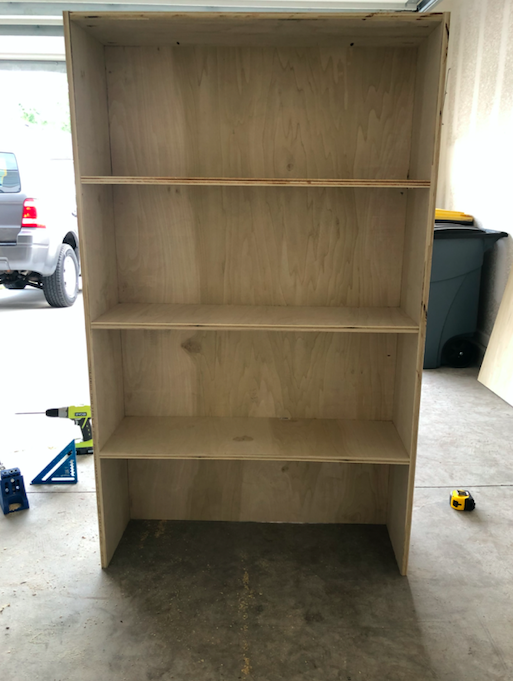
Before installing your bookshelves, find out where the studs are so you can screw your bookshelves into the studs. Put your bookshelves in place, drill holes where your screws need to go, then secure your bookshelves to the wall using 2″ screws. Try and countersink your screws so you can fill in the hole with wood filler and paint over later.


TOOLS / SUPPLIES
| Poplar 3/4″ plywood (4 sheets) |
| Circle saw |
| Kreg jig |
| 1 1/4″ Pocket hole screws |
| 2″ screws |
| Drill bit |
| Cordless drill |
| Wood glue |
| Speed square |
| Pencil |
| Measuring tape |
| Stud finder |
Cut List
| 2 Backs | 35 1/2″ x 61″ |
| 4 Sides | 12″ x 61″ |
| 2 Tops | 35 1/2″ x 11 1/4″ |
| 6 Shelves | 35 1/2″ x 11 1/4″ |
Step 4: Install trim on bookshelves
I used 1 1/2″ poplar boards for my bookshelf trim. I started by measuring the vertical trim going from the bottom of the cabinet all the way to the ceiling. Cut these trim pieces and attach to your bookshelf using wood glue and 1 1/2″ brad nails.

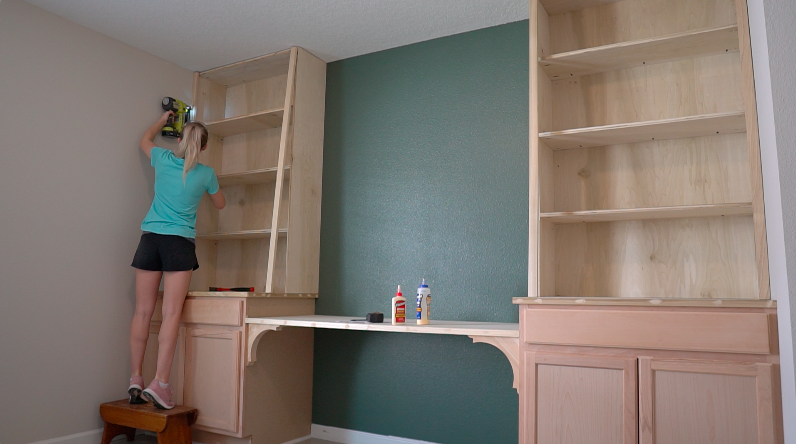
Next, go in and measure and cut each horizontal shelf piece and apply a 1 1/2″ trim piece. I centered my trim piece with the shelf so that my shelf has a little lip to push my books up against.

After the bookshelves were trimmed out I bought this molding to put along the entire top of the office bookshelf and wall. Make sure to cut your corners at a 45 degree angle like the picture below.


Install the top molding with brad nails.

TOOLS / SUPPLIES
| 1 1/2″ poplar boards |
| 2 1/2″ Decorative molding |
| 1 1/2″ brad nails |
| Brad nailer |
| Wood Glue |
| Miter saw or circle saw |
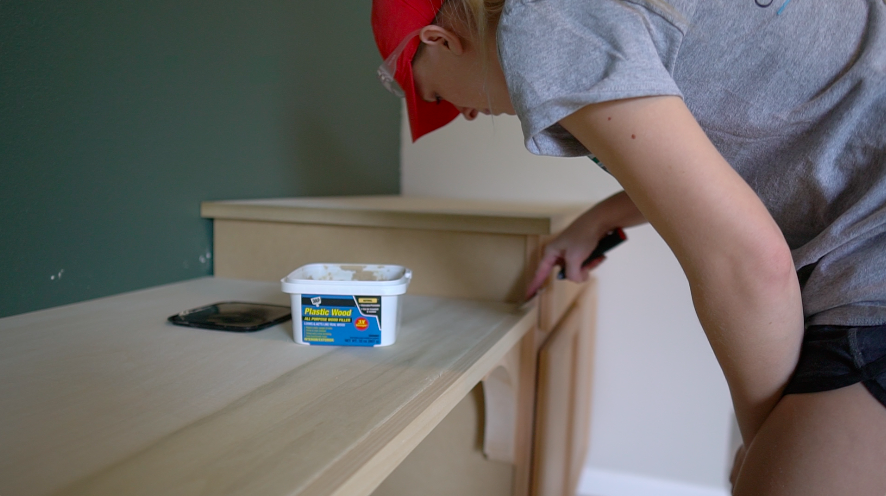
Step 5: Fill nail holes/gaps
Use wood filler to fill in all nail holes and gaps in your wood.

Step 6: Sand
Using your orbital hand sander and the proper safety equipment, sand all of your wood pieces. Start with a rough grit sandpaper and move to a fine grit until everything is nice and smooth.

| Orbital hand sander |
| Sand paper (rough & fine) |
| Mask |
| Safety glasses |
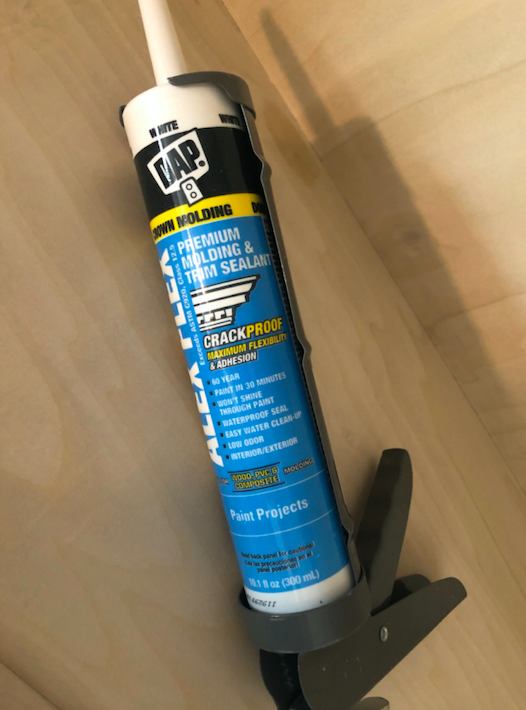
Step 7: Caulk seams
Before caulking make sure to vacuum and clean up the bookshelves as much as possible. Go along and caulk every seam with paintable caulk. I find it best to put a small bead along the seam, then go along with my wet finger or a wet rag to make a nice clean line.

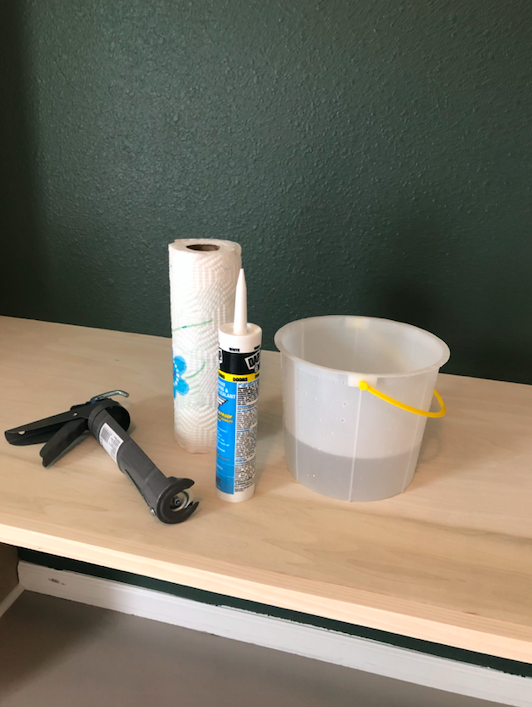


TOOLS / SUPPLIES
| Paintable caulk |
| Caulk gun |
| Rag/paper towel |
| Bucket for water |
Step 8: Tape & prep office for paint!
I decided to paint everything on the built in wall including all the trim pieces. Tape off all the edges and put down some drop cloths if necessary. Do one last cleaning of the office space before painting. Make sure to get all dust up. Take off the doors of the cabinets with a screw driver and get those prepped for paint as well.
| Painters tape |
| Drop cloths |
| Cleaning supplies |
| Screw driver |