

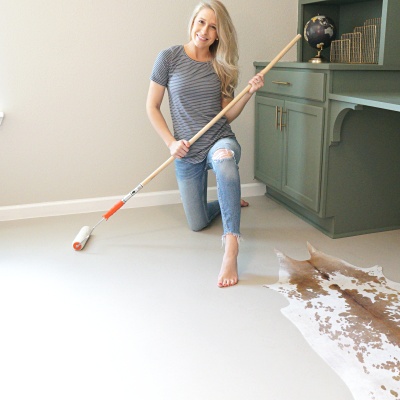
Call me crazy but I just ripped out perfectly good carpeting and painted the concrete floors! Our house is less than a year old and has bright tan carpeting throughout each of the bedrooms. I’m a carpet hater and would love to get rid of every bit of it in our house. While we would love to lay some nice tile or wood flooring in the bedrooms, that’s just not in our budget right now.. SO I decided to go out on a limb and try out this inexpensive alternative. And let me tell you, I’M IN LOVE!! **Now considering ripping out the rest of our carpeting.
I’m breaking this DIY project down step by step so you can do this yourself too!! And if you’re more of a visual learner, I created a Youtube video on the entire process (keep scrolling). Don’t be afraid.. rip out that carpeting.. I know you want to.

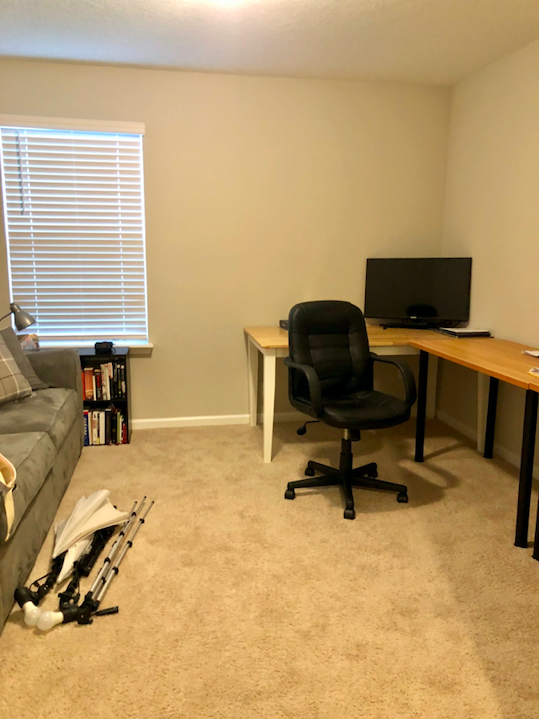
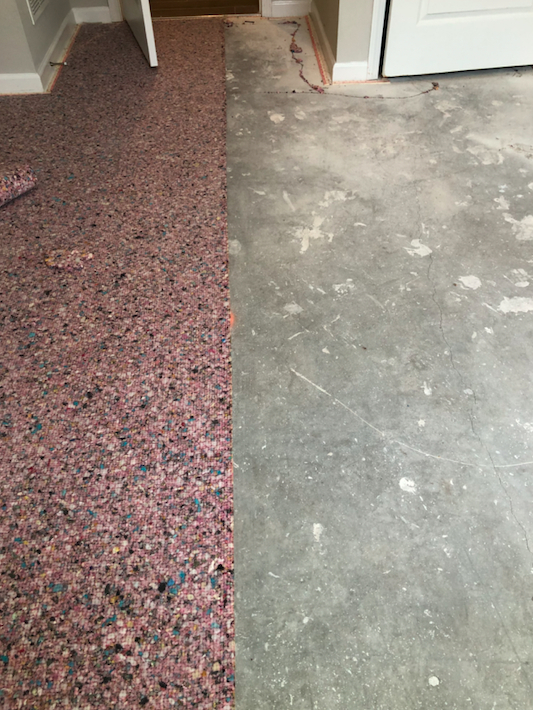
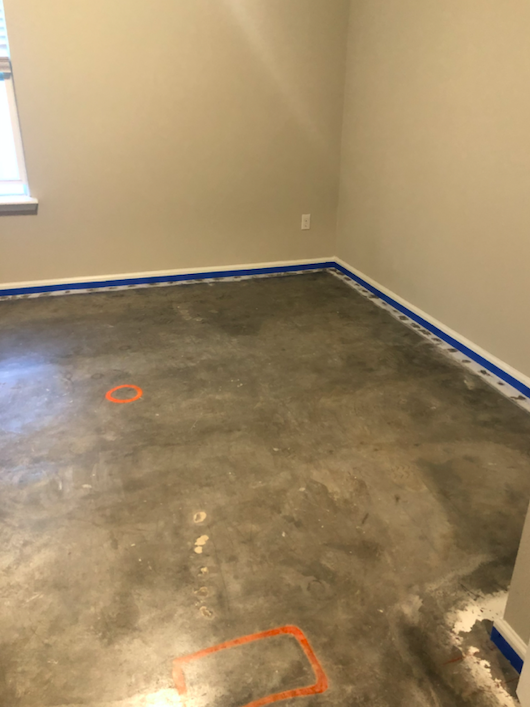
Before..

TOOLS / SUPPLIES
| Utility knife |
| Large Pry Bar (Wrecking Bar) |
| Hand Sander |
| Sanding Paper |
| Hammer |
| Respirator Mask |
| Safety Glasses |
| Vacuum |
| Broom / Dust Pan |
| Mop / Mop Bucket |
| Putty Knife |
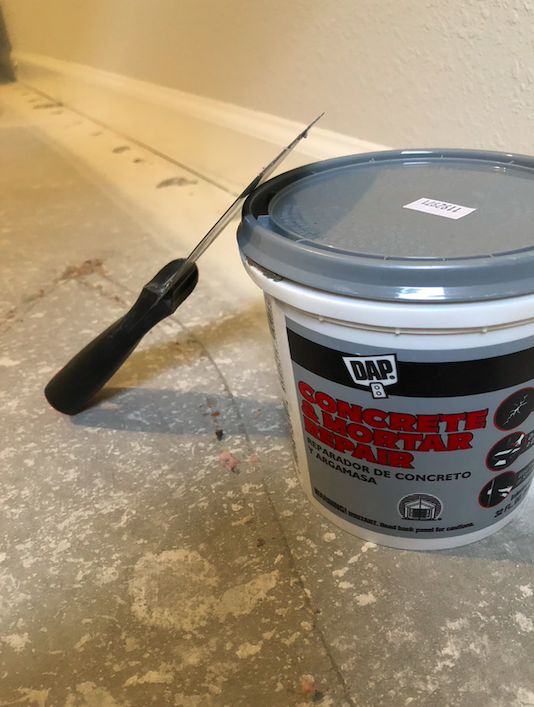
| Concrete & Mortar Repair |
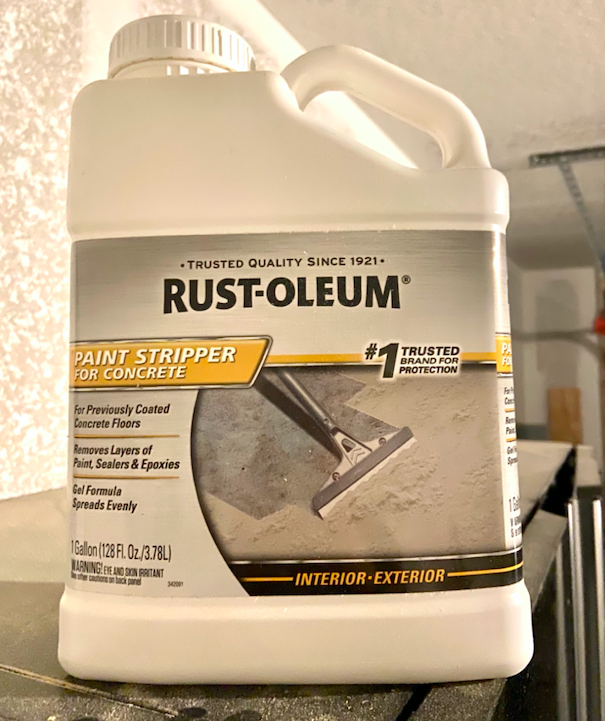
| Rust-Oleum Paint Stripper for Concrete |
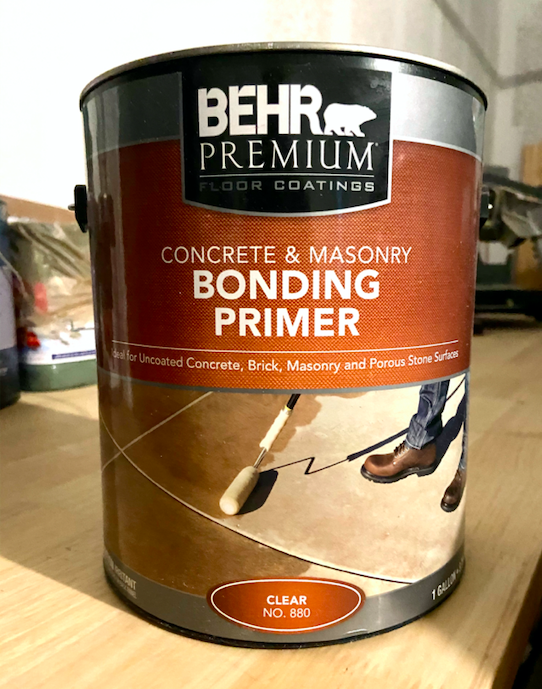
| Behr Concrete & Masonry Bonding Primer (Clear) |
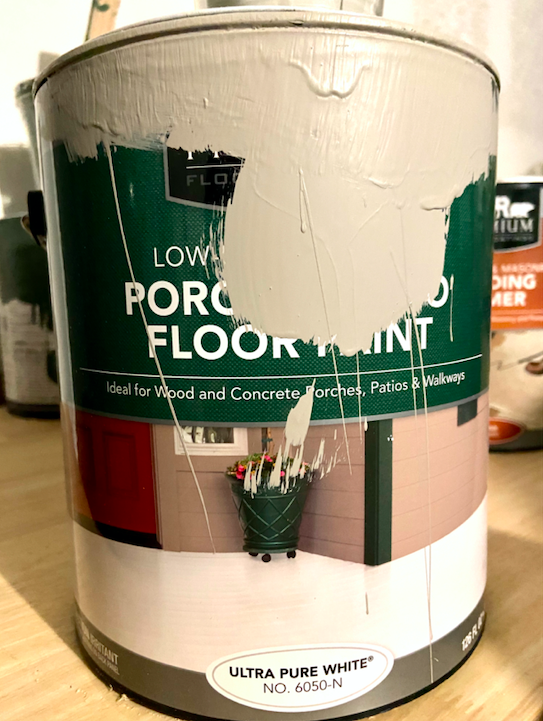
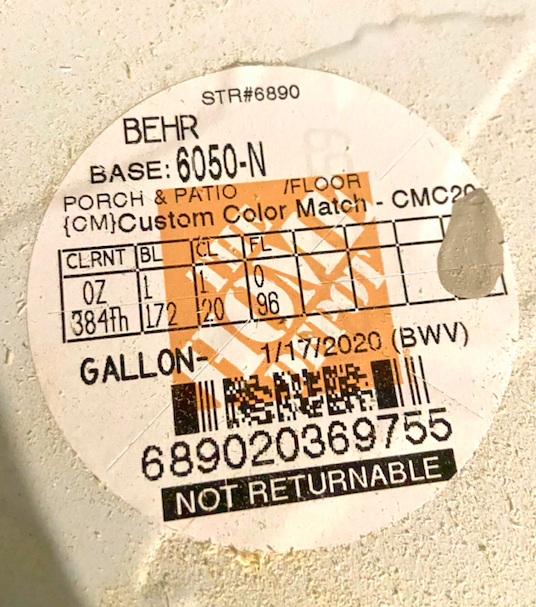
| Behr Porch & Patio Floor Paint |
| Painters Tape |
| Scraper |
| Paint Roller / Extension pole |
| Microfiber Roller Cover 5/16” Nap |
This post contains affiliate links. If you decide to purchase from one of the links, I will receive a small commission at no additional cost to you. Thank you for your support!
Step 1: Tear out carpet & carpet pad
Make sure everything is taken out of the room. Start in one corner and begin peeling up the carpeting. With your utility knife, cut the carpet into shorter more manageable pieces so you can carry and dispose of it easier. After the carpeting is removed, remove the carpet padding.


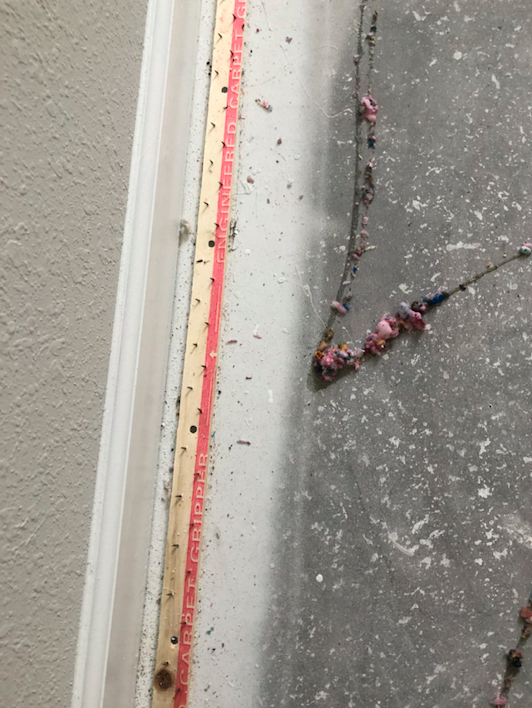
Step 2: Remove tack strips
The first time I tried to remove tack strips I used two hammers (all I had at the time). There are a bunch of tools you could use to try and pry these off the ground but I would recommend using a wrecking bar. This tool is so much more efficient and takes half of the time and effort. The tack strips are nailed into the concrete so once the strips are removed you will see holes all along the edge of your room. We will fill these holes in, in the next step. Be careful with the tack strips they’re sharp eeeekkk (wear gloves and proper shoes).

Step 3: Clean off paint and adhesive
This step was the most time consuming and ANNOYING! You never know what is underneath the carpet and carpet padding. Most likely you will find paint splatter, sticky adhesive, cracks, holes, etc. (that’s exactly what I found..). Use paint stripper for concrete to get all of the adhesive and paint off the ground. Follow the directions on the bottle and be sure to wear the proper safety equipment. This stuff is stinkyyyy! It’s okay if you can’t get everything up, we will come back with a sander and scraper.


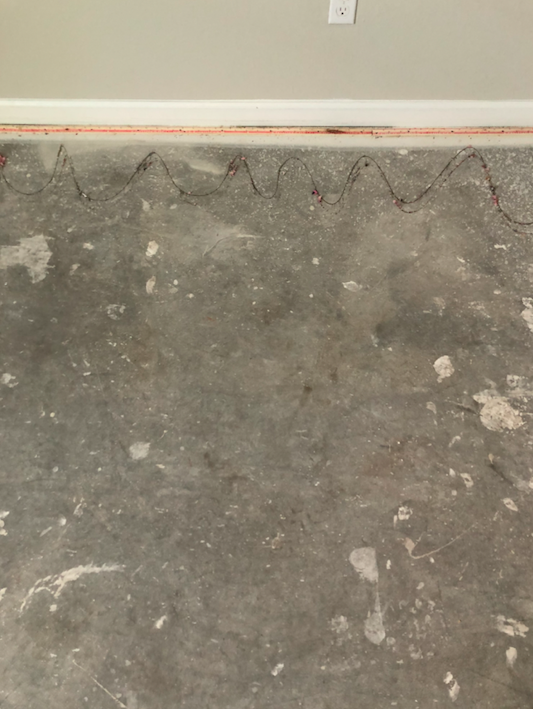
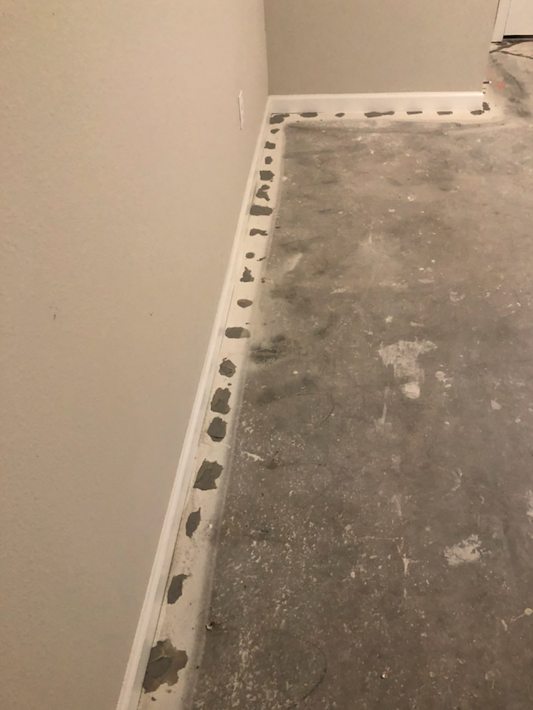
Step 4: Fill holes & cracks with concrete filler
Sweep up the room so you can clearly see all of the holes and cracks. Use concrete filler and a putty knife to fill in all visible cracks and holes. Let this cure overnight.


Step 5: Sand down or scrape high spots & Leftover paint/glue
Before starting your sanding be sure you’re wearing the proper mask and safety glasses. It’s also a good idea to block off any vents in the room and open windows so you don’t get dust throughout the rest of your house. With your hand sander, sand down any high spots of the concrete filler (make sure concrete filler has had ample time to dry). Also take this time to sand off any left over paint or high spots from the carpet glue.
You can also try using a scraper to clean up high spots and paint. I wasn’t able to get up ALL the paint but my concrete paint ended up covering everything with 2 coats.
Step 6: Analyze trim (Remove and lower or keep and caulk?)
Once your carpeting is removed check out your trim to see if you can keep it in place or if you’ll need to remove it and lower it. If there’s a large gap on the bottom of your baseboards from the carpeting you’ll need to either remove it completely and then lower it (after the floor is painted), or you can add a piece of shoe trim after you paint the floors to hide the gap. Luckily, our trim was installed first, then the carpeting so there wasn’t a big gap. The gap was small enough to where I could add a bead of caulk around the bottom to make it look seamless.
Step 7: Clean concrete floors (sweep, mop, vacuum)
After sweeping and vacuuming the floors, I got a bucket of dish soap and water and mopped the entire floor. After your floor is entirely cleaned it would be a good idea to use tack cloth to get up any final dust, hairs, etc. Make sure your concrete is completely dry before you start to prime.
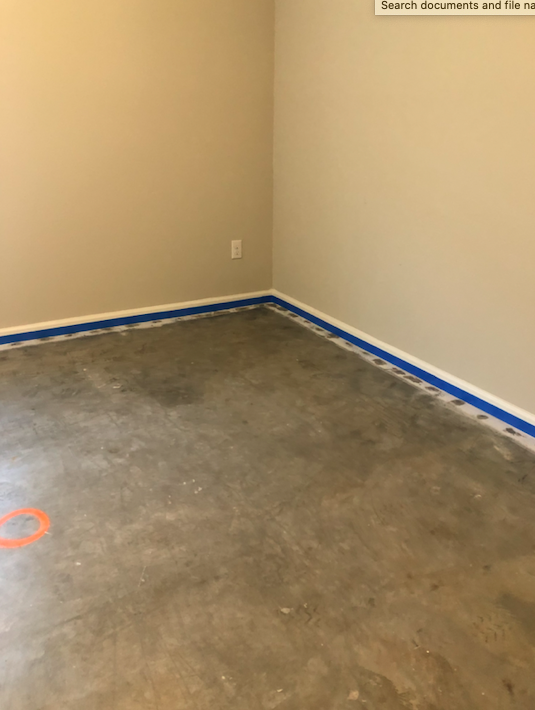
Step 8: Tape baseboards
If you’re planning on keeping your baseboard in place, use painters tape to tape to cover the bottom of your baseboards. This will make the priming and painting process much easier!

Step 9: Prime concrete floor
I used Behr Concrete & Masonry Bonding Primer (Clear). For this step I used a roller with an extended arm to make priming easy! Follow directions and dry times on the can.
When priming and painting, be sure to start in the furthest corner from the door and work your way towards the door. You don’t want to trap yourself in the corner! You can either pour some primer/paint directly on the floor and roll it out or use a paint tray.


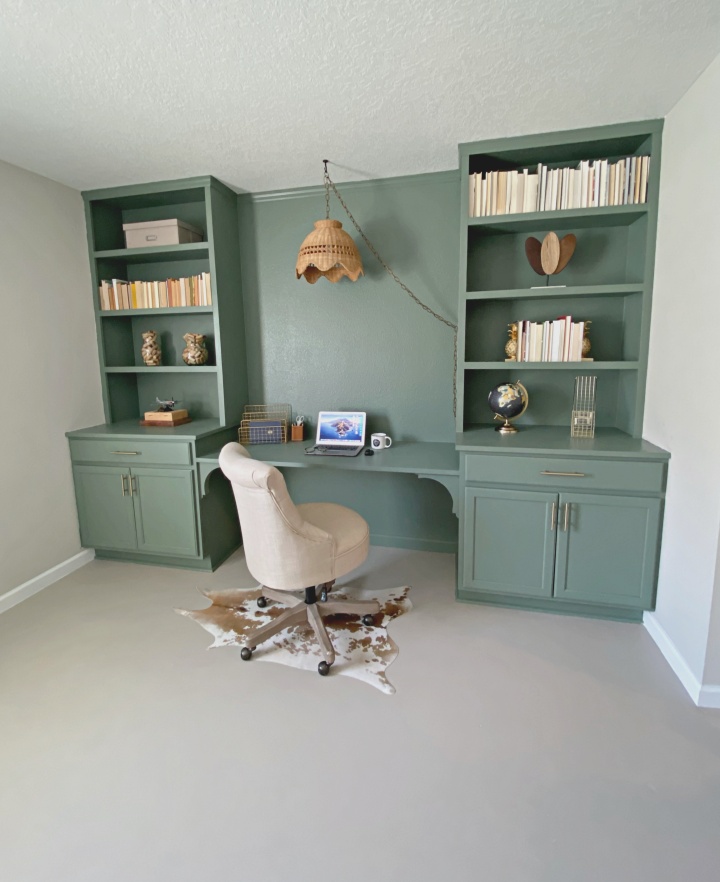
Step 10: Paint
I used this Behr Porch & Patio Floor Paint and I was even able to customize the color! I chose this warm gray color called Park Avenue). I ended up putting two coats on the concrete floors. Use a microfiber roller cover that has a 5/16” nap for a smooth finish.
Make sure to allow a few days before putting anything back on your floor. Follow directions on the can for dry times.


Step 11: Apply Masonry Sealer (Not needed indoors)
I’ve heard mixed reviews on needing masonry sealer for indoor concrete floors. Outdoor concrete would definitely need some type of sealer to protect from the weather, sunlight, etc. But I chose to leave this step out and my indoor concrete floors have held up great so far!! If you are painting a high traffic room without a rug I would suggest using a masonry sealer.
Step 12: Caulk trim or re install trim (Touch up paint trim)
If you removed your baseboards earlier, now’s the time to re install it. I went around and applied a thin bead of caulk to the bottom of my trim so you don’t see any gaps. I also touched up my trim with white paint to cover any scuffs/marks. This made my trim look bright and brand new!!