

I’ve been getting a lot of questions lately about how to use SketchUp and how to start these projects that seem so overwhelming. I went over to Instagram and asked you guys if you wanted a sketchUp tutorial and so many of you said yes! So today I’m going to take a step back and show you how I plan out and design my projects in SketchUp. The next big project I’m working on is redoing my kitchen pantry so I thought this would be the perfect time to walk you guys through the entire planning and designing process for my next big project.
When taking on a larger scale home project there are about 7 steps I go through in the planning process. I’m going to go through each step with you like I would for my big pantry makeover project!
Check out my pantry makeover project HERE!!
Step 1: Establish an end goal
Some questions I ask myself before I start any big home improvement project: What is my goal for the project? What am I trying to accomplish? Is there an actual need for this project?
For example, my goal for this pantry project is to create a more custom looking shelving system that can hold more items than our current wire racks. I also want to create better storage solutions that make our everyday lives easier especially since this is a space that we use a ton! Not only will this make our lives easier, it will increase the value of our home & it will set our home apart from others in the neighborhood that are exactly like it. Also, I will save money doing this project myself rather than hiring it out, and most important, it will make me happy! These are all valid arguments that I use when trying to convince my husband to let me demolish the house and spend a lot of money haha.
Overall, establishing an end goal will really help in these initial phases of planning and designing your project
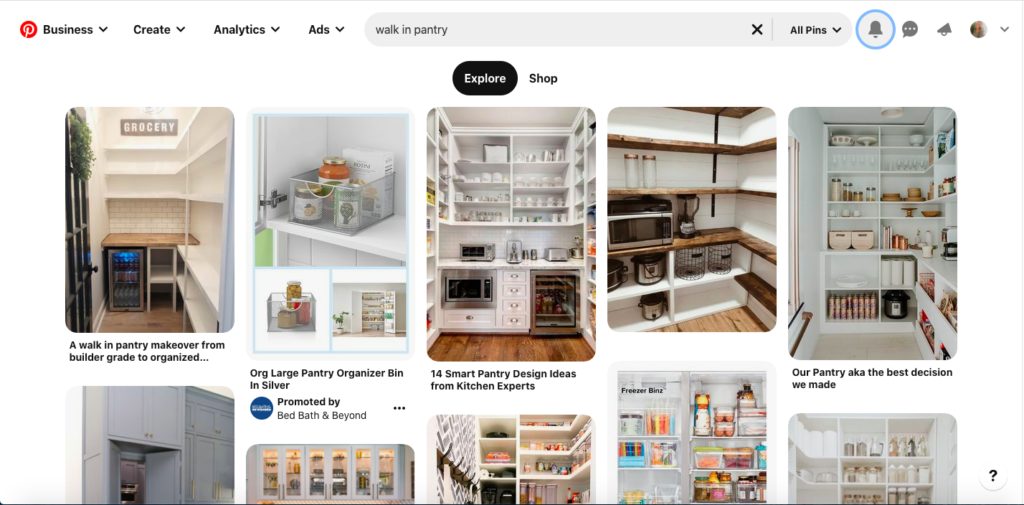
Step 2: Find inspiration for the project
It’s not easy to just look at a space and visualize what it could be. My number one source to go to for home inspiration is Pinterest! For this pantry project I created a “Pantry” board and saved all of my top ideas to my Pinterest board. Save your top ideas and pick what you like and what you don’t like so you can start to visualize what you want your space to look like.

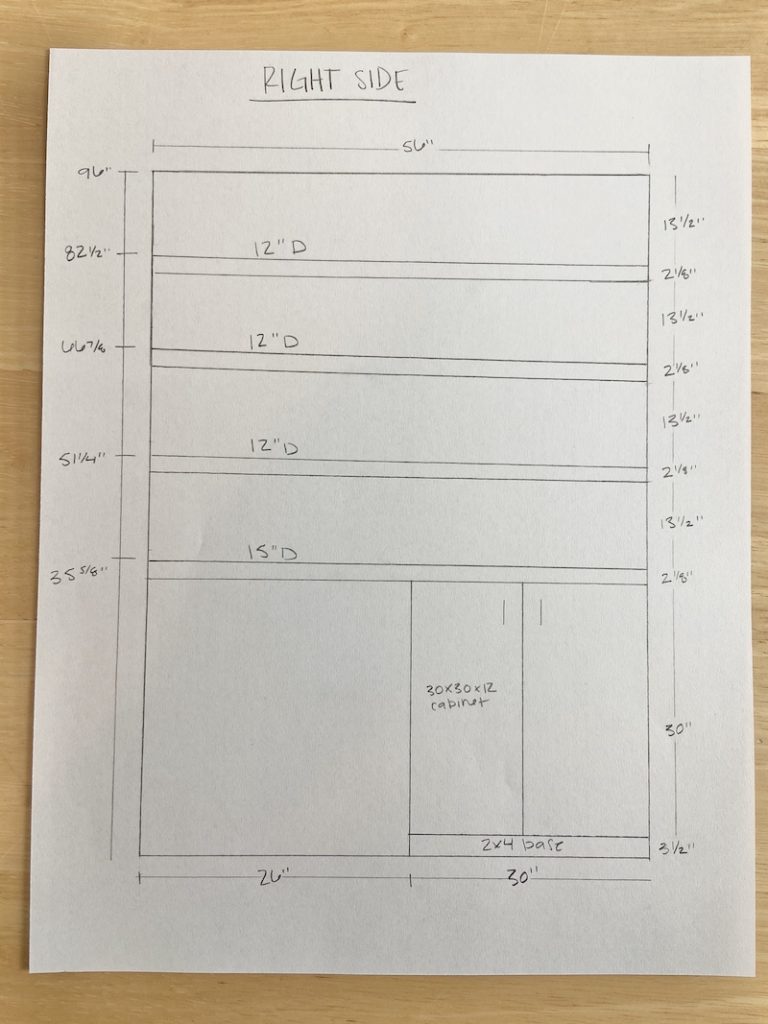
Step 3: Make a rough draft
Get measurements of your space and sketch it out on paper. I’m not a great at drawing but doing this really helps me to visualize and try out some different ideas. Once I have an idea in mind I like to use blue tape in my space to help visualize the scale. For example, I knew the measurement for the cabinets that I wanted to use from home depot for so I measured that out in my pantry and marked it with blue tape so that I could see how it looked to scale. I also marked with blue tape where I wanted the shelves to fit.

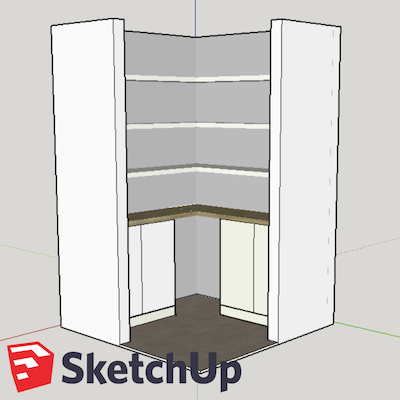
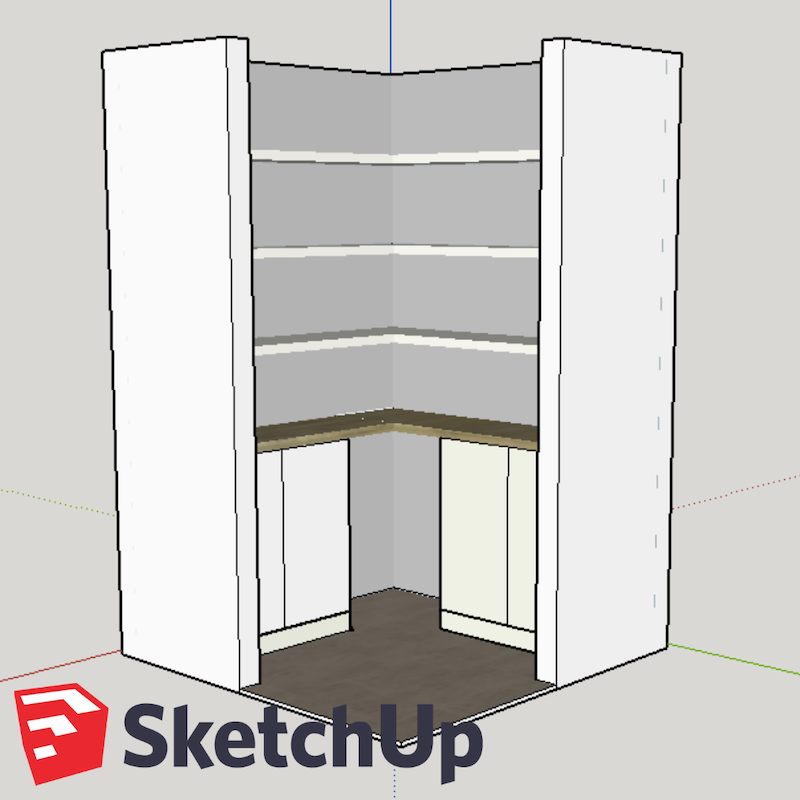
Step 4: Design a plan in SketchUp
Check out my video tutorial on how to design your project in SketchUp! I walk you through the free web based version of SketchUp. I use this program to design a lot of my larger home improvement projects.

Step 5: Come up with a list of tools and materials
For the DIY projects that I share with you guys, I list all of the tools and materials that I used for that project on my blog and most times in the description of my YouTube video tutorials. So if you aren’t sure what materials or tools you’ll need, find some other resources that have already done the project or something similar so you can learn from them.
I use this “feet & inches” calculator app (https://apps.apple.com/us/app/feet-inches-calculator/id1143972929) to help me calculate how much lumber I need. If I use plywood for a project, I like to use this website (https://www.maxcutsoftware.com/) that helps determine how many cuts you can fit on a 4 x 8 sheet of plywood.
Step 6: Establish a budget & timeline
Once you have a good idea of what you need to do in your space, establish a budget and a timeline. I tend to shop at Home Depot so I will go on their website ahead of time and use my material list to get prices for all of the items. Now you’re always going to have hiccups where you bought too much or too little for the project, but doing this ahead of time will give you a more accurate idea of what the project will cost so you can stay in budget.
For timeline, set a realistic goal for when you’d like to have the project finished. Having this end date will give you that motivation to work hard and finish your project on time. I tend to always underestimate how long projects will take my and I think that’s the case with a lot of people. So give yourself some grace and don’t stress out too much if you’re not able to stick to your ideal timeline.
Step 7: Execute!!
I like to break the project down into steps or phases and write it down on a piece of paper so it doesn’t seem so daunting and I can check off steps as I go! Also don’t panic when things don’t go exactly as planned. Your walls won’t always be square and you floor won’t always be level so you measurements may be off. You just have to adapt and overcome and expect to take extra trips to the hardware store because if you’re like me you will always forget something or run out of something.
So with all of that in mind, I hope this helps you to plan our your next big home project and I hope you learned a few useful things from my SketchUp tutorial. Thank you for following along and good luck with your next project!