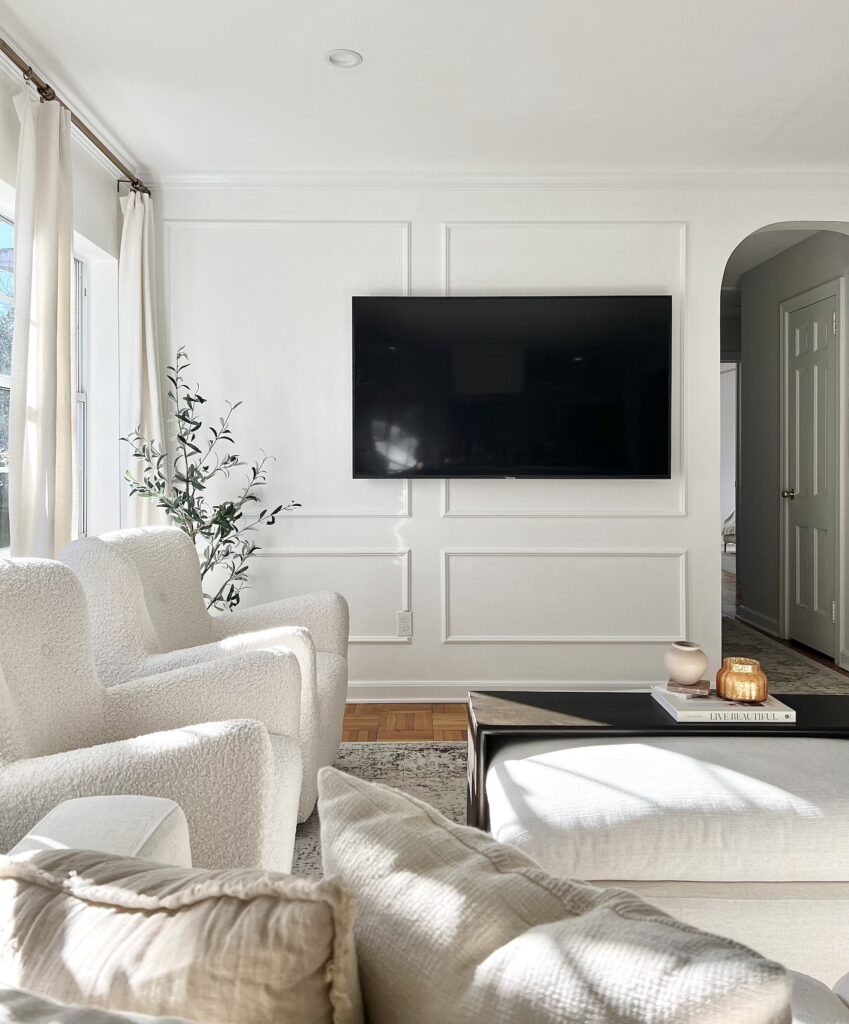
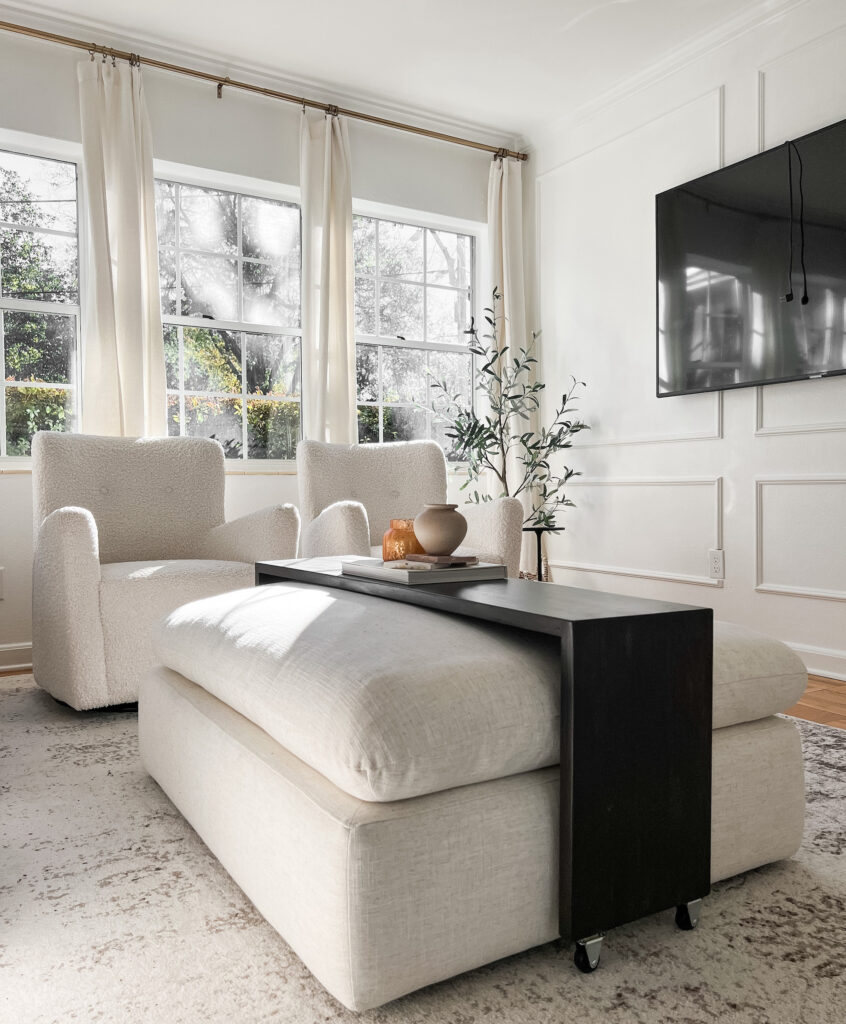
I’m excited to share this quick and simple DIY project with you guys! We have this beautiful ottoman in our living room but it’s soft and we can’t use it for anything other than resting our feet. I’m building a small waterfall style coffee table that rolls over the ottoman. We use the rolling ottoman table every day whether it’s for drinks / snacks when we watch TV, or as a workspace when I want to relax on the couch and work on my laptop. Check out the tools and materials below. If you’re a visual learner watch the YouTube video tutorial!


| Tools & Materials | Links |
|---|---|
| Miter Saw or Circle Saw | https://bit.ly/3QQ1hZJ or https://bit.ly/3ZLruwf |
| Orbital Hand Sander | https://bit.ly/3ljgcuS |
| Impact Driver &/or Drill | https://bit.ly/3MG3DrP |
| Stair Treads | https://bit.ly/3Wm43aa |
| 1 1/4″ Wood Screws | https://bit.ly/3Wm4tgK |
| Casters | https://bit.ly/3IYa4XE |
| Behr Premium Wood Stain (Espresso) | https://bit.ly/3wcM4Is |
| Varathane Polyurethane | https://bit.ly/3waD5r8 |
Step 1: Cut materials
The first step is to cut your material down to size. I am building this ottoman table to go over our 46” wide and 18” tall ottoman. The coffee table will be 48” wide by 19” tall. If you’re using wheels make sure to account for that when determining the height of the table. These wheels are 2” tall.

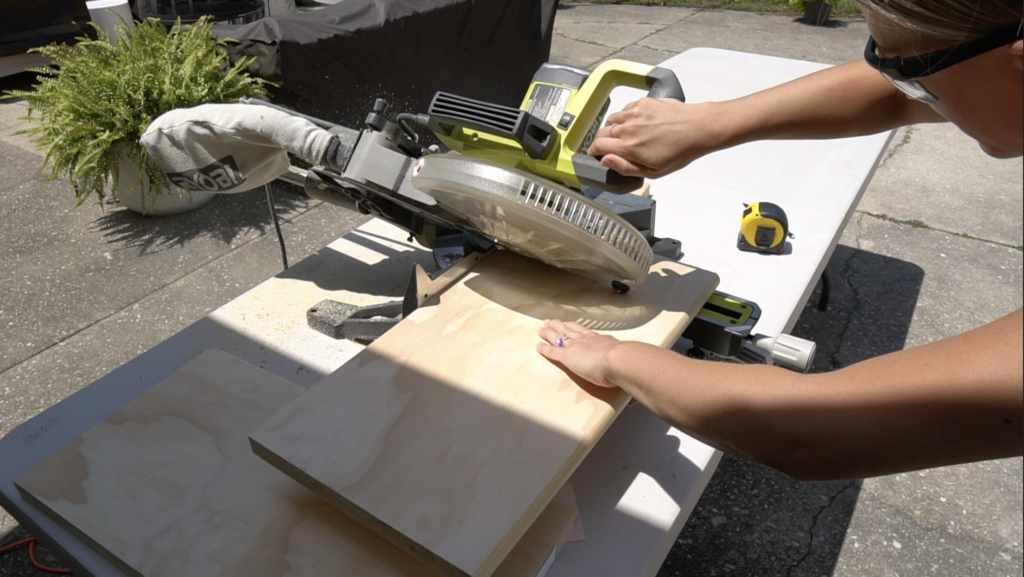

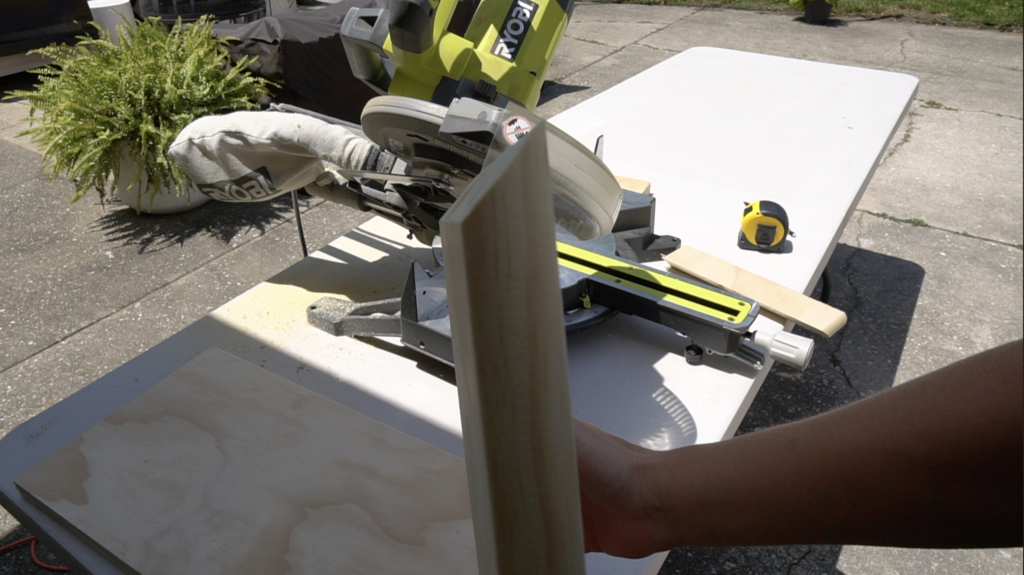

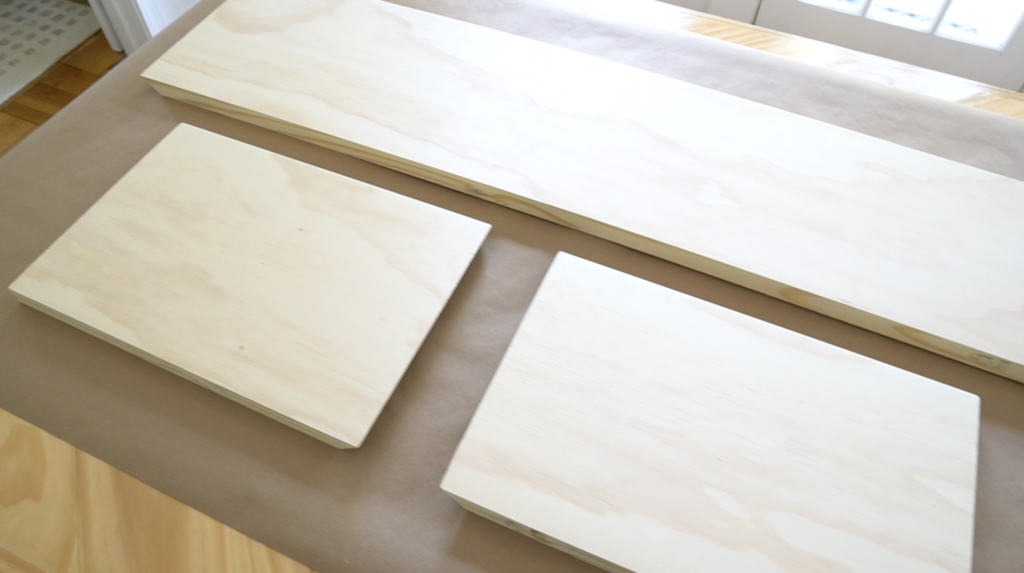
For lumber I’m using stair treads, I got these at Home Depot. They come 4’ long and 11 1/2” wide. These have a nice rounded edge and they’re 1” thick so they feel nice and sturdy. If you’re wanting to do a thinner table like me this is a great option.
I angled my miter saw at 45 degrees to cut each of the corners.
Step 2: Assemble ottoman table
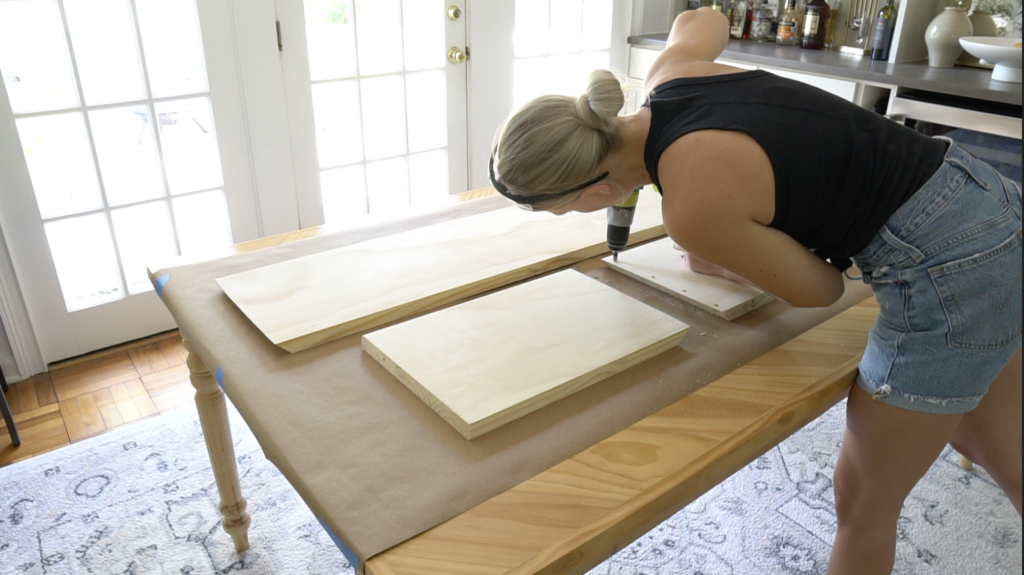
To secure the pieces together I’m using wood glue and 1 1/4” screws. I started by drilling a few holes with a countersink bit so that the screws sit beneath the surface.


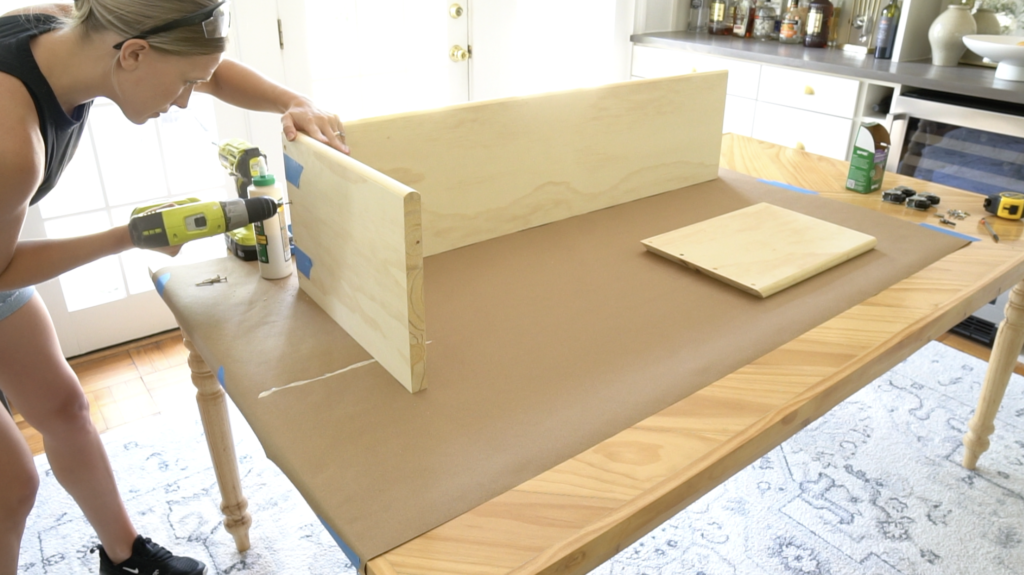

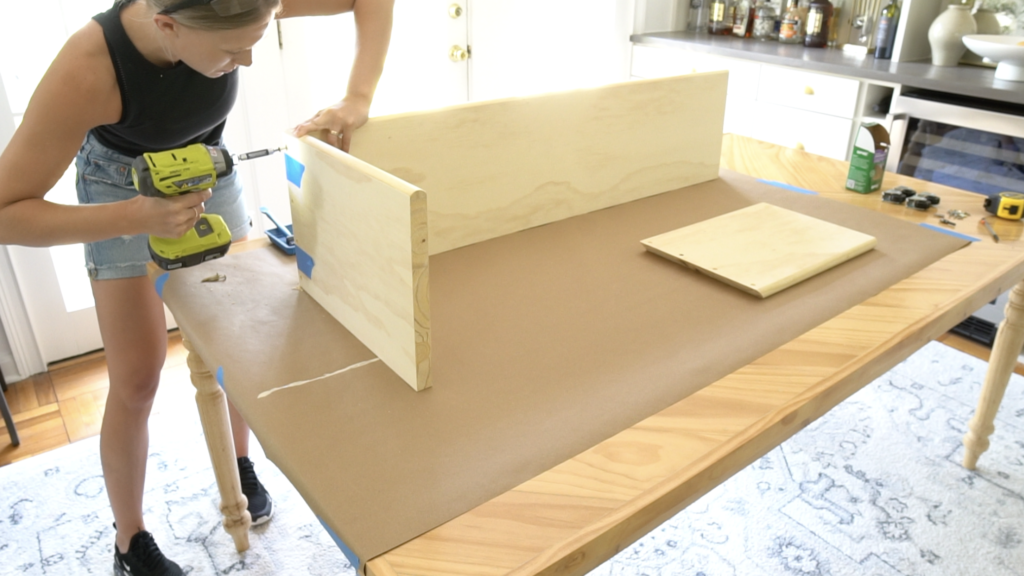

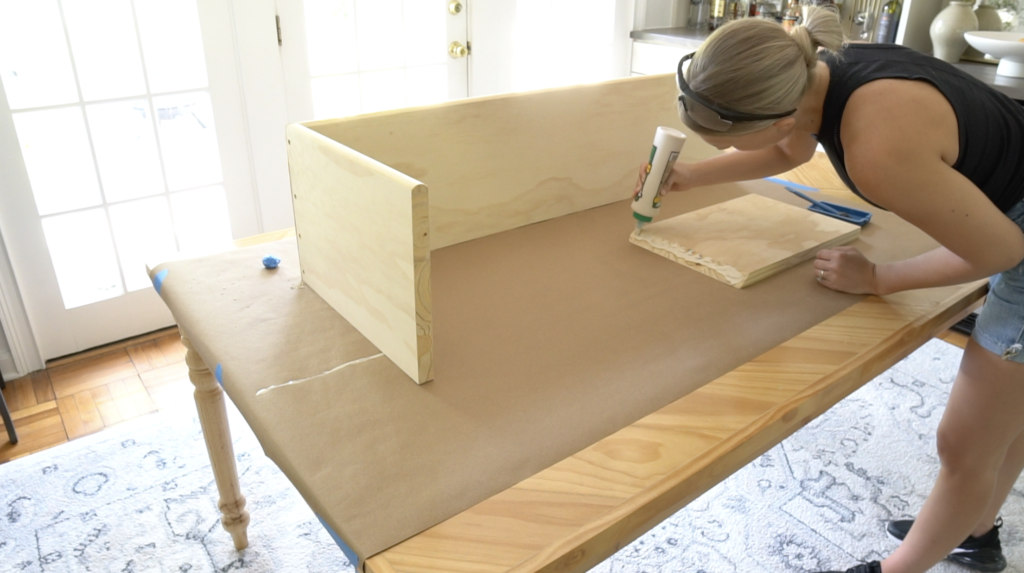
I glued up the corner of one board and used some blue tape to temporarily hold the board in place.
Next, I used drilled 4 small holes and then secured the pieces together with the 1 1/4” screws.
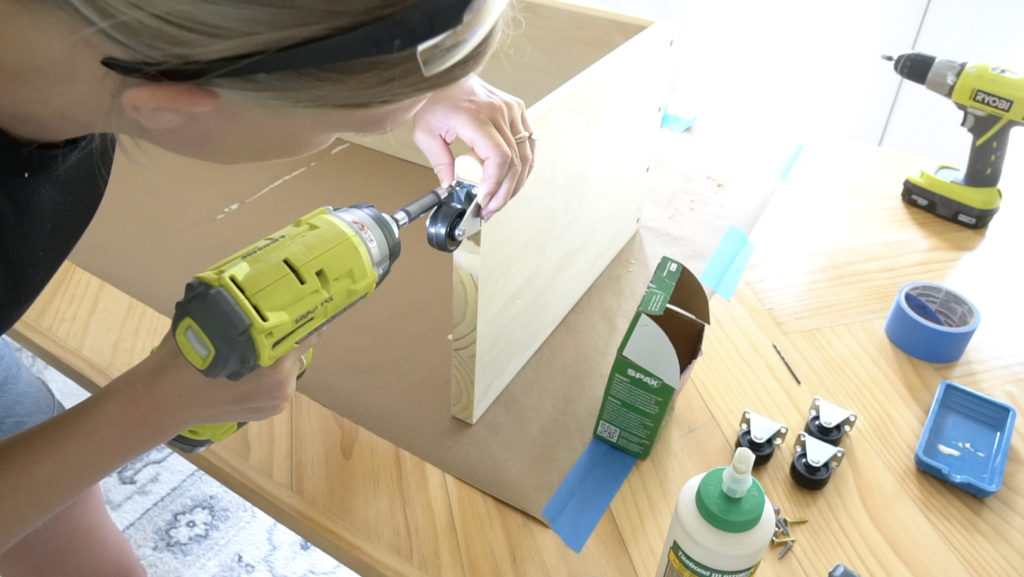
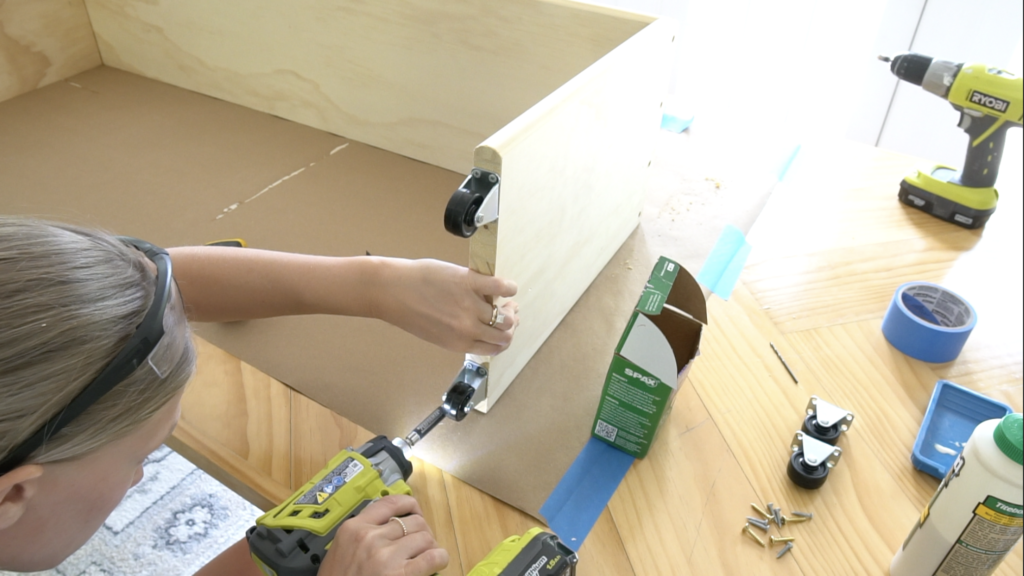
Step 3) Attach wheels
After the coffee table was assembled I attached the 2” wheels. If you’re building this to go over an ottoman like me I think the wheels are a nice touch so you can easily slide the table back and forth. You barely notice the wheels, and if you have more of a shag rug they will be completely hidden.

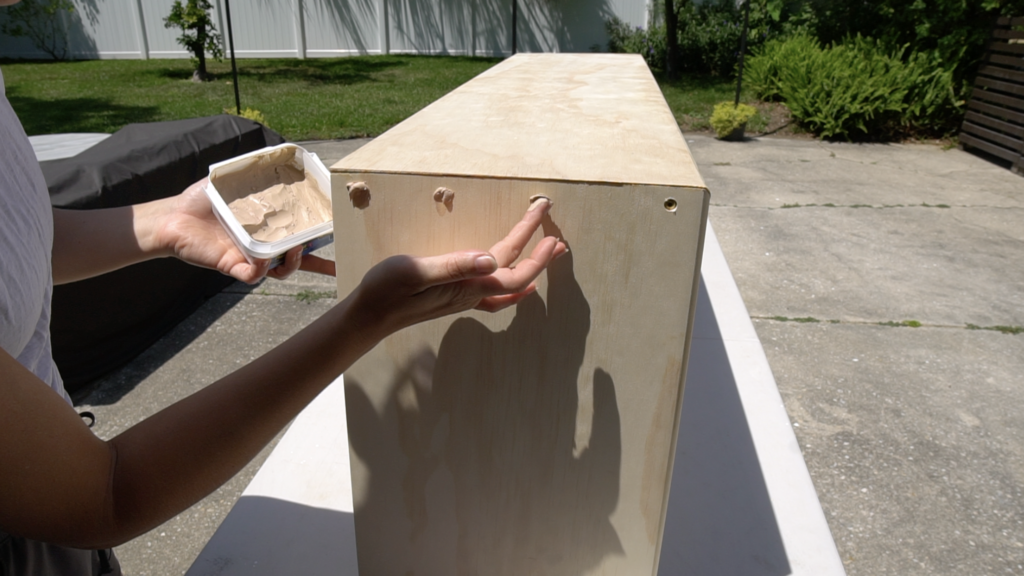
Step 4) Wood filler
Now it’s time to finish the table! I am filling any holes and cracks with wood filler first.

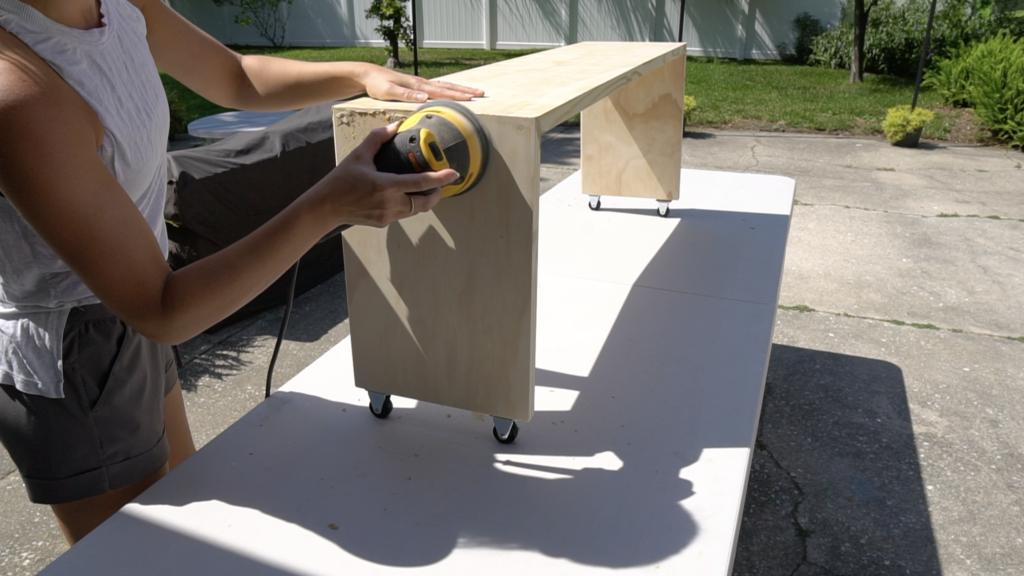
Step 5) Sand
Once the wood filler is dry I took my sander and sanded everything down. Making sure to get all the corners to round them off a bit.


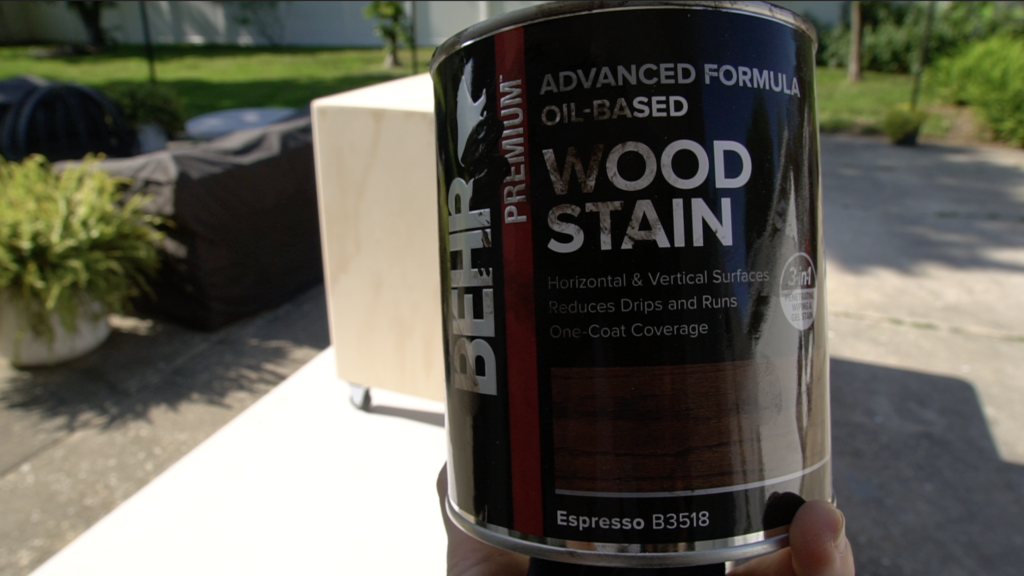
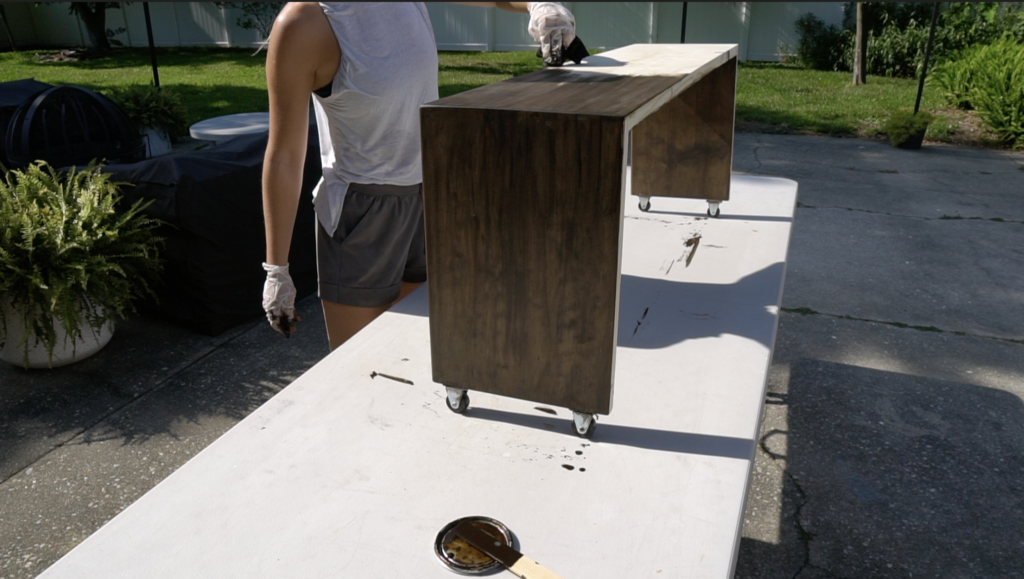
Step 6) Stain & poly
Next I’m applying this Behr Premium Wood stain in the color espresso. I did one coat with a rag, and it was looking a little bit blotchy so I went back in and did another coat with a paint brush.
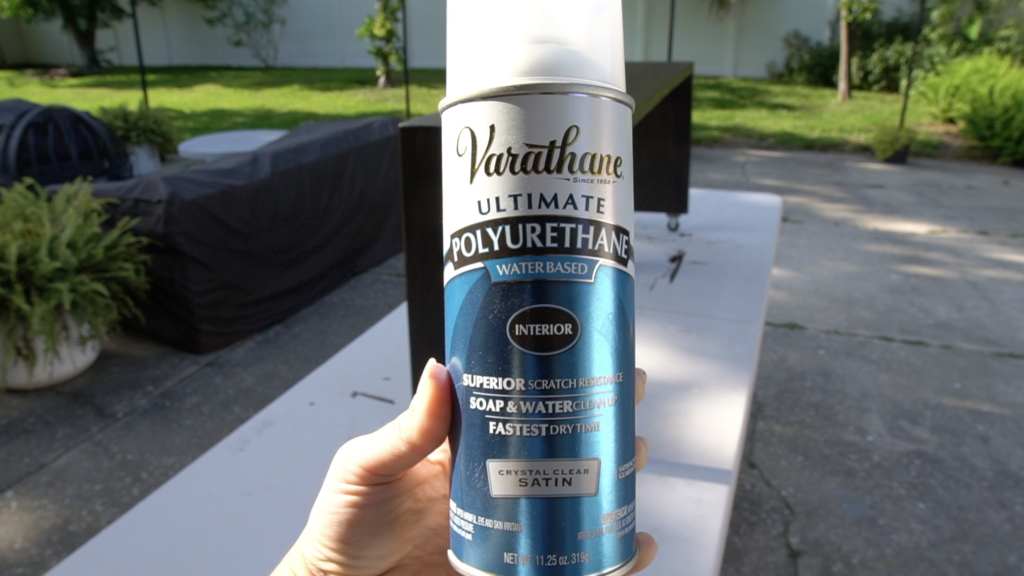
Last, I did a few coats of this spray on polyurethane, making sure to lightly sand in between each coat. This will waterproof the ottoman table so you don’t have to worry about spills or watermarks.


There you have a quick and easy rolling ottoman table! I think this adds a beautiful touch to our living room with some added functionality. Check out some more DIY tutorials HERE!