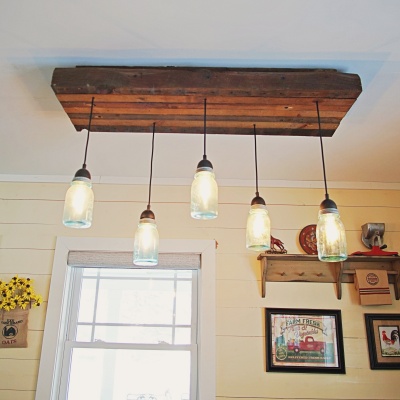
In our family farmhouse you will find a cozy dinning room complete with a farmhouse table, a church pew bench, fun farmhouse decor and an authentic mason jar light fixture to tie it all together. This is one of the first DIY projects that I made for the farmhouse and it’s one of my absolute favorites. With just a few power tools, you can design and create your own mason jar light fixture to fit your home. Below you will find a list of materials and tools that I used for this project and easy step by step instructions to follow along. Happy DIYing!!
To see more pictures of our family farmhouse, click HERE!
This post contains affiliate links. If you decide to purchase from one of the links, I will receive a small commission at no additional cost to you. Thank you for your support!
TOOLS
| Cordless Drill |
| Drill Bit |
| Driving Bit |
| Brad Nailer |
| Measuring Tape |
| Tin Snips |
| Circle Saw or Miter Saw |
| Sander/Sand Paper |
| Hanging Socket Mini Pendant Kit (5) |
| Mason jars (5) |
| Wood glue |
| Light bulbs (5) |
| Paint / stain of choice |
| 3″ Screws |
| 10″ Screws |
| 2″ Brad nails |
Lumber
| QTY | MATERIAL | DESCRIPTION |
| 4 | 2″ X 4″ X 8′ | Use scrap wood or any type of lumber you prefer |
| 2 | 3/4″ trim | 3/4″ shoe trim pine |
STEP 1: CUT WOOD TO SIZE
Cut your lumber to size using the cut list below
| QTY | LUMBER SIZE | LENGTH |
| 7 | 2″ X 4″ | 48″ |
| 2 | 3/4″ X 3/4″ | 8″ |
| 2 | 3/4″ X 3/4″ | 44″ |
STEP 2: SCREW 2″×4″’S TOGETHER
Take all of the 2 X 4’s and screw them together one at a time using your 3″ screws. Stagger your screws on each piece of wood so that you avoid hitting the previous screws. When screwing your first 2 X 4 together, be sure not to sink the screw in too deep or else it will come out the other side. You won’t need to worry about this with any of your other 2 X 4’s.
**Spread some wood glue in between each 2 X 4 for extra hold.


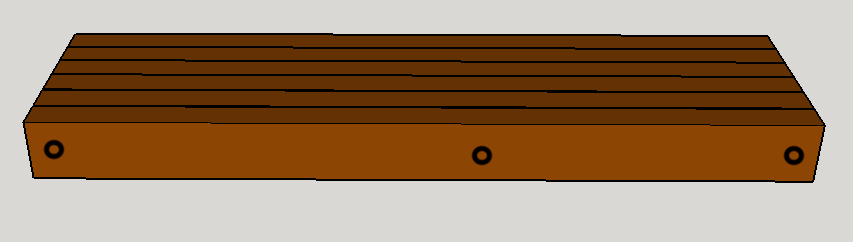

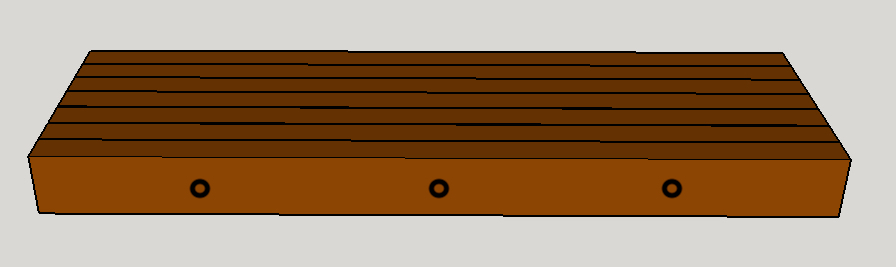
For your last 2 X 4 make sure that your screws are aligned evenly. You will be able to see these screws unless you sink the screw in a bit and fill the hole with wood filler.
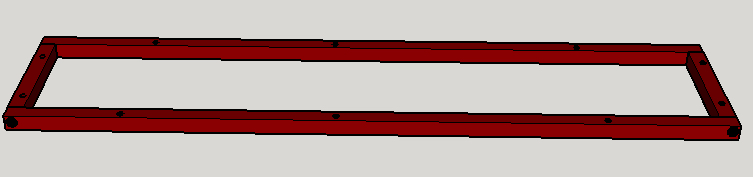
STEP 3: NAIL TOGETHER 3/4″ X 3/4″’ Pieces
Nail each corner together with your 2″ brad nails. If you don’t have a brad nailer, use small screws to secure these pieces.

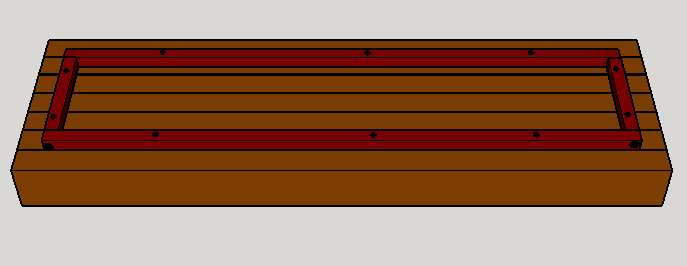
STEP 4: NAIL RECTANGLE TO THE BASE
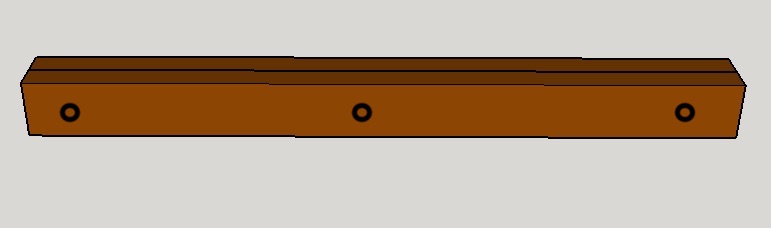
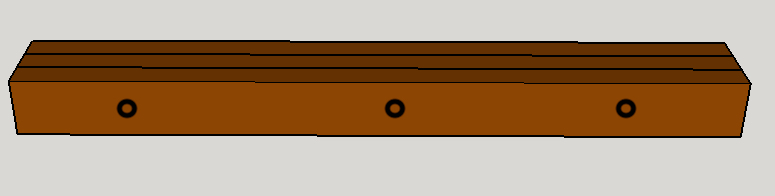
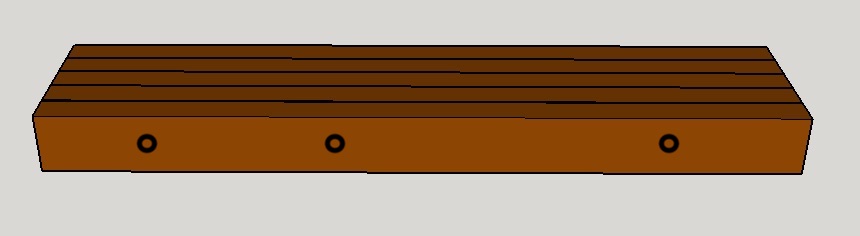
Using the brad nailer, nail the rectangle 3/4″ X 3/4″ pieces to the base in several locations (see the black dots below). This rectangle is important so that your electrical wires have a place to sit and they can be hidden. Again, if you don’t have a brad nailer, use small screws or nails to secure the rectangle to the base.

STEP 5: SAND & STAIN (Your Choice)
I only sanded down the two ends of the fixture so that they were nice and smooth. I decided not to sand the rest of the base so that I could keep the rustic look of the barnwood. If you would like to sand and stain or paint your wood, now’s the time to do it!
**It wouldn’t be a bad idea to brush on some wood preservative to prevent rotting and decay.
STEP 6: DRILL HOLES FOR PENDANT LIGHTS
For this step it’s important to drill your holes from the bottom of the base going up. Once your drill goes out the other end, it may splinter the wood. This way, if the wood splinters, it will happen on the top where you can’t see it. Drill a hole for each light and stagger your holes for wherever you want the pendant lights to hang.
STEP 7: CUT HOLES IN MASON JAR LIDS
Take the socket ring off the pendant light. Trace the socket ring onto the lid of the jar so you know what size to make the hole. Drill a hole in the center of the lid to get the hole started. Use tin snips in order to cut hole to size. Be sure not to cut the hole too big or else your mason jar won’t have anything to hang on to.
**Check out this youtube video for reference: Mason Jar Pendant Light
STEP 8: INSTALL PENDANT LIGHTS
Place the lid onto the pendant socket. Replace the socket ring to secure your mason jar lid. Twist on light bulb of choice. Twist on mason jar. For this step you can adjust the length of the cord according to how you want the mason jars to hang.
STEP 9: ASK A PROFESSIONAL TO HELP INSTALL THE LIGHT FIXTURE
Seek professional help for this step to insure that your electrical is wired correct and to avoid any injuries. After everything was wired, we took four 10″ screws and screwed the entire fixture up into the ceiling. Find studs if you can to ensure the fixture is secure.